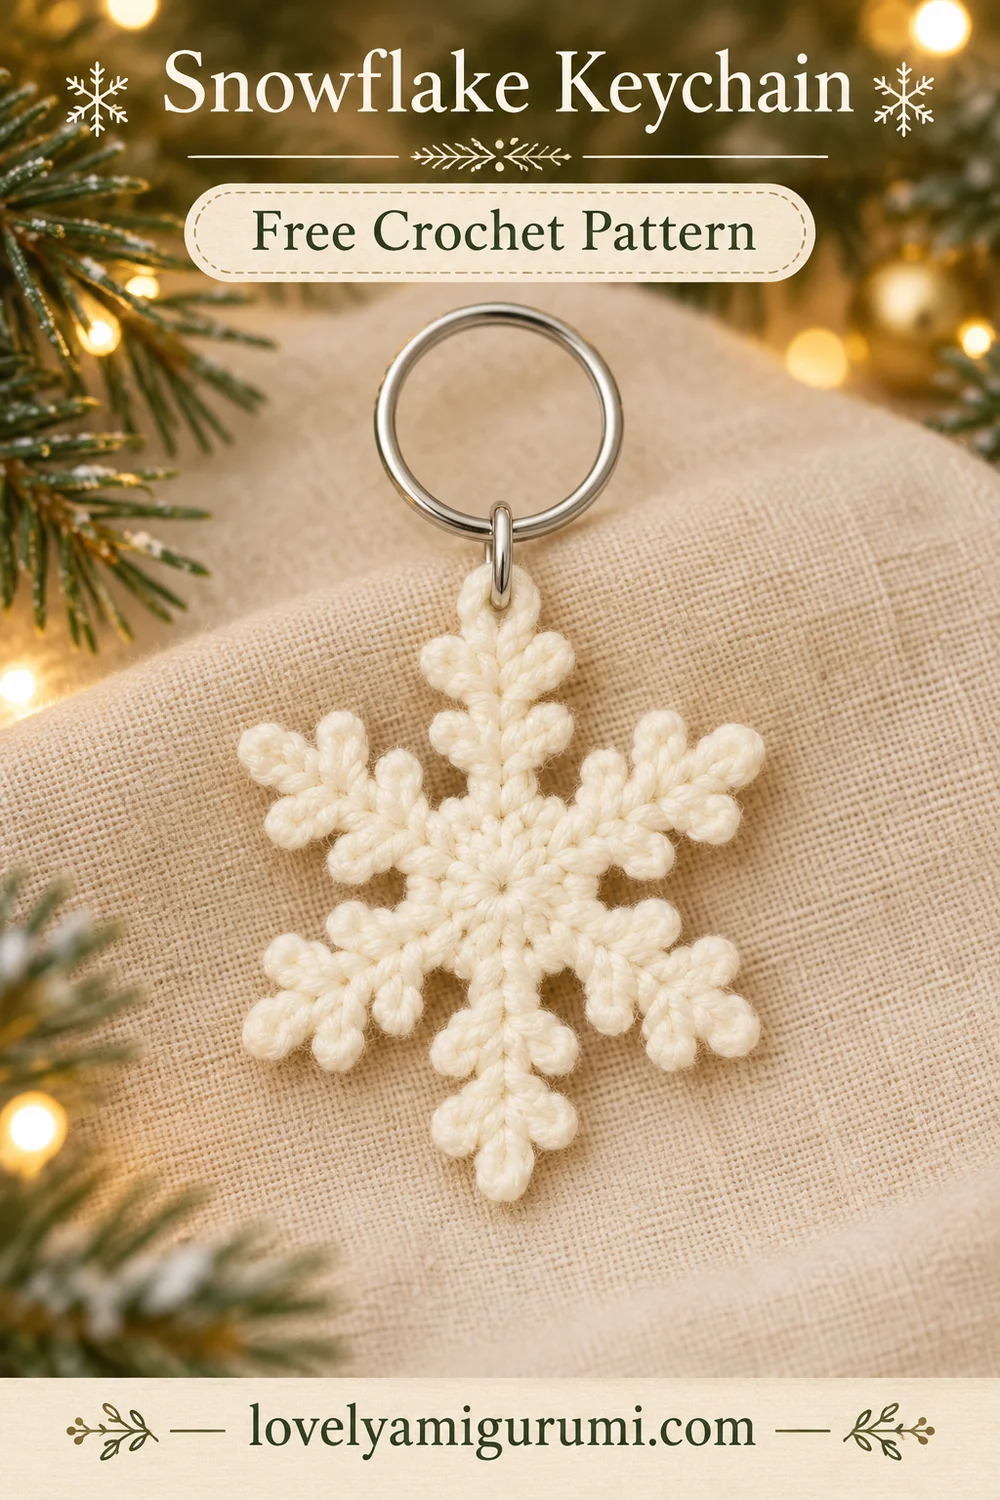
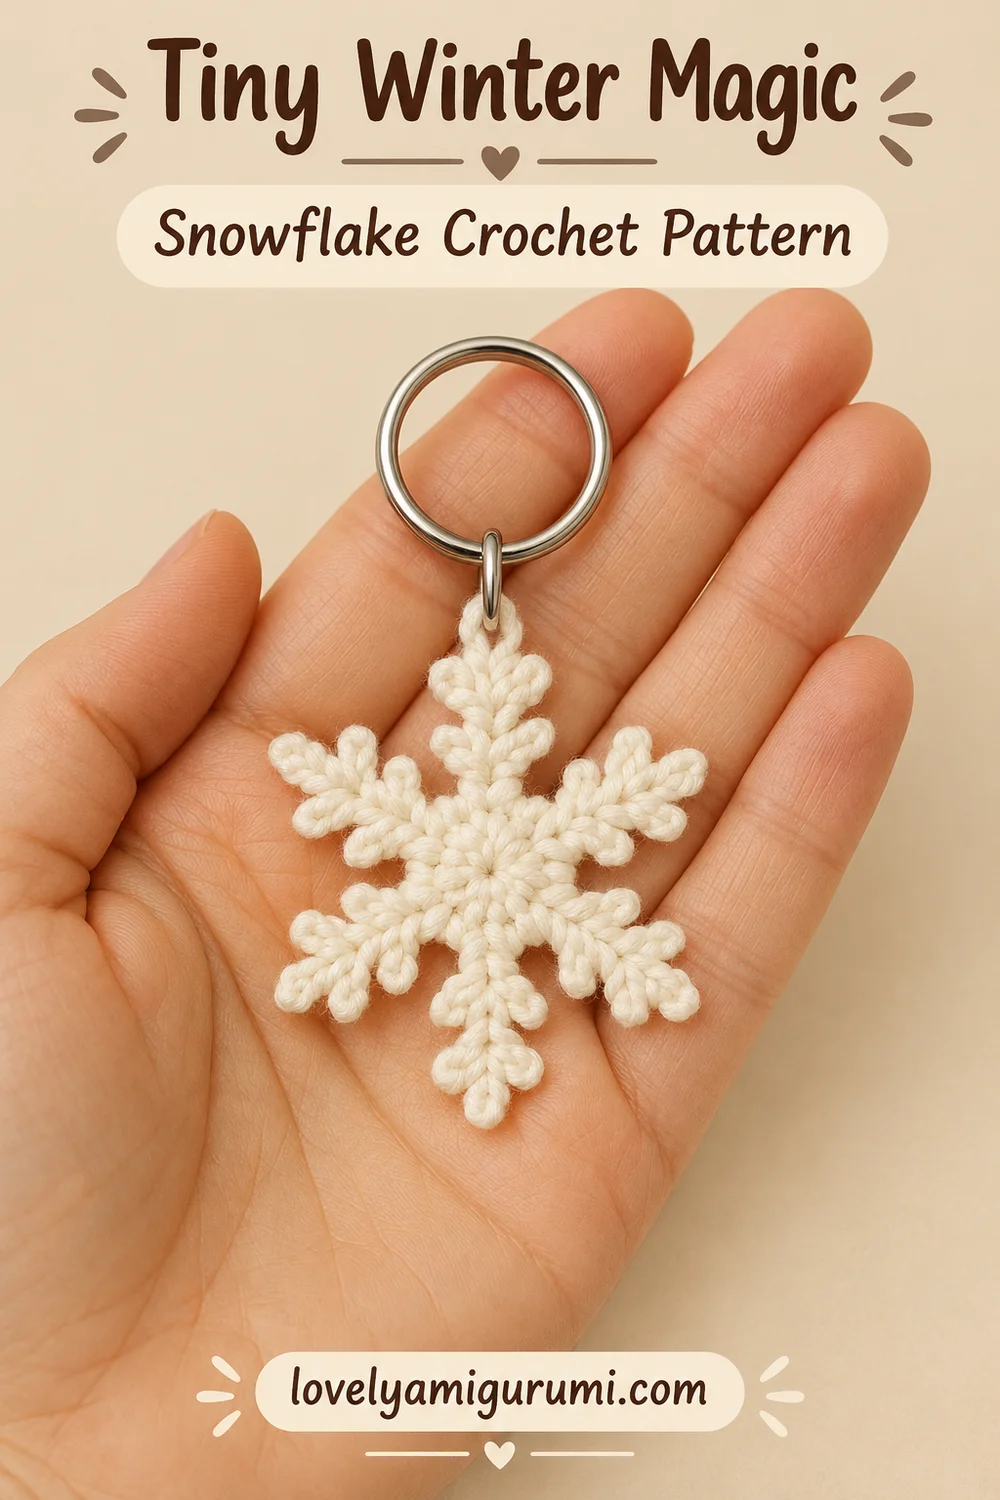
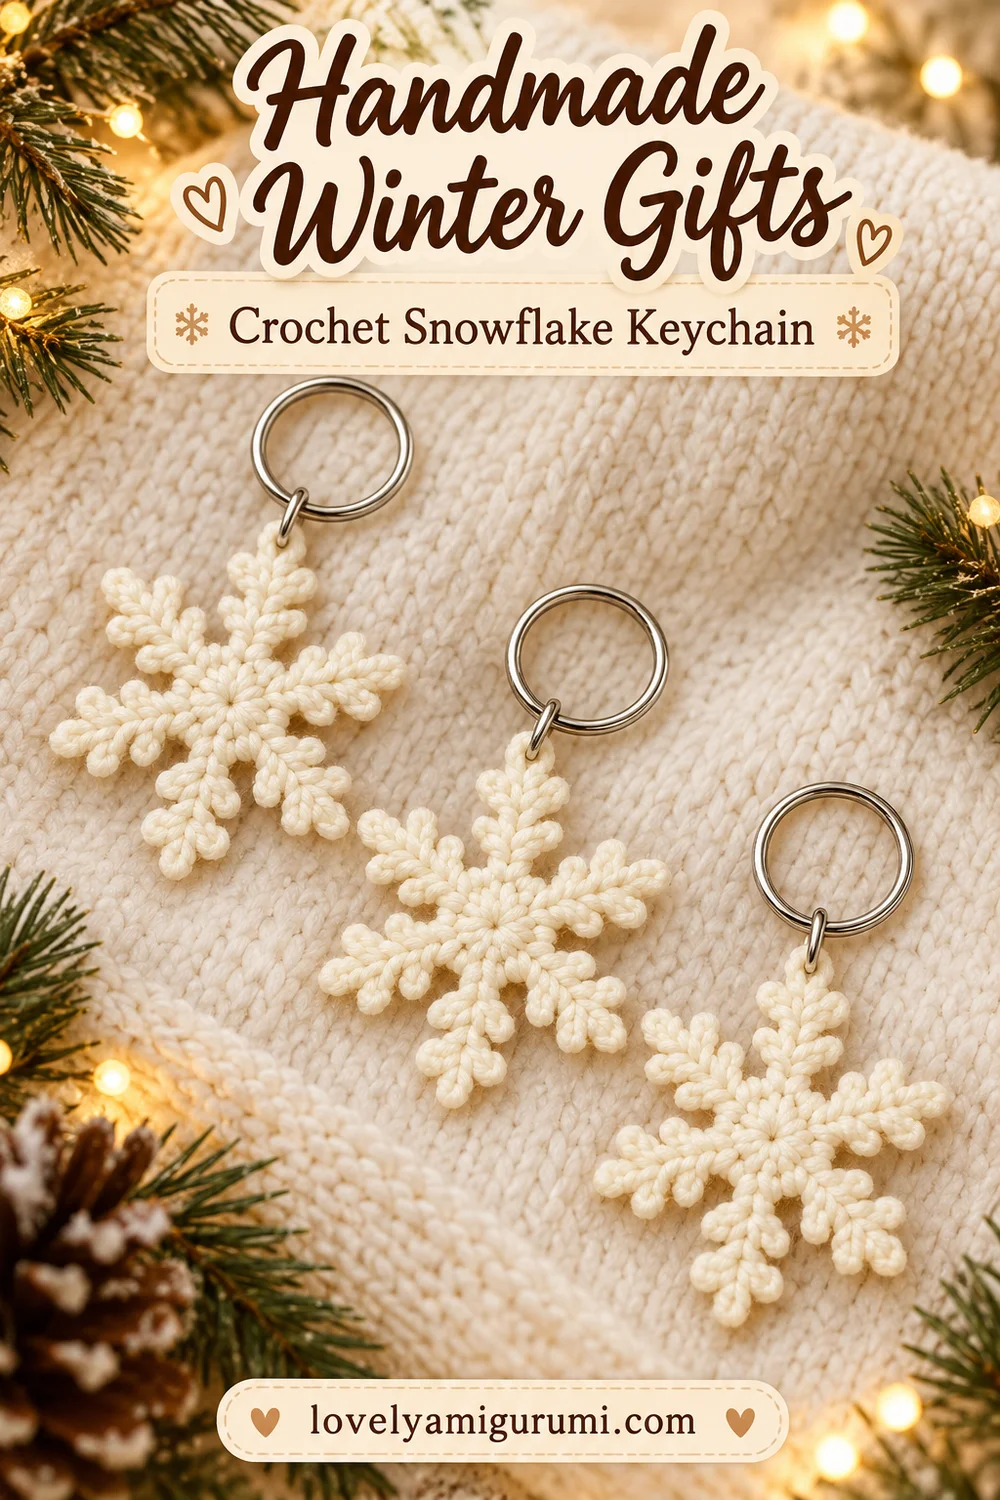
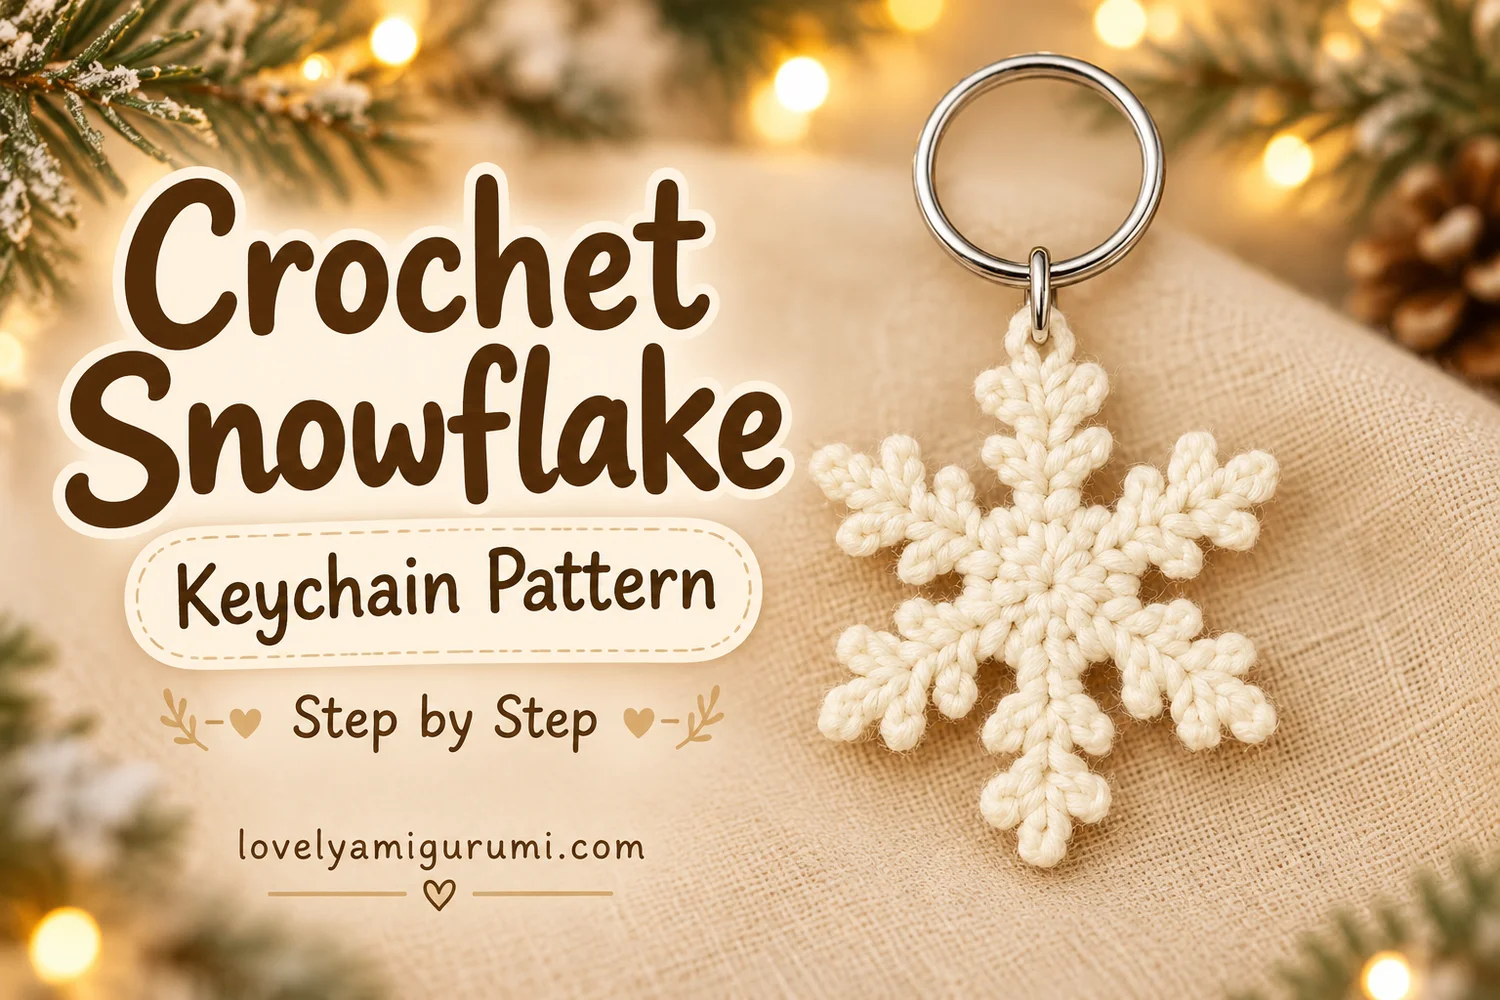
This Snowflake Keychain Crochet Pattern makes a flat cream snowflake with six branched arms, a small round center, and a simple silver keyring. Rounded chain-loop picots give the branches the soft, textured outline in the supplied reference.
Use it as a winter bag charm, a small handmade gift, or a seasonal decoration. The design is worked in one piece, then shaped flat before the hardware is attached.
Pattern Information
- Skill level: Confident beginner comfortable with chains and slip stitches.
- Terms: US crochet terminology.
- Construction: Two center rounds followed by six chain stems with picot branches.
- Estimated size: Approximately 5–7 cm from tip to tip with fine cotton yarn; size varies with yarn, hook, and blocking.
- Reference details: Cream yarn, six evenly spaced branched arms, solid circular center, and silver ring at the top.
Pattern note: This is an image-inspired adaptation. Counts and repeat placement have been checked, but the pattern has not been physically crocheted or independently tested. The tutorial images illustrate the construction and should be used with the written instructions.
Materials for the Snowflake Keychain Crochet Pattern
- Fine cotton yarn in cream or ivory, approximately 3–5 g as a starting allowance.
- A 2–2.5 mm hook as a starting point; choose a size that makes firm stitches.
- A plain silver keyring and one small connector ring or clasp.
- Tapestry needle, scissors, and six stitch markers.
- Blocking mat and rust-resistant pins.
- Optional fabric stiffener suitable for your yarn, used according to its label.
No stuffing is needed. Cotton helps the small branches hold their shape after blocking. A firm, smooth yarn will show the picots more clearly than a fluffy yarn.
Stitches and Abbreviations
| Abbreviation | Meaning |
|---|---|
| MR | magic ring |
| ch | chain |
| sc | single crochet |
| sl st | slip stitch |
| inc | 2 sc in one stitch |
| st(s) | stitch(es) |
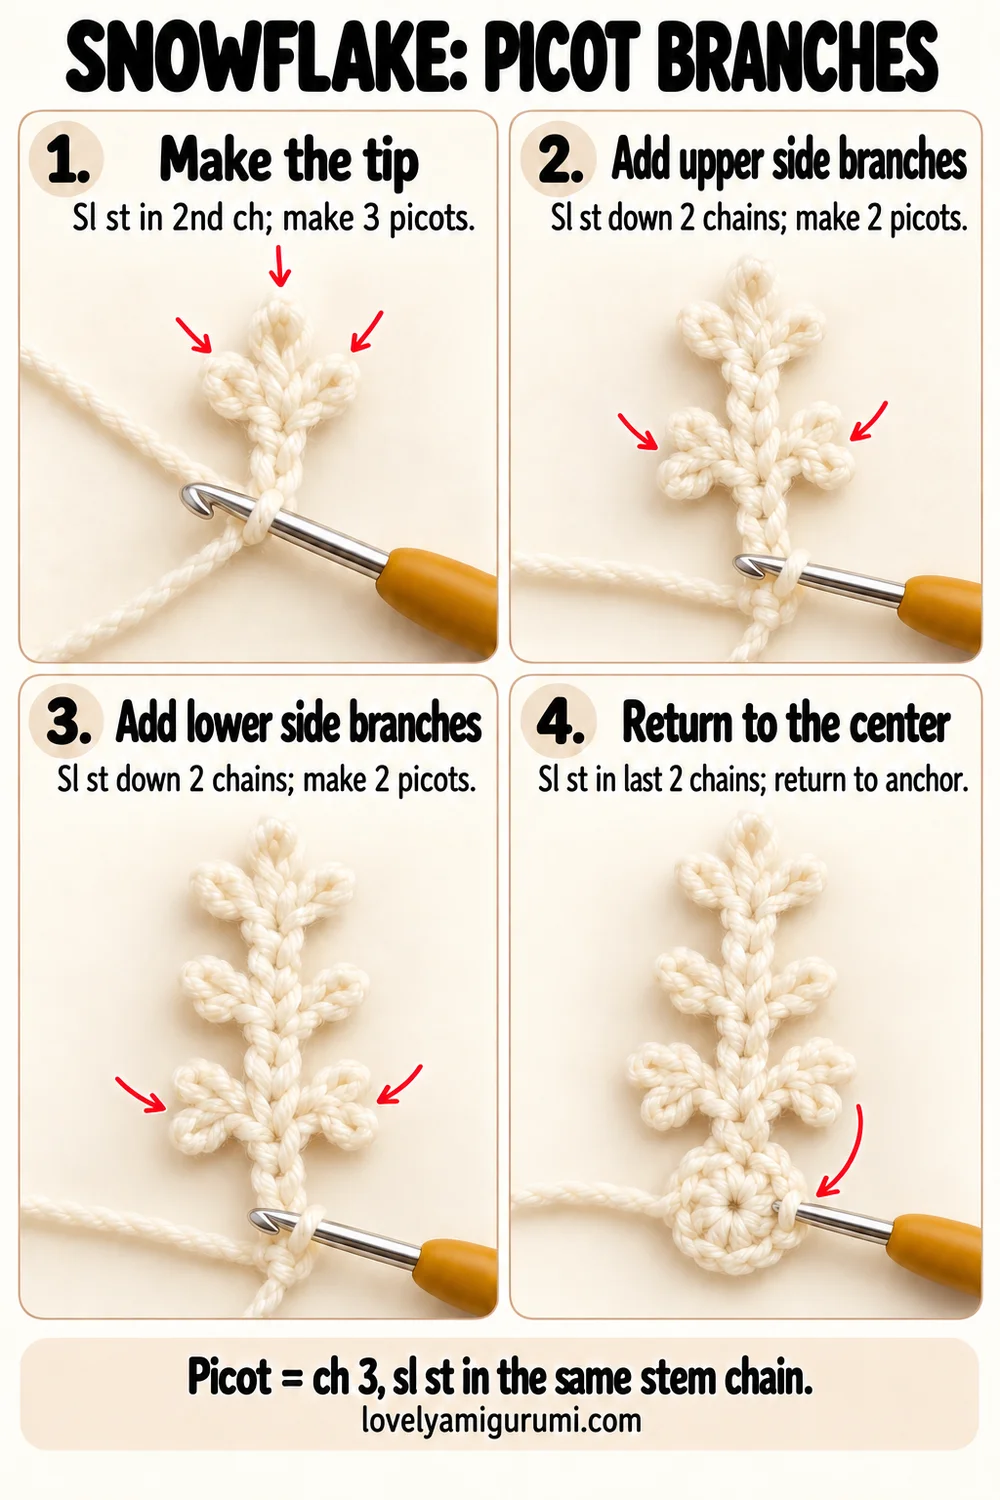
Anchored picot, used throughout this pattern: Ch 3, then sl st back into the same stem chain where the picot started. This makes a small loop attached to that stem position. It does not move you to the next stem chain.
For two picots at one position, repeat that instruction twice into the same stem chain. For a three-picot tip, repeat it three times into the same stem chain. Spread the loops gently while blocking.
Before You Begin
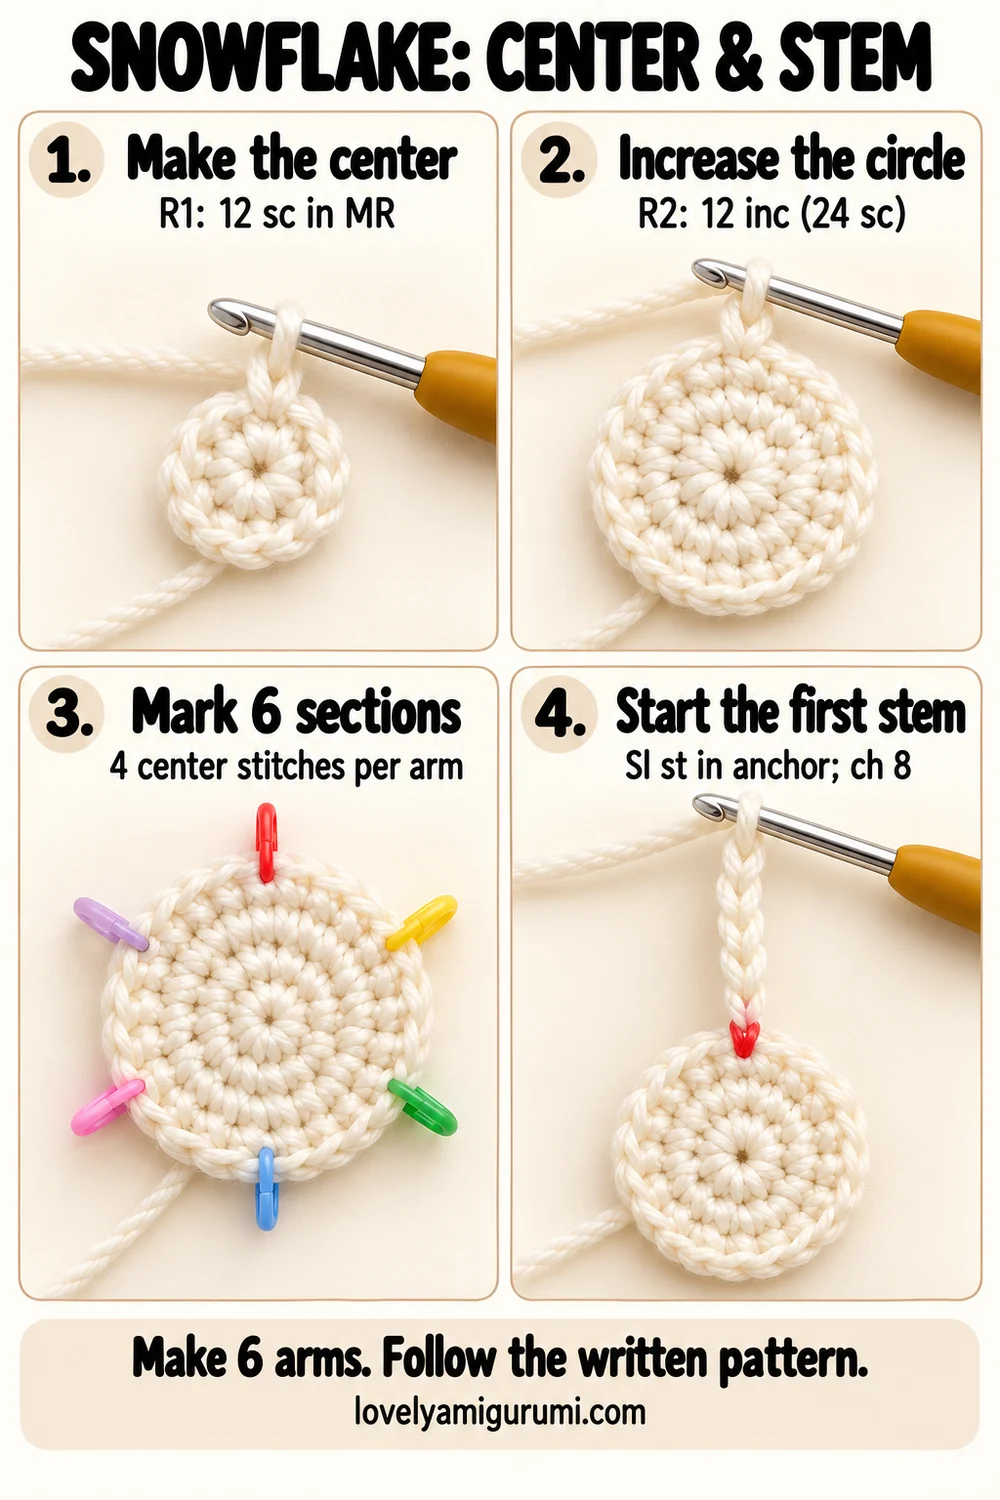
The center finishes with 24 stitches. Divide them into six groups of four stitches. The first stitch of each group anchors an arm; the remaining three are worked with slip stitches between arms.
The long chains that form the arms are separate from the center stitches. Picots are made into those arm chains, not into new center stitches. This distinction keeps the snowflake at exactly six main arms.
Snowflake Keychain Crochet Pattern
1. Solid Round Center
With cream yarn:
- Round 1: 12 sc in MR. Pull the ring closed. [12]
- Round 2: Inc in each stitch. [24]
Do not fasten off. Mark center stitches 1, 5, 9, 13, 17, and 21. These are the six arm anchors. Keep the center flat and the starting tail loose enough to weave in neatly later.
2. First Arm — Stem and Three-Picot Tip
Sl st into center stitch 1, the first marked anchor. Ch 8. For clarity, call the chain nearest the center chain 1 and the chain nearest the hook chain 8.
Sl st into the second chain from the hook, which is stem chain 7. Chain 8 is the turning chain. At chain 7, make three anchored picots: (ch 3, sl st into the same stem chain 7) × 3. These three loops form the tip.
3. Upper Side Branches
Working back toward the center, sl st into stem chain 6 and then chain 5. At chain 5, make two anchored picots: (ch 3, sl st into the same stem chain 5) × 2.
Keep these two loops beside the stem, one to each side when shaping. Do not count the picot chains as stem chains.
4. Lower Side Branches
Sl st into stem chain 4 and then chain 3. At chain 3, make two anchored picots: (ch 3, sl st into the same stem chain 3) × 2.
Sl st into stem chain 2 and then chain 1. Sl st back into the original center anchor, stitch 1. The first arm now has one three-loop tip and two pairs of side loops.
5. Move to the Next Arm
Sl st into the next three center stitches: stitches 2, 3, and 4. The next arm will begin with a sl st into the next marked anchor, stitch 5.
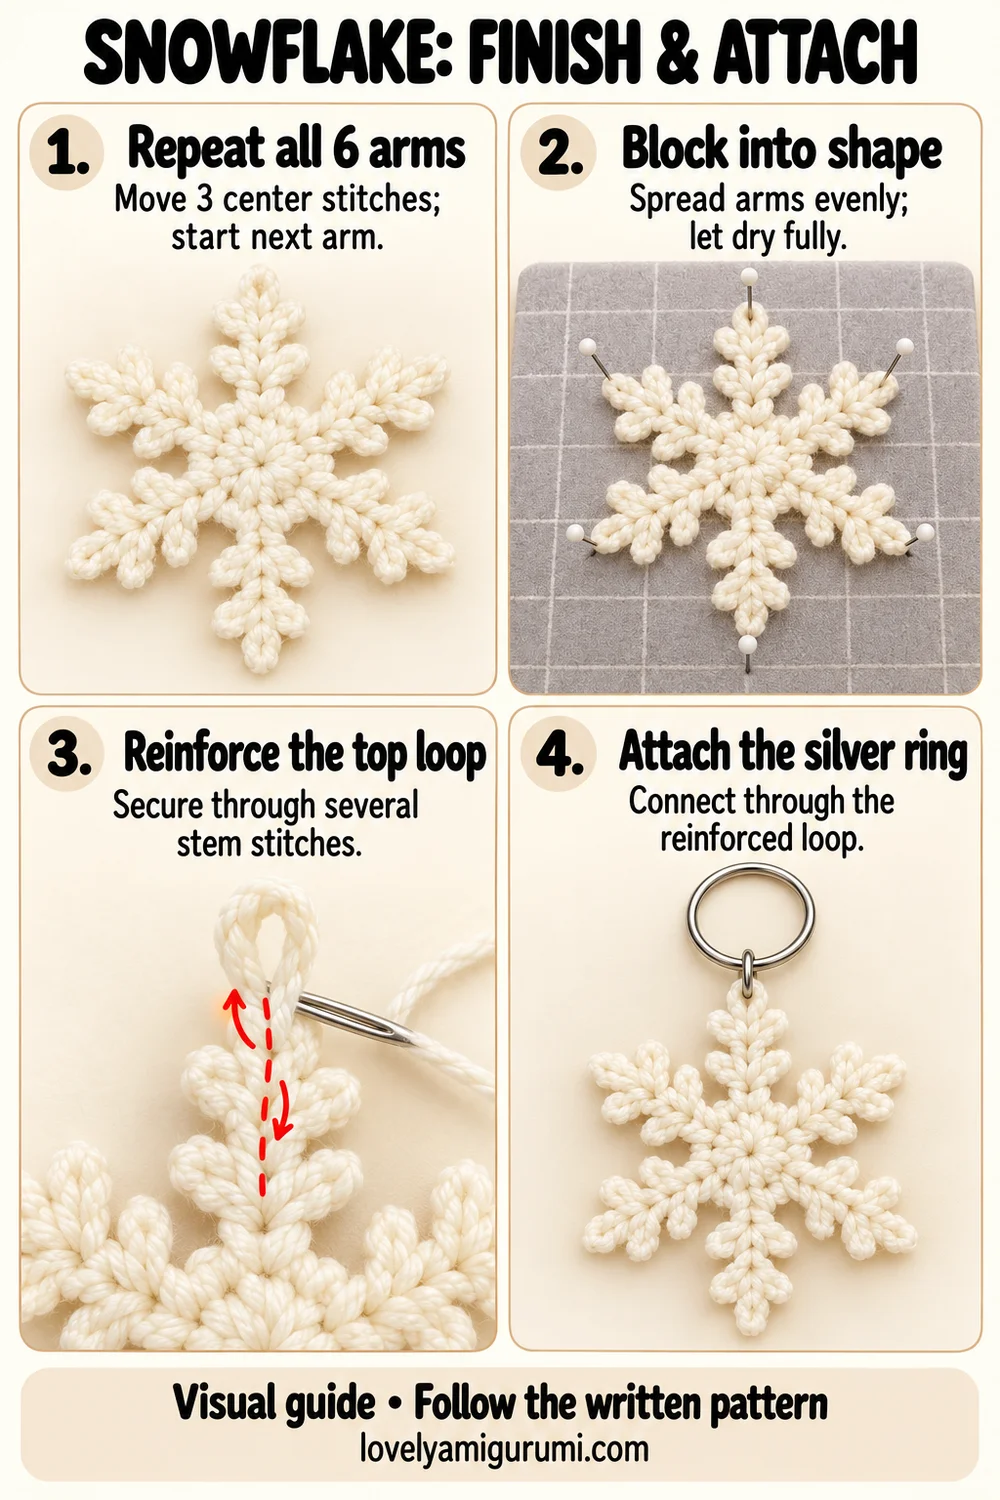
Repeat the complete arm instructions at each marked anchor. After each arm, work the three following center stitches with slip stitches.
| Arm | Anchor stitch | Center stitches after returning |
|---|---|---|
| 1 | 1 | 2, 3, 4 |
| 2 | 5 | 6, 7, 8 |
| 3 | 9 | 10, 11, 12 |
| 4 | 13 | 14, 15, 16 |
| 5 | 17 | 18, 19, 20 |
| 6 | 21 | 22, 23, 24 |
After the sixth arm and the final three center slip stitches, sl st into the first anchor to close the edging. Do not make a seventh arm. Fasten off with a 15–20 cm tail.
Arm Repeat at a Glance
- Sl st into the next marked center anchor; ch 8.
- Sl st in the second chain from the hook; make three picots there.
- Sl st down two stem chains; make two picots at that position.
- Sl st down two more stem chains; make two picots there.
- Sl st in the last two stem chains; sl st back into the same center anchor.
- Sl st in the next three center stitches before starting the next arm.
Each arm uses seven worked stem chains, with the eighth chain serving as the turn. Each arm has seven small picot loops in total: three at the tip and four along the sides.
Weave in the Ends
Thread the starting tail through the backs of several center stitches, change direction, and pass through a few more stitches before trimming. Use the finishing tail in the same way. Keep both ends within the solid center where they are easiest to hide.
Count six main arms and check that every arm has the same tip and side branches. Gently separate any loops that have twisted together.
Block the Snowflake
Dampen the snowflake lightly and press out excess moisture without twisting. Lay it flat on a blocking mat with one arm pointing up, one down, and four diagonally out to the sides. The six main arms should be approximately 60 degrees apart.
Pin the center flat, then spread each stem straight. Arrange the three tip loops as a small fan and the two pairs of side picots to opposite sides of the stem. Match the length and width of all six arms rather than stretching one farther than the others.
Let it dry completely before removing the pins. If you want a firmer charm, apply a yarn-compatible fabric stiffener according to its instructions and shape it again while drying. Test the stiffener on a scrap first and keep it away from the metal hardware.
Reinforce the Hanging Loop
Choose the neatest arm as the top. With a fresh length of cream yarn doubled, sew a short loop behind its tip. Pass through several worked stem stitches beneath the tip, spreading the attachment down the upper stem rather than using a single picot loop.
Repeat the attachment at least three times, keeping the loop only large enough for your connector. Secure and weave the tails through the back of the stem and into the center. Keep the front picots visible and the snowflake flat.
Attach the Silver Keyring
Connect a small silver ring or clasp through the reinforced cream loop, then connect it to the plain keyring. Close the connector fully and check that no open end can catch the yarn.
The reference uses a short connection with the main ring close above the top arm. Match that arrangement rather than adding a long chain. Check the attachment with a gentle pull and reshape the top arm if needed.
Three Visual Tutorials
The final gallery shows the center and stem, the picot branches, and the blocking and keyring attachment. Follow the numbered panels for an overview and the written directions for the exact picot anchors and six-arm repeat.
Practical Tips and Troubleshooting
I have more than six arms
Check the 24 center stitches and the anchor table. Each arm belongs to a group of four center stitches. After the arm returns to its anchor, work three center slip stitches before moving to the next anchor.
The branches form a chain instead of a fan
Return each picot to the same stem chain where it started. Do not attach the next picot to the previous picot’s tip.
The snowflake curls
Keep the center slip stitches relaxed and the picots even. Dampen and block the piece flat, spreading all six arms equally.
The top arm stretches under the ring
Reinforce several stem stitches and use a lightweight connector. Avoid hanging the metal ring from one thin picot loop alone.
FAQ
Can I use white yarn?
Yes. Cream follows the reference, while white gives a brighter snowy finish.
Can this be a tree ornament?
Yes. Replace the silver hardware with a hanging cord attached to the reinforced top loop.
Does it need stuffing?
No. This snowflake is a flat crochet piece. Blocking helps its branches hold their outline.
More Free Crochet Patterns
- Christmas Star Keychain Crochet Pattern
- Christmas Wreath Crochet Keychain Pattern
- Mini Christmas Mitten Crochet Pattern
Save This Pattern
Save this Snowflake Keychain Crochet Pattern to your Pinterest board for your next winter project. Happy crocheting from Lovely Amigurumi!
Snowflake Visual Tutorials and Pinterest Gallery
Keep these three visual tutorial guides and three Pinterest images together for your next crochet session.