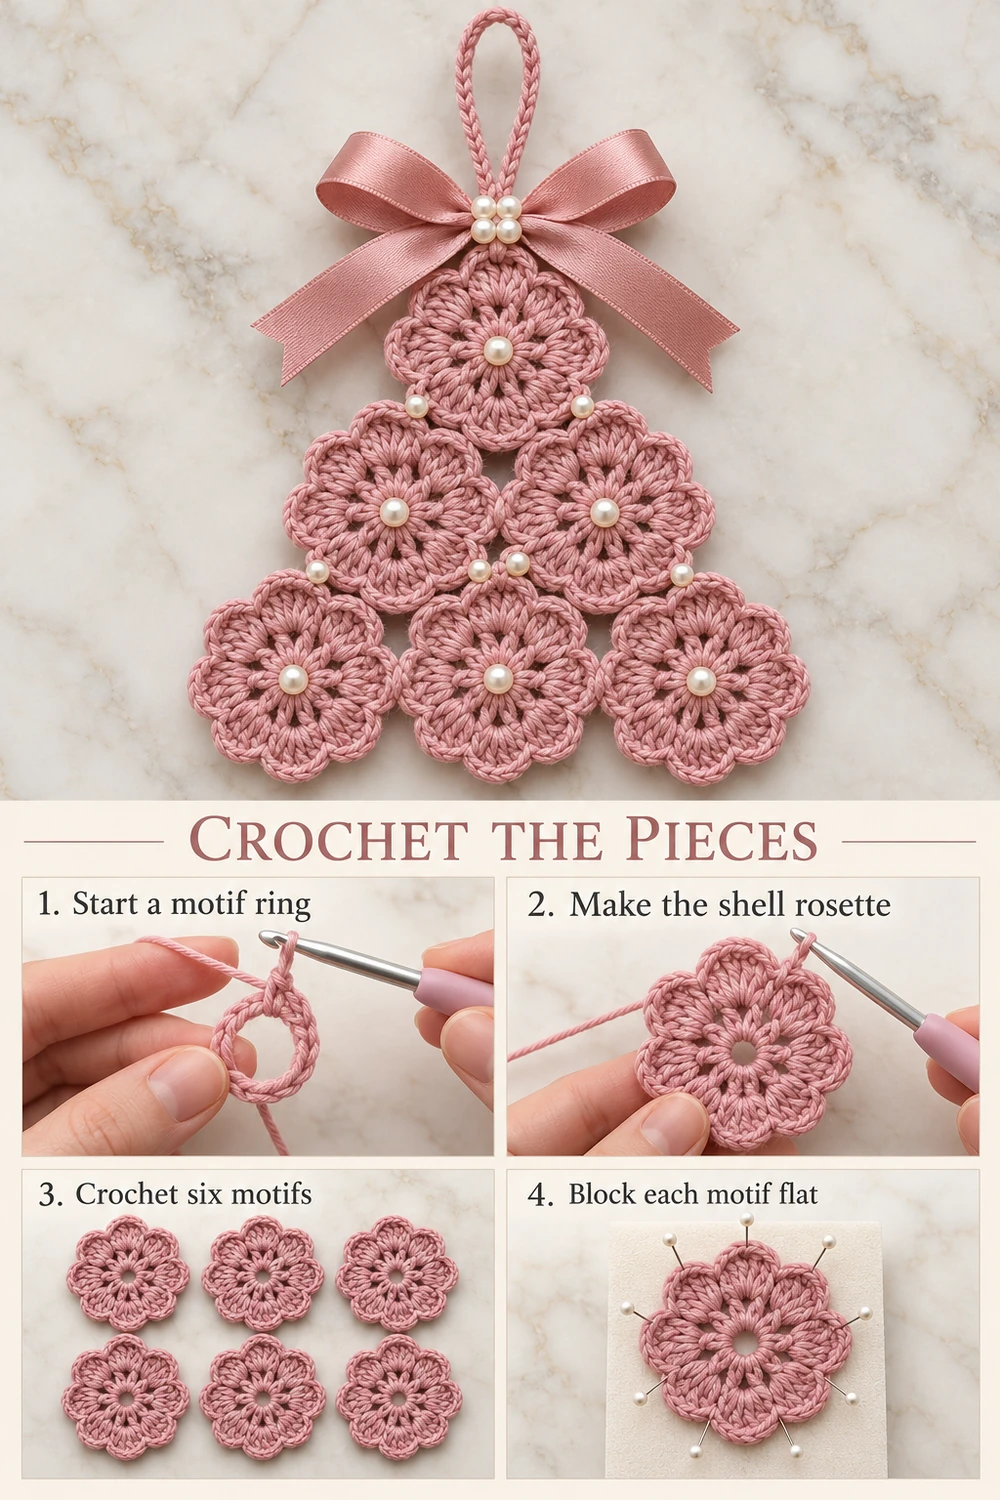
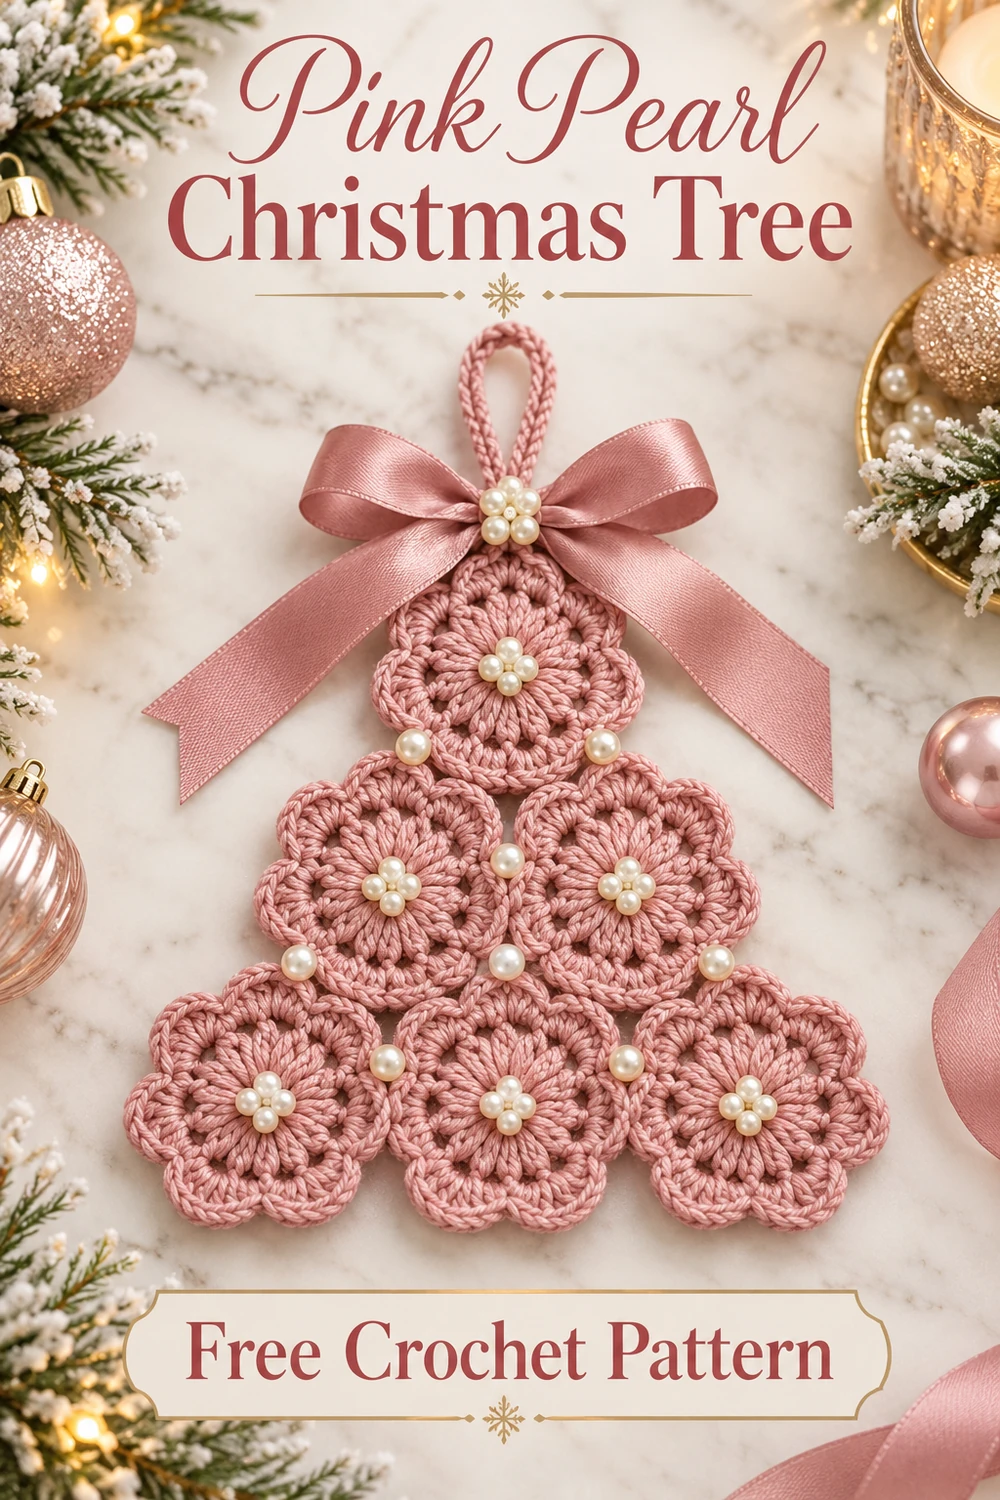
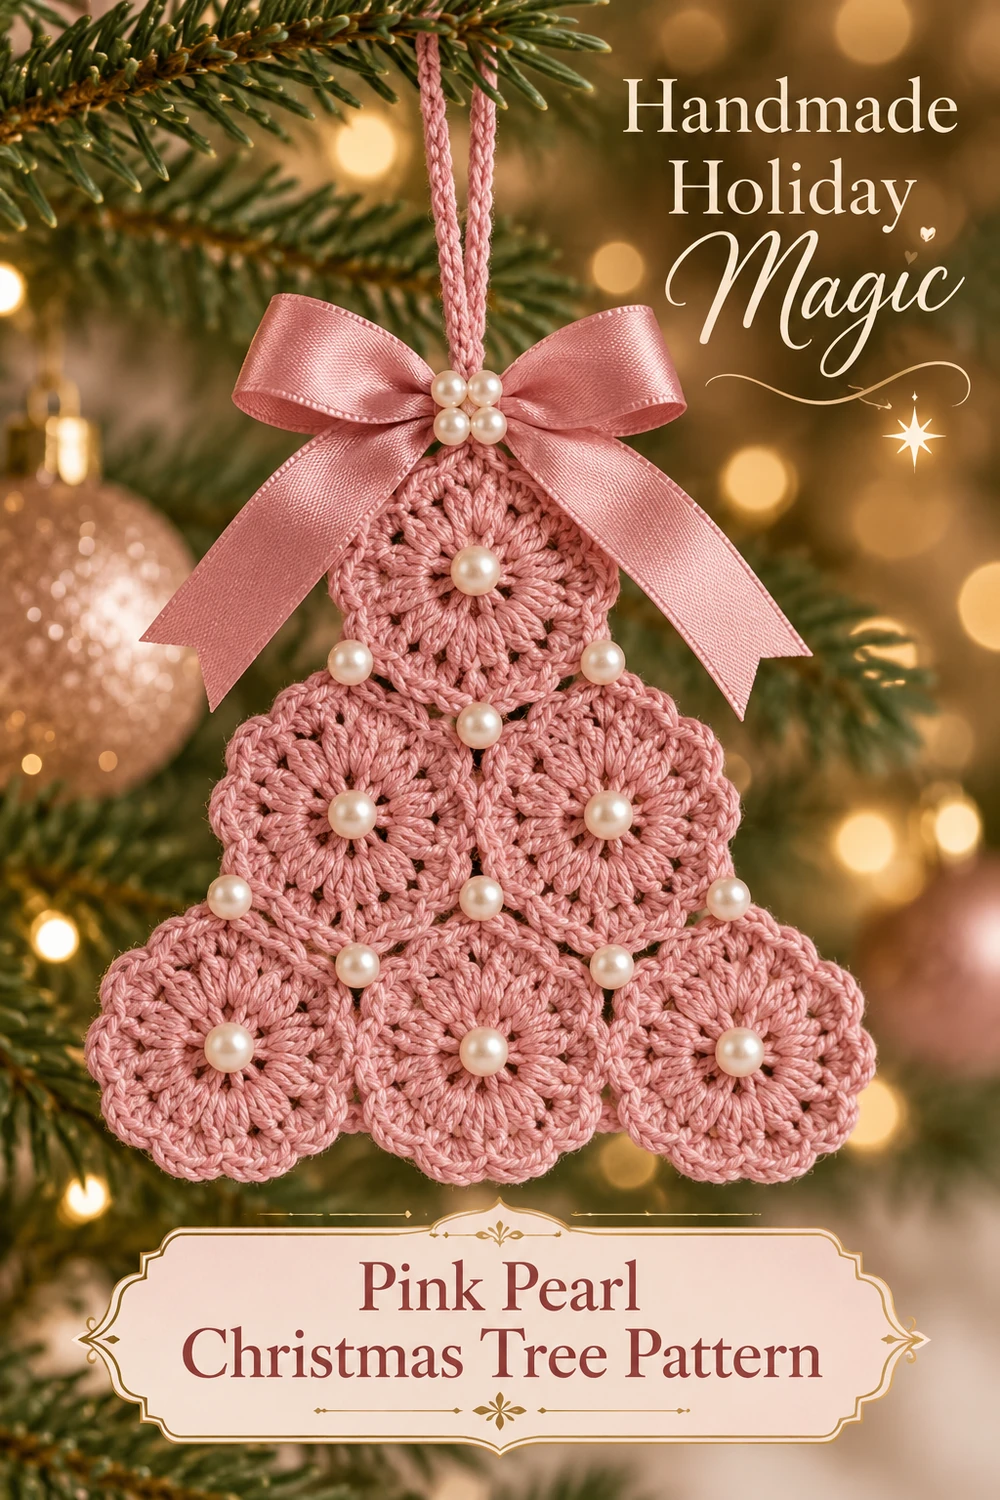
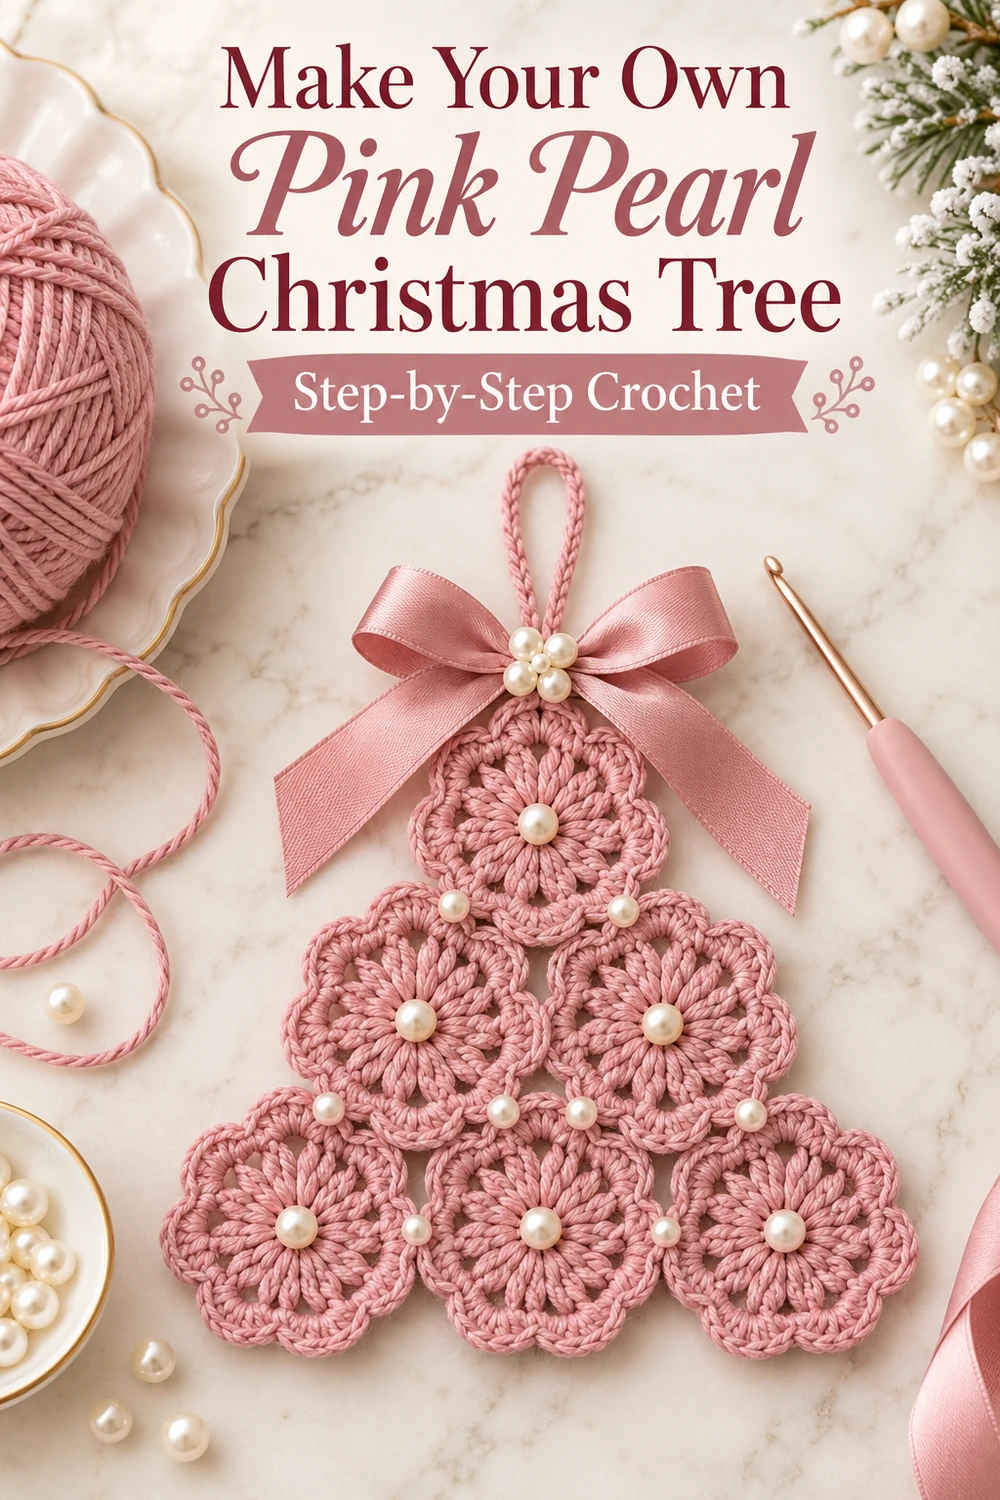
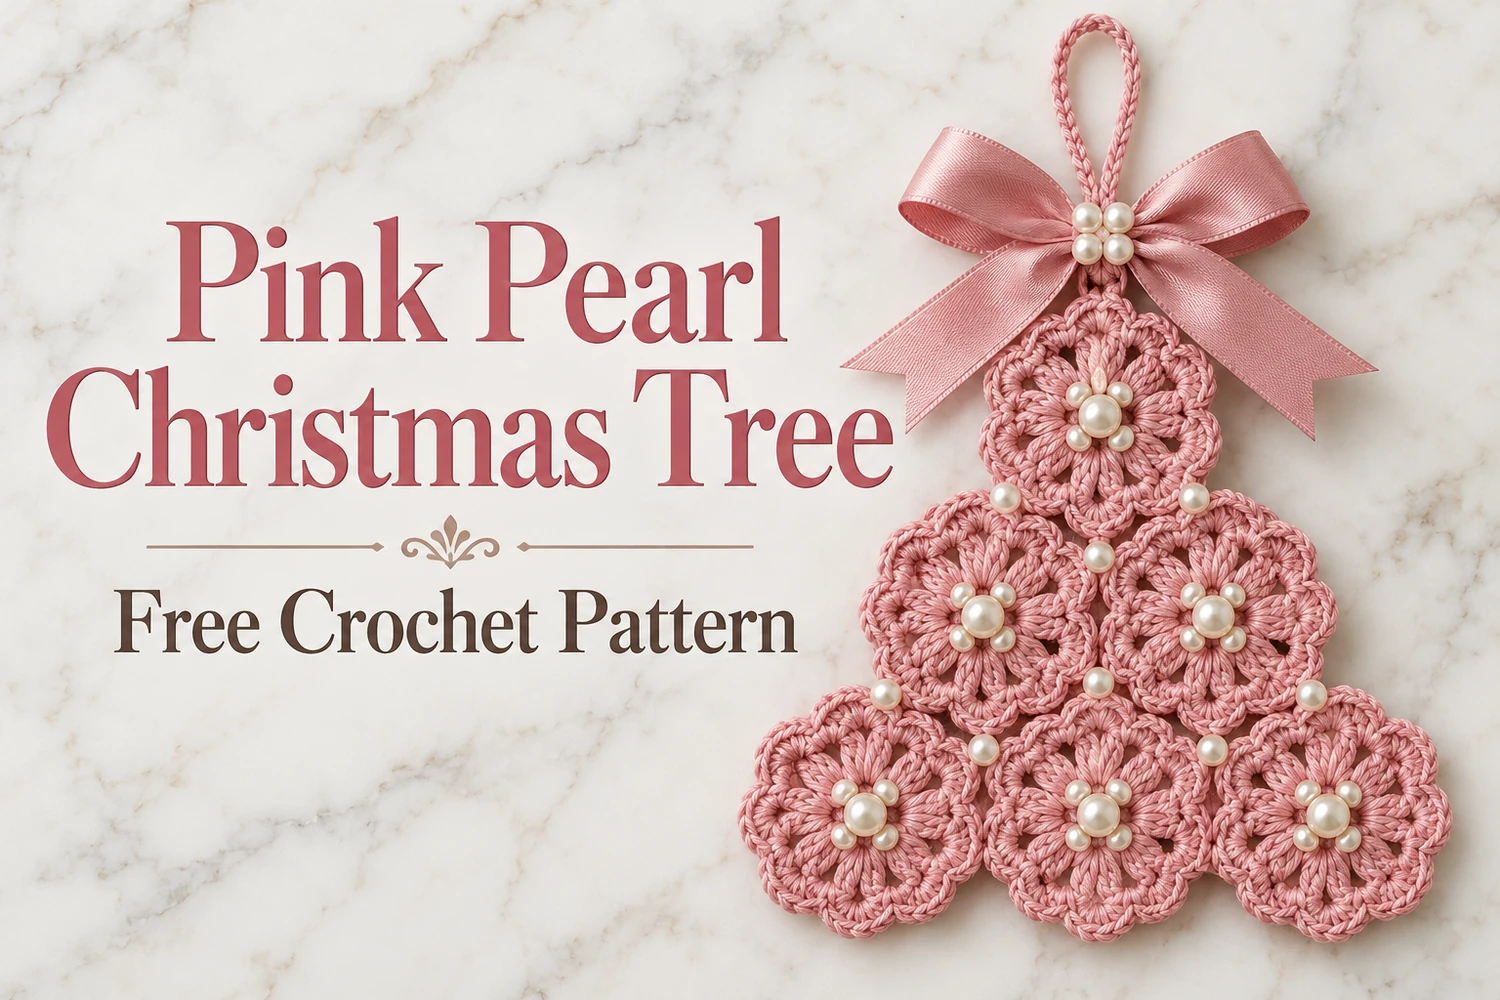
This Pink Pearl Christmas Tree Crochet Pattern makes a soft dusty-rose Christmas ornament with scalloped shell motifs, small ivory pearls, and a satin bow at its tip. The flat triangular arrangement follows the layered shell look of the reference without adding a trunk or star.
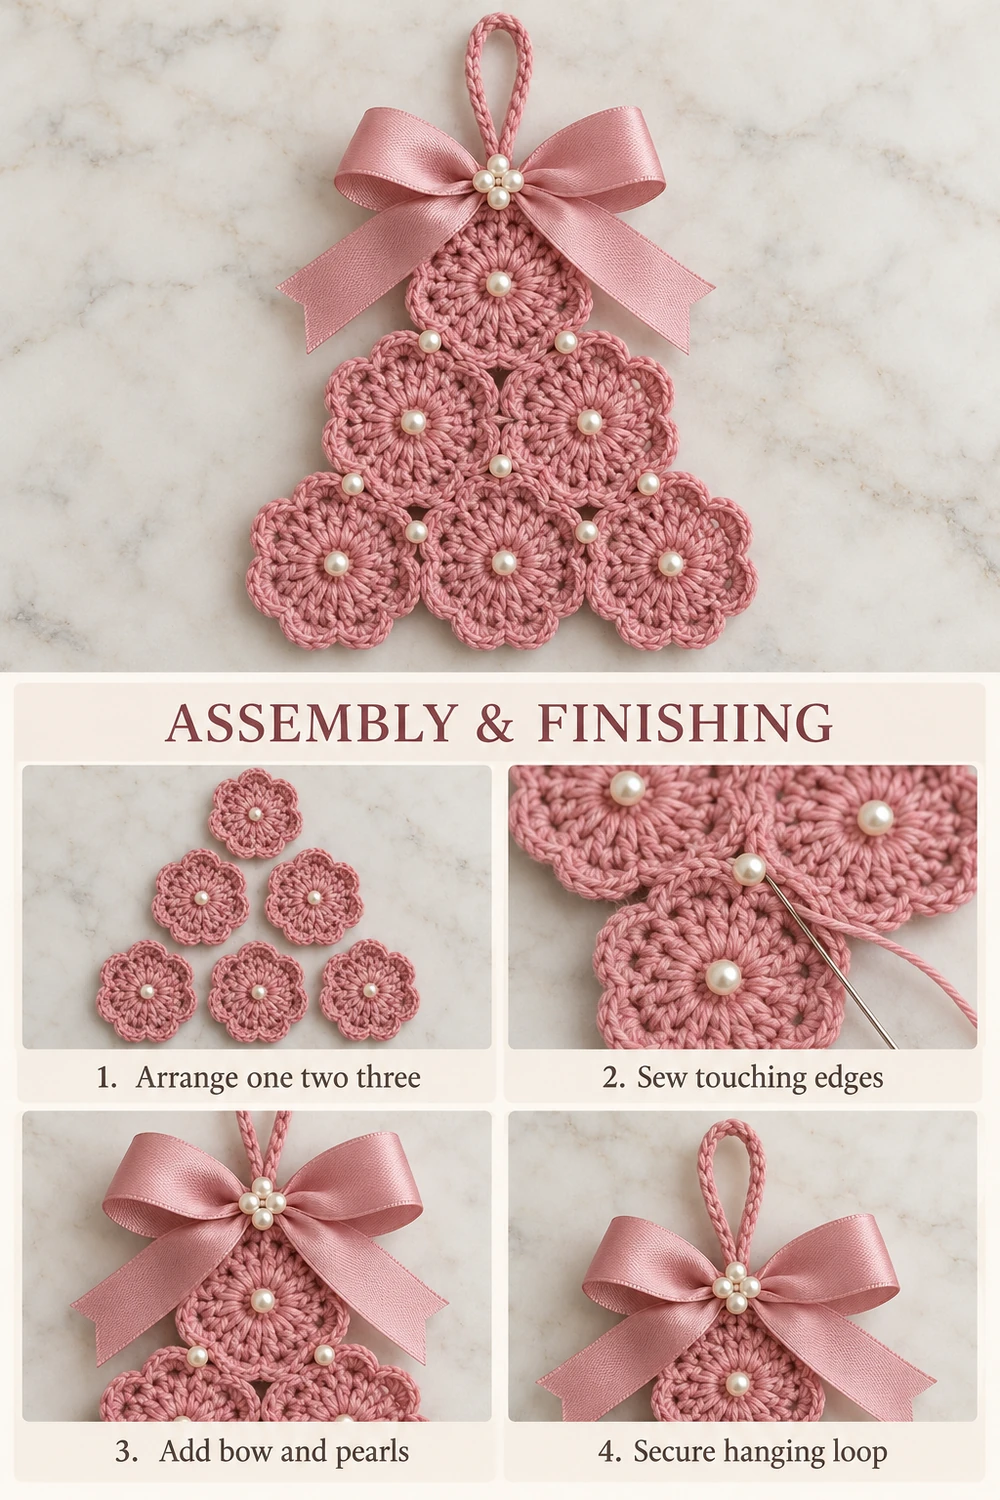
Make six matching rosettes and arrange them in three rows: one at the top, two in the middle, and three at the bottom. Sew their touching scalloped edges securely, then add the hanging loop, pink satin bow, and pearl details.
Pattern Information
- Skill level: confident beginner to intermediate; joined rounds, shells, and motif assembly.
- Estimated size: 13–17 cm high excluding the loop with DK cotton; tension and motif overlap affect size.
- Construction: six flat six-shell rosettes sewn in a 1–2–3 triangle. No stuffing.
- Colors and trim: dusty rose cotton, a matching satin ribbon, and ivory pearls.
This is an image-inspired adaptation in US crochet terms. Stitch and repeat counts have been reviewed, but the design has not been physically crocheted or independently tested. Follow the written pattern for construction; photographs illustrate the intended appearance.
Materials
- DK dusty-rose cotton, approximately 30–40 g.
- 2.5–3 mm hook, tapestry needle, scissors, pins, and a blocking mat.
- Approximately 25–35 cm of dusty-pink satin ribbon, 12–20 mm wide; adjust the bow to the tree size.
- Six small ivory pearls for motif centers, optional extra small pearls at joins, and three or four tiny pearls for the bow knot.
- Strong sewing thread and a fine needle suitable for the beads.
Abbreviations and Notes
- MR: magic ring; ch: chain; sl st: slip stitch; sc: single crochet; dc: double crochet.
- Shell: 5 dc in one stitch.
- The starting ch 3 of the motif counts as the first dc.
- Joining slip stitches do not add to the foundation round count.
- Each motif is made in joined rounds without turning. Make all six with the same yarn and tension.
Pink Pearl Christmas Tree Crochet Pattern
1. Rosette Foundation — Make Six
Round 1: make a MR, ch 3, then 11 dc into the ring. Join with a sl st to the top of the starting ch 3 [12 dc]. Close the ring gently, leaving only a small center hole. Keep a starting tail for securing the ring.
Mark the starting dc if needed. The 12 dc provide alternating shell bases and slip-stitch valleys in the next round. A joining stitch is not a thirteenth dc.
2. Six Scalloped Shells
Round 2: from the joined first dc, repeat (5 dc in the next dc, sl st in the next dc) six times around. The last sl st returns to the first dc of Round 1 [30 dc in six shells and six slip-stitch valleys]. Fasten off with a long sewing tail.
The shell bases are the even-numbered dc of Round 1: 2, 4, 6, 8, 10, and 12. The valleys are the following odd-numbered dc, ending at stitch 1. Do not put five dc into every foundation stitch, which would double the shell count and make the motif ruffle.
Make six identical rosettes. Thread the beginning tail around the center ring once more and secure it on the back. Leave the outer tails for sewing. Each rosette remains flat and unstuffed.
3. Block and Arrange the Triangle
Dampen the rosettes, spread the six shells of each evenly, and pin them flat. Let them dry fully. Do not stretch a single shell much farther than its neighbors.
Lay the six pieces on a flat surface with their right sides up. Place one rosette at the top. Place two beneath it so the upper sides of both touch the lower sides of the top rosette. Place three beneath those two, with their upper scallops touching the row above. Keep the lower row level and the outside outline triangular.
Turn individual rosettes slightly until the scallops nest together. A small overlap at a join is fine, but keep the center rings visible. The three rosettes along the bottom should form three rounded lower lobes, like the reference. Pin the whole arrangement before sewing.
4. Sew the Motifs Together
Use the long pink tails or a new strand of matching cotton. At each place where two motifs touch, sew through two or three dense dc tops from each motif, making several small passes across a short section of the shell. Work on the back to hide the seam.
First join the two middle rosettes to each other, then attach the top rosette to both of them. Join the three bottom rosettes to their neighbors, then connect that row to the middle pair at every natural touching point. Add a discreet second tack near each join if a motif can rotate.
The seams must support the entire lower row when the tree hangs. Avoid relying on a single chain or one pearl thread to hold two rosettes together. Keep all open center holes and the visible outer scallops clear. Weave the sewing tails through dense stitches on the back.
5. Reinforced Pink Hanging Loop
Ch 25 with pink, then sl st in the second chain from the hook and each remaining chain [24 sl st]. Fasten off with long tails. This makes a narrow reinforced cord. Fold it into a loop and sew both ends behind the top rosette, catching several dc tops near its upper shell.
Make at least four passes through different dense stitches, then hide the ends on the back. Hold the tree by the loop and adjust any uneven motif seams before attaching the trim. The bow will conceal the front of the loop attachment, but it should not be the structural support.
6. Satin Bow
Cut a length of matching pink satin ribbon and tie a bow with two balanced loops and two tails. Place it across the top rosette, just below the hanging loop, with the tails falling diagonally over the upper sides of the tree.
Sew through the bow knot and several dense crochet stitches with matching sewing thread. Add tiny hidden stitches beneath the ribbon loops if they flop over the face of the tree. Trim the tails neatly. Check the ribbon manufacturer’s care instructions before applying any optional anti-fray product.
7. Ivory Pearl Details
Sew one ivory pearl over the center of each rosette, using several passes of strong thread through dense crochet beside the center ring. Add a few smaller pearls at motif joins if desired, keeping the placement balanced on both sides.
Sew three or four tiny pearls over the bow knot in a compact cluster. Secure each pearl separately, knot the thread on the back, and bury the end. Do not use the decorative pearls as the only connection between crochet motifs.
For a fully yarn-based version, embroider cream knots at the motif centers and leave the bow knot plain. The beaded version is a display ornament with small parts and a long hanging loop; keep it away from young children and pets.
Finishing and Care
Lay the completed tree flat, check the triangle shape, and smooth the ribbon tails. If needed, dampen only the crochet and reshape gently, keeping the satin and pearls as dry as practical. Allow it to dry completely before hanging.
Spot-clean gently and follow the ribbon care label. Store flat with tissue supporting the satin loops, so the bow keeps its shape and the shell edges do not catch on other decorations.
Questions and Tips
Can I make it in cream or red? Yes. Keep all six motifs the same size and use coordinating ribbon. The dusty-rose version follows the supplied reference.
Why is my tree twisting? Block all motifs before sewing and add a second small tack at any connection that rotates. Center the loop over the top rosette rather than attaching it to one side.
Can I add more rows of motifs? You can experiment with a larger triangle, but additional weight needs more seams and a stronger suspension. This pattern covers the six-motif version.
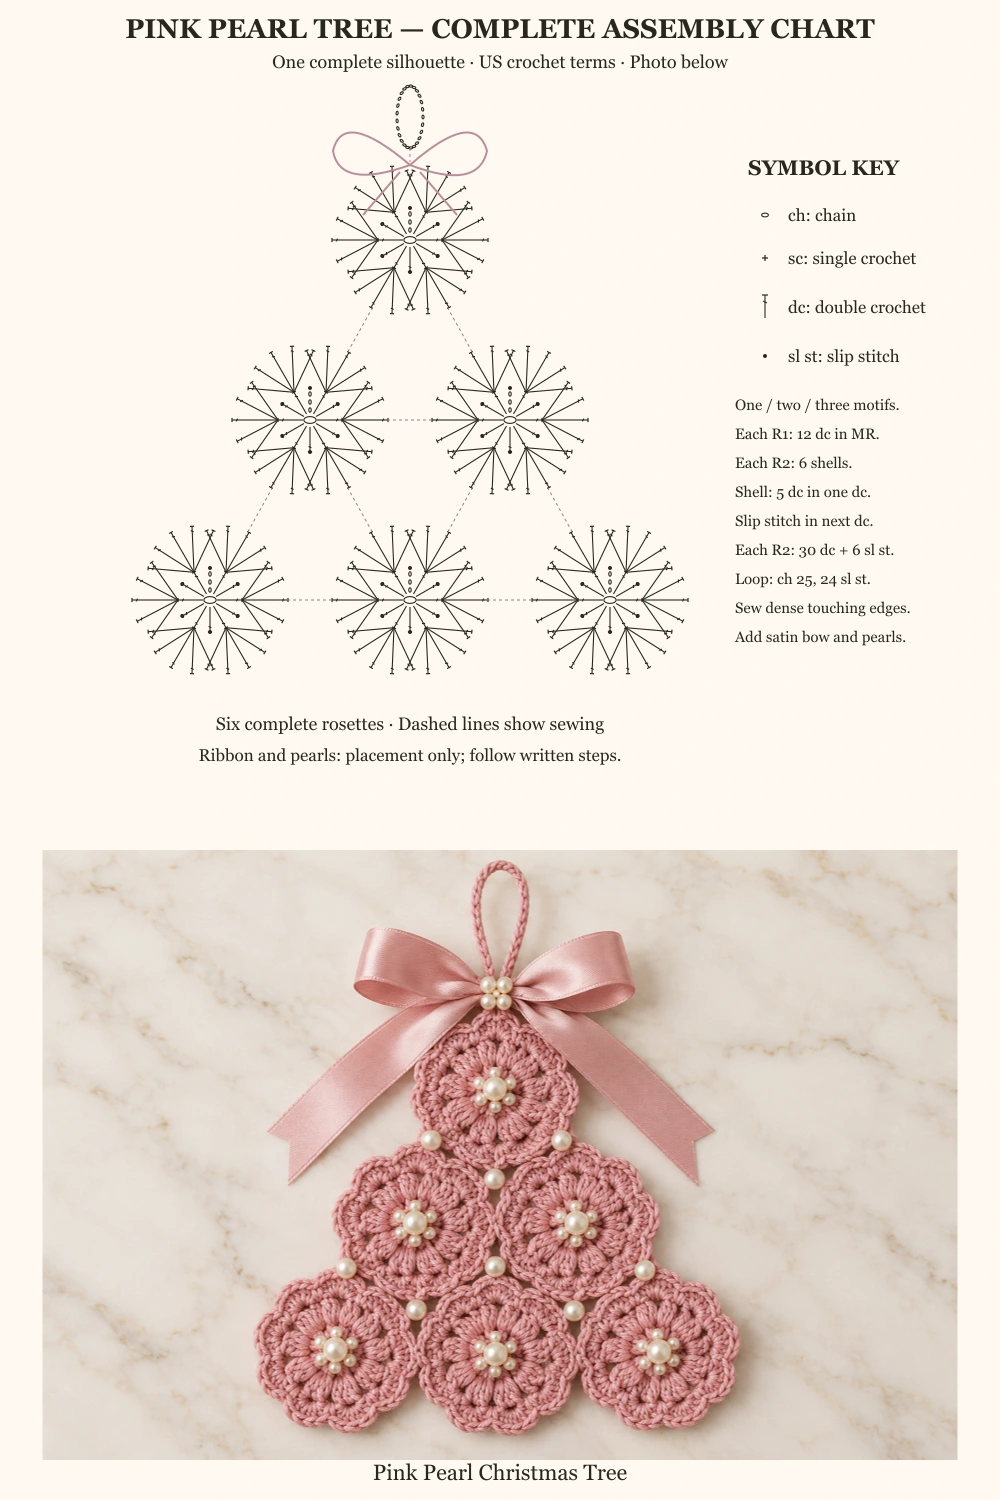
Complete Tree Assembly Chart
One tree-shaped chart shows all six complete rosettes in their 1–2–3 arrangement, with dashed sewing connections, the loop, and the bow position. Every motif contains the 12-dc foundation and six five-dc shells. The finished tree photograph is below the chart. Pearls and ribbon outlines indicate placement rather than crochet stitches.
More Free Christmas Crochet Patterns
Save This Pattern
Save this Pink Pearl Christmas Tree Crochet Pattern for your handmade holiday decorations. Happy crocheting from Lovely Amigurumi!
Photo Tutorials, Crochet Chart, and Pinterest Gallery
The two photo tutorials and the single-chart-above-photo guide appear first, followed by three Pinterest images. All six images are grouped here at the end.