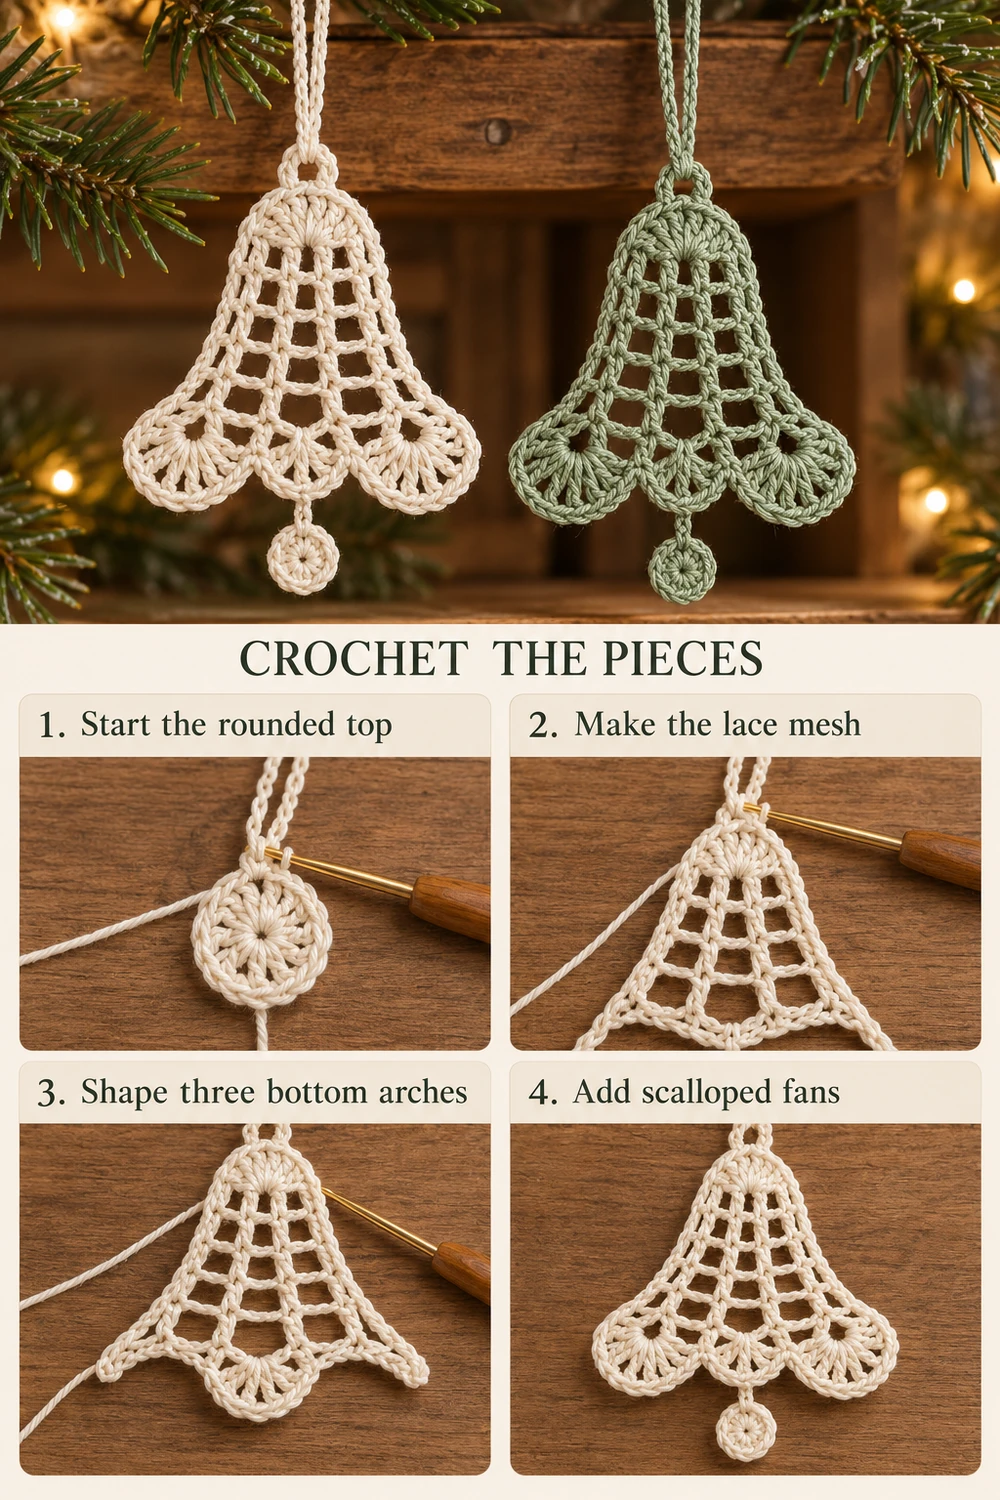
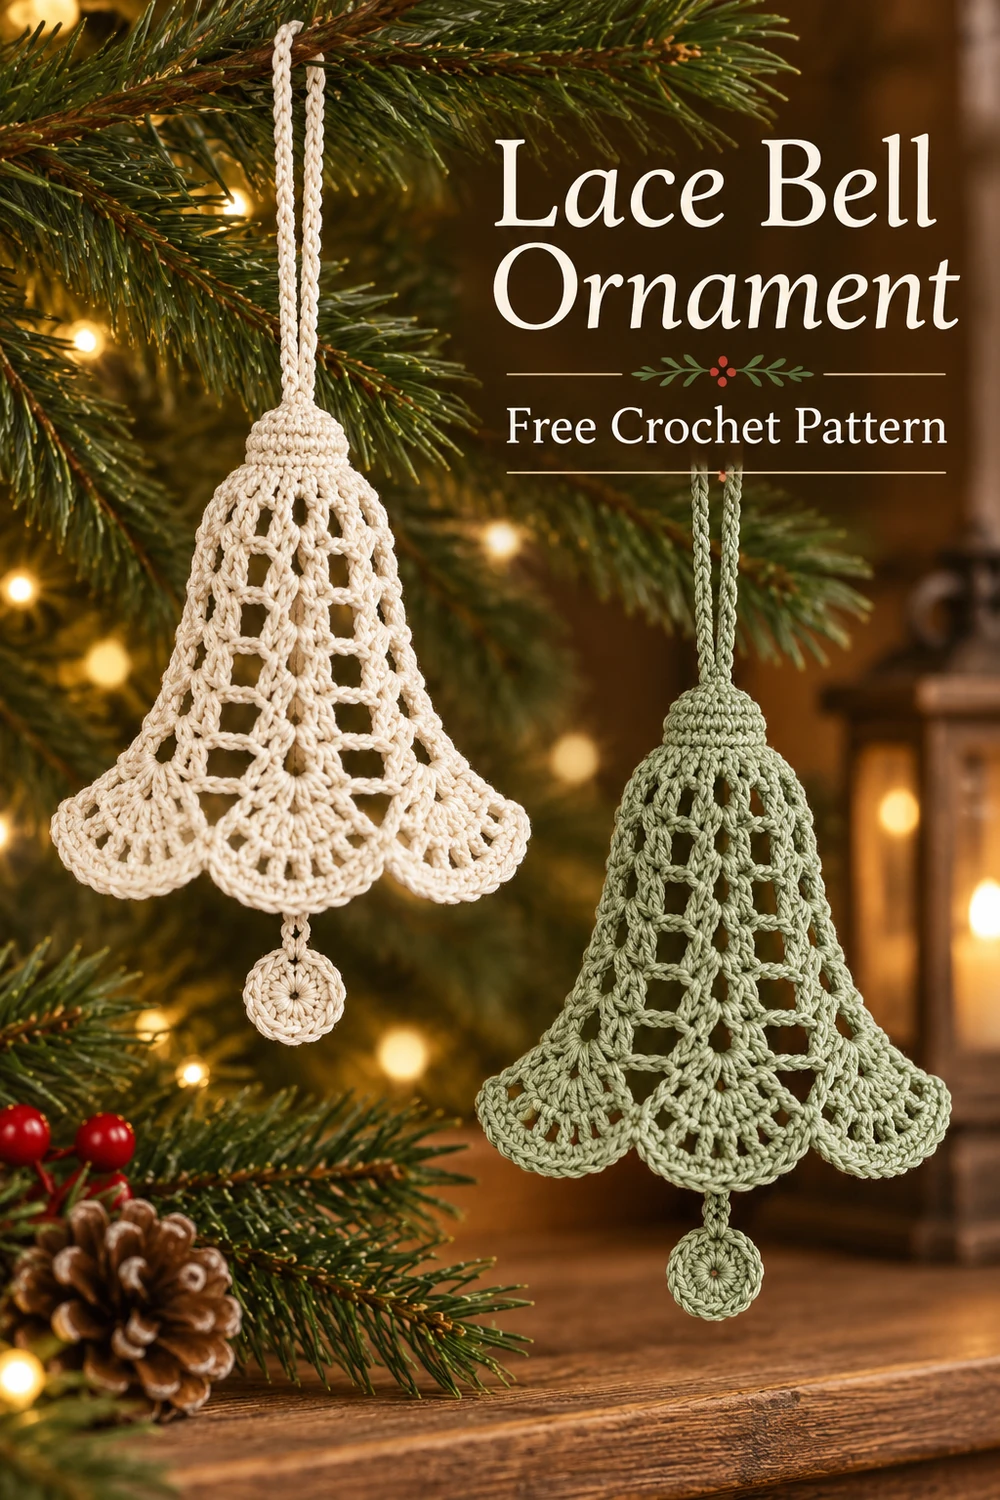
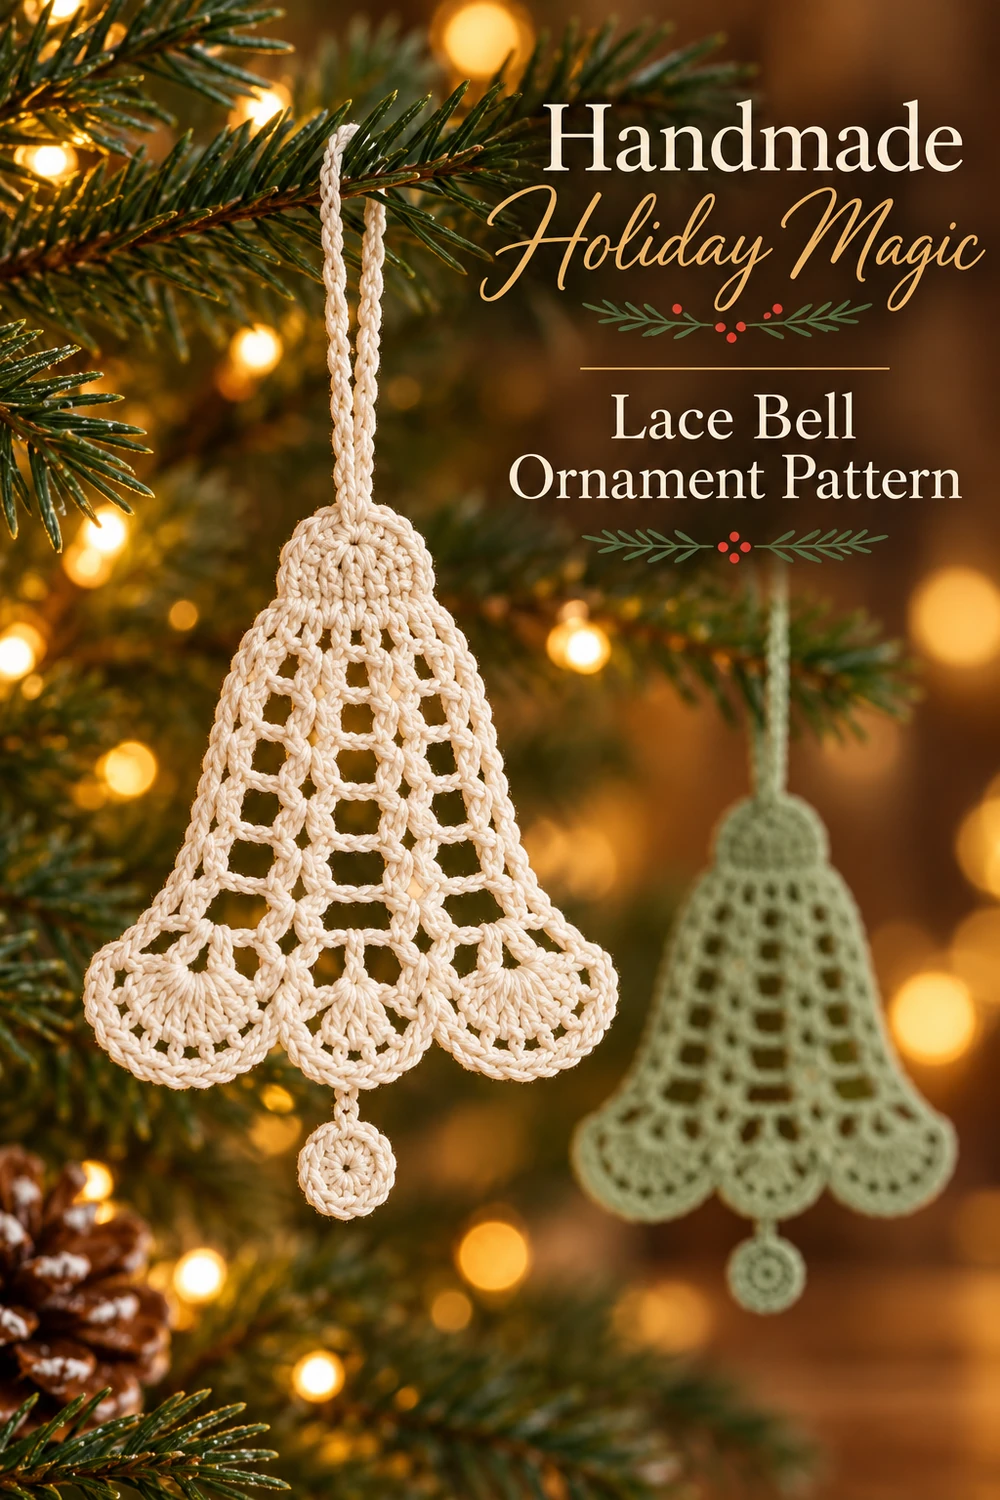
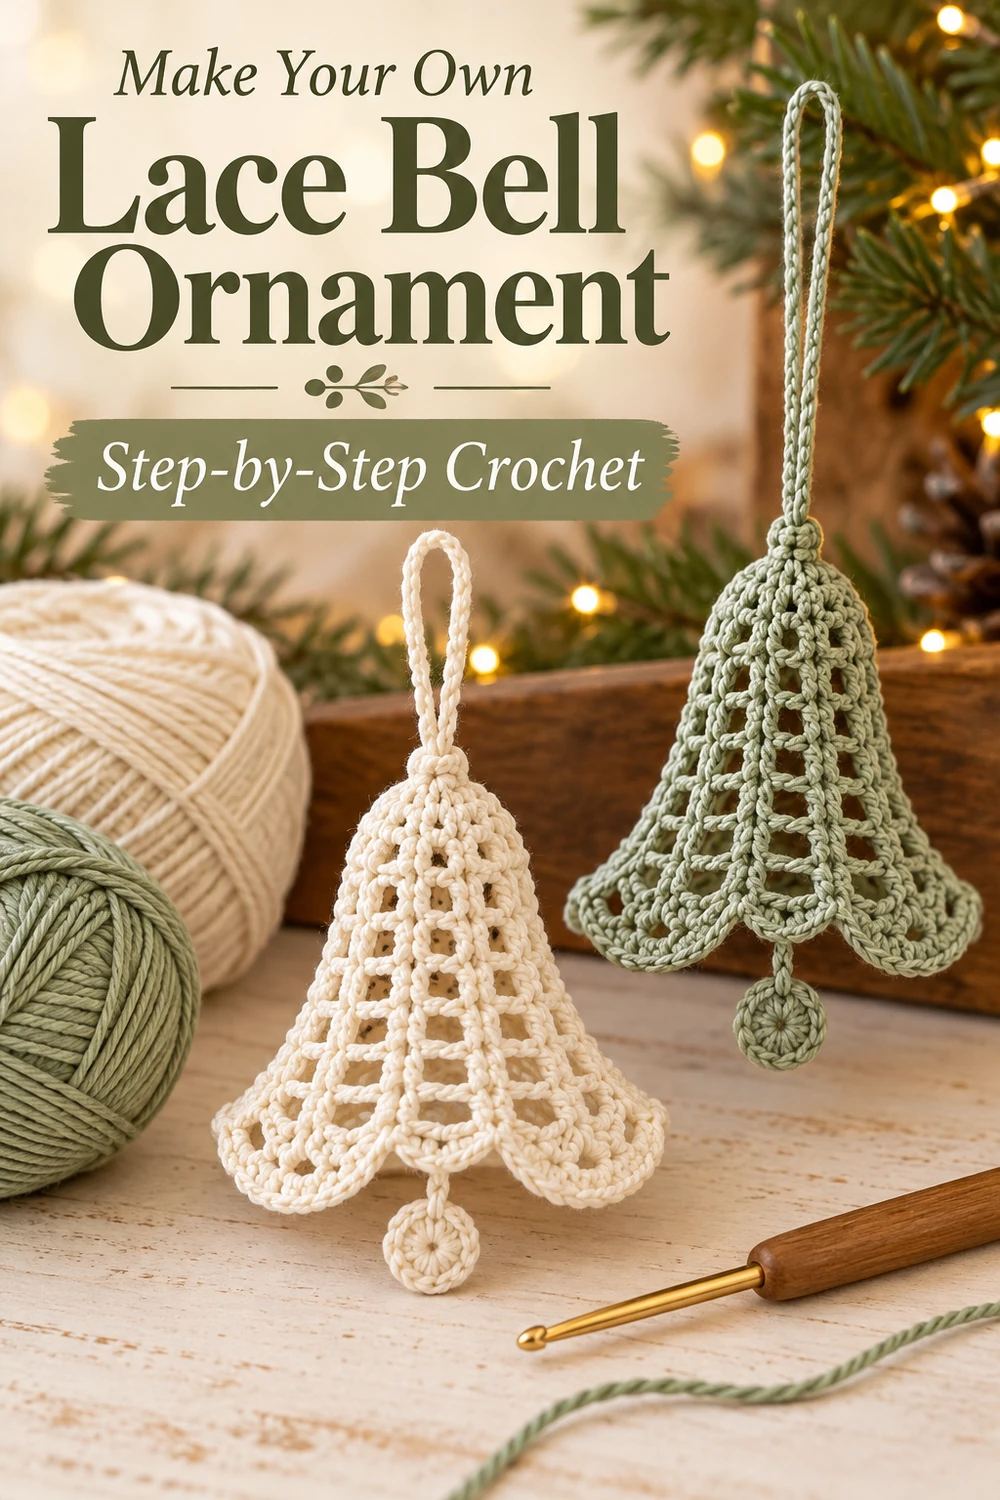
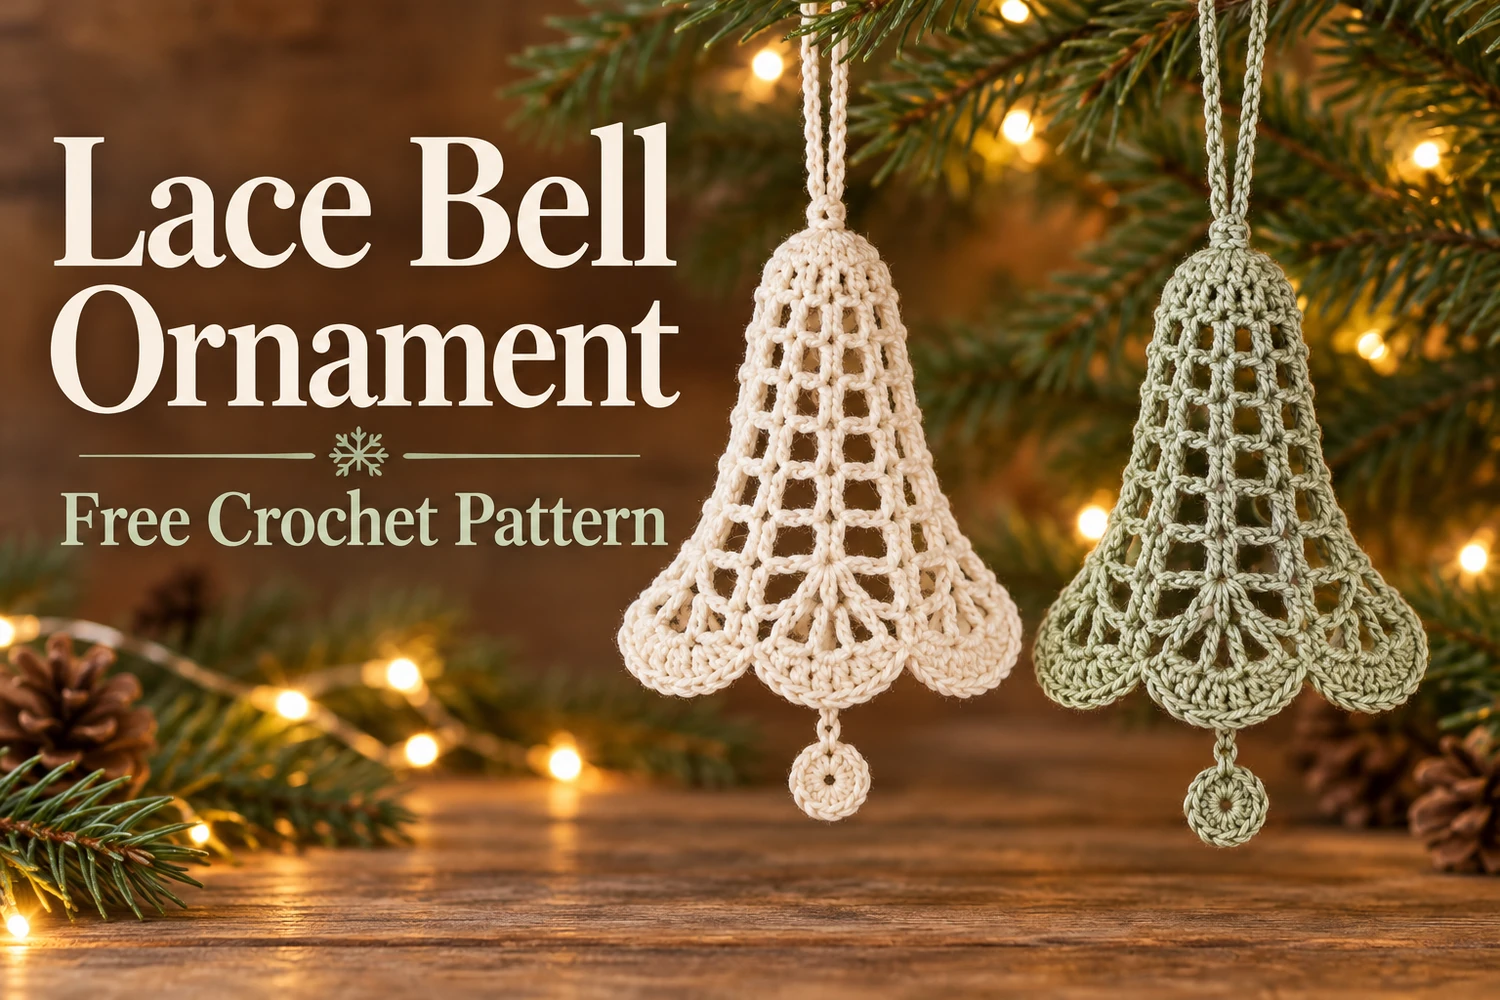
This Lace Bell Ornament Crochet Pattern makes a delicate flat Christmas bell with a rounded top, open mesh sides, three scalloped fans along its flared lower edge, and a small crochet clapper. Ivory and muted sage cotton follow the soft natural colors in the reference.
The bell is worked from its rounded top downward in turned rows. A simple lace mesh forms the middle, then three chain arches support the flared fans. Make the clapper separately and add a matching chain loop for hanging.
Pattern Information
- Skill level: intermediate beginner; turned lace rows and shell fans.
- Estimated height: 13–17 cm excluding the loop in sport cotton with a 2.5 mm hook; size depends on tension.
- Construction: one flat bell body, one small flat clapper, and chain attachments. No stuffing.
- Colors: ivory or muted sage; make one bell in each color if desired.
This is an image-inspired adaptation in US crochet terms. Stitch and repeat counts have been reviewed, but the design has not been physically crocheted or independently tested. Follow the written pattern for construction; photographs illustrate the intended appearance.
Materials
- Sport-weight cotton, approximately 15–20 g per bell.
- 2–2.5 mm crochet hook matched to the cotton.
- Tapestry needle, scissors, stitch markers, blocking mat, and rustproof pins.
- Optional fabric stiffener suitable for the chosen yarn.
Stitches and Notes
- ch: chain; sl st: slip stitch; sc: single crochet; dc: double crochet.
- MR: magic ring; inc: 2 sc in one stitch.
- Starting ch 3 counts as the first dc in dc rows. Starting ch 1 does not count.
- Turn at the end of each body row. Work into dc tops unless a chain space is named.
- Do not join the first row ends into a full circle; the top is a semicircle.
Lace Bell Ornament Crochet Pattern
1. Rounded Bell Top
Row 1: ch 3 and 6 dc into a MR [7 dc including the starting chain]. Tighten the ring gently so the stitches form a semicircle. Turn without joining the row ends.
Row 2: ch 3, dc in the same first stitch, dc in each of the next 5 stitches, 2 dc in the last stitch [9 dc]. The last stitch is the top of the previous starting ch 3. Turn.
2. Open Mesh Body
Row 3: ch 3, then repeat (ch 1, dc in the next dc) eight times [9 dc and eight ch-1 spaces]. Turn. The starting ch 3 is your first dc, so do not add a second dc into that first stitch.
Rows 4–5: ch 3; repeat (ch 1, dc in the next dc) eight times, passing over each previous ch-1 space without working into it [9 dc and eight ch-1 spaces in each row]. Turn after each row.
Keep the nine upright dc columns lined up. The chain spaces make the airy middle of the bell. If you prefer a taller bell, add one more mesh row with the same nine dc and eight spaces; the remaining counts stay the same.
3. Three Lower Arches
Row 6: ch 1 and sc in the first dc. Ch 4; pass over the next two dc and all intervening chain spaces, then sc in the fourth dc of the previous row. Ch 4 and sc in the seventh dc. Ch 4 and sc in the ninth dc, which is the top of the previous starting chain [4 sc and three ch-4 arches]. Turn.
The three spans are between dc columns 1–4, 4–7, and 7–9. The last span is slightly shorter in the base but uses the same chain length; adjust it gently during blocking so the three fans hang evenly. Work the arches loosely enough to support the lower flare.
4. Scalloped Bell Edge
Row 7: sl st in the first sc. Repeat (9 dc into the next ch-4 arch, sl st in the next sc) three times [27 dc in three fans and four slip-stitch anchors, counting the starting anchor]. Fasten off with a long tail.
The nine dc in each arch spread into a rounded lobe. Keep the slip-stitch anchors relaxed; pulling them tight can fold one fan behind another. The middle fan becomes the lowest point of the bell.
5. Side Edges
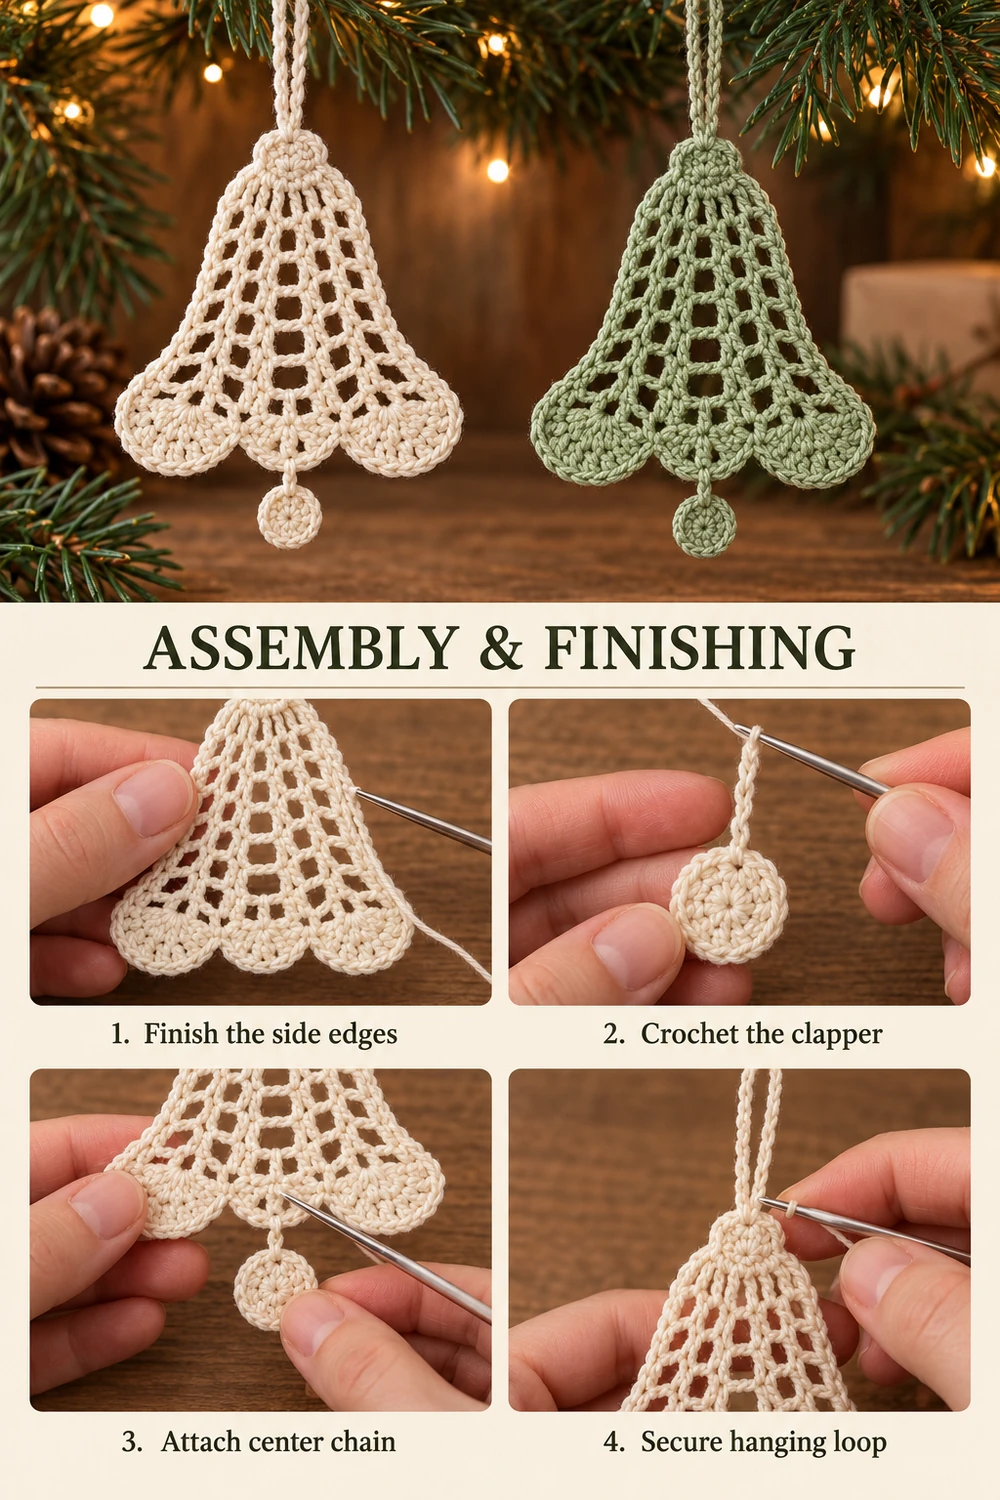
Join matching cotton at the top neck point. Work down one sloping side, placing approximately 2 sc around each dc-row end of Rows 1–5, then 1 sc around the Row 6 end. Stop at the first lower fan. Fasten off. Repeat on the other side with similar tension.
These side stitches tidy and stabilize the outline; they do not run across or replace the three lower fans. A side with five dc-row ends and one sc-row end receives about 11 sc. Adjust only if your row ends need it to lie flat, and keep both sides balanced.
6. Flat Crochet Clapper
Make a small circle with the same cotton: R1, 6 sc in MR [6]; R2, inc × 6 [12]. Sl st into the next stitch and fasten off. Leave a sewing tail. This little clapper stays flat rather than becoming a stuffed ball.
Ch 6 with a separate strand, leaving long tails. Sew one end to several stitches on the back of the middle fan, directly behind its fifth dc. Sew the other end to the upper edge of the clapper circle. Leave a short visible chain between the fan and the circle. Take several sewing passes at both ends so the clapper hangs straight.
7. Hanging Loop
Ch 35, or adjust the loop length for your display. Fasten off with long tails, fold the chain, and sew both ends to the back of the rounded top, catching several Row 1 stitches and the closed MR area. Make at least four passes in different directions.
Do not attach the loop only to an open mesh space. Lift the bell gently and check the balance before weaving in the tails. The clapper should hang below the center and the three scallops should spread evenly.
Blocking and Care
Dampen the bell body and pin the rounded crown, straight mesh sides, and three lower lobes. Open each chain space gently while keeping the dc columns upright. Block the clapper separately. Allow both pieces to dry completely before attaching the chains.
For a firmer ornament, test a little fabric stiffener on a yarn sample and follow its label. Keep the lace open rather than filling the holes. Spot-clean gently and dry flat. Store between tissue to protect the fan edges. This is a display decoration with hanging cords; keep it away from young children and pets.
Questions and Tips
Why is my bell curling? Check the counts in the mesh rows and loosen the slip-stitch fan anchors. A matched hook and gentle blocking help the piece remain flat.
Can I use thicker cotton? Yes, with a matching hook. Make a small mesh sample first; thicker yarn makes a larger, heavier ornament and may need a stronger hanging attachment.
Does it ring? This version has a crochet clapper and is decorative. It does not contain a metal jingle bell.
Complete Bell Chart
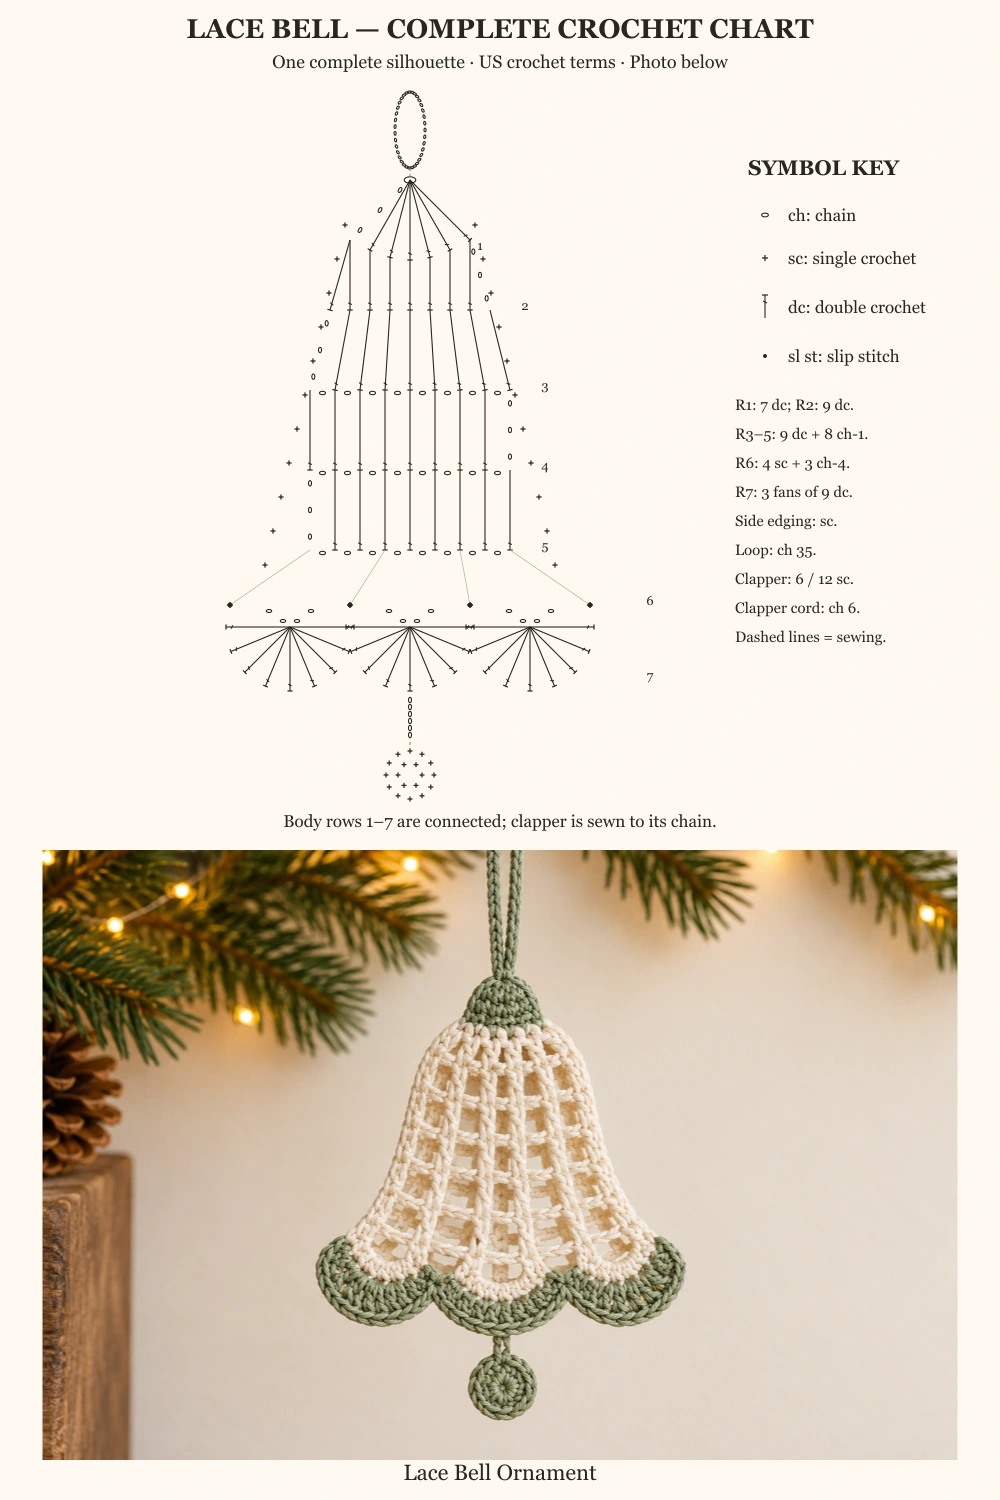
The chart image shows the entire connected bell body, its three lower fans, side edging, top loop, and the clapper attachment in one bell silhouette. The finished bell photograph is beneath the chart. The clapper is made separately in two sc rounds and sewn to its chain; dashed lines indicate sewing rather than crochet stitches.
More Free Christmas Crochet Patterns
Save This Pattern
Save this Lace Bell Ornament Crochet Pattern for your handmade holiday decorations. Happy crocheting from Lovely Amigurumi!
Photo Tutorials, Crochet Chart, and Pinterest Gallery
The two photo tutorials and the single-chart-above-photo guide appear first, followed by three Pinterest images. All six images are grouped here at the end.