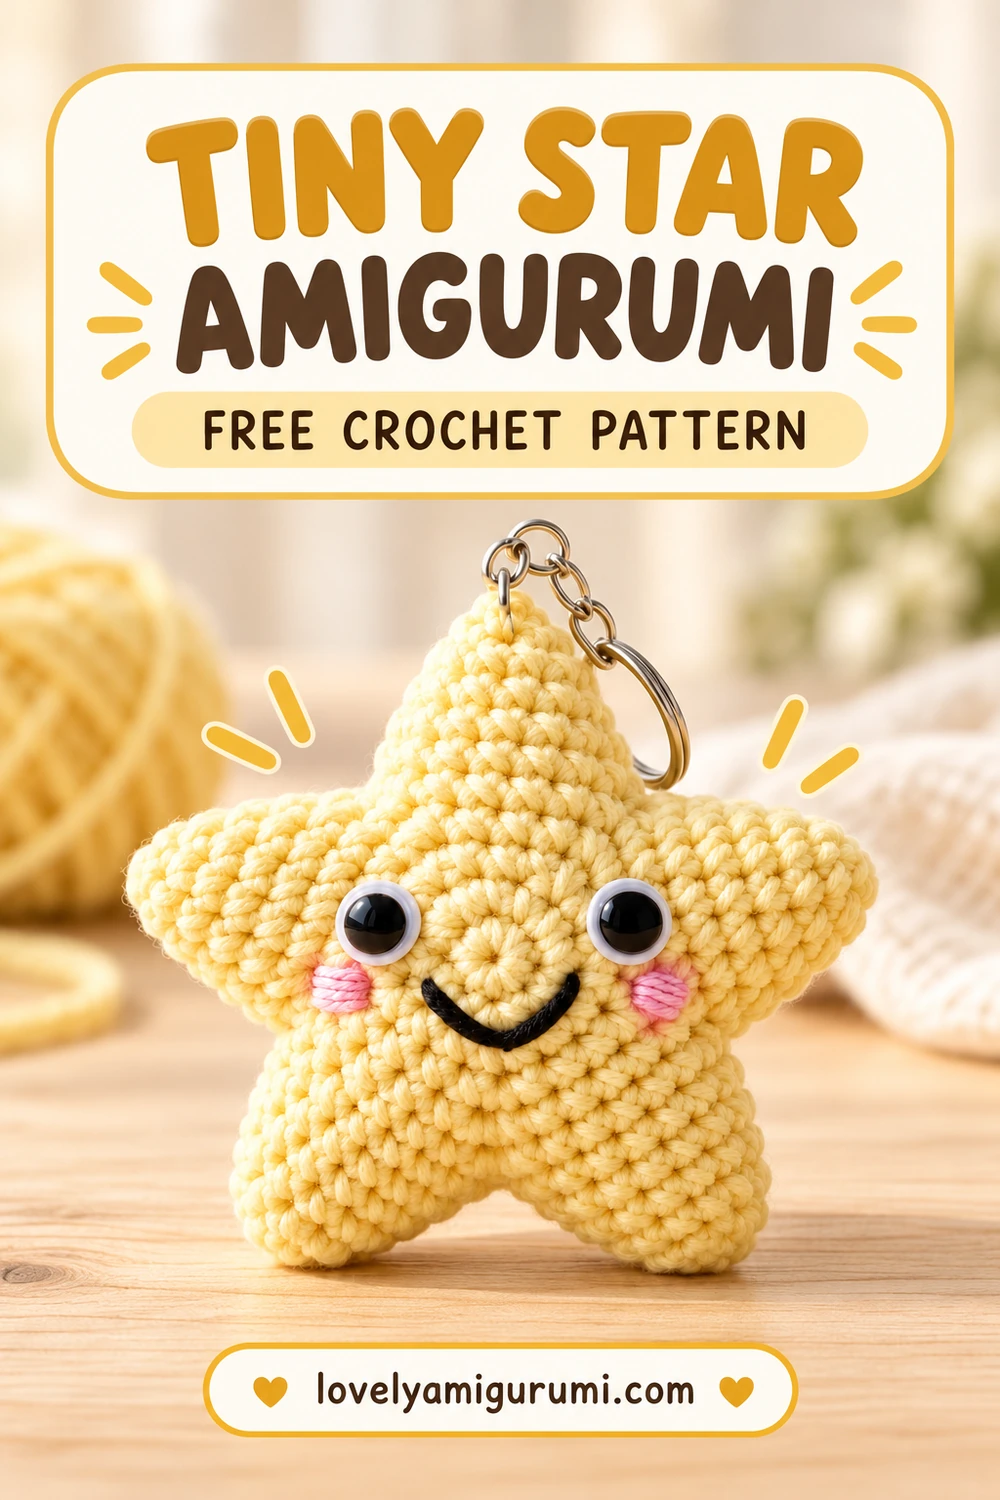
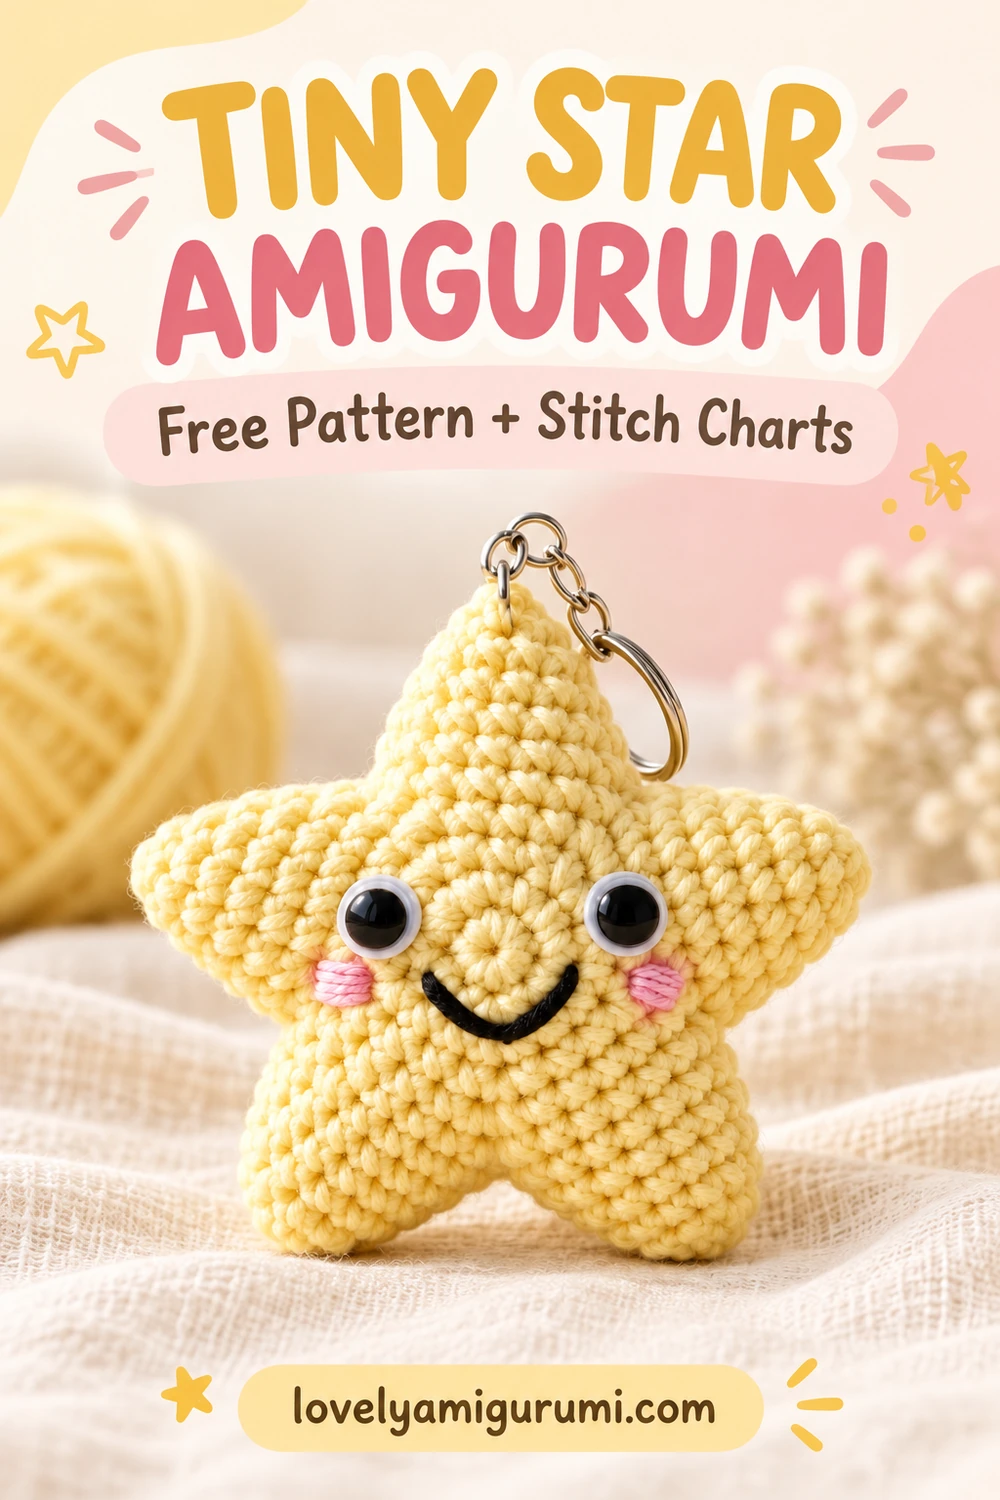
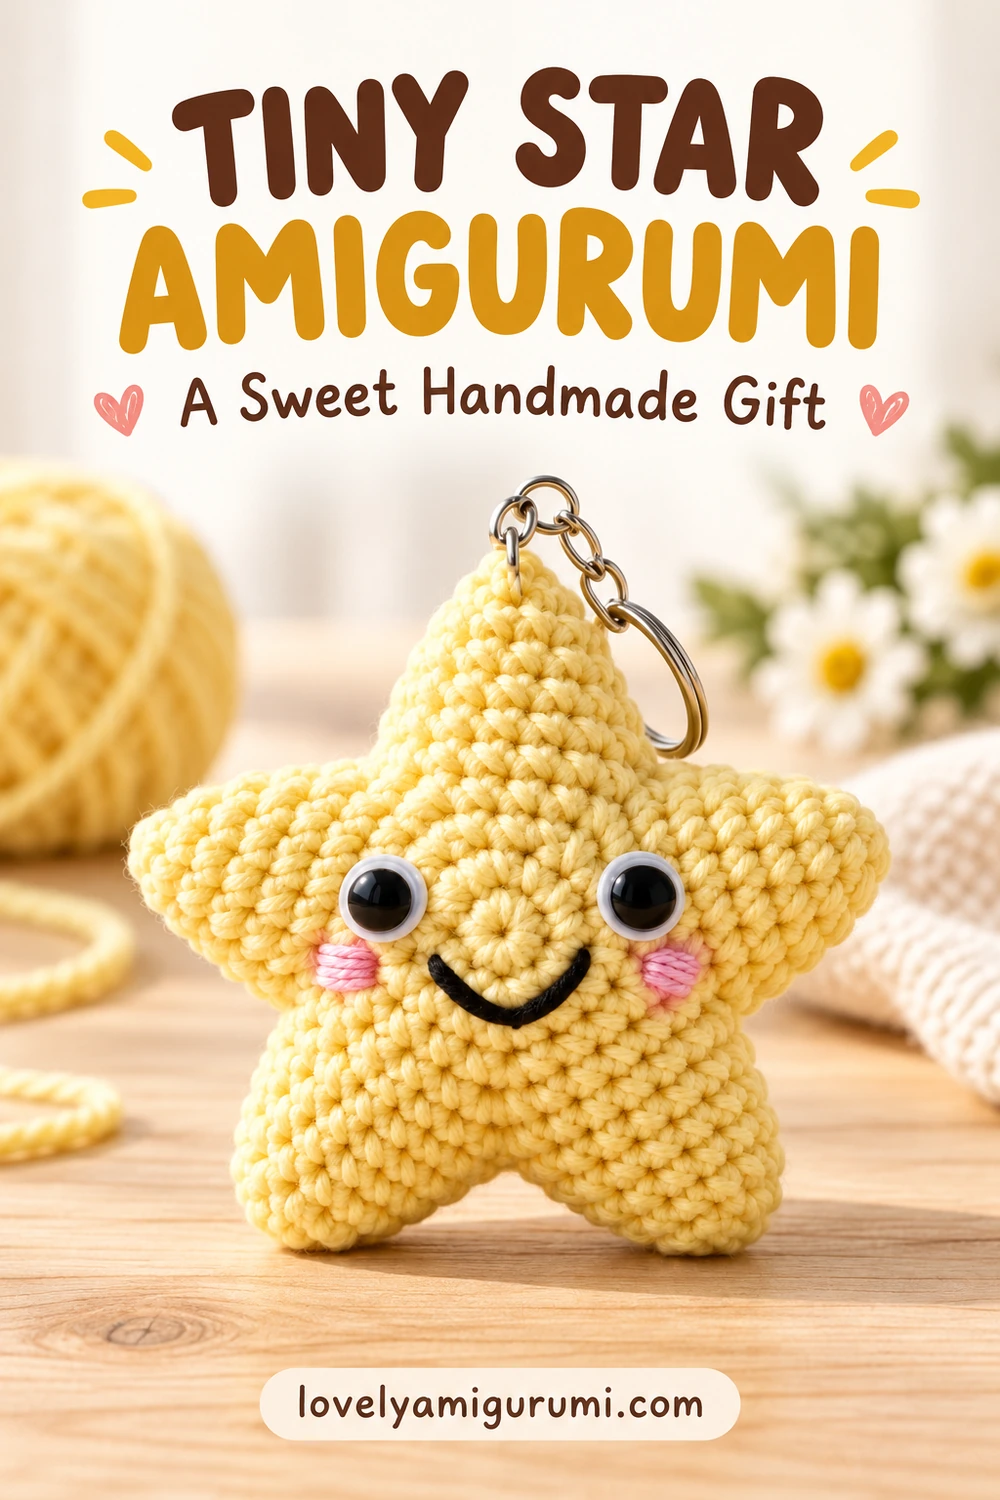
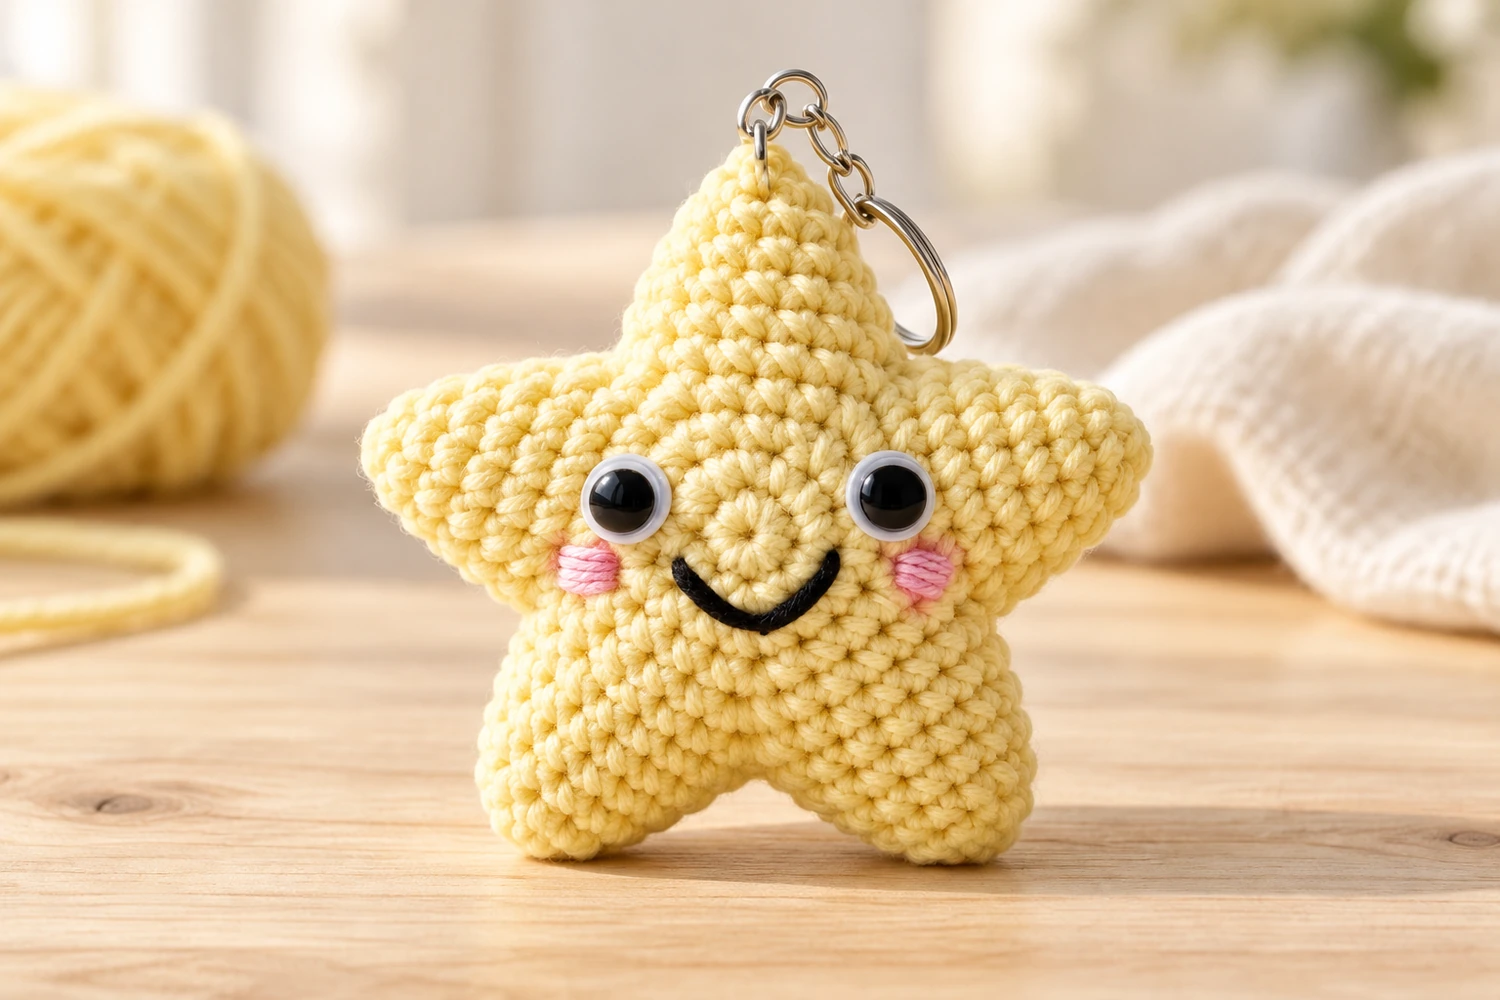
I like a little star with a clear outline: five pointed tips, a soft center and a smile that stays small enough to let the shape stand out. This tiny star amigurumi free crochet pattern uses two matching panels, each with a round center and five short triangular points. Sew the panels together with a light layer of filling, then add a hanging loop or a keychain ring.
My main suggestion is to compare the two panels before sewing. Their points should line up without stretching. More stuffing will not fix a mismatched edge; a relaxed seam and small tufts of filling help keep those five valleys visible.
Materials for the Tiny Star Amigurumi Free Crochet Pattern
- DK yarn in pale yellow, or another color you prefer. Smooth cotton or acrylic makes the small stitches easy to see.
- A 2.5–3.0 mm hook as a starting point for DK yarn. Choose the size that makes dense fabric with your tension.
- A small amount of fiberfill, stitch marker, tapestry needle, scissors and pins.
- Black embroidery thread for the smile and eyes; pink thread for blush.
- Optional: two small safety eyes, approximately 6 mm, with matching washers. Choose eyes that fit the actual panel.
- Optional: white thread to stitch a fine border around the eyes, and a keychain ring with a short chain.
Before You Begin
The center is worked in continuous rounds. The five points are worked separately in turned rows across four center stitches each. Use the same yarn and hook for both panels. The finished size varies with yarn, hook and tension; the instructions do not depend on a fixed diameter.
This tiny star amigurumi free crochet pattern suits crocheters comfortable with basic rounds, decreases and sewing. The points use sc throughout, which keeps their texture consistent with the cover. Embroider the face or fit any plastic eyes before the panels are joined.
Stitches and Abbreviations
- MR: magic ring.
- ch: chain.
- sc: single crochet: insert hook, pull up a loop, yarn over and pull through both loops.
- sl st: slip stitch.
- inc: 2 sc in one stitch.
- dec: single crochet two stitches together.
- BLO / FLO: back loop only / front loop only.
- st(s): stitch(es).
The number in brackets is the finished stitch count. A starting or turning ch 1 does not count as a stitch. For example, (2 sc, inc) × 5 means one sc in each of the next two stitches, then two sc in the following stitch, repeated five times.
Tiny Star Amigurumi Free Crochet Pattern: Center Panels
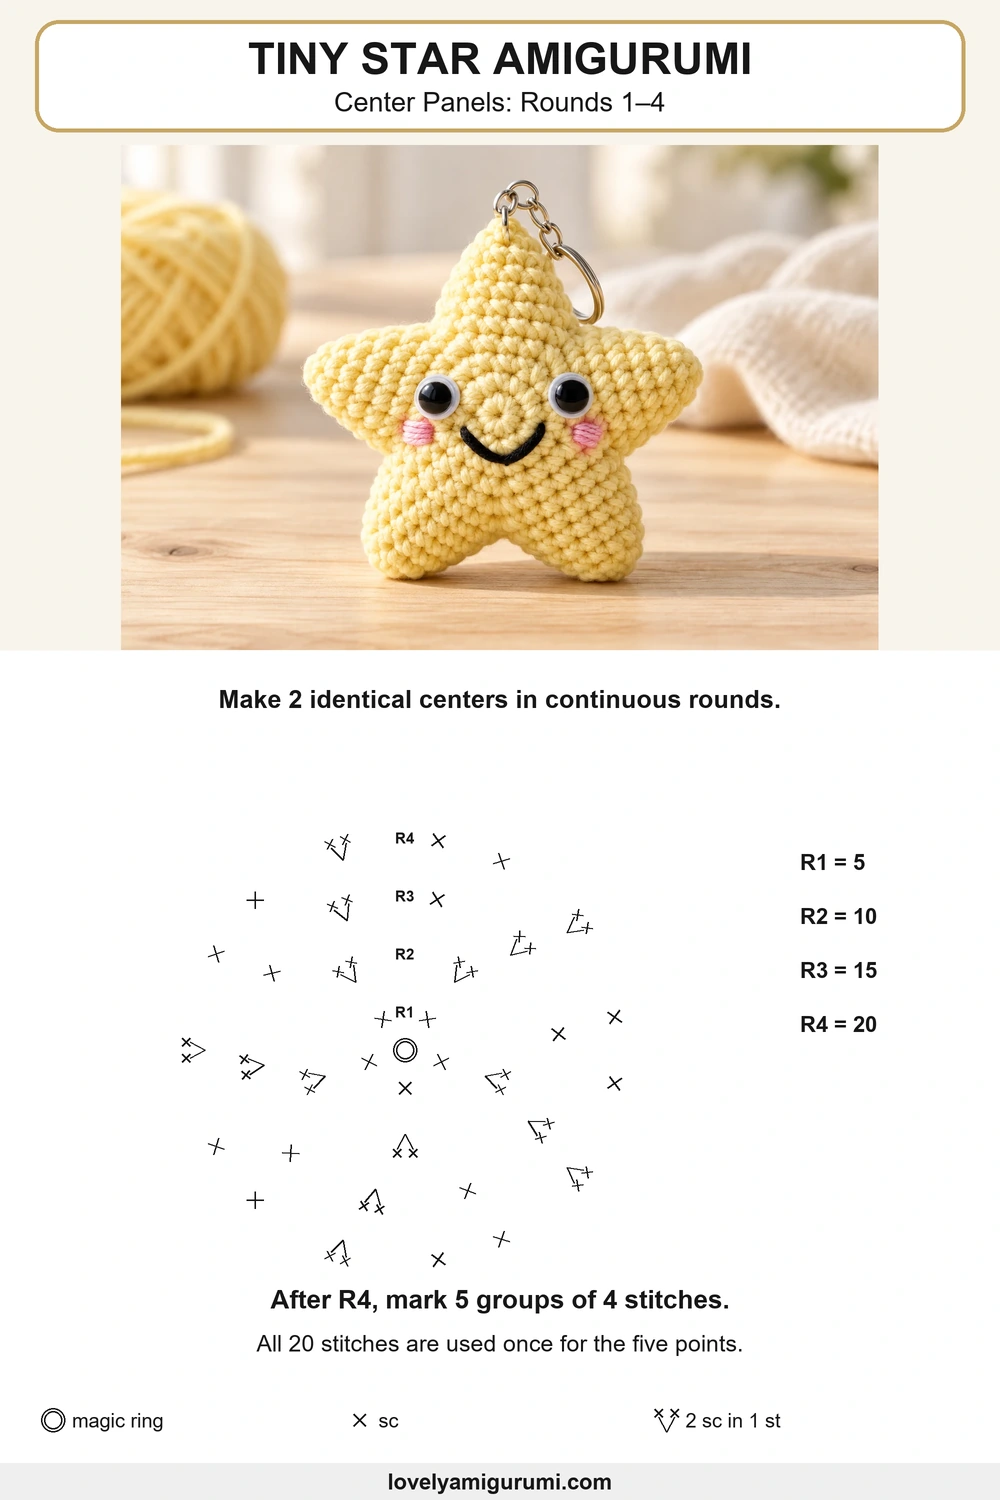
Make two identical centers. Mark the first stitch of each round and move the marker as you work; do not join these four rounds.
- Round 1: 5 sc in MR. Pull the ring closed. (5)
- Round 2: inc × 5. (10)
- Round 3: (sc, inc) × 5. (15)
- Round 4: (2 sc, inc) × 5. (20)
After Round 4, sl st in the next stitch to level the edge, then fasten off. This finishing slip stitch is not an extra stitch. Keep the twenty actual sc available for the points.
Mark the Five Point Bases
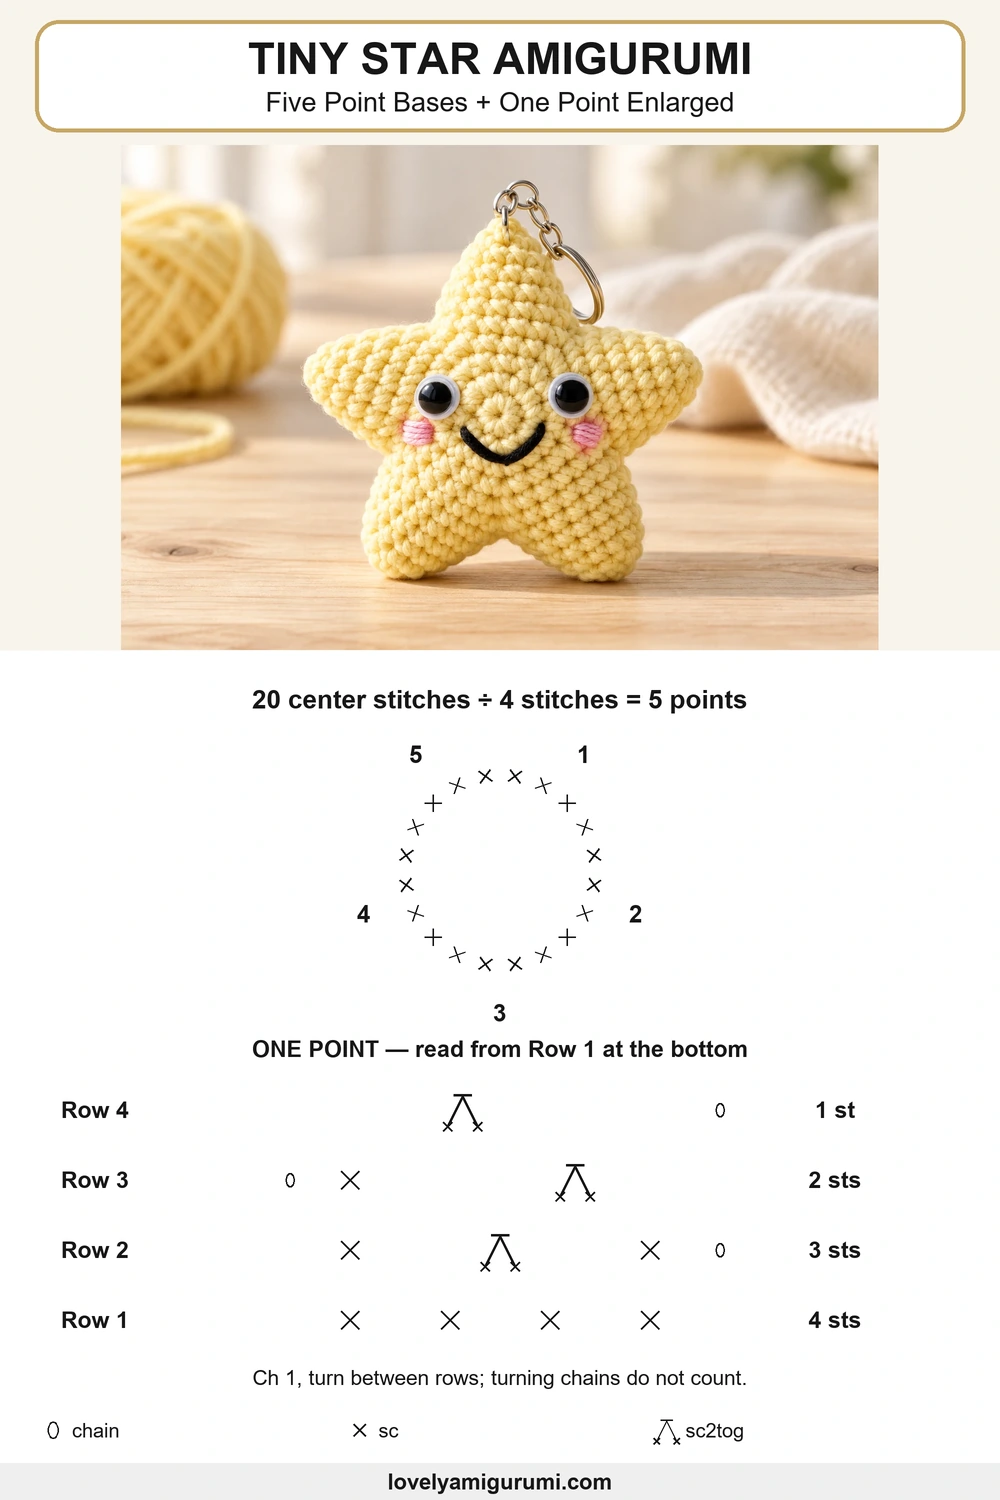
Divide the twenty stitches into five consecutive groups of four. Mark the first stitch of each group: stitches 1, 5, 9, 13 and 17. Every group becomes one point. Do not share or skip a center stitch between groups.
Triangular Points: Make Five on Each Panel
Join yellow yarn to the first stitch of a marked four-stitch group. The joining loop does not count. Work only into that group’s stitches for the first row.
- Point Row 1: ch 1, sc in each of the next four center stitches. (4)
- Point Row 2: ch 1, turn; sc, dec, sc. (3)
- Point Row 3: ch 1, turn; sc, dec. (2)
- Point Row 4: ch 1, turn; dec. (1)
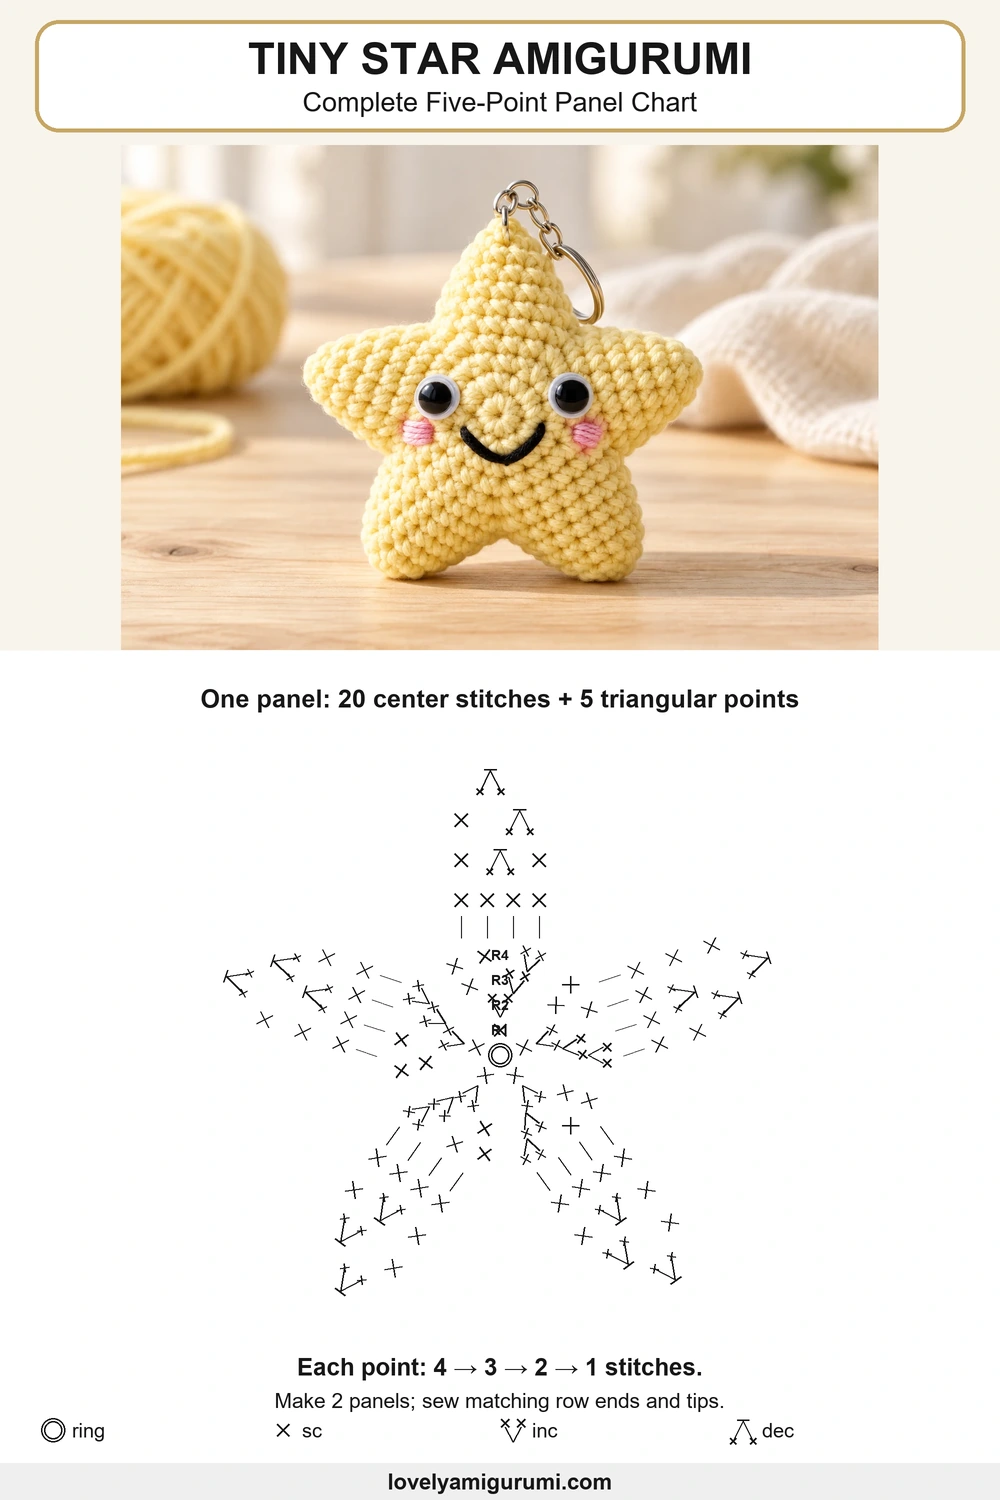
Fasten off. Repeat the same four rows on each remaining group. There are five points on each panel, with four center stitches used by every point: 5 × 4 = 20. Each point finishes with one stitch at its tip.
Weave the short tails into the wrong side. Leave a separate yellow sewing length about four times the panel perimeter for assembly; add more if your seam requires it. Lay the panels flat, rotate them until the points match, and check the five valleys. Small differences in the appearance of row ends are normal; avoid pulling the tips to make them longer.
Add the Star’s Face
Choose one panel as the front. Hold it with one point upright. Position the eyes on either side of the center ring, roughly between Rounds 2 and 3, leaving room for a small smile underneath. Mark the locations and check their spacing before sewing or locking washers in place.
Embroidered black eyes are the main option. Stitch two small filled circles; a fine white outline can give the eyes a look closer to the cover. For plastic eyes, pass the posts through the front panel and secure the matching washers on its wrong side before assembly.
Embroider a short curved black smile and two small pink blush bars beneath the outer edges of the eyes. Tie off the thread on the back and tuck the ends into the panel fabric. Keep the stitches relaxed so they do not draw the center into a hollow.
Join and Fill the Tiny Star Amigurumi
- Place the panels wrong sides together, with both right sides facing outward. Match all five tips and valleys; pin them lightly.
- Start at a valley. Whipstitch the matching row ends along one side of the next point, pass through the back loop of each panel’s single tip stitch, and sew down the other side to the next valley.
- Repeat around the star. Along the sides, the edge is made of row ends rather than a continuous round of stitches: catch one matching row end from each panel with every seam stitch. At each valley, take a small securing stitch through both layers.
- Leave one point partly open. Add small tufts of filling to the completed points, then a thin layer across the center. Support the shape without making the center a ball.
- Fill the last point lightly and finish the seam. Secure the tail and hide it inside.
There is no additional crochet border in this tiny star amigurumi free crochet pattern. Keeping the same row-end seam on both panels helps avoid an uneven ridge. Check the outline from the front as you sew.
Optional Hanging Loop or Keychain
For a hanging loop, thread a separate doubled length of yellow yarn through several stitches near the top tip, form a loop of your preferred length, and secure it with sewn passes through the fabric. Hide the ends inside.
For a keychain, use the small connector ring on a short keychain assembly. Attach it through a reinforced sewn yarn loop at the top point, rather than pulling a large split ring through one crochet stitch. Check the attachment gently before use. The photos show a keychain version; the star itself is made the same way.
How to Read the Three Star Diagrams
The first chart shows the center’s four increase rounds: 5, 10, 15 and 20 stitches. The second maps the five four-stitch groups and shows one triangular point enlarged, from Row 1 at the bottom to Row 4 at the tip. The third shows all five points around the center with sc and decrease symbols. It is a construction chart for one panel; make two and follow the written sewing instructions.
Tips for Defined Star Points
One point has a different width
Check its first row: it must use exactly four center stitches. Its row totals should then be 3, 2 and 1. Turning chains are not included.
The star looks round after stuffing
Remove some filling from the center and redistribute small tufts toward the tips. The valleys need to stay indented for the five-point outline to show.
The edges do not line up
Count all twenty center stitches on both panels and compare the point rows. Correct an extra or missing stitch before sewing; do not stretch one panel over the other.
Tiny Star Amigurumi Free Crochet Pattern: Questions
Can I use thicker yarn?
Yes, with a suitable hook. Use the same yarn and hook for both panels, and expect the star to change size. Check that your eyes and keychain hardware remain proportional.
Can I make it without a face?
Yes. Leave both panels plain for a simple star ornament, or embroider sleepy eyes instead of open ones.
Is this a baby toy?
This version is intended as a decorative charm. Keep plastic eyes, keychain hardware and hanging loops away from babies and young children. Adding a rattle does not establish that a handmade item is suitable as a baby toy.
More Small Crochet Ornaments
For seasonal projects, try the Santa Claus Crochet Ornament or the Chunky Amigurumi Pumpkin. Both make a cheerful addition to a small handmade display.
Save this tiny star amigurumi free crochet pattern for your next ornament or bag charm. I would love to see your color choices; share your finished star and tag @lovelys.amigurumi.