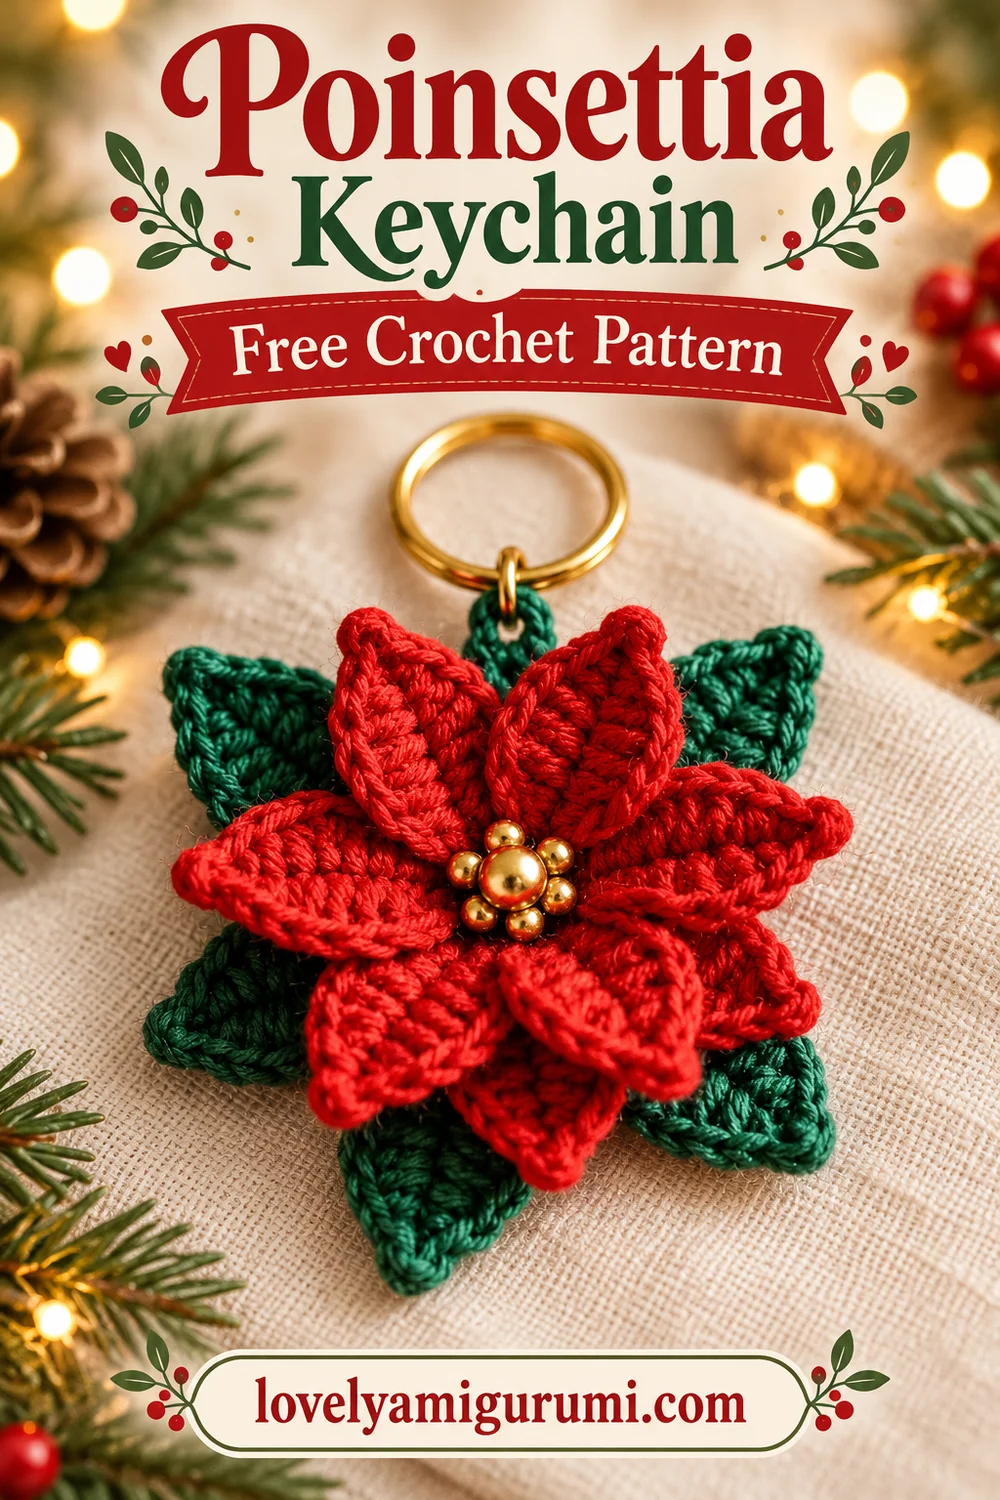
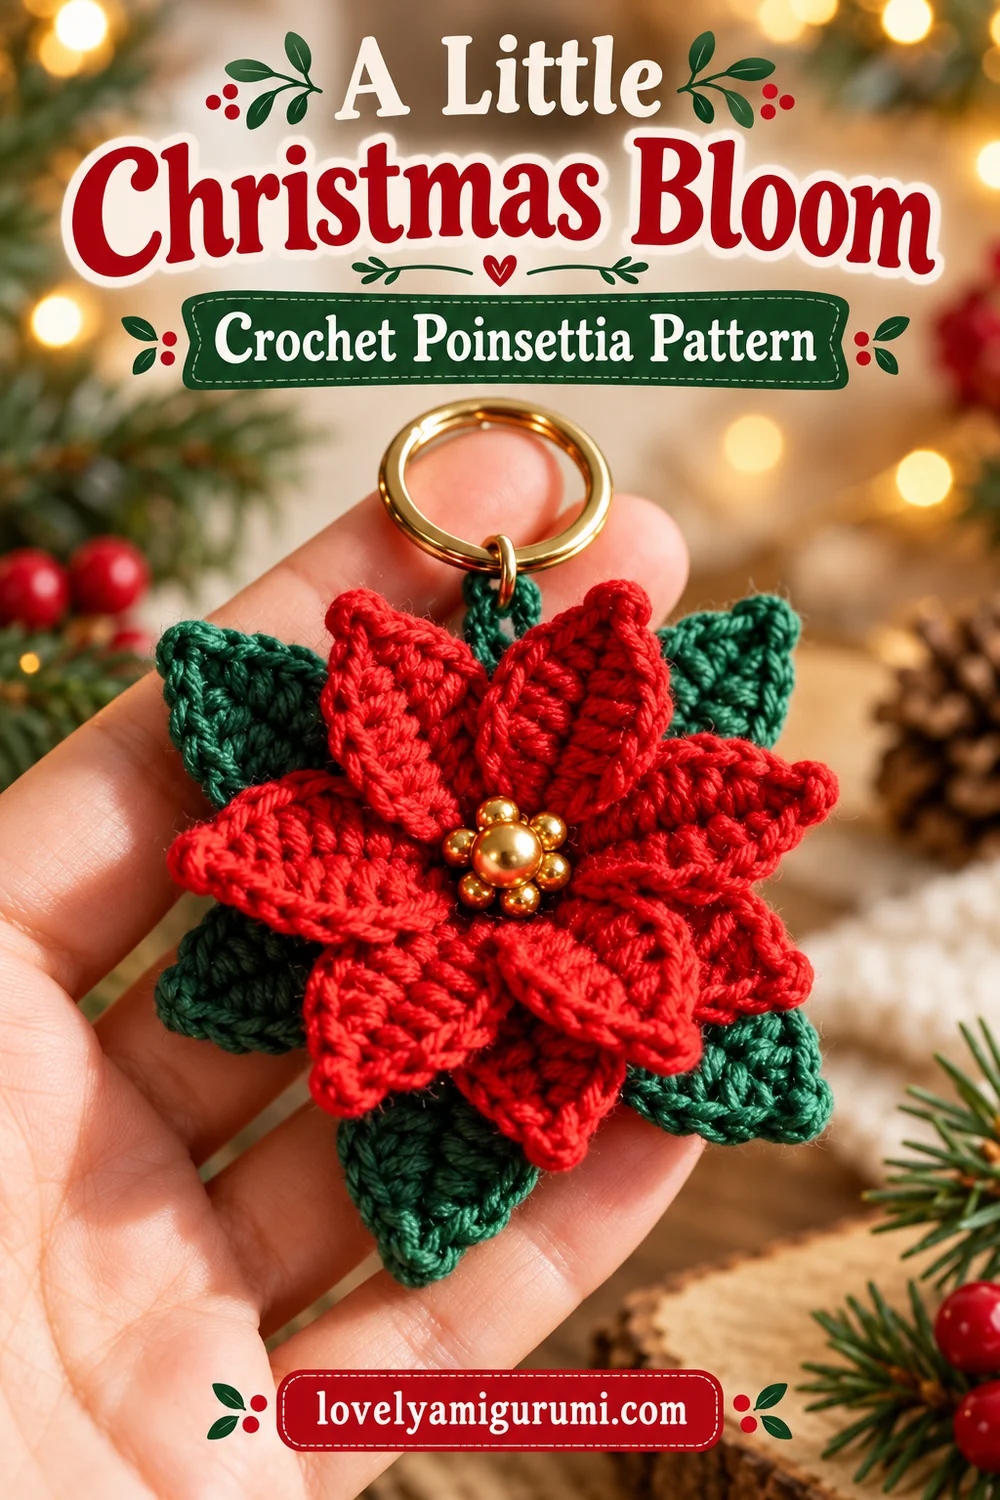
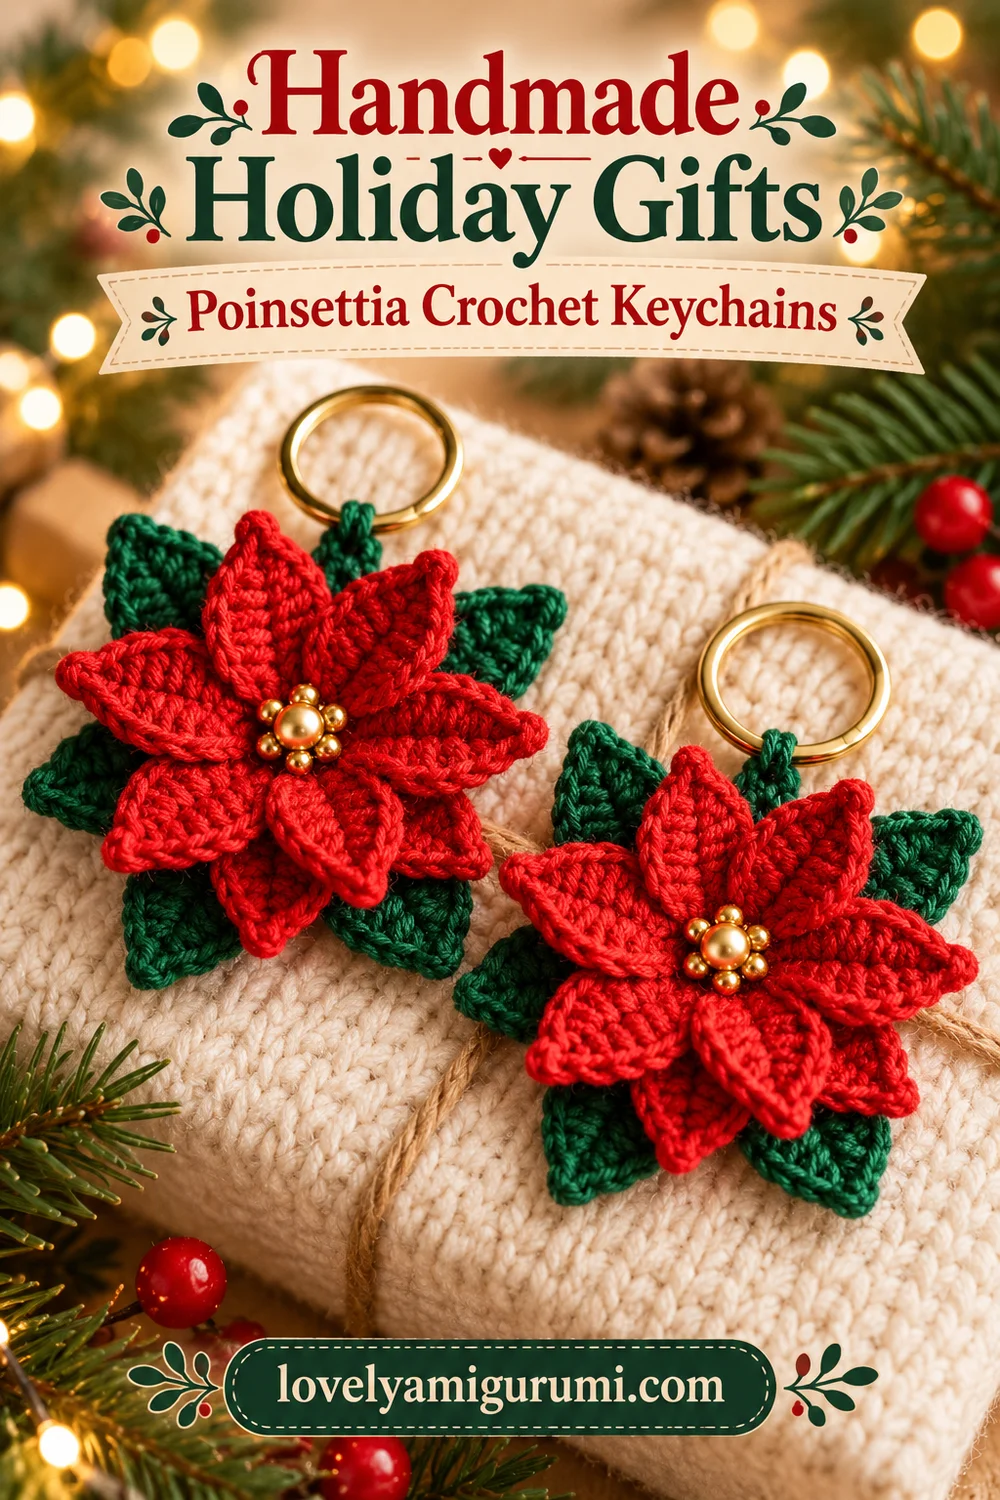
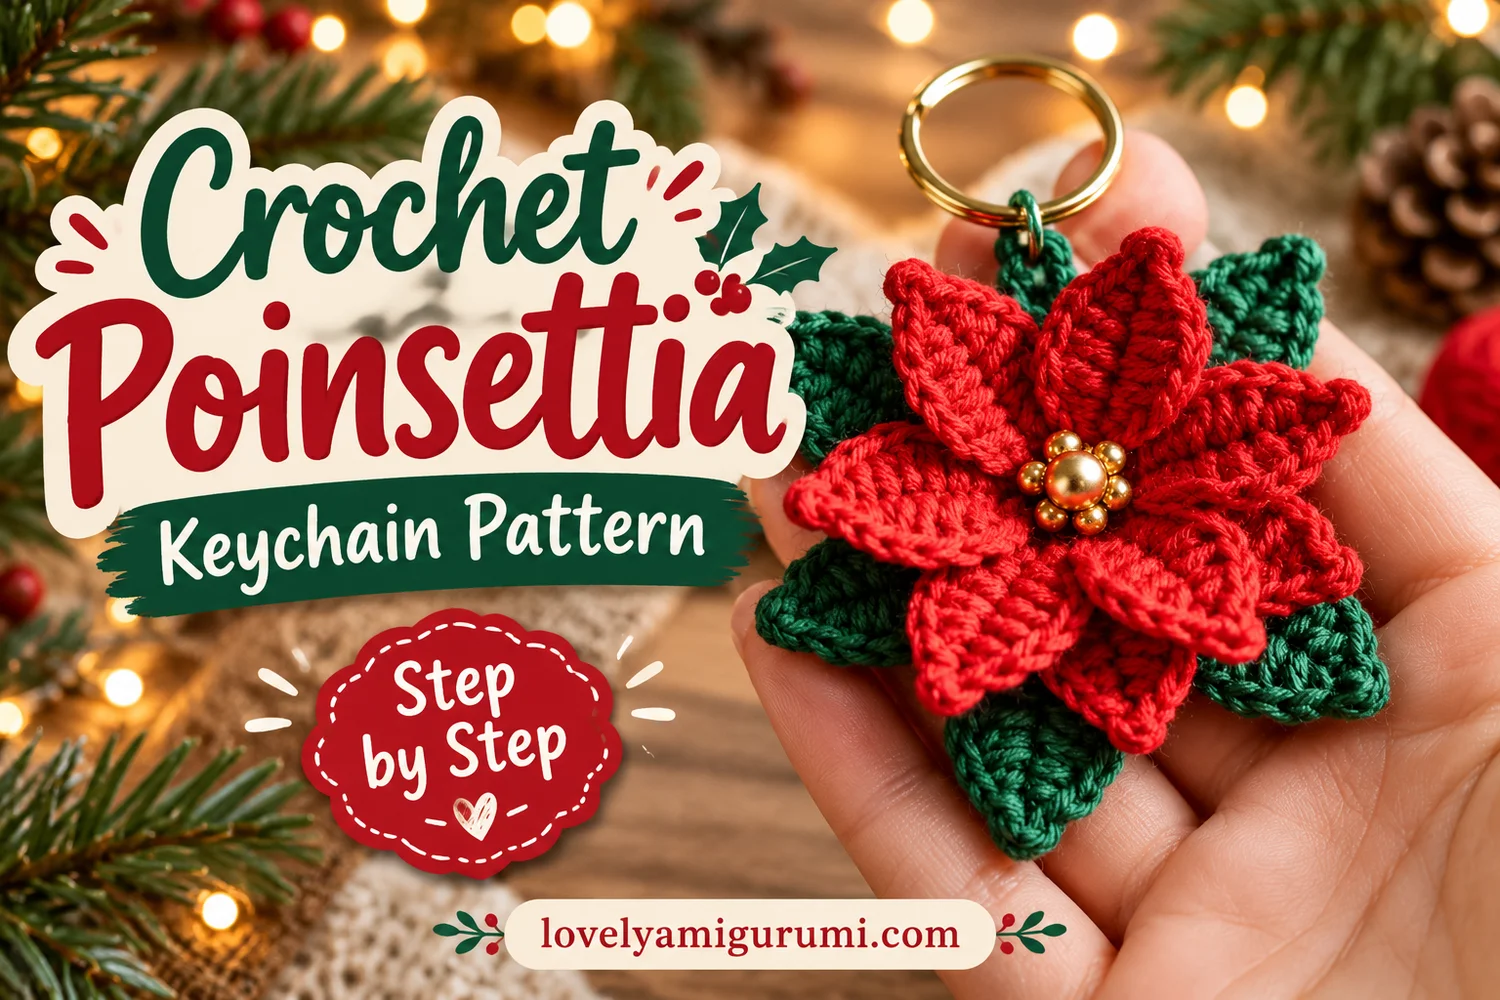
This Poinsettia Keychain Crochet Pattern makes a layered red Christmas flower with dark green leaves and a gold bead center. A short reinforced green loop connects it to a plain gold keyring, keeping the flower close to the hardware as in the reference.
Five larger red petals form the outer layer, with five smaller petals offset above them. The pointed shapes and gently cupped texture create a dimensional flower that works as a festive bag charm or small handmade gift.
Pattern Information
- Skill level: Intermediate, with small-piece sewing and bead attachment.
- Terms: US crochet terminology.
- Construction: Five large red petals, five small red petals, five green leaves, and a small green backing disk.
- Estimated size: Approximately 6–8 cm across the flower with fine cotton yarn; yarn, hook, and tension change the size.
- Reference details: Red pointed petals in layers, dark green leaves, a gold bead cluster, and a gold split ring.
This is an image-inspired adaptation. Stitch counts and layer placement have been checked, but the pattern has not been physically crocheted or independently tested. Follow the written instructions for exact stitch order; the visual tutorials illustrate the construction.
Materials for the Poinsettia Keychain Crochet Pattern
- Fine cotton yarn in bright Christmas red, approximately 8–12 g as a starting allowance.
- Dark forest green cotton in the same weight, approximately 5–8 g.
- A 2–2.5 mm crochet hook, or a size that makes firm, neat stitches.
- One gold bead approximately 6 mm across and six smaller gold beads approximately 3 mm across.
- Strong matching sewing thread and a needle that fits through the bead holes.
- One plain gold split keyring.
- Tapestry needle, scissors, pins, and a stitch marker.
No stuffing is needed. Choose smooth cotton to show the petal texture. This is a decorative keychain with small parts; keep it away from babies and young children.
Stitches and Abbreviations
| Abbreviation | Meaning |
|---|---|
| ch | chain |
| sl st | slip stitch |
| sc | single crochet |
| hdc | half double crochet |
| dc | double crochet |
| tr | treble crochet; yarn over twice before inserting the hook |
| inc | 2 sc in one stitch |
| MR | magic ring |
| st(s) | stitch(es) |
Each petal is worked along both sides of a foundation chain. Do not turn after reaching the tip; rotate the work and continue along the unused side of the chain. Counts below include the stitches around the foundation, but exclude the tip picot.
Tip picot: Ch 2, then sl st in the second chain from the hook. This makes the little point between the two sc at the petal tip.
Before You Begin
The red parts are the poinsettia’s colorful bracts, referred to as petals throughout this pattern. The larger petals and green leaves use the same shape. The smaller red petals use a shorter foundation and shorter stitches.
Leave approximately 15–20 cm of yarn at the base of each piece for sewing. Keep the foundation chain visible as a center line, and do not pull the stitches so tightly that the petals twist.
Poinsettia Keychain Crochet Pattern
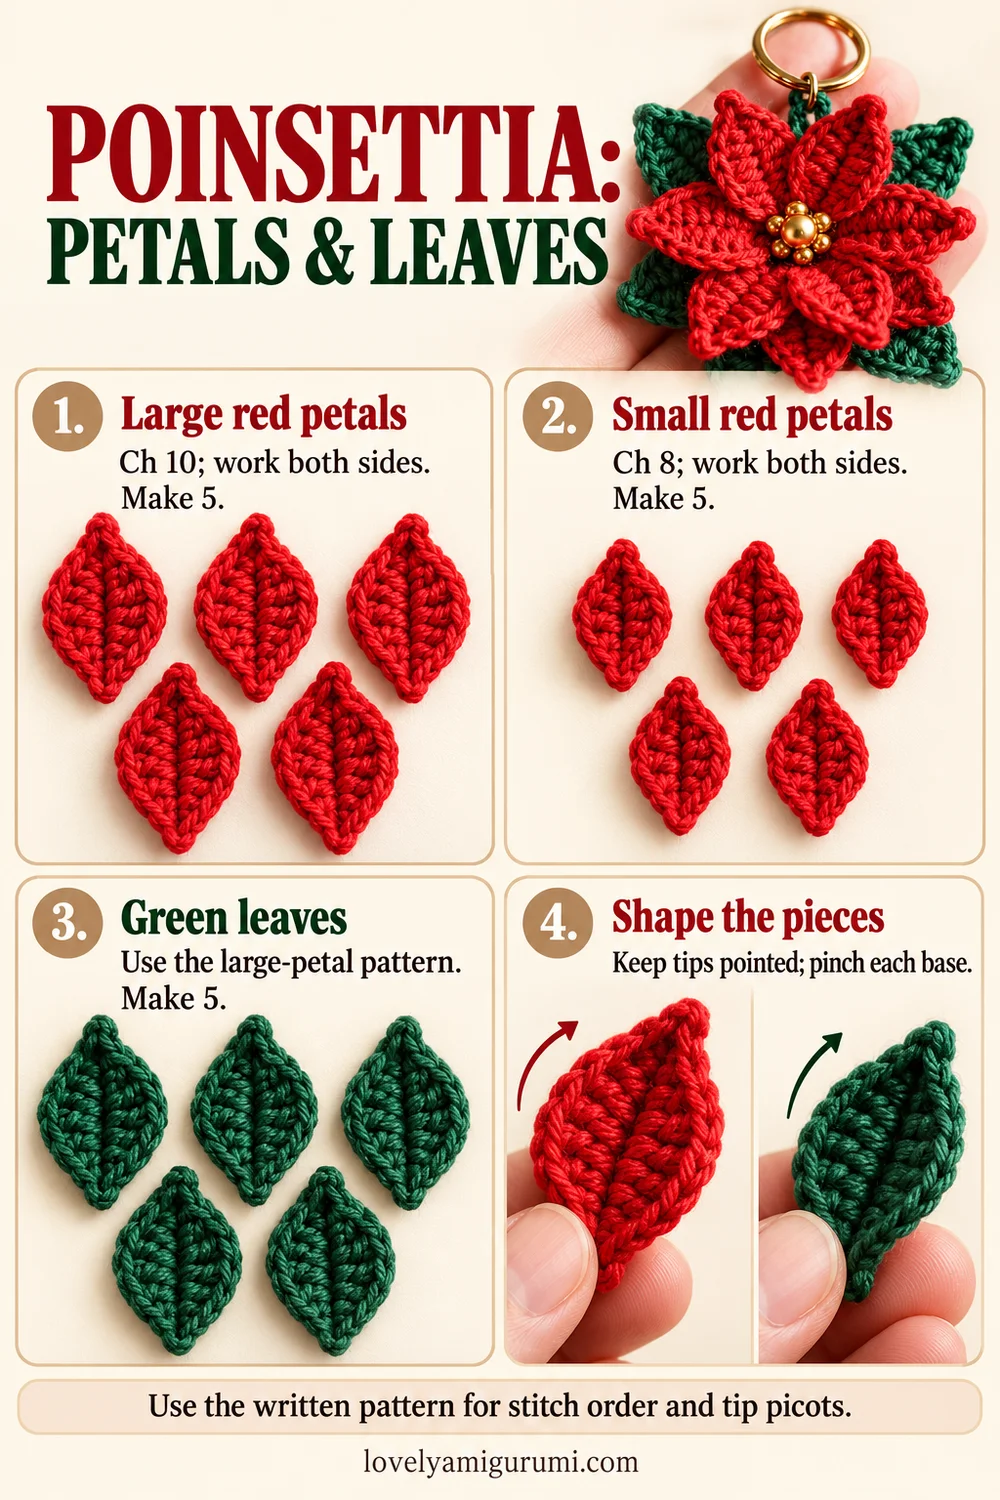
1. Large Red Petals — Make 5
With red, ch 10. Starting in the second chain from the hook, work along the first side:
- Sl st in the next chain.
- Sc in the next chain.
- Hdc in the next chain.
- Dc in the next chain.
- Tr in the next chain.
- Dc in the next chain.
- Hdc in the next chain.
- Sc in the next chain.
One unworked chain remains. In that final chain, work: sc, ch 2, sl st in the second chain from the hook, then sc back into the same final foundation chain. This is the pointed tip.
Rotate the work. Along the unused side of the foundation, work sc, hdc, dc, tr, dc, hdc, sc in the next seven chain positions. Sl st in the final position at the base, opposite the first slip stitch. [18 stitches around the foundation, plus the tip picot]
Fasten off with a long sewing tail. Gently smooth the two sides so the tall stitches face one another across the center chain. Make five matching pieces.
2. Small Red Petals — Make 5
With red, ch 8. Starting in the second chain from the hook, work sl st, sc, hdc, dc, hdc, sc across the next six chains.
In the last foundation chain, work sc, ch 2, sl st in the second chain from the hook, then sc back into the same foundation chain.
Rotate and work along the unused side of the chain: sc, hdc, dc, hdc, sc in the next five positions, then sl st in the final base position. [14 stitches around the foundation, plus the tip picot]
Fasten off with a sewing tail. Make five. Keep these pieces visibly shorter than the large petals so both red layers remain visible after assembly.
3. Dark Green Leaves — Make 5
Use dark forest green and follow the complete large-petal instructions, beginning with ch 10. [18 stitches around the foundation, plus the tip picot]
Leave long sewing tails. Shape each leaf with a pointed tip and a slightly pinched base. These leaves sit behind the red flower and should peek out between the outer petals.
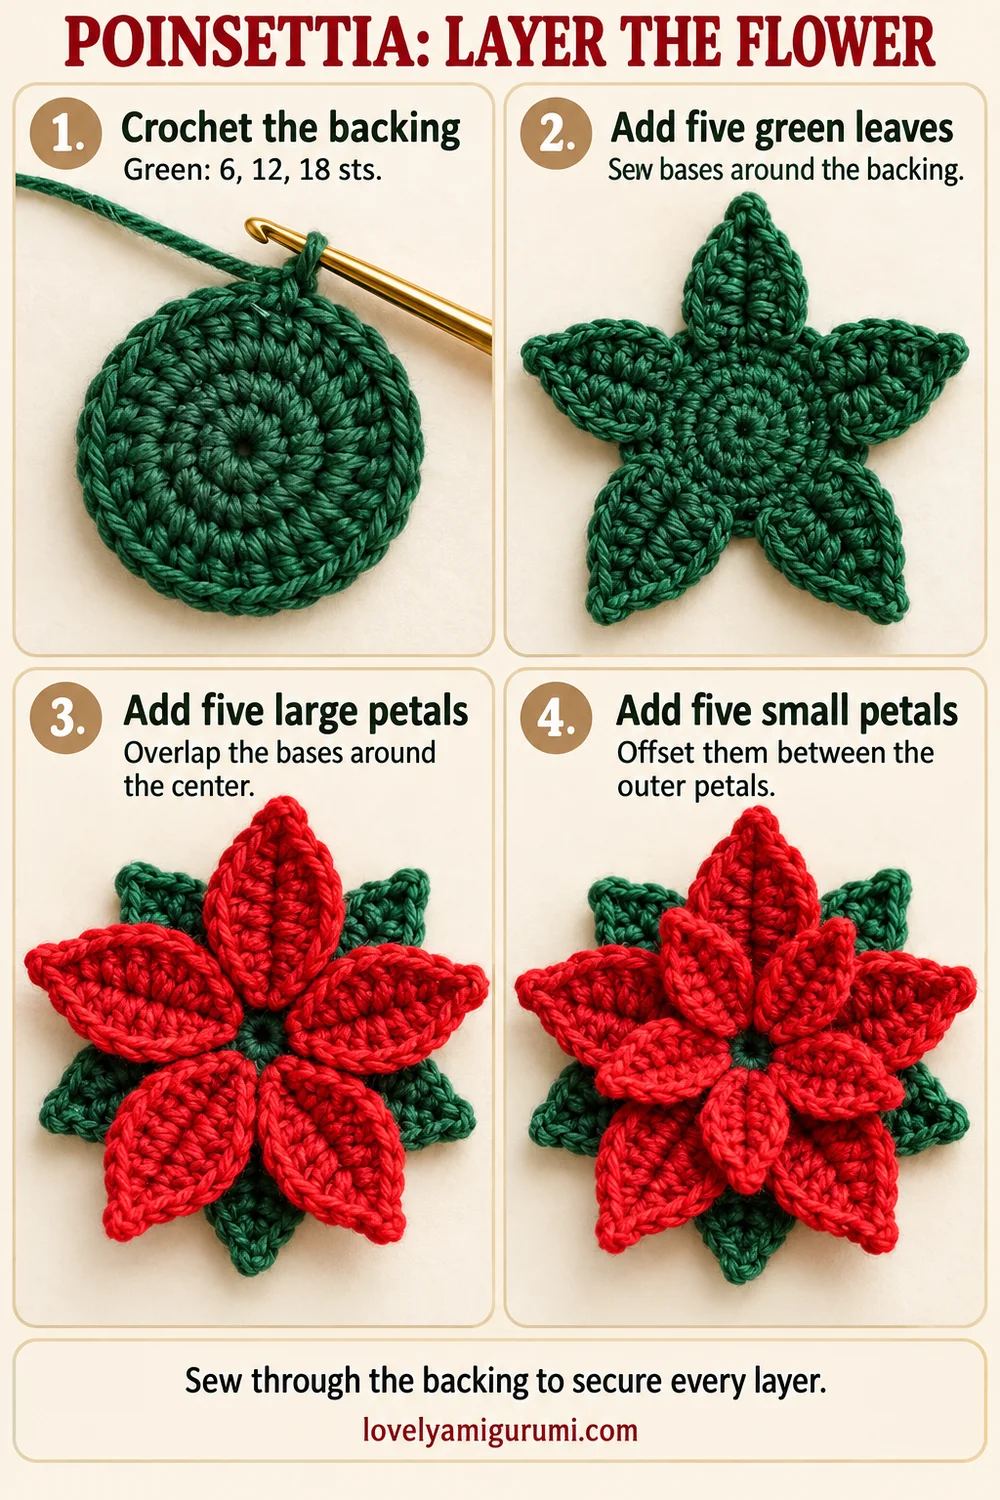
4. Green Backing Disk
With green, work in continuous rounds:
- R1: 6 sc in MR. [6]
- R2: Inc × 6. [12]
- R3: (1 sc, inc) × 6. [18]
Sl st in the next stitch and fasten off with a long tail. Pull the starting ring closed and weave its end securely through several stitches on the back. Keep the disk flat and unstuffed.
Shape the Petals and Leaves
Lay out all 15 pointed pieces: five large red petals, five small red petals, and five green leaves. Match the sizes within each group before sewing.
If needed, dampen them lightly and let them dry flat with the tips gently pointed. Then pinch each base between your fingers to give the piece a shallow cup. Do not press the petals completely flat after shaping; a little lift follows the reference texture.
A small hidden stitch across the bottom two side edges can hold a pinched base. Keep that stitch near the base so the petal tip remains free.
Layer 1 — Green Leaves
Place the backing disk right side up. Arrange the five green leaves evenly around it with their bases meeting near the center and their tips pointing outward.
Sew each leaf base to several disk stitches using its green tail. Overlap the bases slightly to cover the disk, but leave the pointed outer ends free. Make at least two passes through each base, then weave the ends into the back of the disk.
Choose one gap between leaves as the top, where the keyring loop will sit. Check that the leaf tips remain visible around the full outline.
Layer 2 — Large Red Petals
Arrange the five large red petals over the leaves. Offset them so green tips show between neighboring red petals rather than disappearing directly behind them.
Bring the red petal bases together around the center. Overlap them gently in the same direction to create a continuous flower layer. Pin all five before sewing.
Sew through each red base, the green leaf bases, and the backing disk. Keep the sewing area compact so the outer halves can lift slightly. Secure every petal individually rather than relying on one strand pulled around the center.
Layer 3 — Small Red Petals
Place the five small red petals above the large ones, offset between the outer red petals. Their bases meet at the same center, while their shorter tips rest partway over the large layer.
Pin the arrangement and check the flower from above. You should see two red layers and a green outline. Adjust any petals that cover their neighbors completely.
Sew each small petal base through the layers into the backing. Keep a small central area clear for the gold beads. Secure and hide the red tails on the back, away from the future keyring loop.
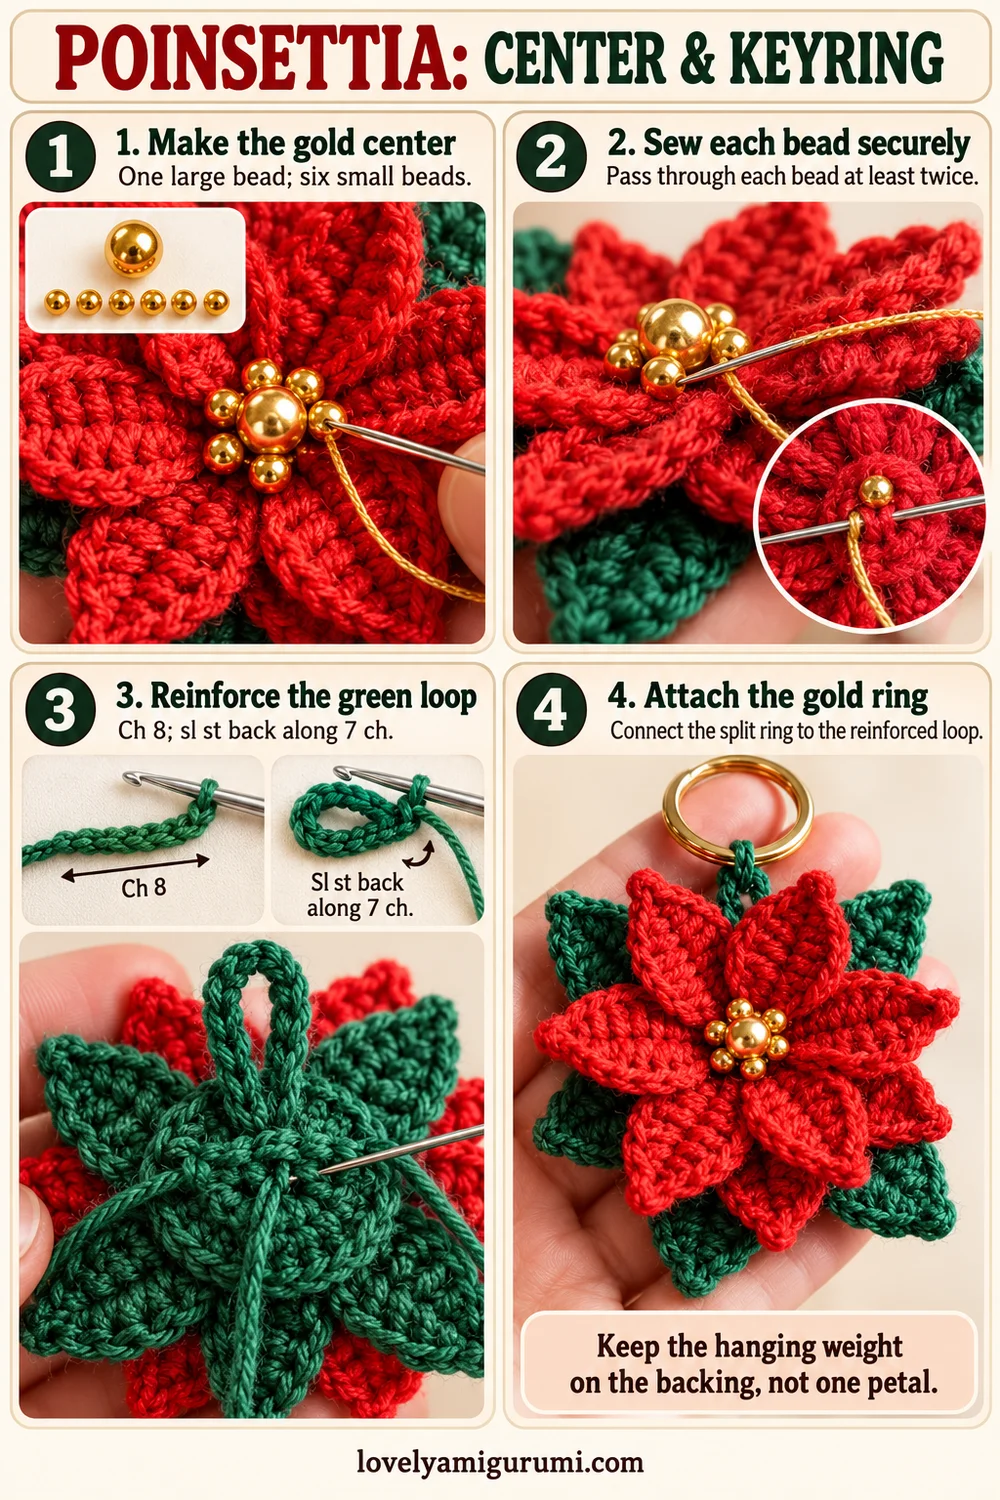
Gold Bead Center
Use strong sewing thread doubled through a needle that fits the beads. Anchor the thread through several center stitches in the backing disk.
- Place the larger gold bead at the center of the red flower.
- Pass through its hole and back through the crochet layers at least twice.
- Arrange the six smaller beads in a ring around it.
- Sew each small bead individually, passing through its hole and the crochet backing at least twice.
- Finish with a secure knot on the back and weave the thread through several stitches before trimming.
Keep the beads close together so they cover the petal joins. Avoid long exposed thread bridges between beads. Check each bead with a gentle tug before adding the hardware.
If you prefer an all-yarn center, embroider a cluster of gold or mustard French knots instead. Keep them compact and securely anchored through the backing.
Short Reinforced Green Hanging Loop
Leave a 20 cm starting tail. With green, ch 8. Starting in the second chain from the hook, sl st in each remaining chain. [7 sl st] Fasten off with another 20 cm tail.
Fold the cord into a small loop. Place both ends at the top-back of the green backing disk, behind the petals. Keep only enough loop visible to accept the gold split ring.
Sew each end through several backing stitches, spreading the anchors across the upper part of the disk. Make at least three passes at each end and change direction before weaving in the tails. The loop should pull on the backing, not on the tip of one petal.
Attach the Gold Keyring
Open the split ring slightly and work the reinforced green loop between its two coils. Slide the loop around until it is fully seated inside the ring.
Check that no metal edge catches a yarn strand. Hold the ring upright and adjust the flower so the red petals face forward and the green leaves sit behind them. Keep the connection short, as in the reference.
Give the loop a gentle pull and check the bead center and all petal bases again. Reshape the pointed tips with your fingers after handling.
Visual Tutorial Guides
The three guides at the end show the red petals and green leaves, the layered assembly, and the gold center and keyring attachment. Use the written directions for the complete stitch order on both sides of each foundation chain.
Tips and Troubleshooting
The petals twist
Relax the foundation chain and check that each stitch goes into its own chain position. Work the second side along the unused foundation loops, then smooth the piece before sewing.
The two red layers look the same size
Check the starting chains: 10 for large petals and 8 for small petals. Large petals include treble crochet; small petals use double crochet as their tallest stitch.
The green leaves disappear
Offset the leaves between the large red petals and keep the red bases close to the center. Pin the full arrangement before sewing.
The flower droops from the ring
Keep the green loop short and spread its anchors across the backing. Make sure the hanging weight is supported by the disk rather than one leaf.
FAQ
Does the flower need stuffing?
No. Its dimension comes from the layered and gently cupped petals.
Can I make it a tree ornament?
Yes. Replace the keyring with a hanging cord attached to the same reinforced green loop.
Can I use thicker yarn?
Yes. Use the same weight for all pieces and a matching hook. The flower will become larger, so check the backing and hardware proportions.
More Free Christmas Crochet Patterns
- Christmas Wreath Ornament Crochet Pattern
- Christmas Bell Ornament Crochet Pattern
- Christmas Mug Keychain Crochet Patterns
Save This Pattern
Save this Poinsettia Keychain Crochet Pattern for your next handmade holiday project. Happy crocheting from Lovely Amigurumi!
Poinsettia Visual Tutorials and Pinterest Gallery
These three visual tutorial guides and three Pinterest images are grouped here at the end for easy reference.