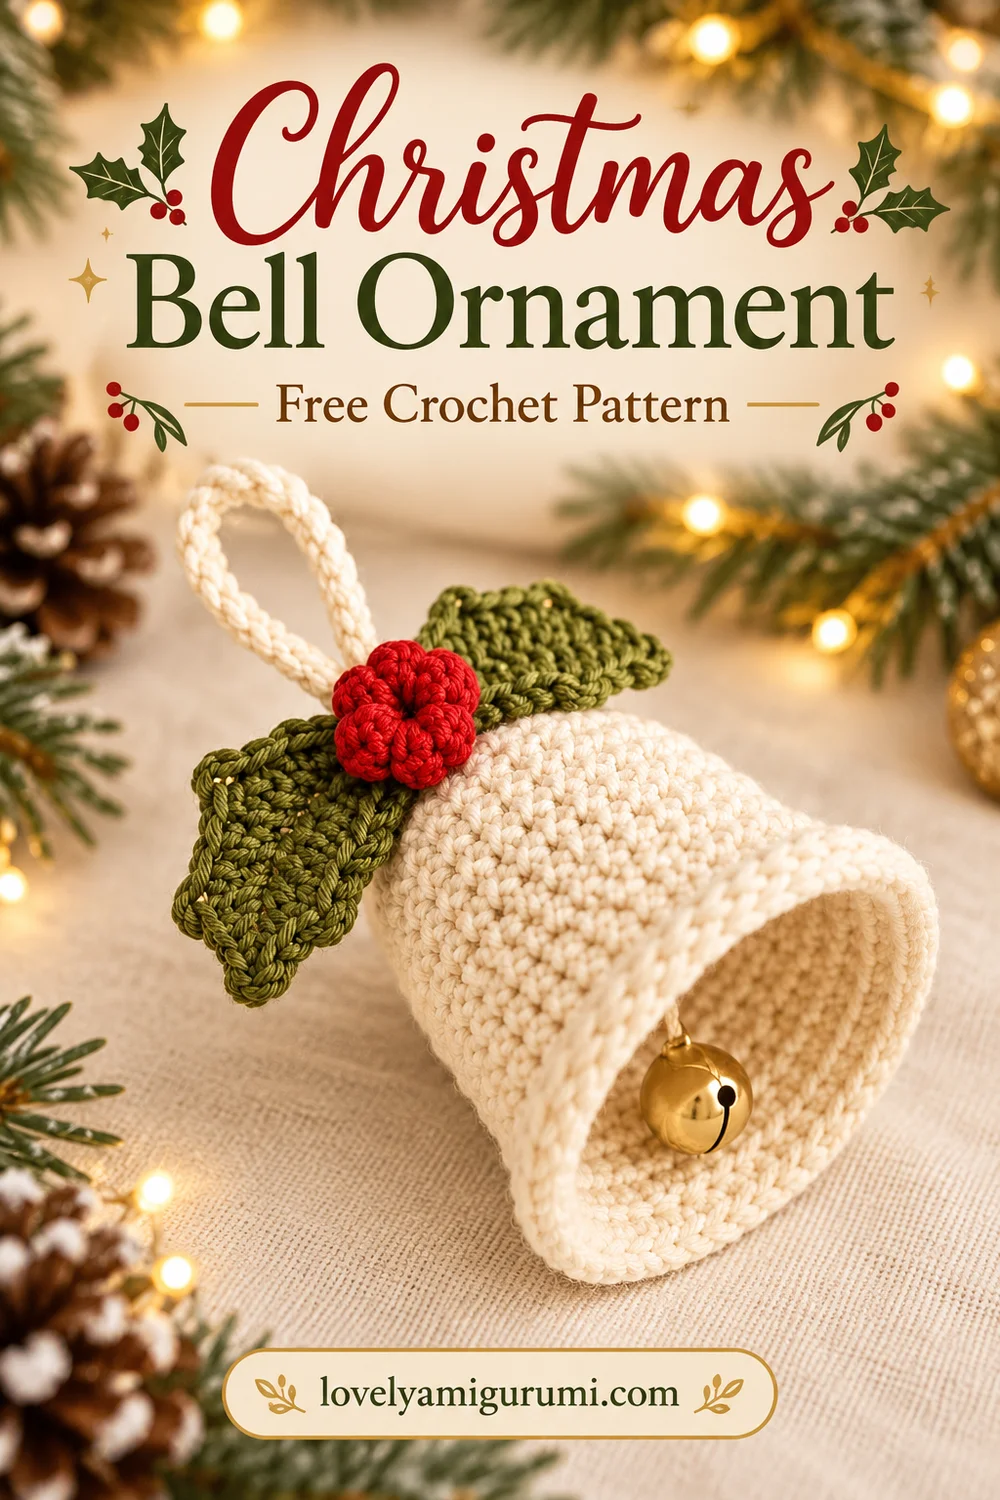
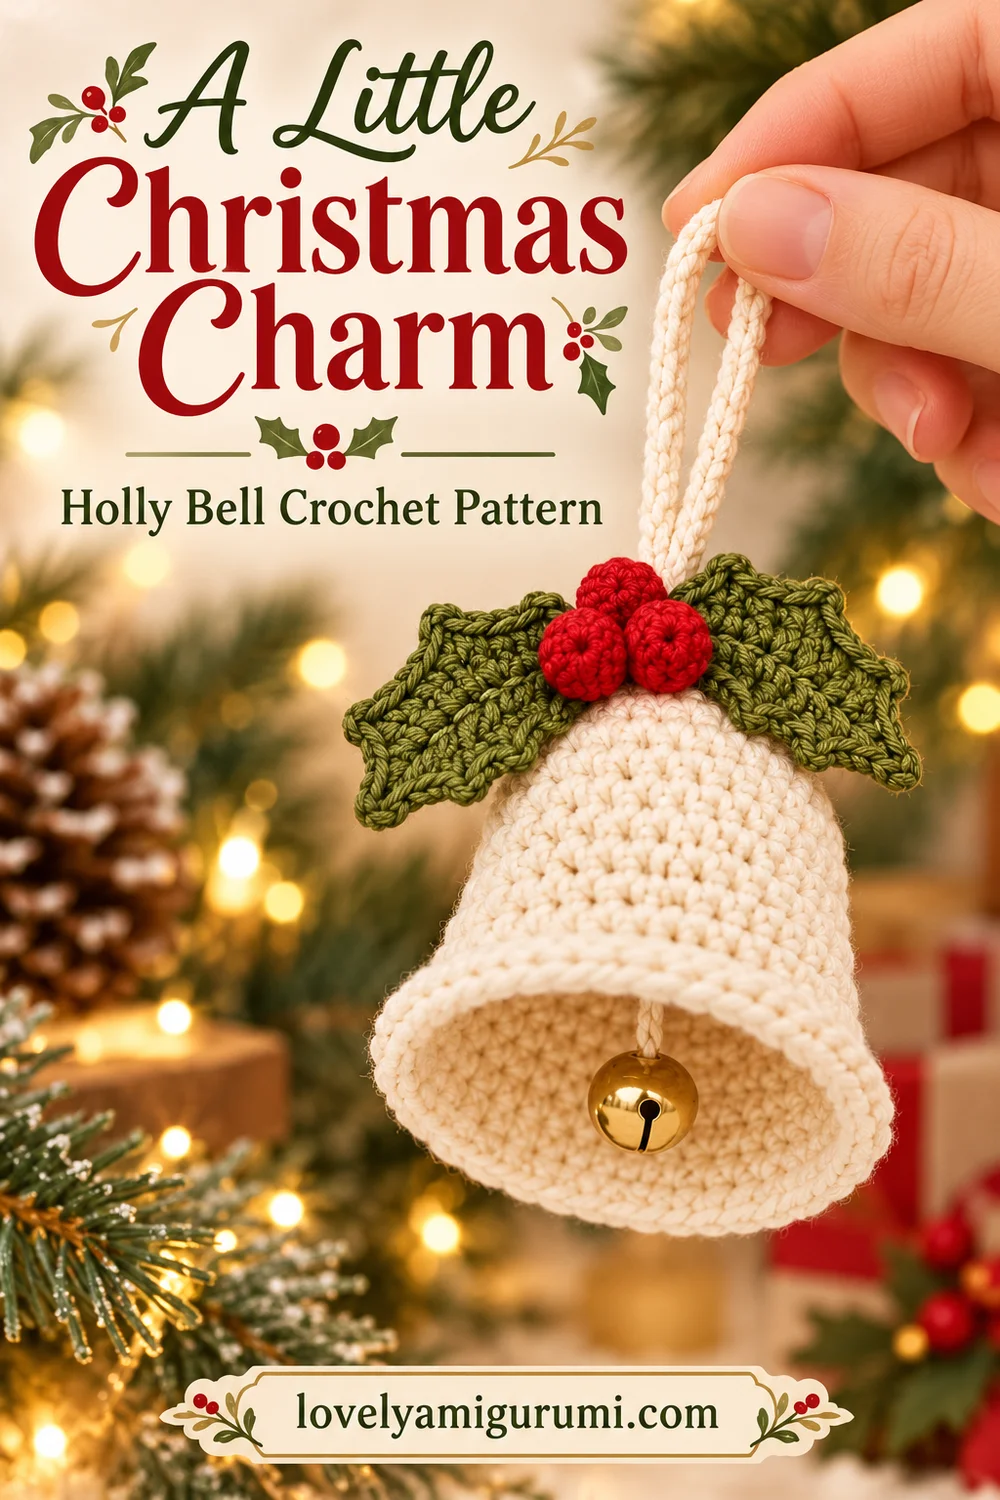
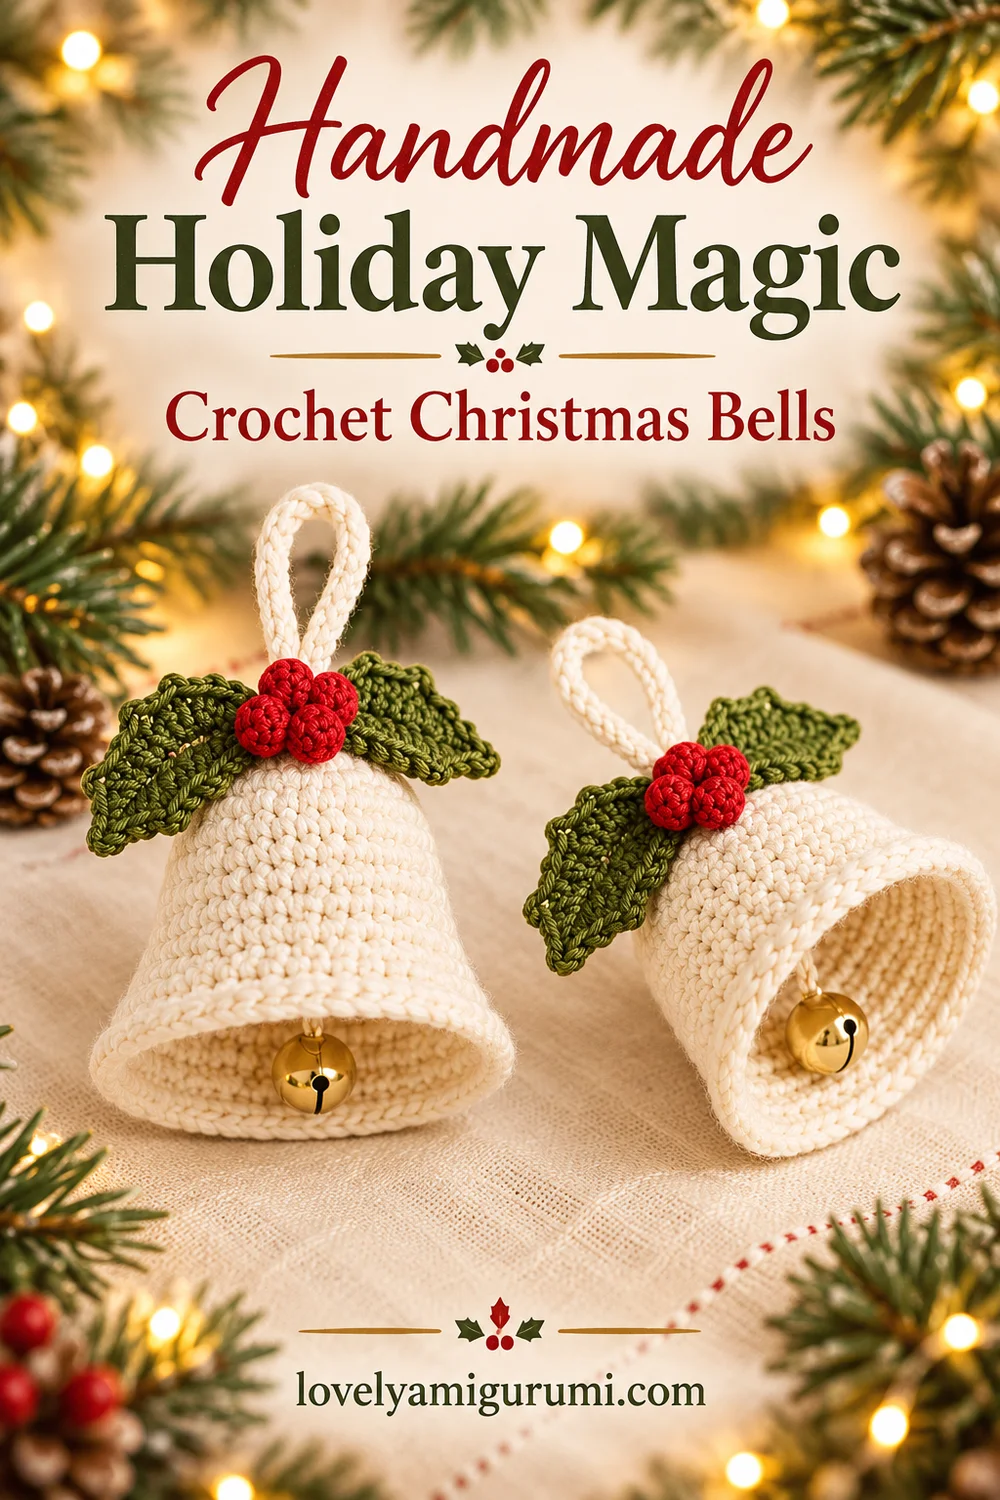
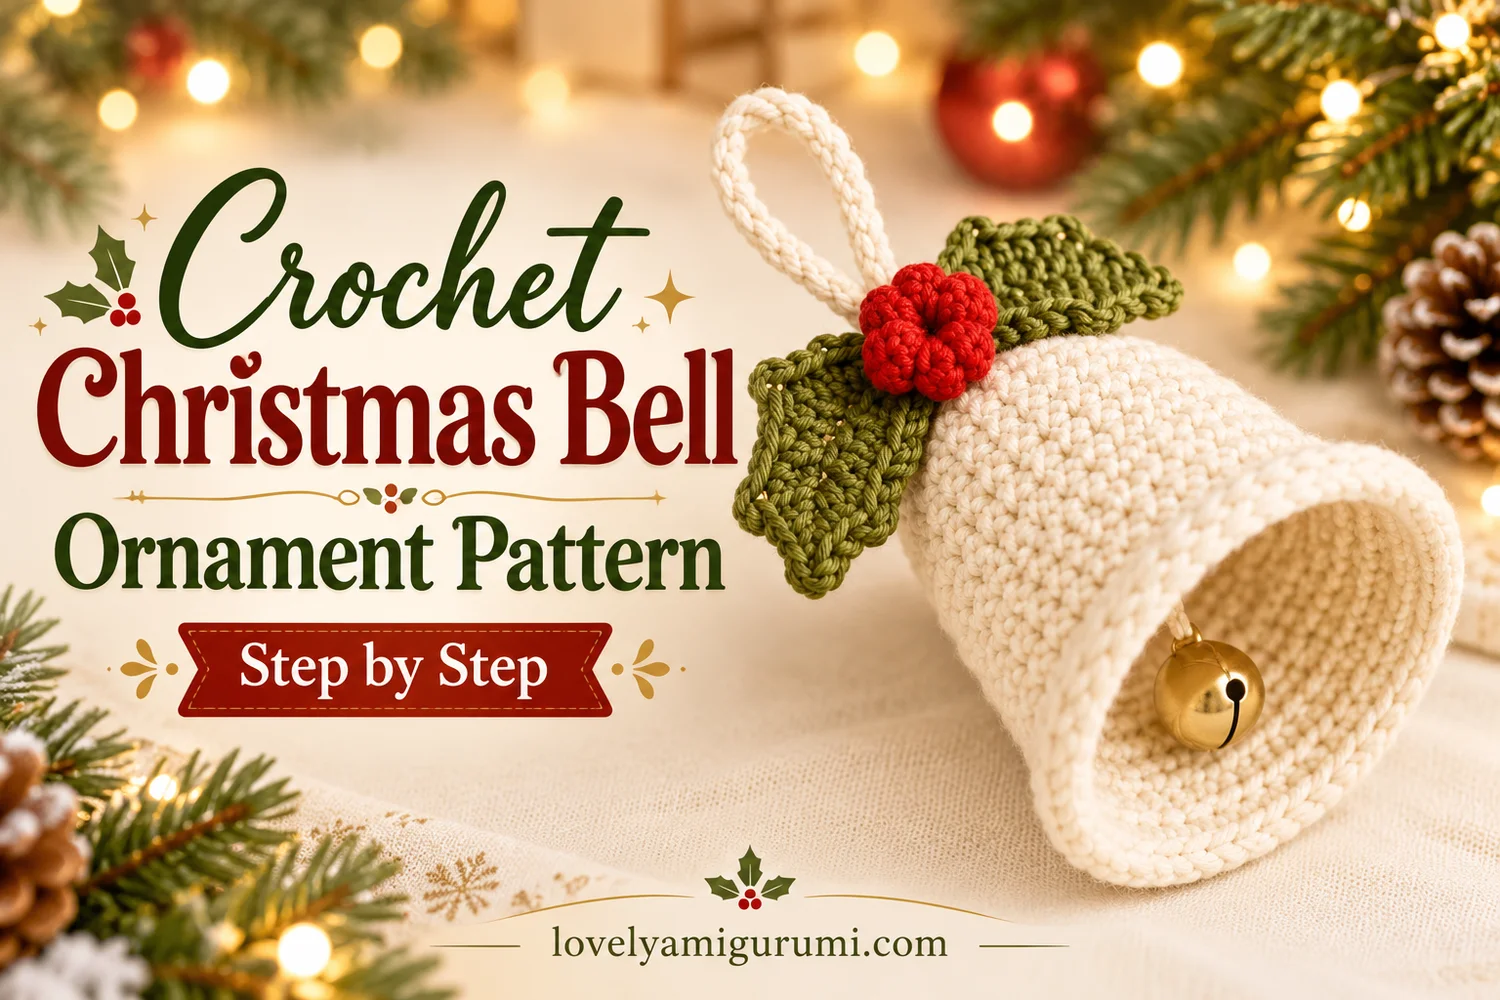
This Christmas Bell Ornament Crochet Pattern creates a hollow cream bell with a flared opening, two olive green holly leaves, and three red berries. A small gold jingle bell hangs inside, while a matching cream loop finishes the crown.
The simple single crochet shell gives the ornament its soft handmade texture. Work from the rounded top toward the wide rim, then add the holly and hanging details to follow the reference image.
Pattern Information
- Skill level: Confident beginner to intermediate.
- Terms: US crochet terminology.
- Construction: One hollow bell shell, separate hanging loop, two leaves, three berries, and an inner metal jingle bell.
- Estimated size: About 6–8 cm tall and 6–7 cm across the opening with fine cotton yarn. Yarn and tension change the size.
- Reference colors: Cream, olive green, red, and a gold metal bell.
This is an image-inspired adaptation. Stitch counts have been checked, but the pattern has not been physically crocheted or independently tested. Follow the written rounds for exact counts; the visual guides illustrate the main steps.
Materials for the Christmas Bell Ornament Crochet Pattern
- Fine, firm cotton yarn in cream, approximately 15–20 g as a starting allowance.
- Small amounts of olive green and red cotton in the same weight.
- A 2–2.5 mm crochet hook, or a size that makes firm, even stitches.
- One small gold jingle bell with an attachment eyelet, approximately 12–16 mm across.
- Tapestry needle, scissors, and stitch marker.
- A small amount of stuffing for the berries only.
- Optional yarn-compatible fabric stiffener and a rounded form for shaping.
The large cream shell stays hollow. Choose lightweight metal hardware so it does not stretch the crown. This is a decorative ornament with small parts; keep it away from babies and young children.
Stitches and Abbreviations
| Abbreviation | Meaning |
|---|---|
| MR | magic ring |
| ch | chain |
| sc | single crochet |
| sl st | slip stitch |
| inc | 2 sc in one stitch |
| dec | single crochet decrease over 2 stitches |
| st(s) | stitch(es) |
Work the shell and berries in continuous spiral rounds unless told otherwise. Mark the first stitch of each round. Numbers in brackets are the finished counts. Repeat the instructions in parentheses the stated number of times.
Reverse sc, also called crab stitch: Without turning, work single crochet in the opposite direction from your normal stitch direction. For a right-handed crocheter, this moves left to right. Insert into the adjacent stitch to the right, pull up a loop, yarn over, and draw through both loops. Keep the edging relaxed.
Small picot for the leaf edging: After working the specified sc, ch 2, sl st in the second chain from the hook, then sl st back into that same sc. This finishes one point without using another stitch of the leaf base.
Before You Begin
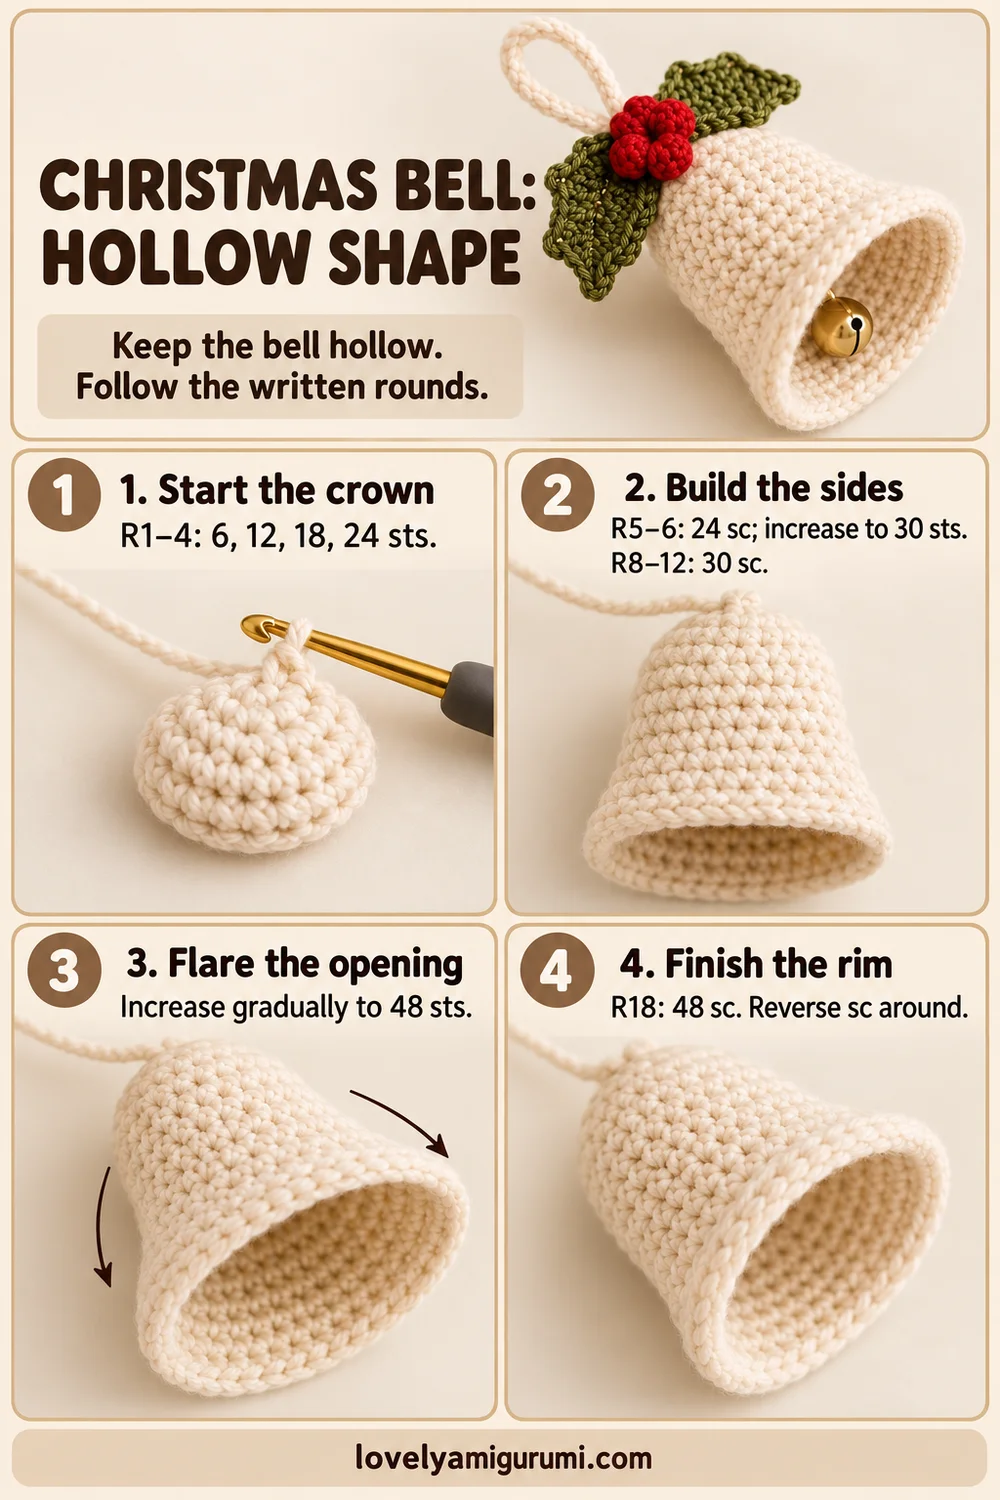
The cream bell begins with a closed crown and remains open at the bottom. Increases are spaced farther apart through the body, then added more often near the lower edge to form the flare. Do not add a bottom disk or fill the shell with stuffing.
Keep the magic ring tail long enough to secure inside the crown. Weave it through several stitches after pulling the ring shut. The hanging loop and inner bell cord are separate attachments so you can adjust their lengths independently.
Christmas Bell Ornament Crochet Pattern
1. Rounded Cream Crown
With cream:
- R1: 6 sc in MR. [6]
- R2: Inc × 6. [12]
- R3: (1 sc, inc) × 6. [18]
- R4: (2 sc, inc) × 6. [24]
- R5–6: 24 sc each round. [24]
Gently cup the work with the right side facing out. The opening points downward as you continue crocheting.
2. Bell Sides
- R7: (3 sc, inc) × 6. [30]
- R8–12: 30 sc each round. [30]
Keep the side stitches firm and even. These straight rounds create the body between the rounded crown and the flared mouth.
3. Flared Opening
- R13: (4 sc, inc) × 6. [36]
- R14: 36 sc. [36]
- R15: (5 sc, inc) × 6. [42]
- R16: 42 sc. [42]
- R17: (6 sc, inc) × 6. [48]
- R18: 48 sc. [48]
Spread the lower edge gently with your fingers. It should widen smoothly beyond the sides rather than fold sharply outward.
4. Firm Rounded Rim
Ch 1; do not turn. Work one reverse sc into each of the 48 rim stitches. [48 reverse sc] The beginning chain does not count as a stitch. Join neatly to the first reverse sc and fasten off.
Weave the tail along the inside of the rim and change direction before trimming. Keep the opening circular and the edging loose enough to preserve the flare. The shell is now finished and stays empty.
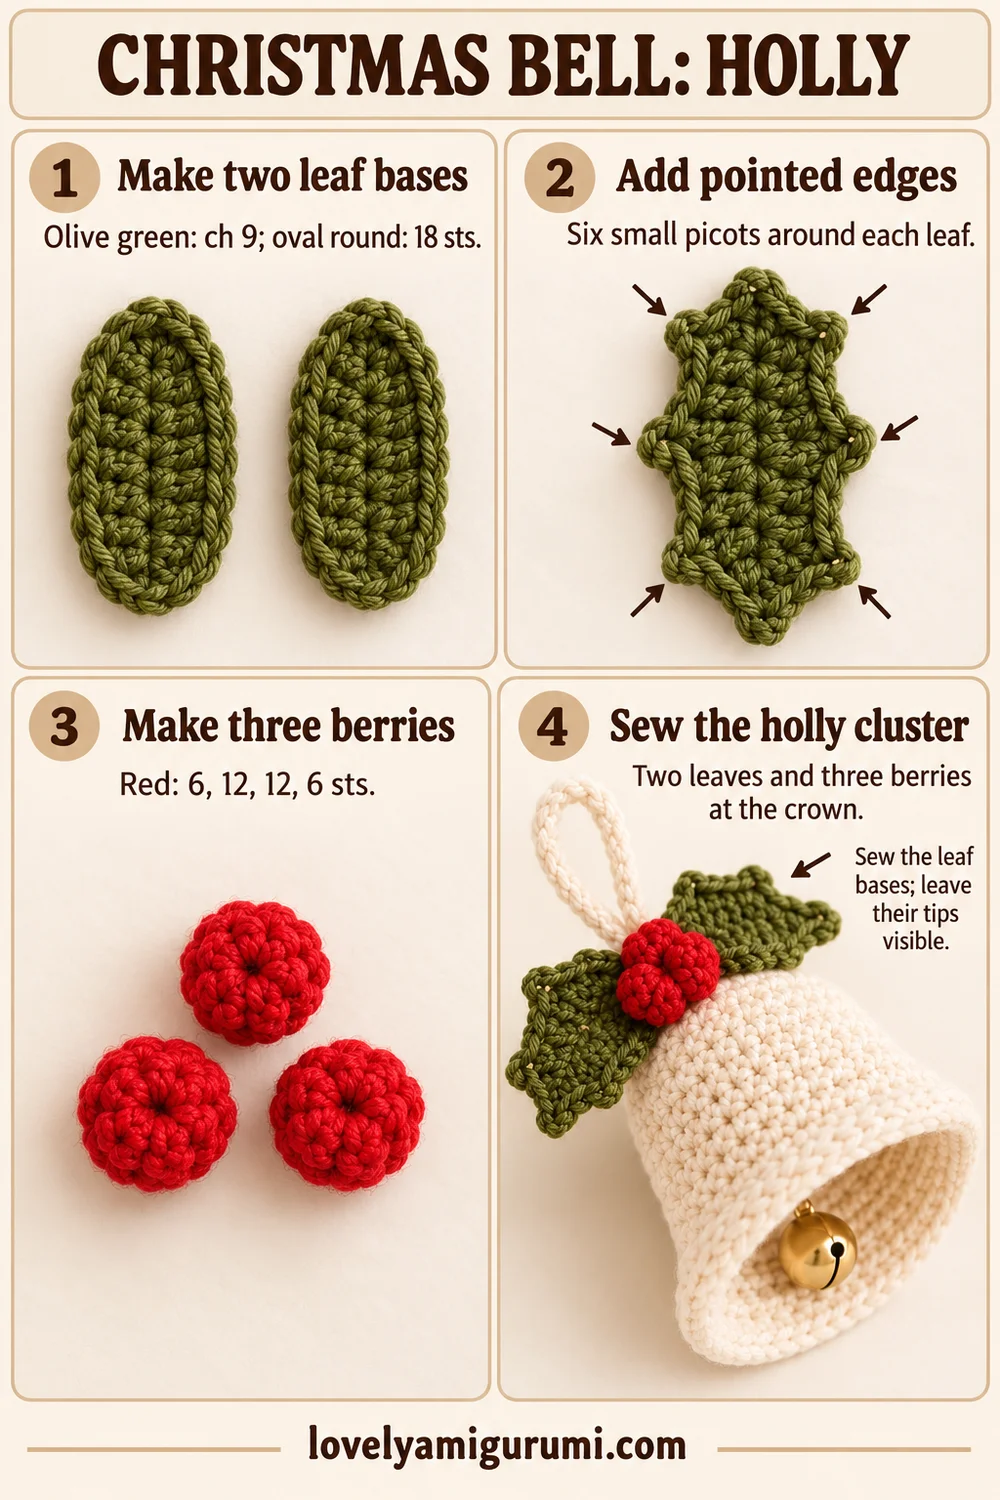
Olive Holly Leaves — Make 2
Oval Foundation
With olive green, ch 9. Starting in the second chain from the hook, sc in the next 7 chains, then work 3 sc in the final chain. Rotate to work along the unused side of the foundation chain: sc in the next 6 chains, then work 2 sc in the last chain. [18]
The first foundation chain worked now has three stitches around it in total: the original sc plus the final 2 sc. Keep this oval flat. Do not join or fasten off yet.
Six Pointed Edges
Working around the 18 base stitches, repeat the following six times: sl st in each of the next 2 stitches, sc in the next stitch, then make a small picot into that same sc.
Each repeat uses 3 base stitches and adds one point, giving six points around the leaf. The picot chains and its returning slip stitches do not use extra oval stitches. After the sixth repeat, join to the first edging stitch and fasten off with a sewing tail.
Pinch one end slightly to suggest a leaf tip. Flatten the two leaves with your fingers or damp-block them separately. Keep them olive green to match the reference.
Red Holly Berries — Make 3
With red:
- R1: 6 sc in MR. [6]
- R2: Inc × 6. [12]
- R3: 12 sc. [12]
- R4: Dec × 6. [6]
Add a tiny pinch of stuffing before the opening becomes too small. Fasten off with a long tail. Thread it through the front loops of the final six stitches, draw closed, and keep the remaining tail for sewing.
Make all three berries the same size. Sew them into a close triangular cluster rather than spreading them along the bell.
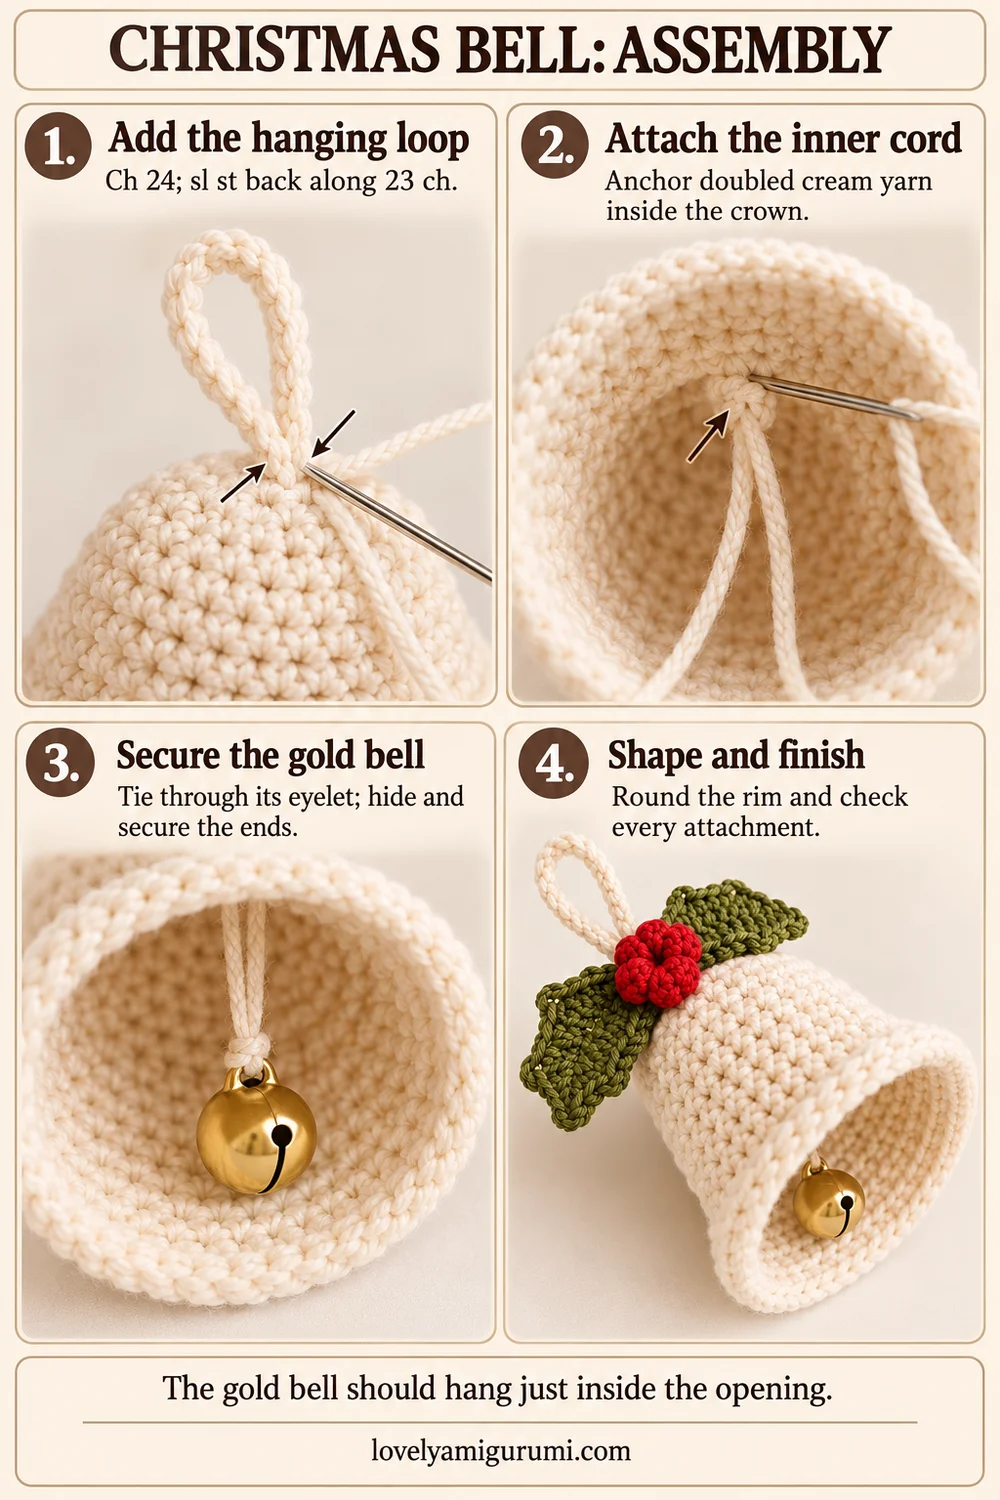
Cream Hanging Loop
Leave a 20 cm starting tail. Ch 24 with cream. Starting in the second chain from the hook, sl st in each remaining chain. [23 sl st] Fasten off with a 20 cm tail.
Bring the two ends together to form a loop. Position both ends at the crown, just behind the planned holly cluster. Sew each end through several crown stitches, passing through at least three times and changing direction to distribute the pull.
Secure and weave the tails into the inside crown stitches. Keep the outside neat; the leaf bases will cover the small attachment area. If you need a larger loop, add the same number of chains and returning slip stitches before sewing.
Attach the Gold Jingle Bell Inside
Use a doubled length of strong cream yarn. Anchor it through several stitches on the inside of the crown, close to the center, without pulling the crown into a point. Leave two working strands hanging down through the open shell.
Thread the strands through the jingle bell’s eyelet and bring them back upward. Hold the ornament by its outer hanging loop and adjust the inner cord so the metal bell sits just inside the opening. Its lowest point should remain slightly above the crochet rim when the ornament hangs upright.
Secure the returning strands through the inside crown stitches, knot discreetly, and weave in the ends. Do not tie a loose bow or leave long tails beside the metal bell. Check the attachment with a gentle pull.
The inner cord length depends on the finished height of your shell and the size of the metal bell. Adjust it on the actual ornament rather than using a fixed measurement. Keep the bell free to move without dragging below the rim.
Sew the Holly at the Crown
- Lay the two olive leaves across the top in opposite diagonal directions.
- Place their bases together in front of the cream loop attachment.
- Sew the leaf bases securely to the cream crown. Add one small hidden stitch farther along each leaf if needed, leaving the pointed ends visible.
- Place the three red berries over the meeting point of the leaves and sew each berry individually to the crown and neighboring berry.
- Hide all sewing tails inside the shell, weaving them through several stitches before trimming.
Check the arrangement from the front and side. The red cluster should sit above the cream crown, with one green leaf extending toward each side. Keep the hanging loop accessible behind the holly.
Shape the Bell
Dampen the cream shell lightly and shape it with your fingers. Round the crown, smooth the sides, and open the flared rim evenly. Support it over a clean rounded form that fits inside without stretching the stitches, then let it dry completely.
Firm cotton and the reverse-sc edging may hold the shape on their own. If you want a stiffer finish, test a yarn-compatible fabric stiffener on a scrap and follow its label. Shape the shell before attaching the metal bell if the product requires soaking; keep the hardware and red berries away from the treatment.
Remove the shaping form before hanging the ornament. The final bell should remain hollow, with the gold jingle bell visible inside the mouth.
Visual Tutorial Guides
The three guides at the end show the hollow shell, the holly leaves and berries, and the hanging-loop and inner-bell assembly. Use them alongside the full written instructions, especially for the leaf edging and the inner cord length.
Tips and Troubleshooting
The rim curls inward
Check the 48 stitches before the reverse-sc edging. Keep that edging relaxed; an overly tight final round can pull the mouth inward.
The bell looks like a straight tube
Check the increase rounds at R13, R15, and R17. Each adds six stitches to build the lower flare.
The crown stretches when hung
Spread both the outer loop and inner cord anchors across several crown stitches. Use a lightweight metal bell and secure the yarn ends in more than one direction.
The gold bell hangs too low
Shorten the inner cord until the bottom of the metal bell sits just above the cream rim when hanging upright.
FAQ
Does the cream shell need stuffing?
No. Only the red berries need a little stuffing. The large shell remains open and hollow.
Can I leave out the metal bell?
Yes. The crochet shell, holly, and hanging loop still make a complete tree ornament.
Can I use white instead of cream?
Yes. Cream follows the reference, while white gives a brighter snowy finish. Use the same color for the shell and hanging loop.
More Free Christmas Crochet Patterns
- Christmas Mug Keychain Crochet Patterns
- Snowflake Keychain Crochet Pattern
- Mini Christmas Mitten Crochet Pattern
Save This Pattern
Save this Christmas Bell Ornament Crochet Pattern for your next holiday crafting session. Happy crocheting from Lovely Amigurumi!
Christmas Bell Visual Tutorials and Pinterest Gallery
These three visual tutorial guides and three Pinterest images are grouped here at the end for easy reference.