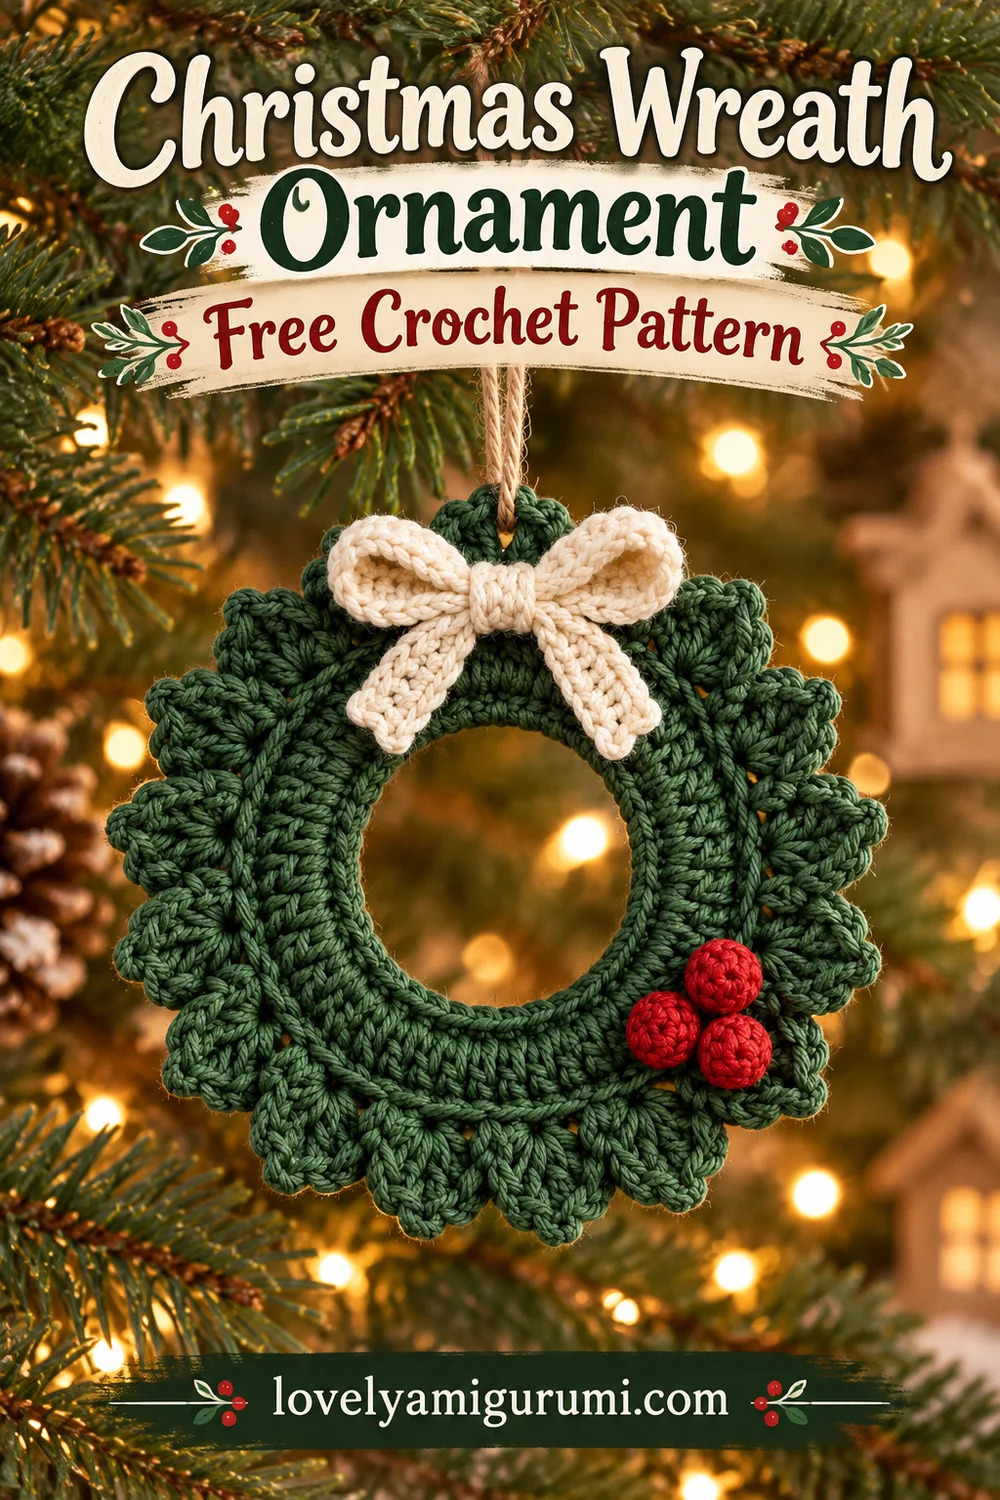
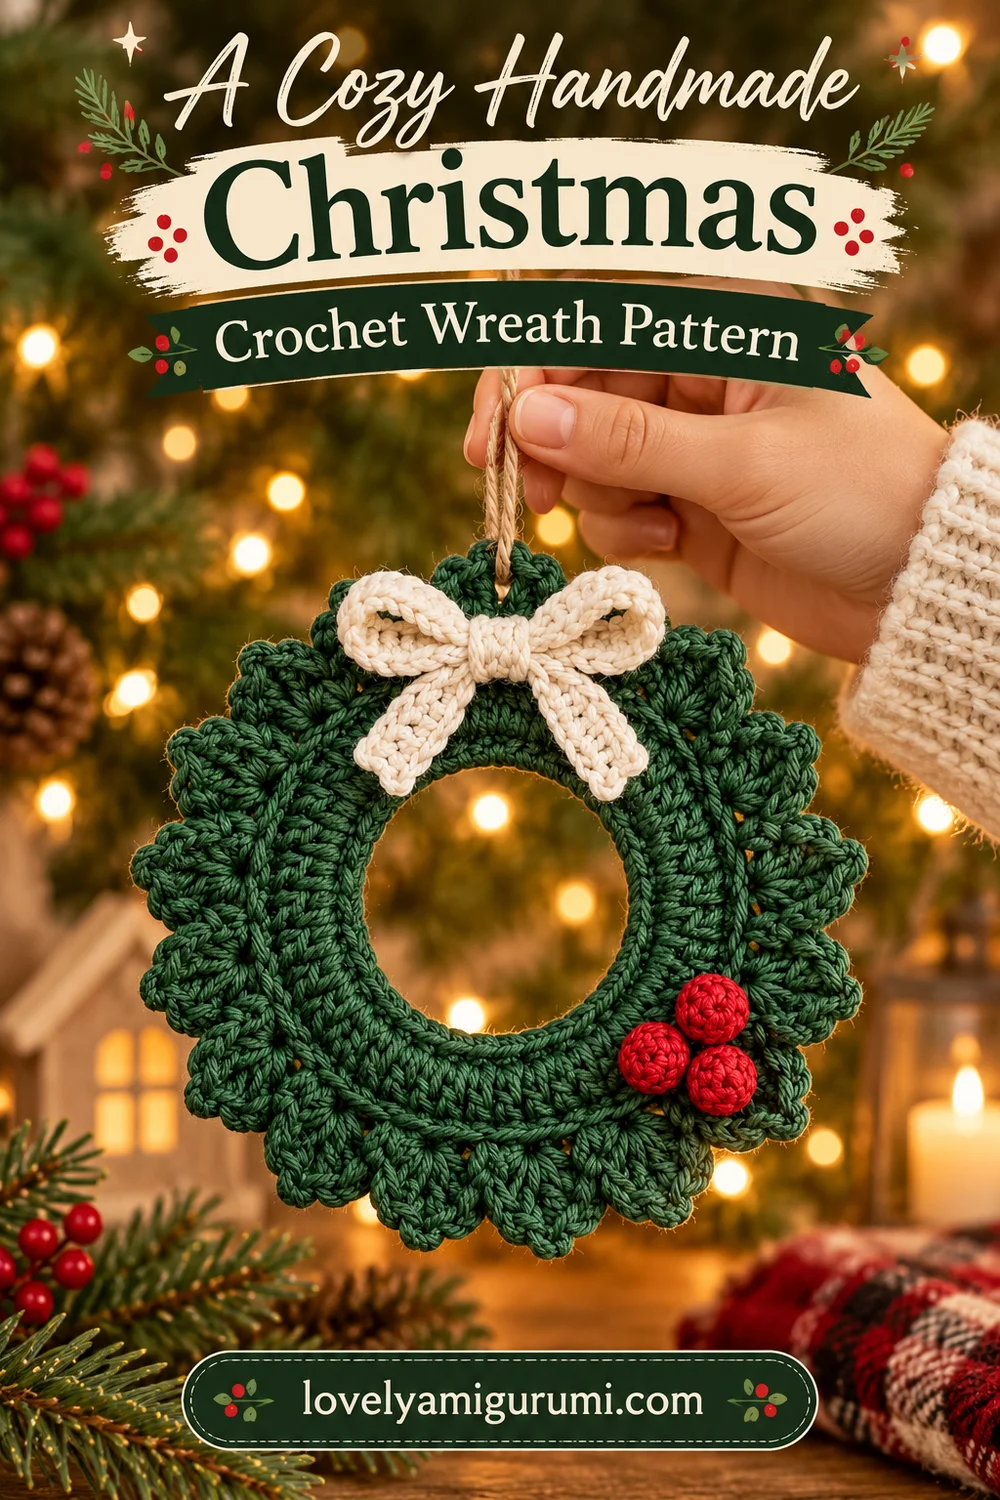
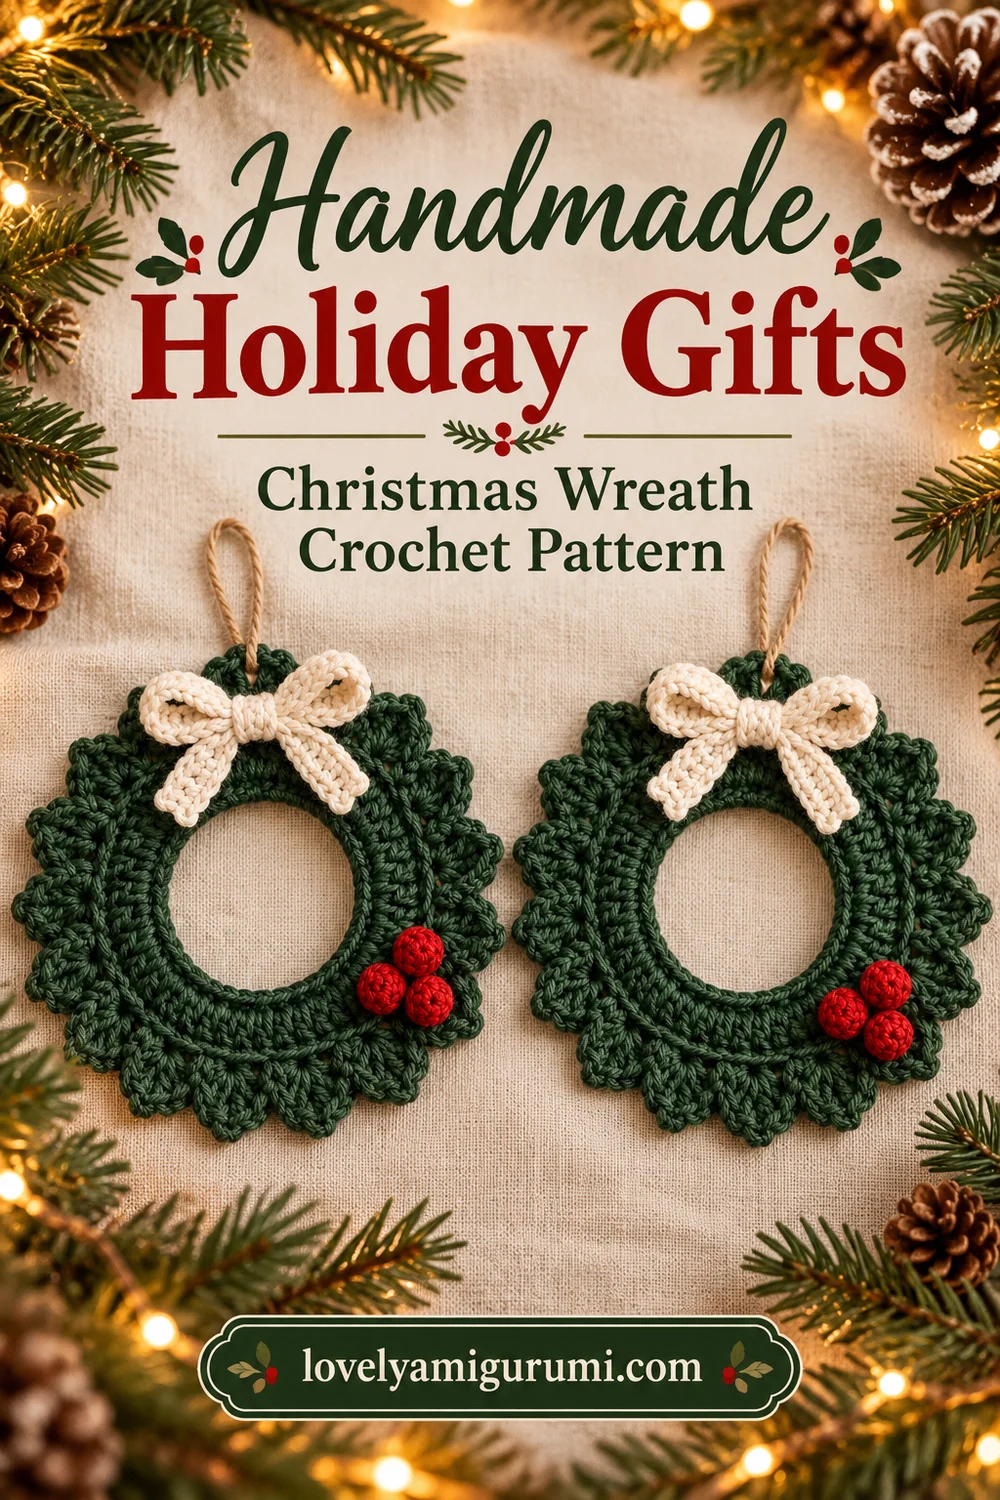
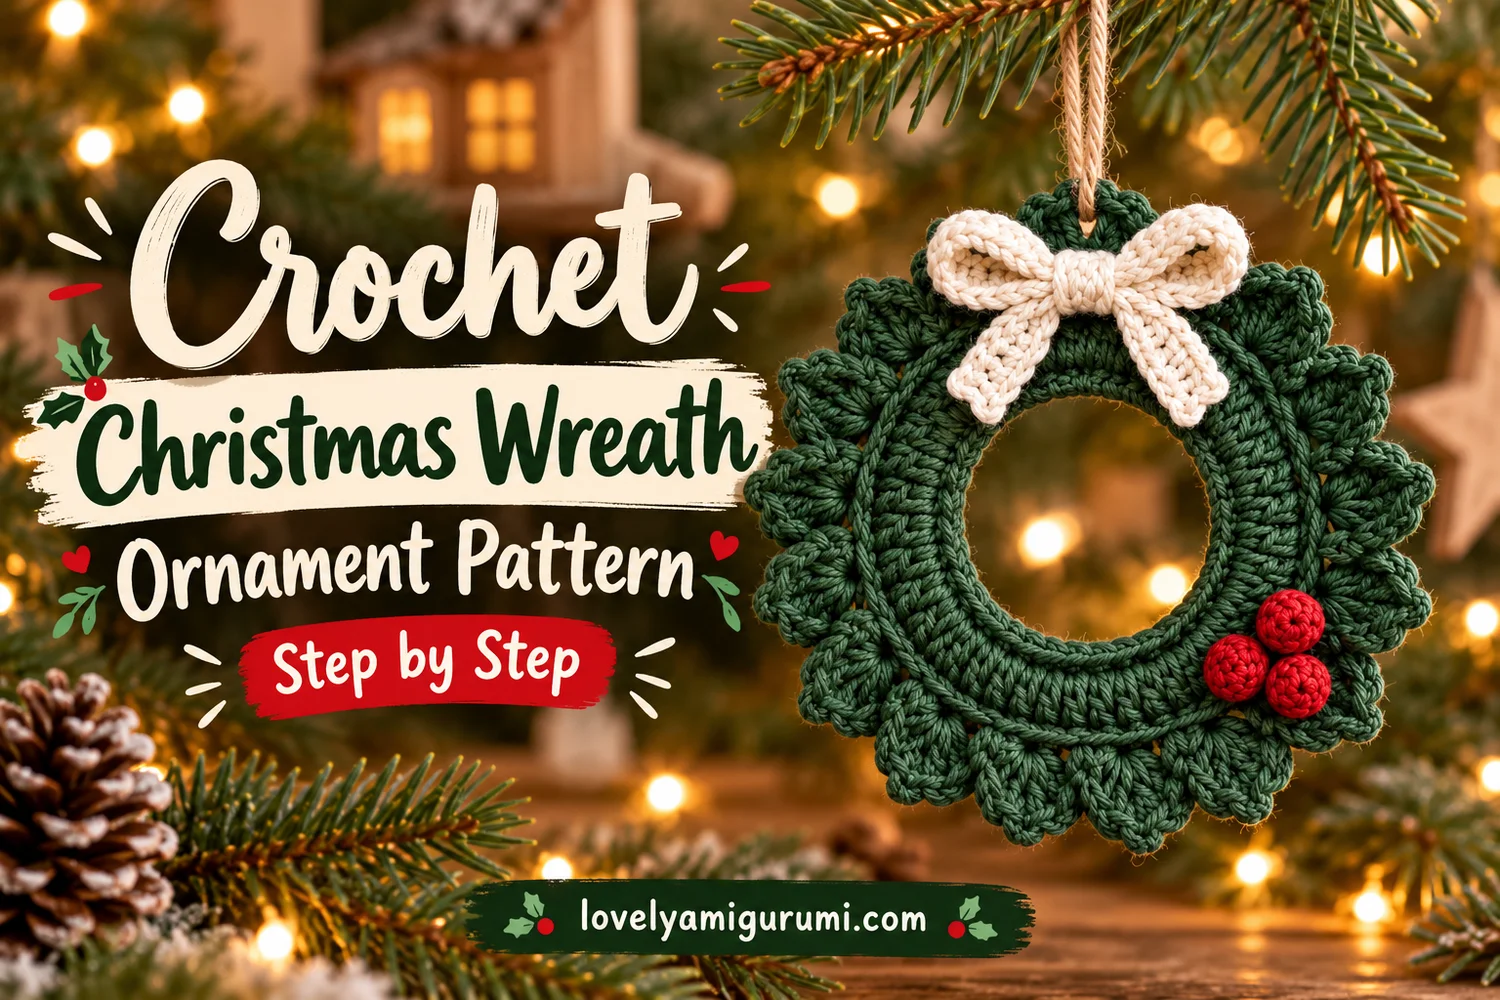
This Christmas Wreath Ornament Crochet Pattern makes a flat forest green wreath with a wide open center, a border of leaf-shaped fans, and a soft cream bow. Three small red berries sit at the lower right, while a natural jute loop finishes the top.
The wreath follows the quiet woodland colors of the reference: deep green cotton, ivory ribbon, and a small touch of red. Work the ring and leaf border in one piece, then sew on the bow and berries for a handmade tree ornament.
Pattern Information
- Skill level: Confident beginner to intermediate.
- Terms: US crochet terminology.
- Construction: Flat open ring with 18 leaf fans, separate cream ribbon tied into a bow, and three stuffed berries.
- Estimated size: Approximately 9–12 cm across with fine to light cotton yarn. Yarn, hook, and tension change the finished size.
- Reference details: Forest green wreath, cream bow at the top, three red berries at the lower right, and a jute hanging loop.
This is an image-inspired adaptation. Stitch counts and repeat placement have been checked, but the pattern has not been physically crocheted or independently tested. Use the written instructions for exact counts; the photo guides illustrate the construction.
Materials for the Christmas Wreath Ornament Crochet Pattern
- Firm cotton yarn in dark forest green, approximately 15–20 g as a starting allowance.
- Small amounts of matching-weight cream and red cotton.
- A 2.5–3 mm hook, or a size that makes firm, even stitches.
- Natural jute cord, approximately 25–30 cm for the hanger.
- A little polyester stuffing for the berries only.
- Tapestry needle, scissors, stitch marker, and pins.
- Blocking mat and rust-resistant pins.
- Optional yarn-compatible fabric stiffener.
The wreath ring remains flat and unstuffed. Smooth cotton shows the leaf stitches clearly and helps the finished ornament keep its outline. Choose the same yarn weight for all crochet pieces.
Stitches and Abbreviations
| Abbreviation | Meaning |
|---|---|
| ch | chain |
| sl st | slip stitch |
| sc | single crochet |
| hdc | half double crochet |
| dc | double crochet |
| tr | treble crochet: yarn over twice before inserting the hook |
| inc | 2 sc in one stitch |
| dec | single crochet decrease over 2 stitches |
| BLO | back loop only |
| MR | magic ring |
| st(s) | stitch(es) |
Counts in brackets are the finished totals. A starting ch 1 does not count as a stitch. Work the ring in joined rounds and mark the first stitch so the join does not become an extra stitch.
Leaf fan: Work (sc, hdc, dc, tr, dc, hdc, sc) all into one base stitch. The seven stitches rise to a central treble and then step down again, making one rounded pointed leaf.
Before You Begin
The foundation chain forms the inside edge of the wreath. The next rounds expand outward to create the band. The final round adds 18 leaf fans around the outside; the center stays open throughout.
Keep the foundation chain relaxed and check that it lies in one plane before joining. A twisted chain will twist the finished ring. Do not add stuffing or close the center with a disk.
Christmas Wreath Ornament Crochet Pattern
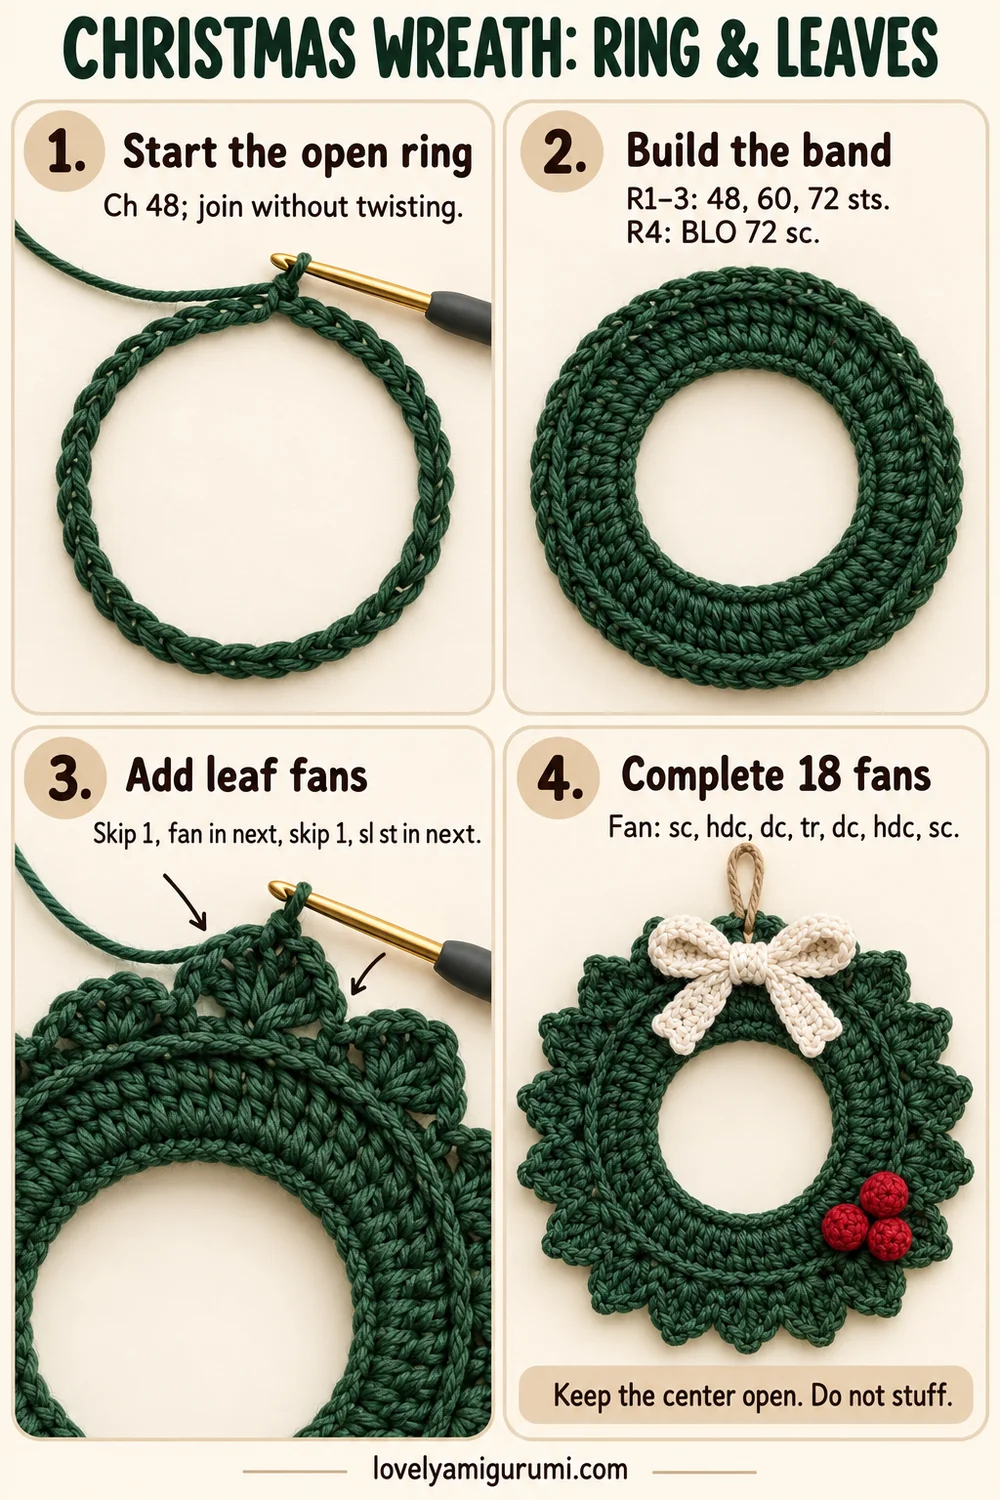
1. Open Foundation Ring
With forest green, ch 48. Lay the chain flat and check that all the little V shapes face the same way. Sl st into the first chain to form a ring without twisting.
R1: Ch 1, sc in each of the 48 chains. Join with sl st to the first sc. [48]
Work into the individual chains rather than around the whole chain ring. Keep the opening round and the stitches evenly spaced.
2. Build the Green Band
- R2: Ch 1, (3 sc, inc) × 12. Join to the first sc. [60]
- R3: Ch 1, (4 sc, inc) × 12. Join to the first sc. [72]
- R4: Ch 1, BLO sc in every stitch. Join to the first sc. [72]
The unused front loops of R3 form a raised line around the outer part of the band, just inside the leaf border. Smooth the work flat before beginning the fans.
3. Leaf-Shaped Outer Border
Ch 1. Starting with the first stitch of R4, repeat this sequence 18 times:
- Skip the next base stitch.
- Work one leaf fan in the next base stitch: (sc, hdc, dc, tr, dc, hdc, sc) all in that stitch.
- Skip the next base stitch.
- Sl st in the next base stitch to make the dip between leaves.
Each repeat uses four of the 72 base stitches. Eighteen repeats use the whole round and make exactly 18 leaf fans. Do not work into the joining slip stitch from R4.
After the final anchoring slip stitch, join neatly to the beginning of the edging and fasten off with a long tail. Weave it along the back of the band, changing direction before trimming.
4. Define the Inner Opening
For the raised inner outline seen in the reference, use a fresh length of green yarn to surface-slip-stitch around the foundation edge. Keep the working yarn behind the ring, insert the hook through successive gaps along the inside edge, and pull each new loop through the loop already on the hook.
Use one surface stitch per foundation position and keep the loops relaxed. Join and hide both ends on the back. This decorative line should follow the opening without shrinking it; omit it if it pulls your ring inward.
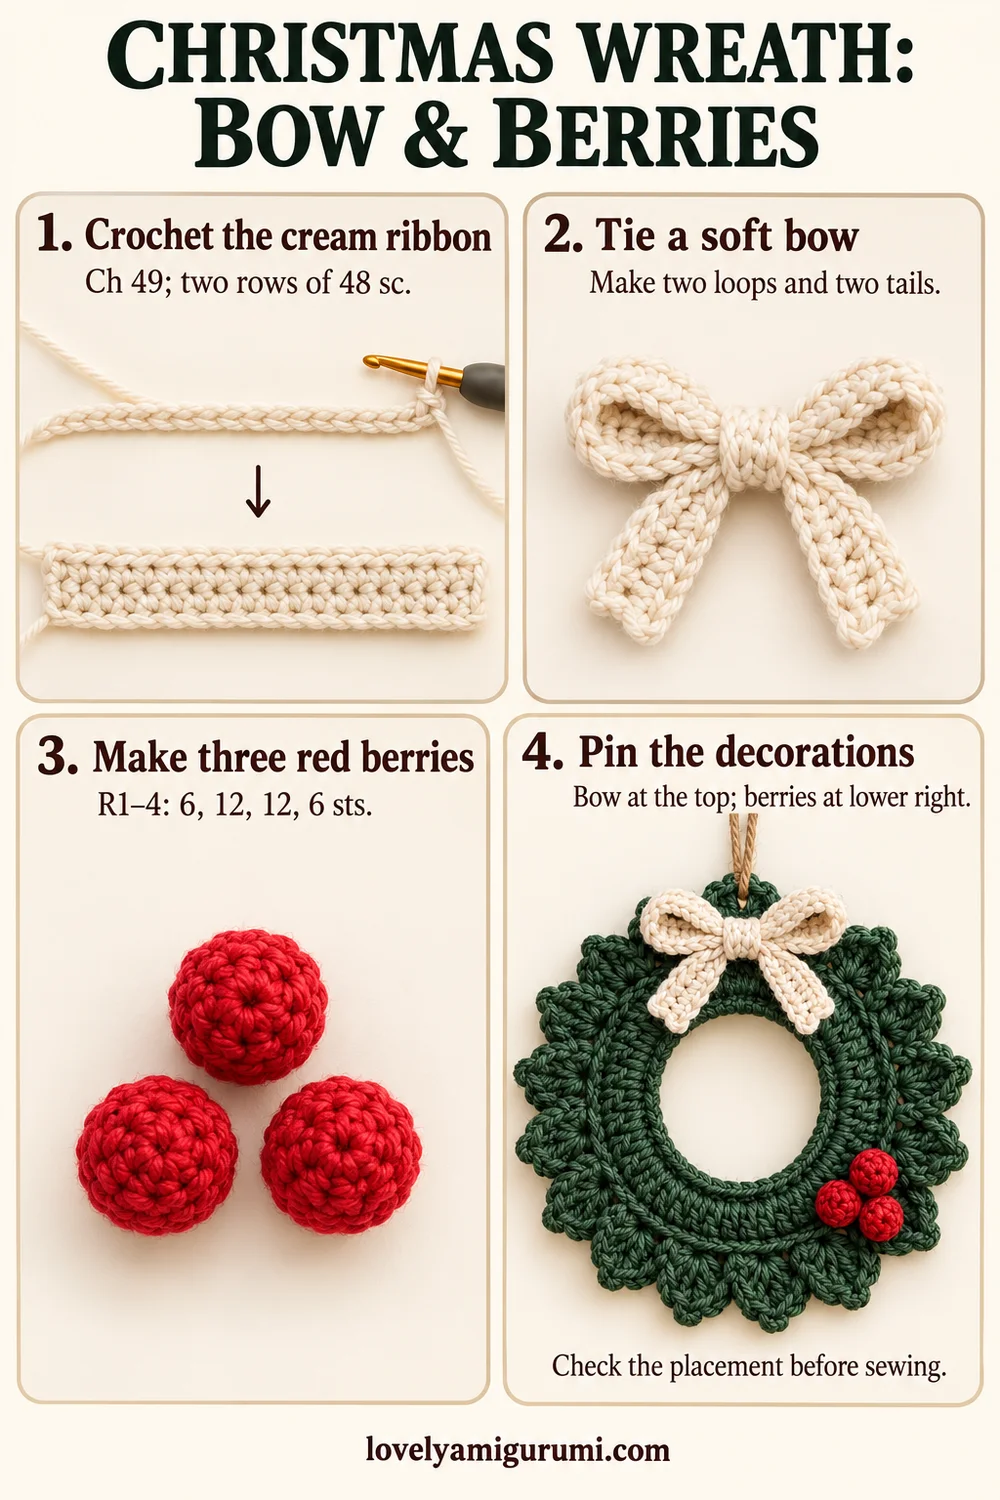
Cream Crochet Ribbon
Leave a long starting tail. With cream, ch 49.
- Row 1: Starting in the second chain from the hook, sc in each remaining chain. [48]
- Row 2: Ch 1, turn, sc in each stitch across. [48]
Fasten off with a long tail. Weave the short ends into the back of the ribbon. Keep the strip soft enough to bend into loops.
Tie the Bow
Tie the strip into a small bow as you would a ribbon: make a center knot, form two loops, and pull them into a balanced shape. Leave two tails hanging below the knot. Adjust the loops rather than tightening the knot so hard that it becomes bulky.
Set the bow at the top of the wreath. The loops should open toward the upper left and right, with the two tails falling over the green band. Use a cream sewing strand to tack the center knot so it cannot untie.
If your stitch gauge makes the ribbon too short to tie neatly, add a multiple of 4 chains to the foundation and work the matching number of sc on both rows. Keep the same narrow width and check the bow against the wreath before sewing.
Red Berries — Make 3
With red, work in continuous rounds:
- R1: 6 sc in MR. [6]
- R2: Inc × 6. [12]
- R3: 12 sc. [12]
- R4: Dec × 6. [6]
Add a tiny pinch of stuffing before the opening gets too small. Fasten off with a sewing tail, pass it through the front loops of the final six stitches, and draw closed.
Make three matching berries and keep the closing points on the back. Arrange them in a small triangular cluster so each round berry remains visible.
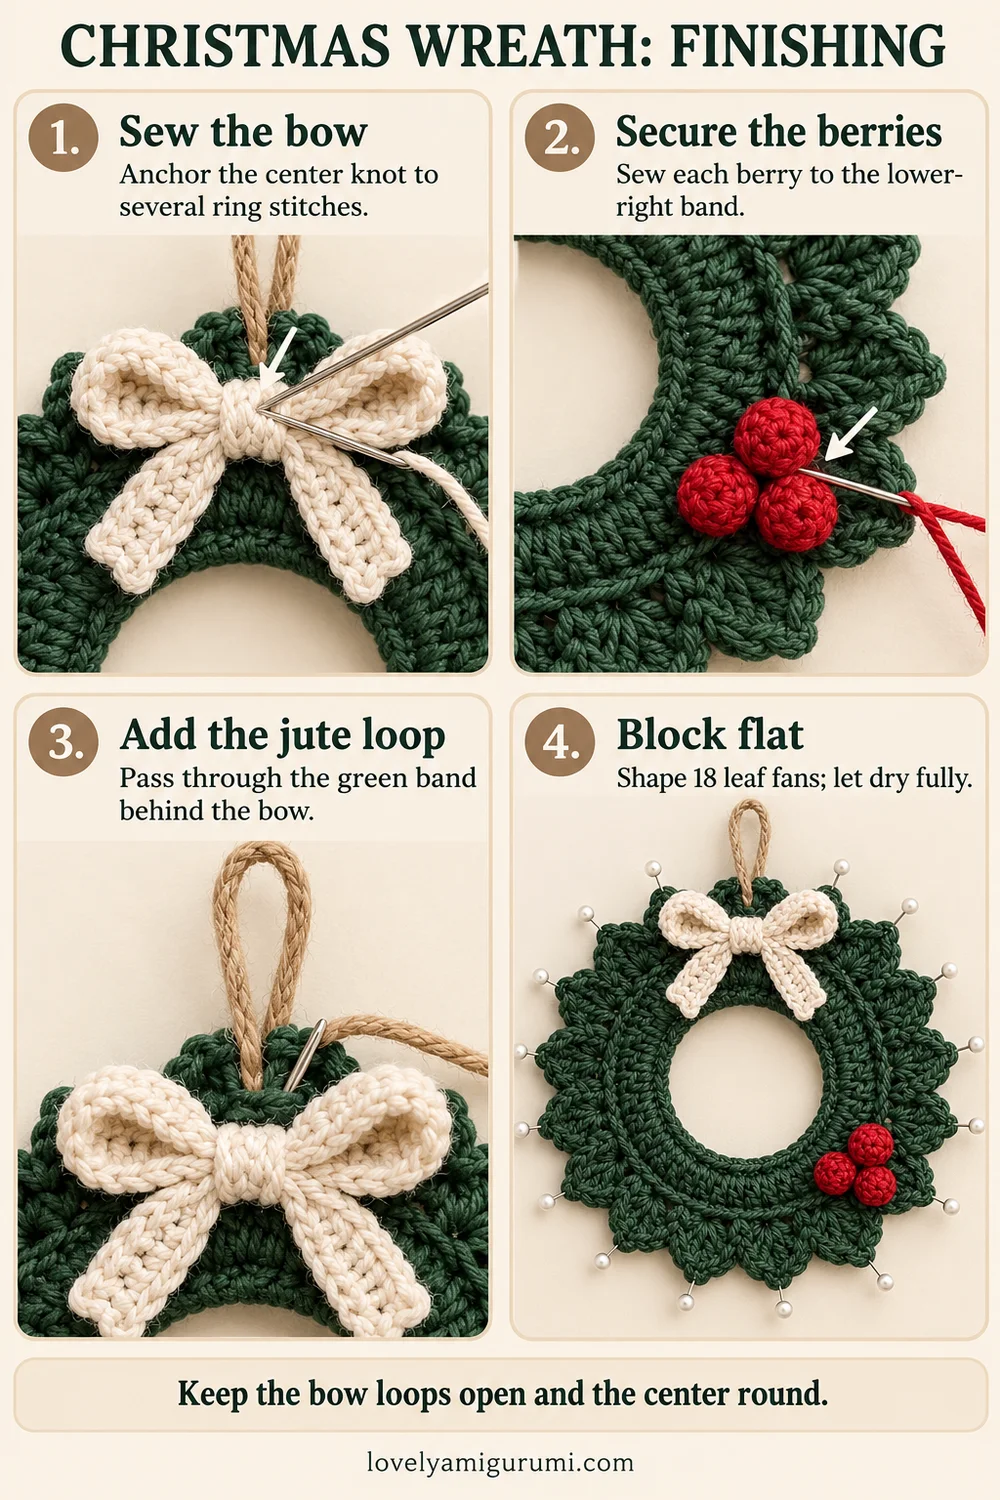
Block the Wreath Flat
Before attaching the decorations and jute, dampen the green wreath lightly. Lay it on a blocking mat and round the inside opening with your fingers. Spread the band evenly without stretching one side more than the other.
Pin each of the 18 fans into a rounded leaf shape, letting the central treble create the outer point. Keep the dips between leaves visible. Let the wreath dry completely before removing the pins.
If a firmer finish is needed, test a yarn-compatible fabric stiffener on a scrap and follow its label. Treat the green wreath before adding the cream bow, red berries, or jute. The finished piece should remain a flat ring.
Sew the Bow at the Top
Choose the neatest position as the top and place the bow at 12 o’clock. Pin its center knot over the green band, keeping the center opening mostly clear.
With cream yarn, sew the underside of the knot to several green stitches. Make at least three passes through the attachment area. Hide the cream strand under the knot so it does not show across the green surface.
Tack the base of each loop if needed, leaving the loops open and the tails softly curved. Weave the ends into the back of the knot and band.
Sew the Three Berries at the Lower Right
Place the berry cluster around 4–5 o’clock on the viewer’s right. Set it on the band just inside the leaf border so the green points remain visible outside it.
Sew each berry individually to several band stitches, then add a small stitch between neighboring berries to hold the cluster together. Keep the closing holes facing the wreath. Weave every red tail into the back of the berries and green band.
Do not center the berries at the bottom or scatter them around the ring. The small lower-right cluster balances the cream bow at the top, matching the supplied reference.
Add the Natural Jute Hanging Loop
Cut about 25–30 cm of jute, adjusting for the branch where the ornament will hang. Fold it in half and pass the folded end through the green band behind the bow, catching several firm stitches near the top.
Pass the two free ends through the folded loop to make a snug hitch. Bring the free ends together above the wreath and knot them securely to form the hanging loop. Trim the ends evenly.
The green band should carry the hanging weight. Do not attach the jute only to a bow loop or the outer tip of one leaf. Check that the wreath hangs straight, with the bow at the top and berries at the lower right.
Visual Tutorial Guides
The three guides at the end of this post show the ring and leaf fans, the cream bow and red berries, and the final sewing and hanging steps. Follow the written instructions for the complete stitch sequence.
Tips and Troubleshooting
The ring twists
Check the foundation chain before R1. If it was joined with a twist, undo the join and flatten the chain before continuing.
I do not have 18 leaves
Count 72 base stitches before the border. Each fan repeat uses four base stitches: one skipped, one holding the fan, one skipped, and one anchoring slip stitch.
The band cups or ripples
Check the 48, 60, and 72 stitch counts. Keep the foundation and joins relaxed, then damp-block the finished ring flat.
The bow covers too much of the opening
Shorten the loops slightly, lift the knot onto the top green band, and angle the tails down over the band rather than into the center.
FAQ
Does the wreath need a plastic ring?
No. This version uses a crochet foundation and a firm cotton band. Blocking or optional stiffener can help it keep its shape.
What gets stuffed?
Only the three red berries. Leave the green ring and cream bow unstuffed.
Can I use a crochet hanger?
Yes. Replace the jute with a chain cord and sew its ends securely to several green band stitches behind the bow.
More Free Christmas Crochet Patterns
- Christmas Bell Ornament Crochet Pattern
- Christmas Mug Keychain Crochet Patterns
- Snowflake Keychain Crochet Pattern
Save This Pattern
Save this Christmas Wreath Ornament Crochet Pattern for a cozy holiday crafting session. Happy crocheting from Lovely Amigurumi!
Christmas Wreath Visual Tutorials and Pinterest Gallery
These three visual tutorial guides and three Pinterest images are grouped here at the end for easy reference.