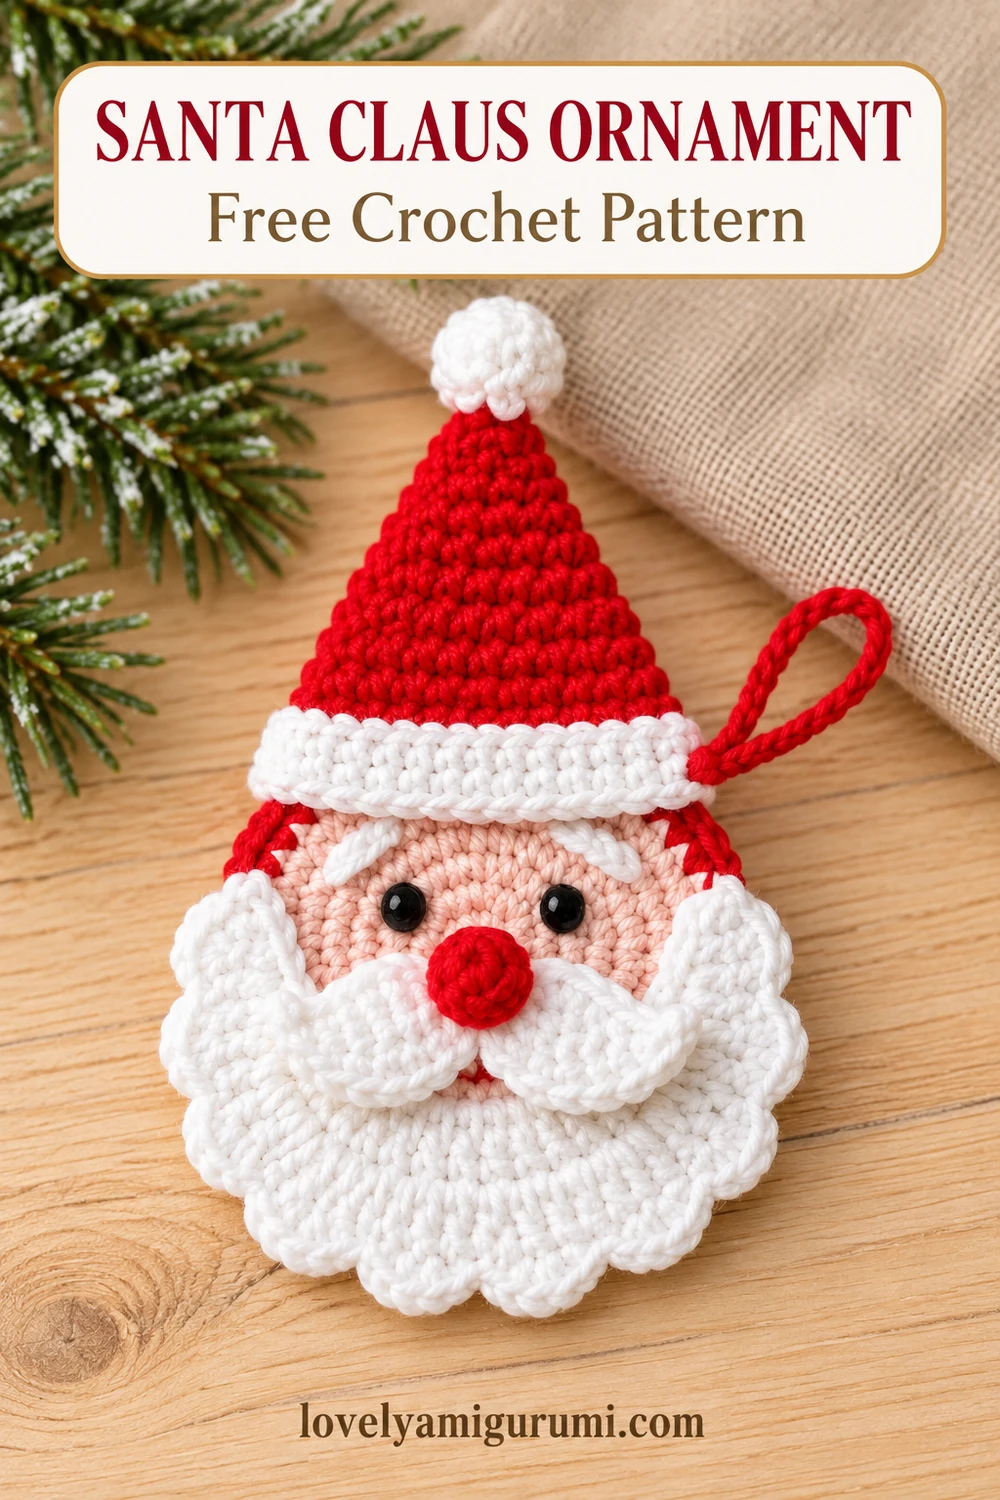
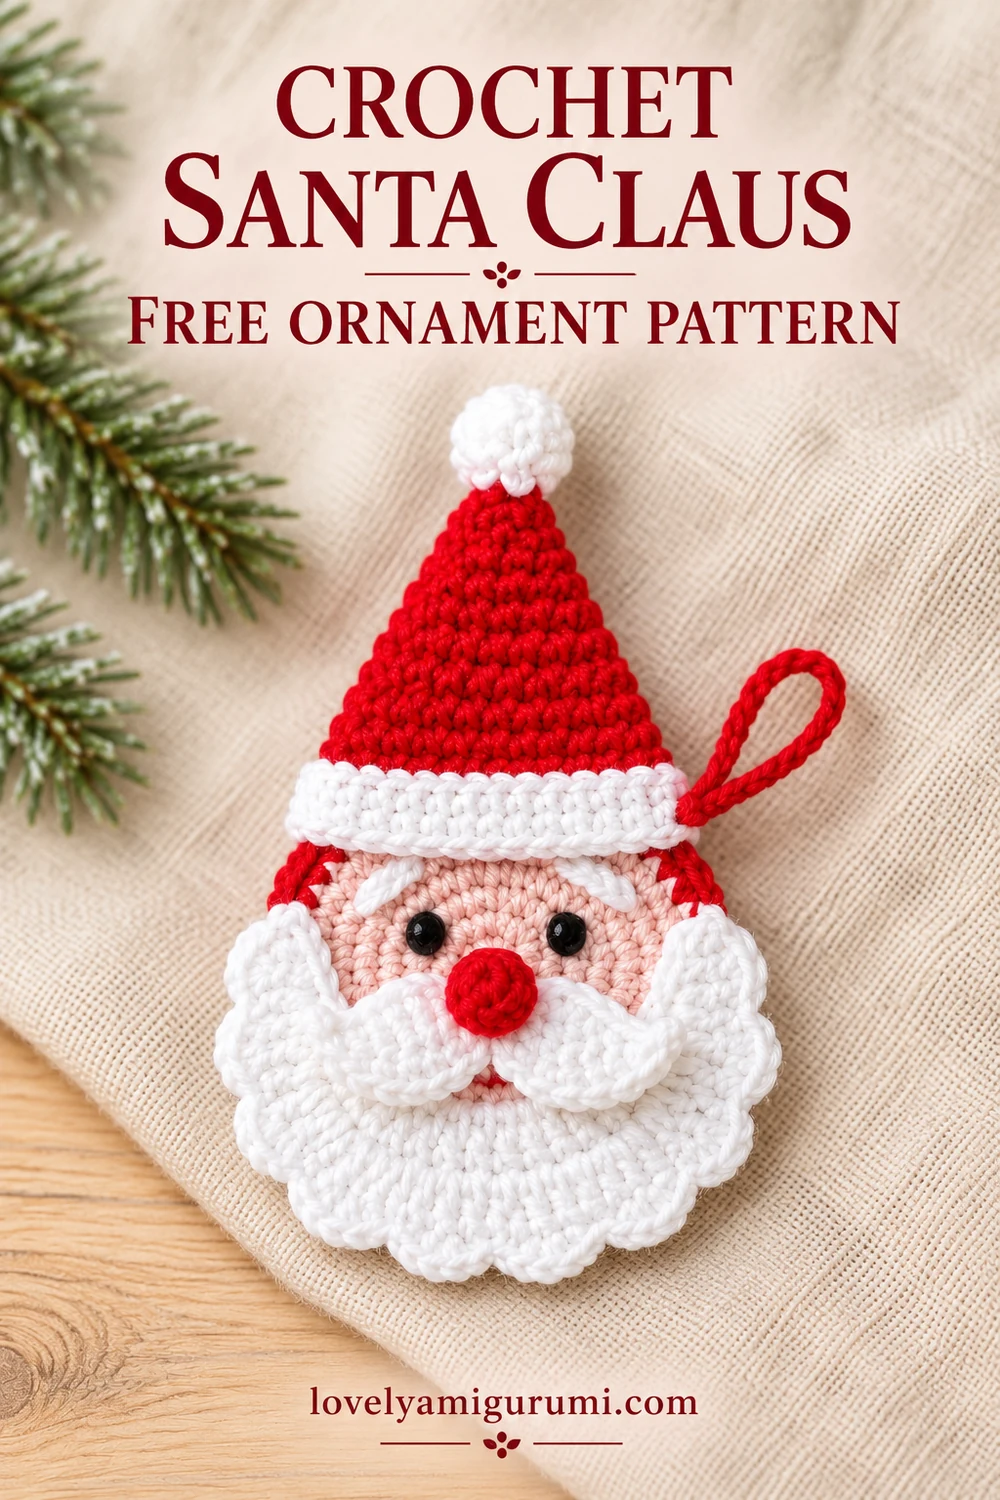
I like a Santa ornament with a recognizable silhouette: a pointed red hat, a round face and a white beard that frames the nose. These crochet Christmas ornaments Santa Claus use two small disks for the head, with a flat hat and a scalloped beard added afterward. They are easy to hang from a branch or tie onto a gift bag without adding a full body.
Keep the stuffing light. A thick, firmly packed head can make the hat lean forward and hide the beard. Pin the face details in place before sewing, and check their position with the ornament hanging upright rather than lying on the table.
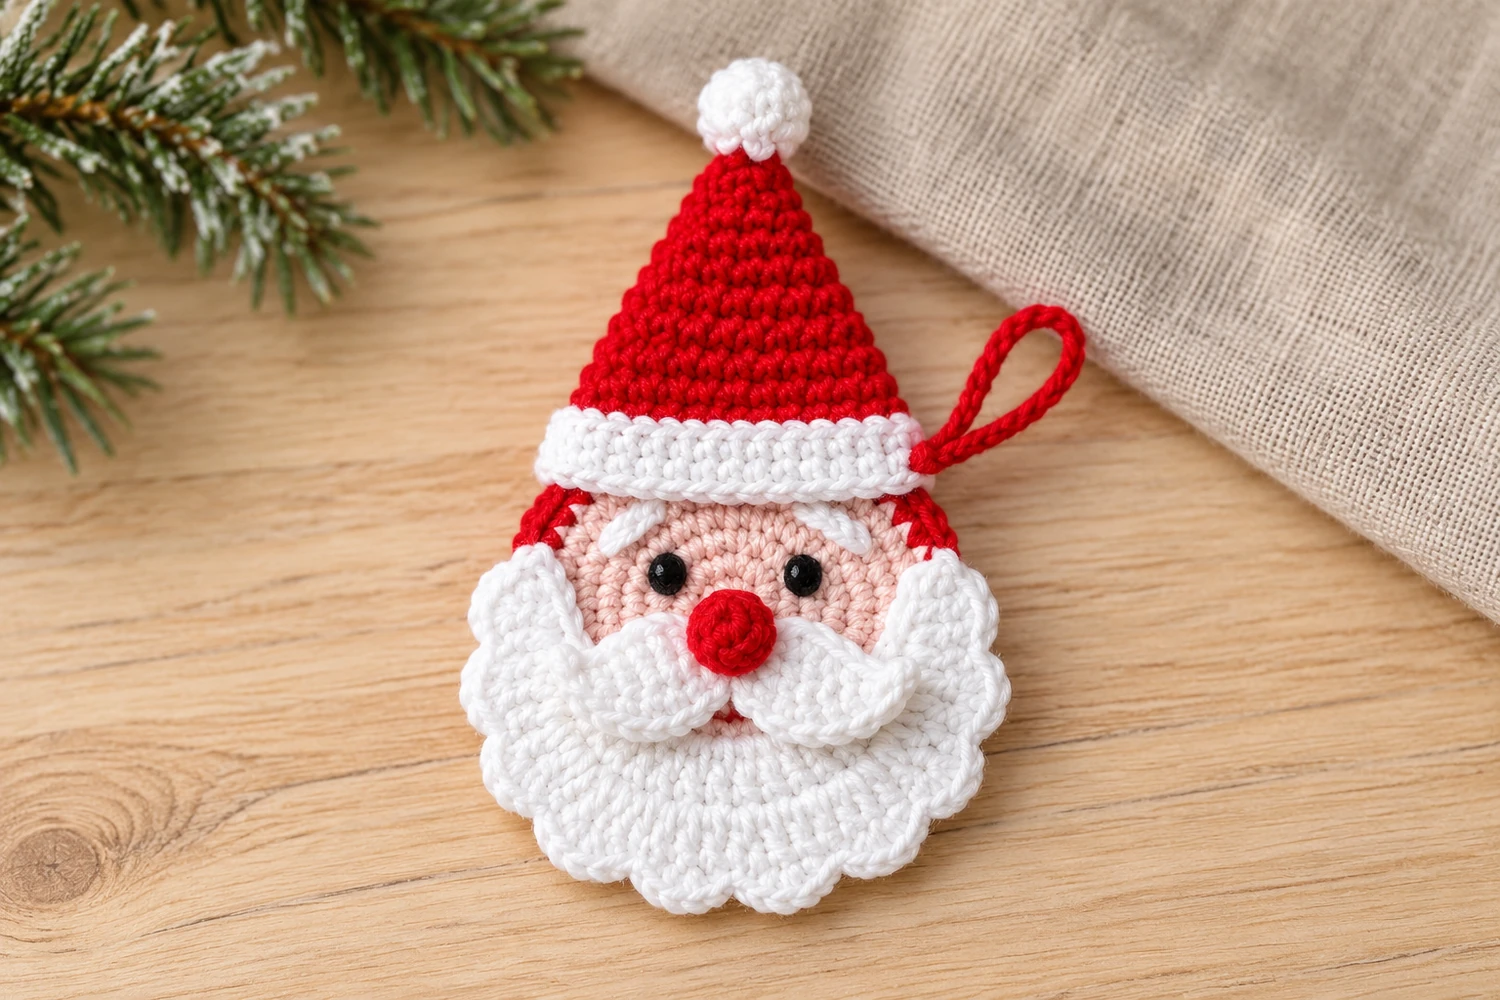
Materials for Crochet Christmas Ornaments Santa Claus
- Matching-thickness cotton yarn in skin tone, red and white; black embroidery thread.
- A 2.5–3.0 mm hook as a starting point for DK cotton. Choose a hook that produces dense fabric with your yarn.
- A small amount of fiberfill, a tapestry needle, scissors, pins and a stitch marker.
- Optional 6 mm safety eyes, fitted before the head disks are joined. Embroidery is the main eye option below.
Before You Begin
Work the head disks in continuous rounds. The hat, brim and beard use rows. Chains for turning do not count as stitches. The finished size depends on yarn, hook and tension; there is no fixed measurement for every yarn choice. Keep the same yarn weight for all pieces so the hat and beard fit the head.
Stitches and Abbreviations
- MR: magic ring.
- ch: chain.
- sc: single crochet.
- hdc: half double crochet.
- dc: double crochet.
- sl st: slip stitch.
- inc: 2 sc in one stitch.
- dec: single crochet two stitches together. For the head, an invisible decrease can be used; for the flat hat, use a regular sc2tog.
- st(s): stitch(es).
For example, (2 sc, inc) × 6 means one sc in each of the next two stitches, then two sc in the next stitch. Repeat that group six times.
Crochet Christmas Ornaments Santa Claus: Head Disks
Make one front disk in skin-tone yarn and one back disk in red. Use the same hook and tension for both. Mark the first stitch of each round.
| Round | Instructions | Total |
|---|---|---|
| 1 | 6 sc in MR | 6 |
| 2 | inc × 6 | 12 |
| 3 | (sc, inc) × 6 | 18 |
| 4 | (2 sc, inc) × 6 | 24 |
| 5 | (3 sc, inc) × 6 | 30 |
| 6 | (4 sc, inc) × 6 | 36 |
Fasten off the front disk and leave a long tail on the back disk for joining. Do not add a scalloped edge to either disk yet; the beard is worked separately along the lower front loops.
Eyes and head assembly
Embroider two black oval eyes on the front disk, slightly above its center, with approximately five stitch-widths between them. Secure the thread on the wrong side. If using safety eyes, fit their backs now; they cannot be fitted properly after joining the disks.
Place the wrong sides of the disks together. With red yarn, whipstitch around the edge, matching all 36 pairs of stitches. Catch only the back loop of each front-disk stitch and both loops of the matching back-disk stitch. This leaves all 36 front loops available on the face.
Leave a small opening, add a thin layer of stuffing, then finish the seam. The head should be a softly padded disk, rather than a ball. Weave in the tail. Mark the top center and the eighteen front loops around the lower half.
Crochet Christmas Ornaments Santa Claus: White Beard
Hold the face upright and join white yarn to the first reserved loop at the left side of the lower half. Work toward the bottom center and around to the opposite side. Use exactly eighteen consecutive front loops.
- Row 1: ch 2, then work 1 dc in each of the eighteen marked loops. The ch 2 does not count. Turn. (18 dc)
- Row 2: ch 1; (sl st in the next stitch, 5 dc in the next stitch, sl st in the next stitch) × 6. (6 shells; 42 stitches including the slip stitches)
Fasten off and weave in the ends. Each shell consumes three stitches from Row 1, so six shells use all eighteen. Spread the beard into a gentle curve along the lower face. The scallops form the outside edge, with both side ends stopping below the eyes.
Mustache and Red Nose
White mustache
Ch 12. Starting in the second chain from the hook, work sc, hdc, dc, dc, sc, sl st, sc, dc, dc, hdc, sc across the eleven remaining chains. Fasten off with a sewing tail. Each instruction uses one chain; there are eleven stitches in total. The central slip stitch divides the two lobes.
Red nose
Round 1: 6 sc in MR. Round 2: sc in each stitch (6). Round 3: dec × 3 (3). A yarn tail tucked inside is enough to give this tiny piece a little shape; avoid loose fiberfill in the nose. Fasten off, close the final three stitches and leave a sewing tail.
Pin the mustache below the eyes, with its center at the lower middle of the face. Sew along its upper edge, keeping the rounded lobes visible over the beard. Sew the red nose over the central slip stitch. Catch several face stitches when attaching it so it stays centered.
Crochet Christmas Ornaments Santa Claus: Red Hat
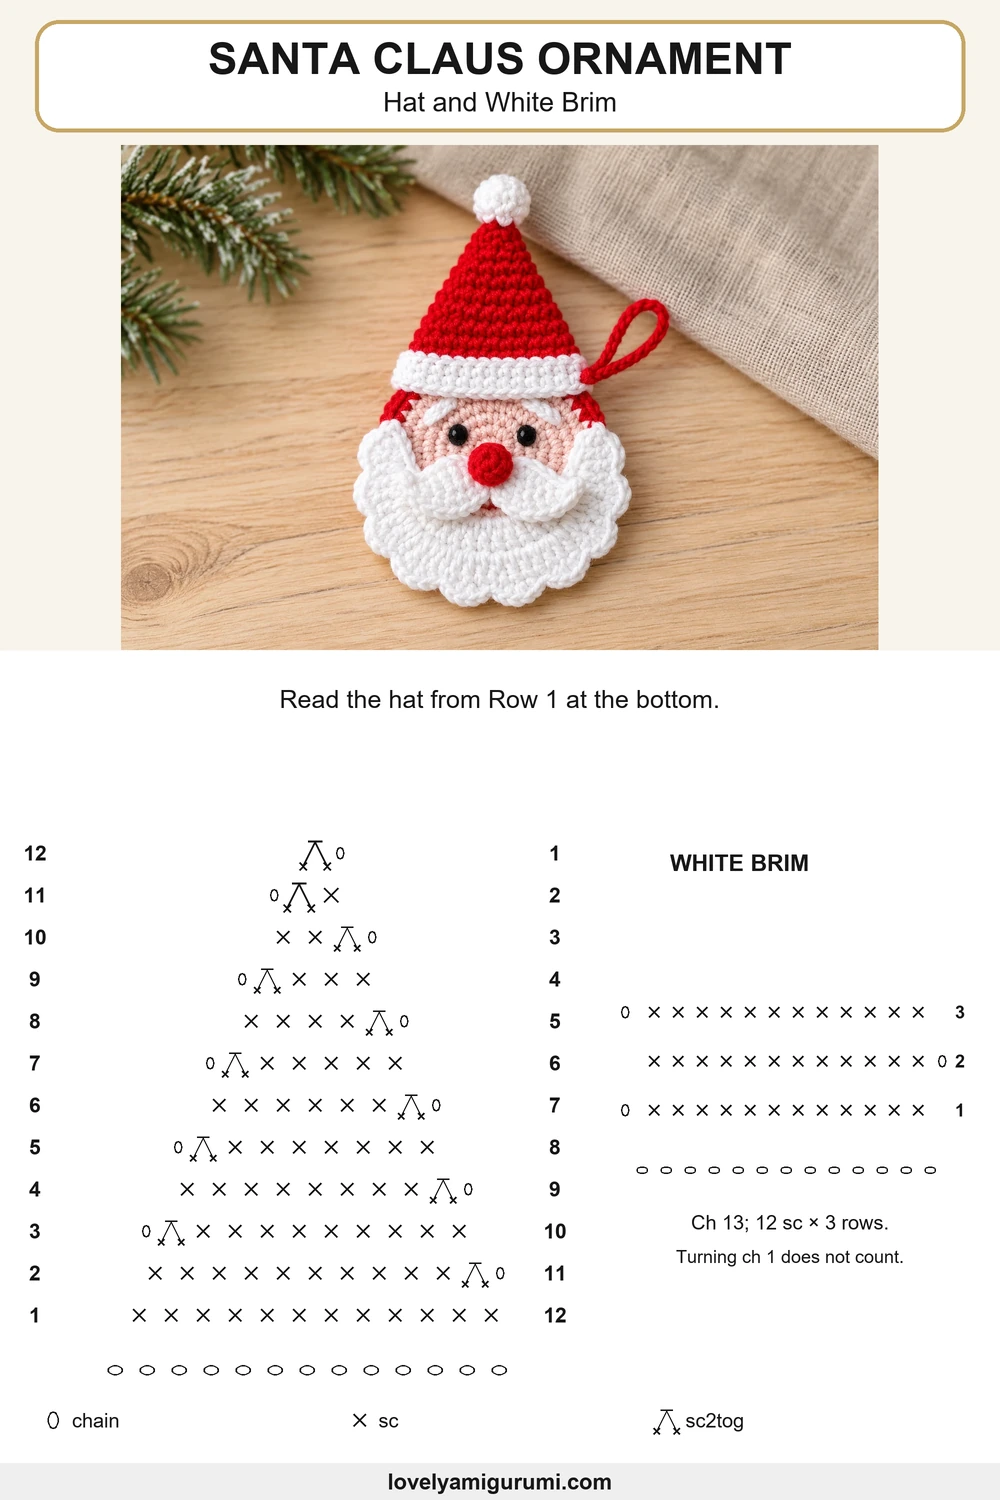
The hat is a flat triangle. With red yarn, ch 13. The first row starts at the wide bottom edge. After each row except the last, ch 1 and turn; that chain does not count.
| Row | Instructions | Total |
|---|---|---|
| 1 | Starting in second ch, sc across | 12 |
| 2 | dec, 10 sc | 11 |
| 3 | dec, 9 sc | 10 |
| 4 | dec, 8 sc | 9 |
| 5 | dec, 7 sc | 8 |
| 6 | dec, 6 sc | 7 |
| 7 | dec, 5 sc | 6 |
| 8 | dec, 4 sc | 5 |
| 9 | dec, 3 sc | 4 |
| 10 | dec, 2 sc | 3 |
| 11 | dec, sc | 2 |
| 12 | dec | 1 |
Fasten off. Decreasing at the start of every row places the shaping on alternating physical sides as you turn the fabric.
White brim
Ch 13 with white yarn. Row 1: sc in the second chain and each remaining chain (12). Rows 2–3: ch 1, turn, sc in all twelve stitches (12 each). Fasten off with a sewing tail.
White pompom
Round 1: 6 sc in MR. Round 2: sc around (6). Round 3: dec × 3 (3). Fasten off and close the final three stitches. Tuck a yarn end inside for a little volume, then sew the pompom securely to the tip of the hat.
Finish the Santa Ornament
- Sew the white brim across the twelve-stitch lower edge of the hat.
- Pin the hat across the upper edge of the head. Keep the brim above the eyes and check that the pointed tip sits over the face center.
- Sew the lower hat edge and brim securely into several head stitches. Catch both head layers near the seam for support.
- For optional white eyebrows, make two separate ch-3 lengths and sew one above each eye, just below the brim. Omit them for a simpler face.
- With doubled red yarn, ch 18 for a hanging loop. Sew both ends into the corner where the right side of the brim meets the head seam, using several passes. Do not rely on the pompom to carry the ornament.
- Hold the loop upright to check the balance. Adjust the hat attachment before weaving in the final tails.
Three Crochet Charts for the Santa Ornament
The first chart shows the six head-disk rounds. The second covers the triangle and the separate white brim. The third shows the eighteen-stitch beard band, six scalloped shells and the mustache chain. Symbols and totals correspond to the written instructions; sewing and light stuffing are explained above.
Tips for Crochet Christmas Ornaments Santa Claus
The beard has an unfinished gap
Count the eighteen lower loops before starting. Each shell consumes three dc, including the two slip-stitch positions; do not skip another stitch between shells.
The hat is uneven
Work the decrease into the first two actual stitches after turning. The ch 1 is not a stitch. Check that the count drops by one each row.
The head looks too puffy
Reduce the filling to a thin layer. A flatter disk keeps the separate hat and beard close to the reference silhouette.
The mustache twists
Relax the foundation chain and pin both lobes before sewing. Make sure each dc is worked into its own chain, rather than putting two dc into one chain.
Crochet Christmas Ornaments Santa Claus: Frequently Asked Questions
Is the hat optional?
The main version includes the red hat, white brim and pompom. These parts create the Santa silhouette shown in the cover image.
Can I use thicker yarn?
Yes. Use the same yarn thickness for the head, hat and beard, then select a hook that makes close stitches. The finished ornament will change size.
Are the head disks joined with crochet stitches?
No. This version uses a whipstitched seam that leaves the front loops available for the beard. Follow the loop placement carefully.
Can I omit safety eyes?
Yes. Embroidered eyes are the main option. Keep this ornament, its hanging loop and any small detachable parts out of reach of babies and young children.
More Seasonal Crochet Projects
Try the Santa Ornament Crochet Pattern for another Santa design, or the Chunky Amigurumi Pumpkin for autumn decorating.
Save these crochet Christmas ornaments Santa Claus for your holiday craft plans. If you share a finished ornament, tag @lovelys.amigurumi; I would love to see your color choices.