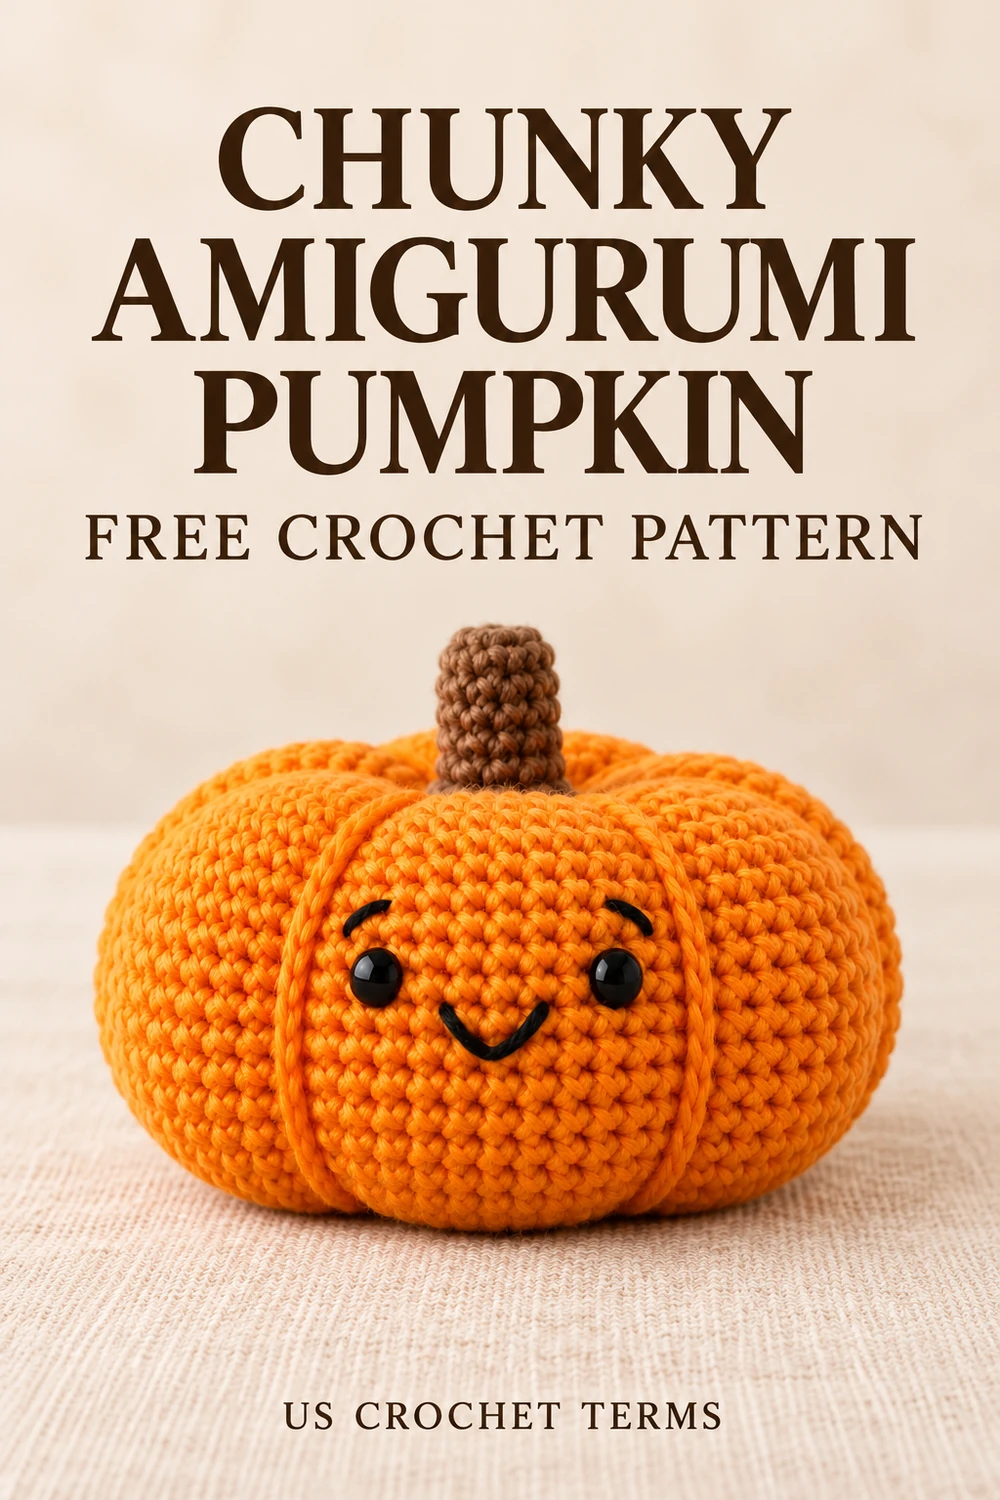
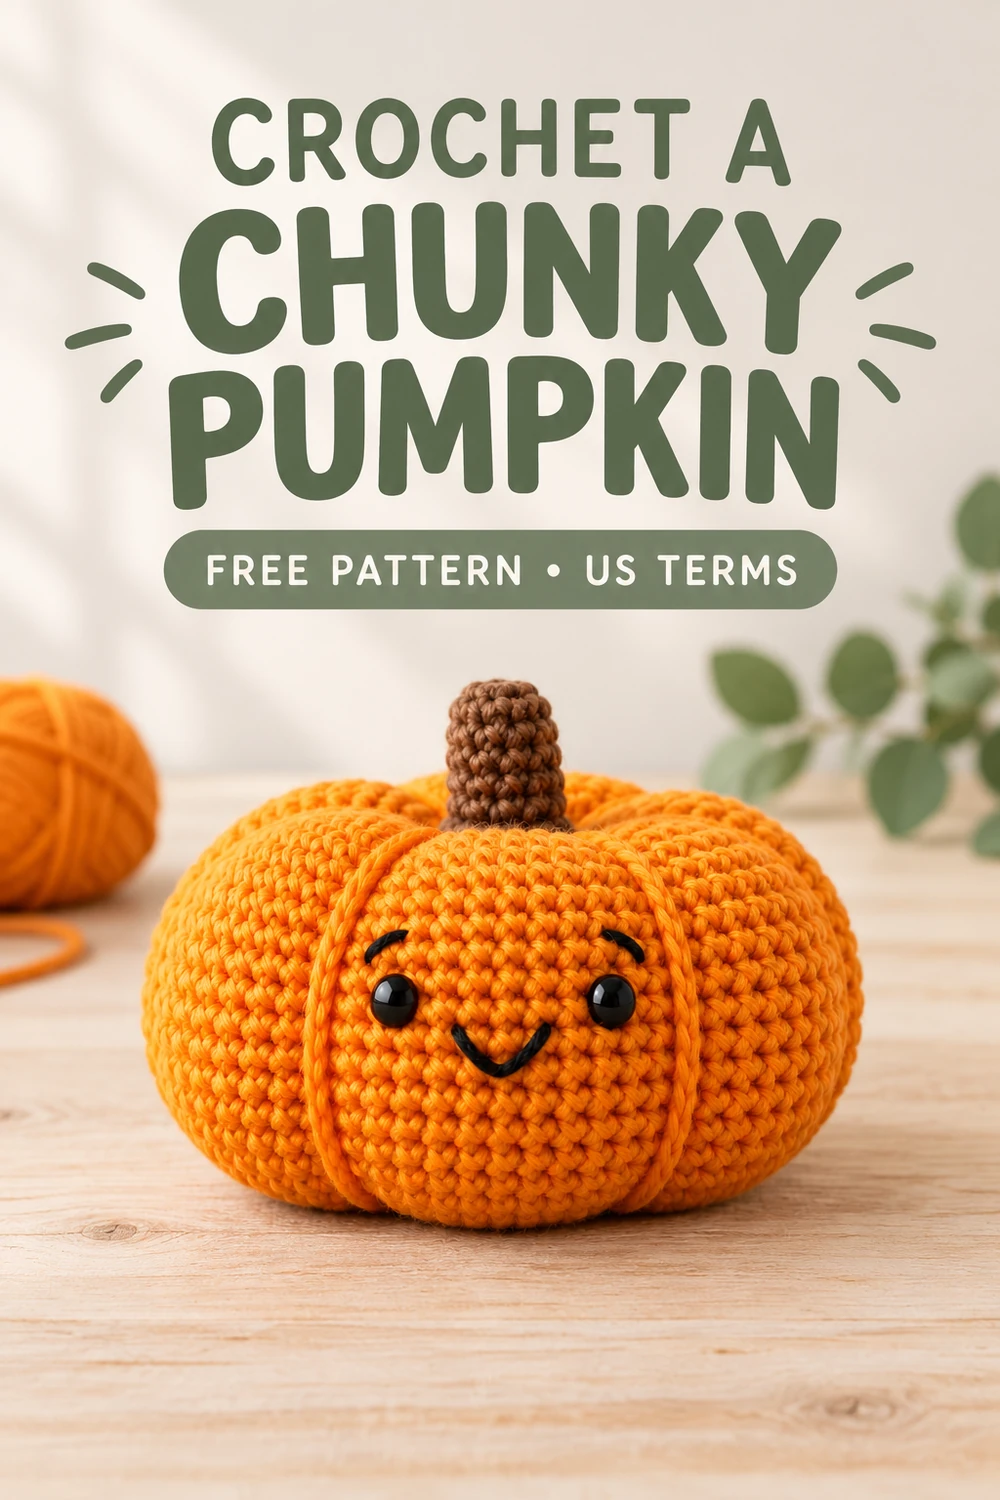
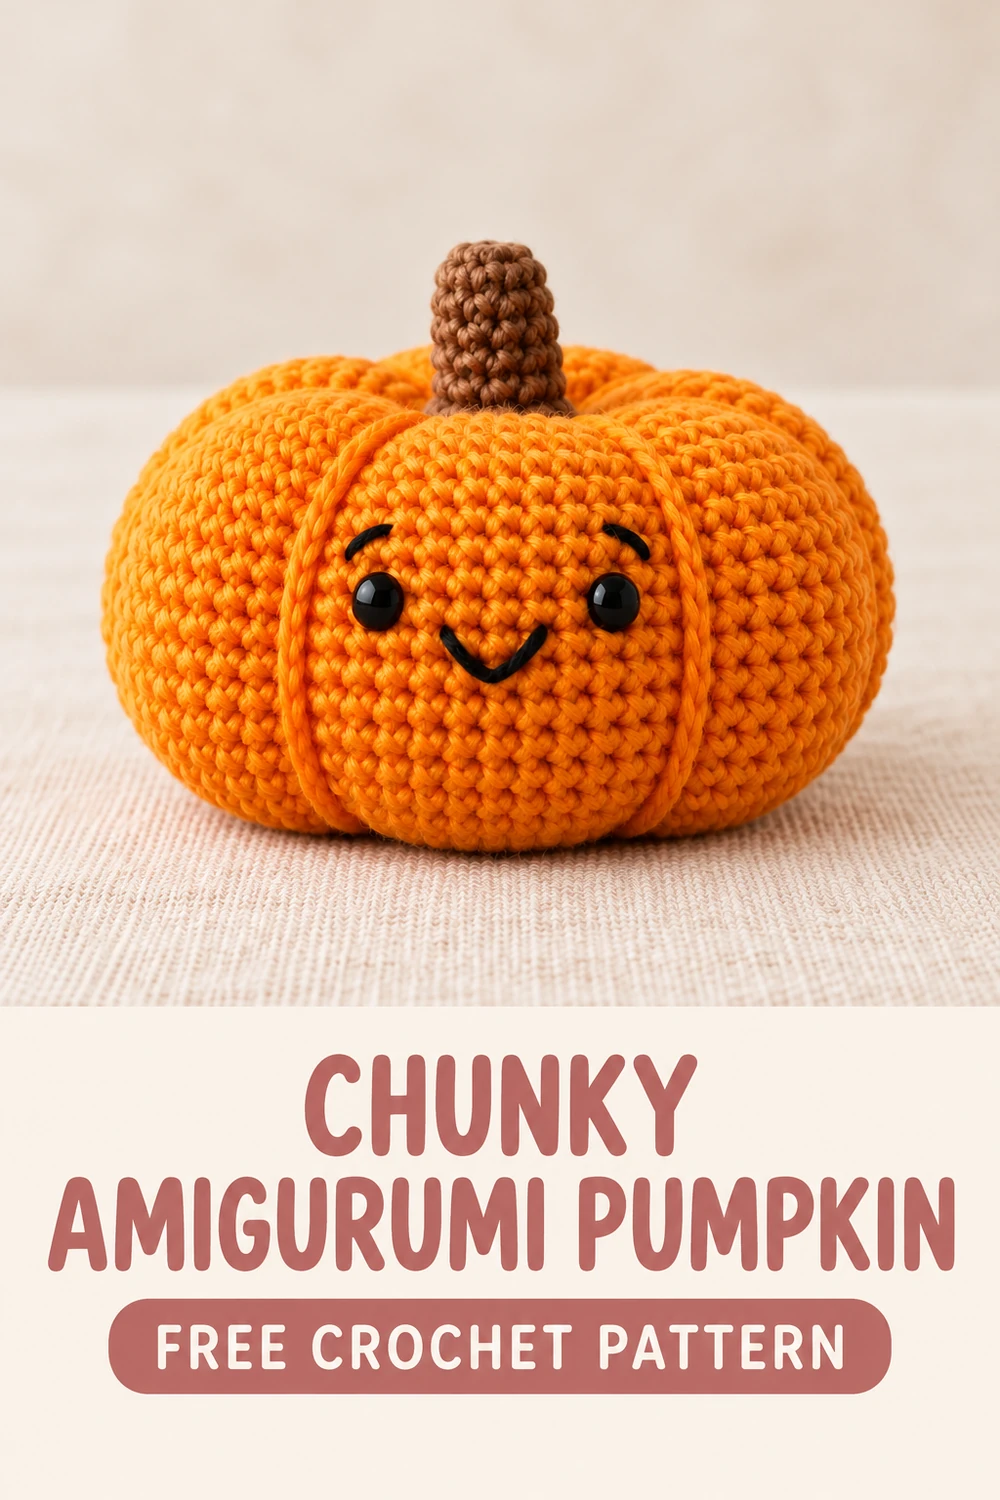
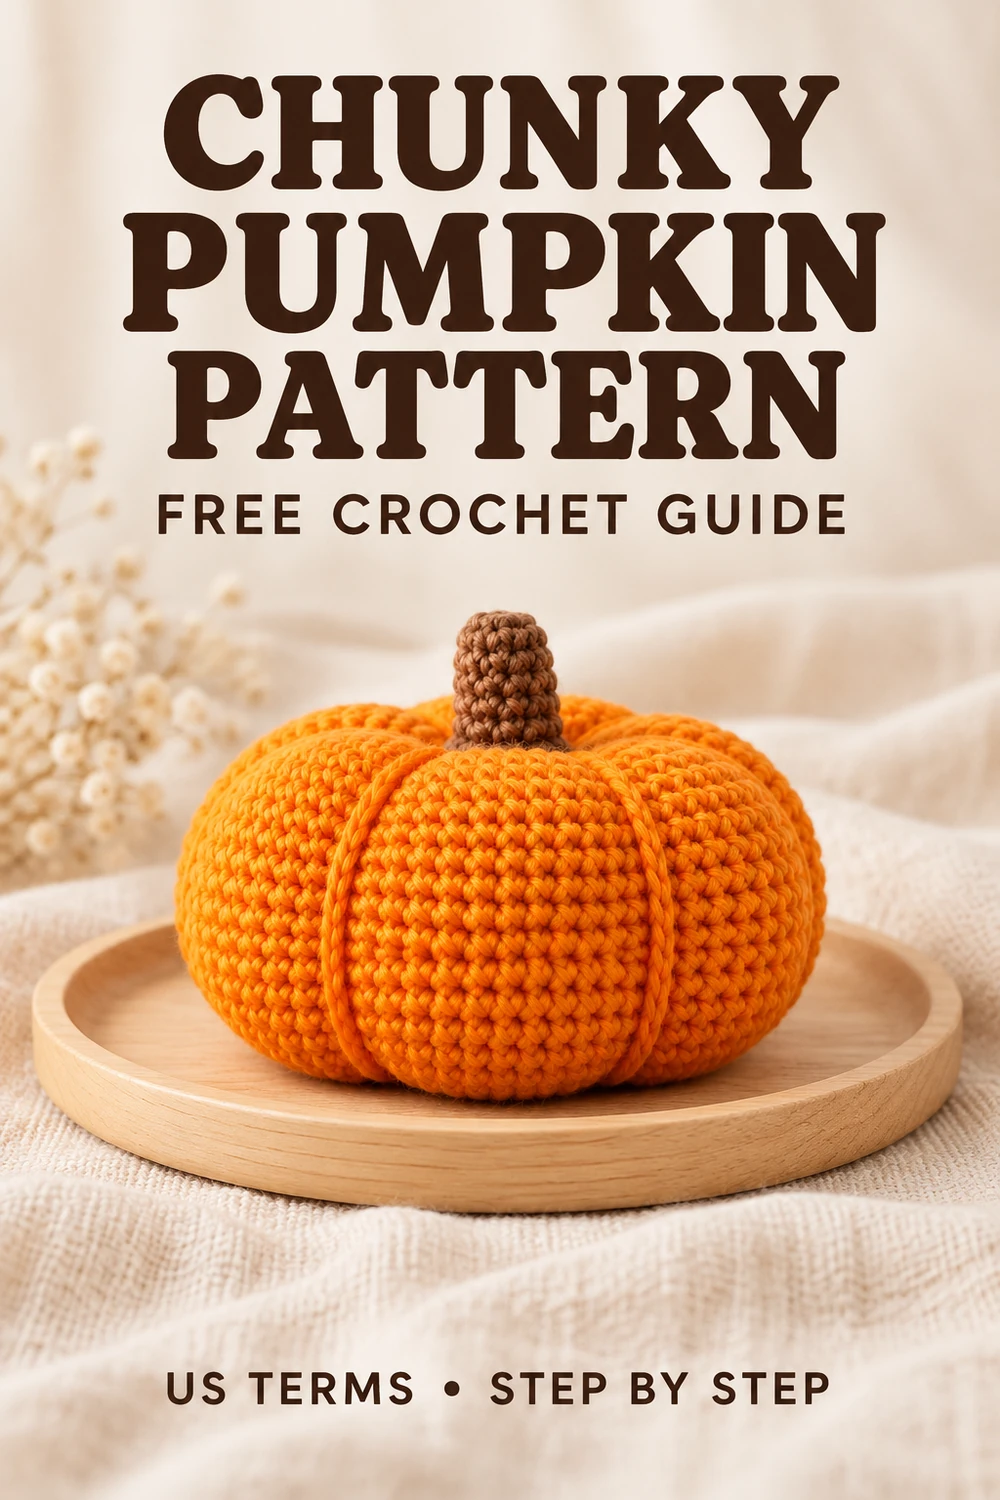
I like fall decorations that keep their shape simple: a plump orange pumpkin, a brown stem and a small smile. This chunky amigurumi pumpkin starts as a rounded body, then turns into a pumpkin when six strands shape the outside into sections. The face is optional if you prefer plain autumn decor.
The grooves come from yarn wrapped around the outside, not from changing the stitch pattern. That distinction matters: stitching only through the center can flatten a crochet ball, but it will not create the six vertical sections. Leave enough space between the wraps for the face.
Materials for the Chunky Amigurumi Pumpkin
Orange and brown chunky yarn of matching thickness; black embroidery thread or smooth black yarn; fiberfill; tapestry needle long enough to pass through the body; scissors; stitch marker. For a dense smooth chunky yarn, a 4.0 mm hook can be a starting point; adjust to your yarn. Optional 10 mm safety eyes can replace embroidered eyes.
Before You Begin
Work in continuous rounds without joining. Mark the first stitch of each round. Choose a hook that makes dense stitches without making the yarn hard to pull through. Use strong smooth orange yarn for shaping if the body yarn is fragile chenille; fluffy yarn can break under tension. Finished size depends on yarn, hook and stuffing.
Skill level: confident beginner. Terminology: US crochet terms. Choose your yarn and hook together; no fixed size applies to every yarn.
Abbreviations: US Crochet Terms
- MR: magic ring
- ch: chain
- sc: single crochet
- inc: 2 sc in one stitch
- dec: single crochet decrease over two stitches; use an invisible decrease through front loops unless back loops are specified
- hdc: half double crochet
- dc: double crochet
- sl st: slip stitch
- BLO / FLO: back / front loop only
- st(s): stitch(es)
A repeat such as (2 sc, inc) × 6 means work one sc in each of the next two stitches, then 2 sc in the next stitch; repeat that group six times.
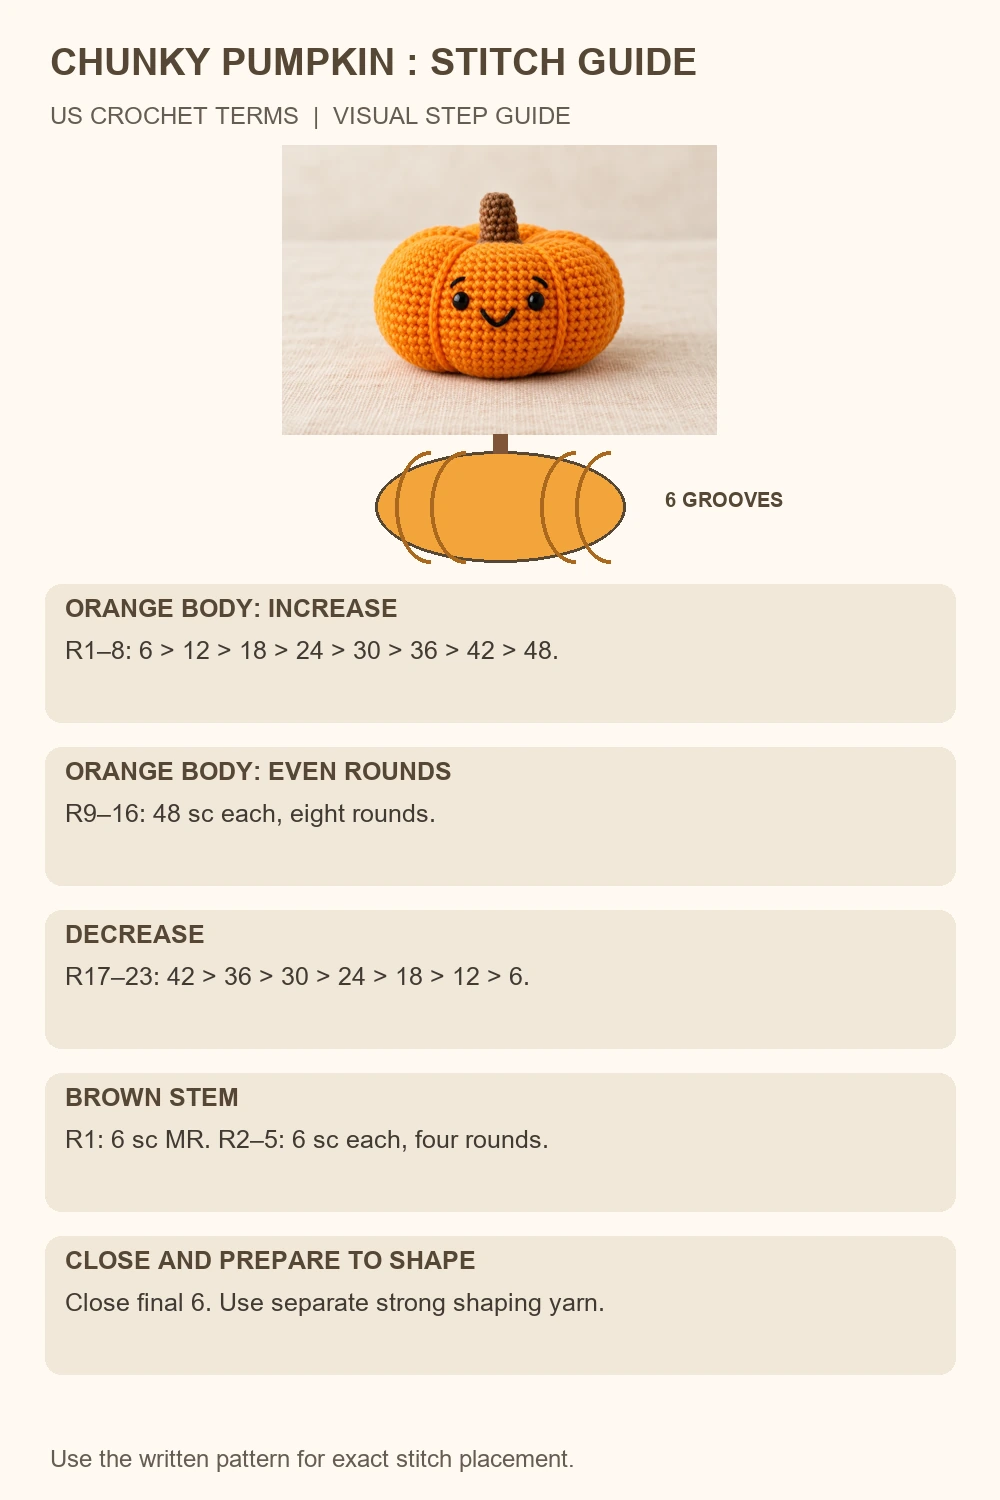
Chunky Amigurumi Pumpkin: Orange Body
Start at the bottom center with orange yarn.
| Round | Instructions | Stitches |
|---|---|---|
| 1 | 6 sc in MR | 6 |
| 2 | inc × 6 | 12 |
| 3 | (sc, inc) × 6 | 18 |
| 4 | (2 sc, inc) × 6 | 24 |
| 5 | (3 sc, inc) × 6 | 30 |
| 6 | (4 sc, inc) × 6 | 36 |
| 7 | (5 sc, inc) × 6 | 42 |
| 8 | (6 sc, inc) × 6 | 48 |
| 9–16 | sc in each st; 8 rounds | 48 each |
| 17 | (6 sc, dec) × 6 | 42 |
| 18 | (5 sc, dec) × 6 | 36 |
| 19 | (4 sc, dec) × 6 | 30 |
| 20 | (3 sc, dec) × 6 | 24 |
| 21 | (2 sc, dec) × 6 | 18 |
| 22 | (sc, dec) × 6 | 12 |
| 23 | dec × 6 | 6 |
If using safety eyes, pause after Round 16 to install them between Rounds 14 and 15, leaving about 6 visible stitches between the eye posts. Secure the backs now. Keep the face area between two planned shaping grooves. Embroidered eyes and a smile can be added after shaping instead.
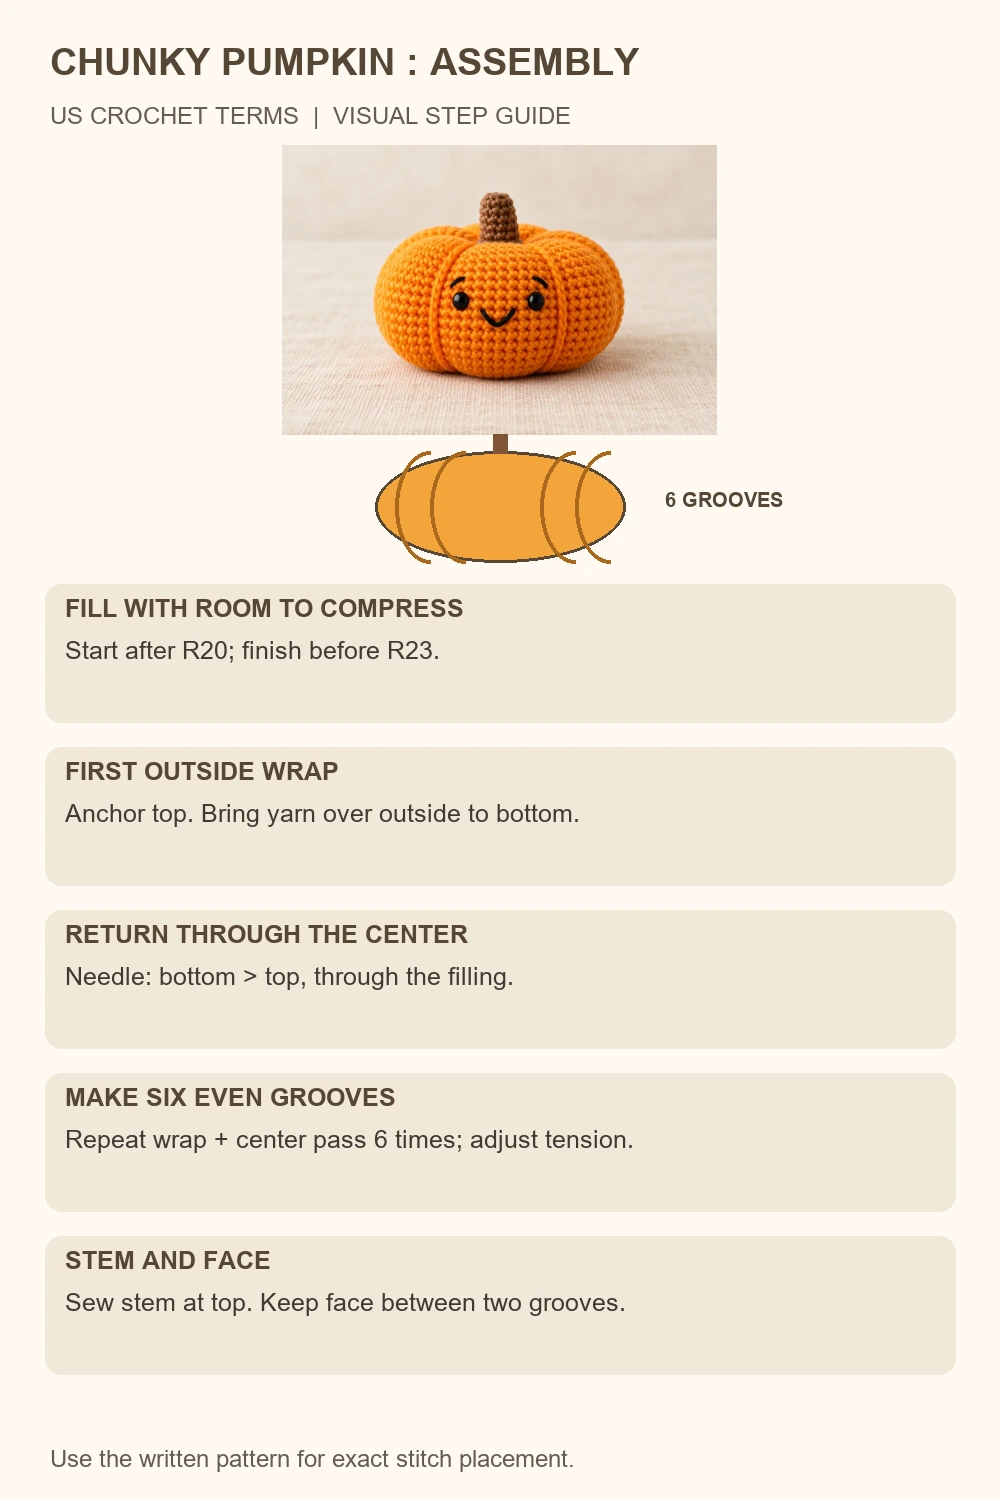
Start adding fiberfill after Round 20. Distribute it around the sides, then finish stuffing before Round 23. Keep the center compressible; a tightly packed ball is difficult to shape into a squat pumpkin.
After Round 23, fasten off with a closure tail. Thread through the front loops of the final 6 stitches and draw closed. Secure and bury the tail. Use a separate longer strand for the grooves rather than trying to make a short closure tail do both jobs.
Shape Six Sections on the Chunky Amigurumi Pumpkin
Use a strong orange shaping strand long enough for six exterior wraps and six passes through the center. A practical way to estimate it is to lay yarn loosely over the height of the body from top to bottom, double that length, multiply by six, then add about 30 cm for securing. Thread it through a long tapestry needle.
- Anchor the strand at the top center, beneath the future stem.
- Bring the yarn down over the outside of the body at the first groove position.
- Insert the needle at the bottom center and pass straight through the filling to the top center.
- Pull gently until the exterior strand makes a shallow vertical groove.
- Move around the body by about one sixth of its circumference and repeat the exterior wrap and bottom-to-top pass.
- Make 6 grooves in total. Adjust their spacing and tension before securing the strand at the top.
Each groove has one visible strand along the outside; the return pass travels through the center. At the widest 48-stitch round, roughly 8 stitches lie between neighboring grooves. Use that as a spacing guide, rather than pulling all six wraps into the same place.
The wraps draw the top and bottom slightly inward. Smooth the filling with your hands and keep one broad front section clear for the face. Secure the shaping strand beneath the stem and bury its ends.
Brown stem
Round 1: 6 sc in MR (6). Rounds 2–5: sc in each st (6 per round, 4 rounds). Add a small amount of filling if the stem needs support. Fasten off with a long sewing tail. The closed magic-ring end forms the stem tip and the open edge becomes its base.
Center the open stem base over the top closure. Sew through each of its 6 edge stitches and sturdy orange stitches around the indentation. Work around the base a second time if needed, secure and bury the tail.
Face and Finishing for the Chunky Amigurumi Pumpkin
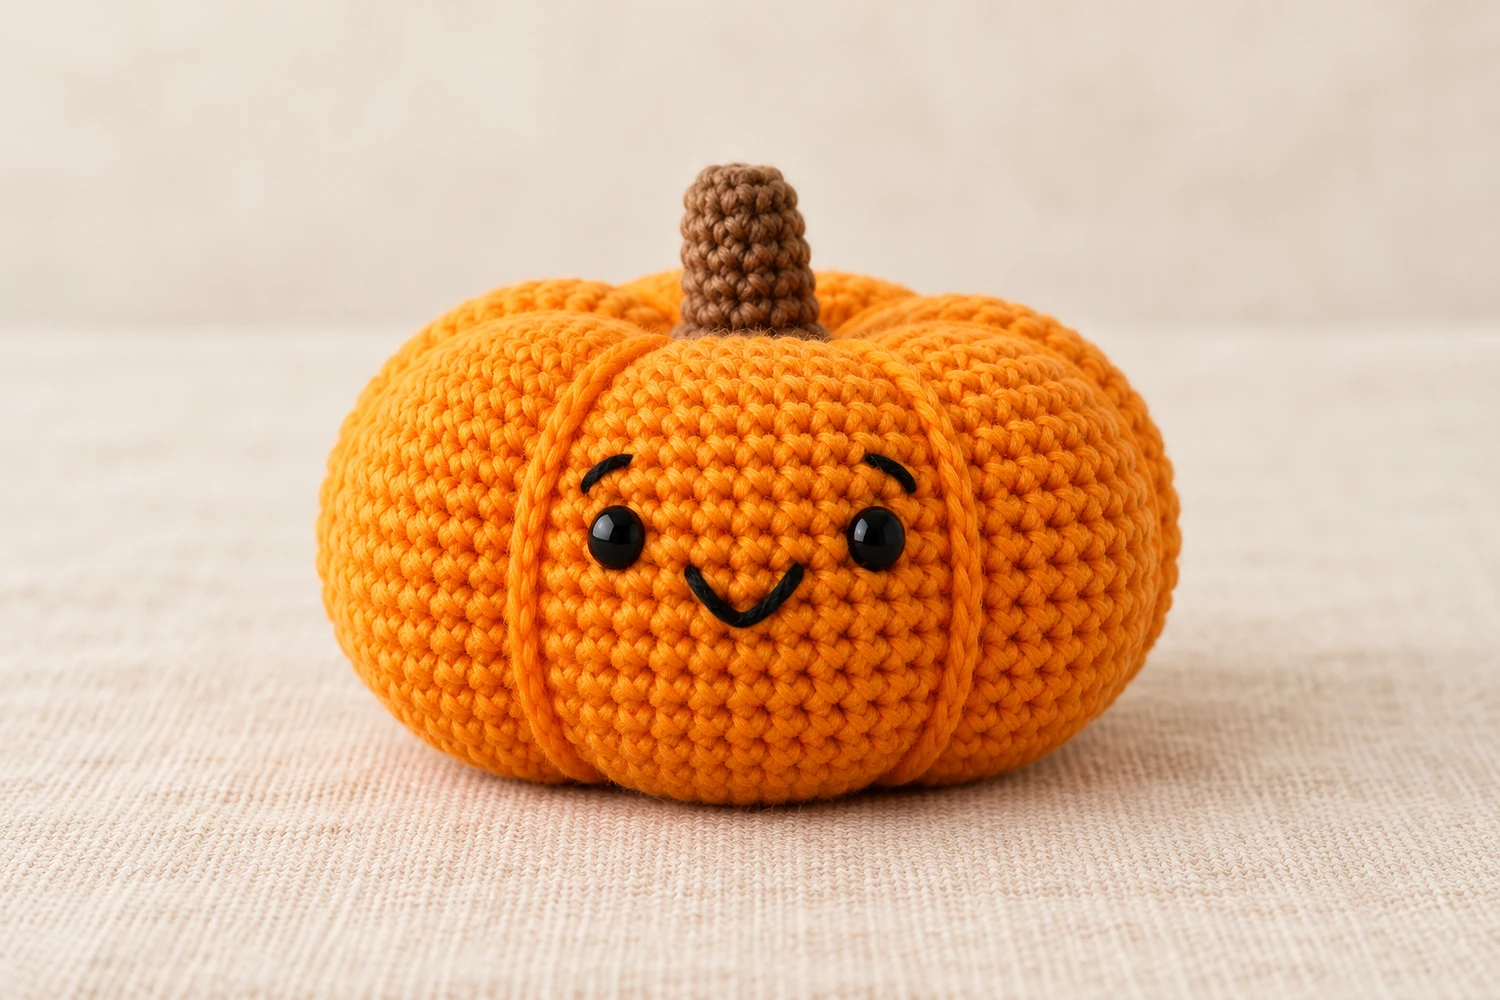
For embroidered eyes, place two small black ovals between Rounds 14 and 15, about 6 visible stitches apart. Center them within one front section. Add a small curved smile below them. Optional short angled eyebrow stitches give the expression shown in the cover; omit them for a simpler face.
Check that no shaping strand presses directly across an eye or smile. Adjust the grooves, smooth the body and hide every tail. I prefer shallow, even grooves because they leave the pumpkin soft while keeping each section visible.
Practical Tips for the Chunky Amigurumi Pumpkin
Grooves disappear after shaping
Each strand must go over the outside before returning through the center. A central pass alone makes an indentation, not a section.
Body looks too tall
Check that Rounds 9–16 were repeated eight times. Loosen overly tight stuffing and adjust all six exterior wraps evenly.
Shaping yarn breaks
Use a strong smooth yarn of a similar orange shade and avoid yanking. Fragile chenille is not a good tension strand.
Stem leans
Pin it in the top center before sewing. Catch sturdy body stitches around its full base rather than attaching one side only.
Chunky Amigurumi Pumpkin: Frequently Asked Questions
Can I make this chunky amigurumi pumpkin with worsted yarn?
Yes. Keep the same stitch counts and choose a hook for dense fabric. The pumpkin will be smaller than a version in chunky yarn.
How many pumpkin sections should I make?
This version uses six exterior grooves to form six rounded sections. Even spacing is more useful than pulling each groove as deep as possible.
Is the face required?
No. Omit the eyes, smile and eyebrows for a plain pumpkin decoration. The body shaping and stem stay the same.
Do I need a fixed length of shaping yarn?
No single length fits every yarn and finished size. Estimate from the actual body height and allow enough for six wraps, six internal passes and secure ends.
This small project is intended as a decorative item or accessory. Embroidered eyes avoid loose eye pieces; adding embroidery does not by itself make a finished item suitable for babies. Keep keychain hardware and small parts away from young children.
More Small Crochet Projects
Daisy Flower Keychain Crochet Pattern Try Bee Amigurumi Crochet Pattern.
Save this chunky amigurumi pumpkin for your next small crochet session. You can share your finished piece and tag @lovelys.amigurumi; I would love to see your color choices.