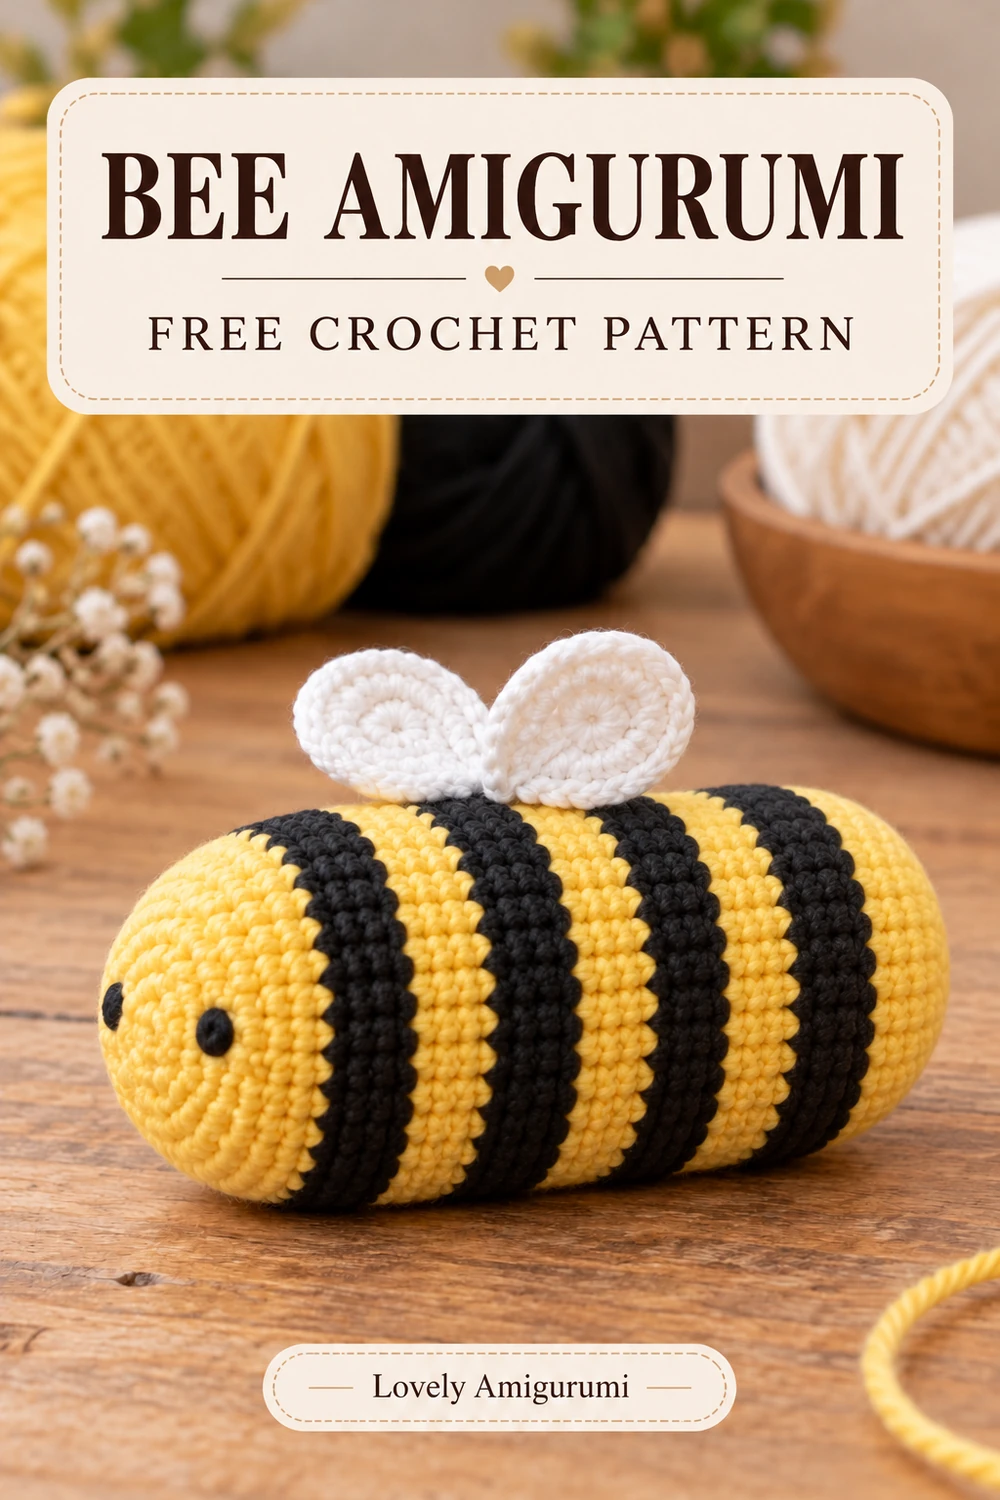
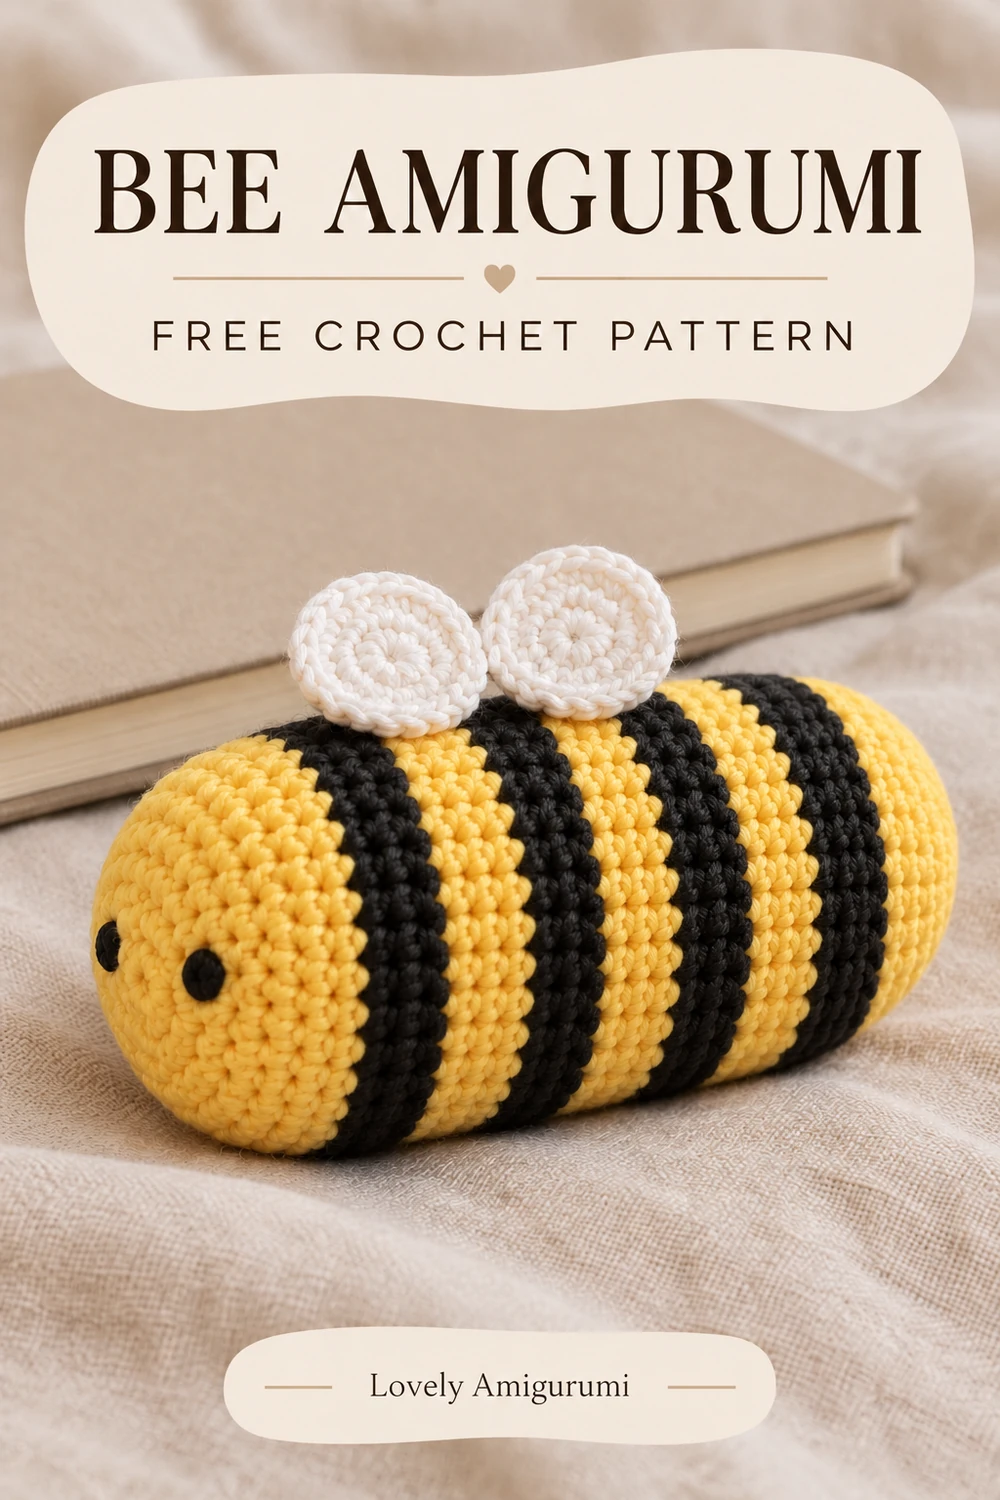
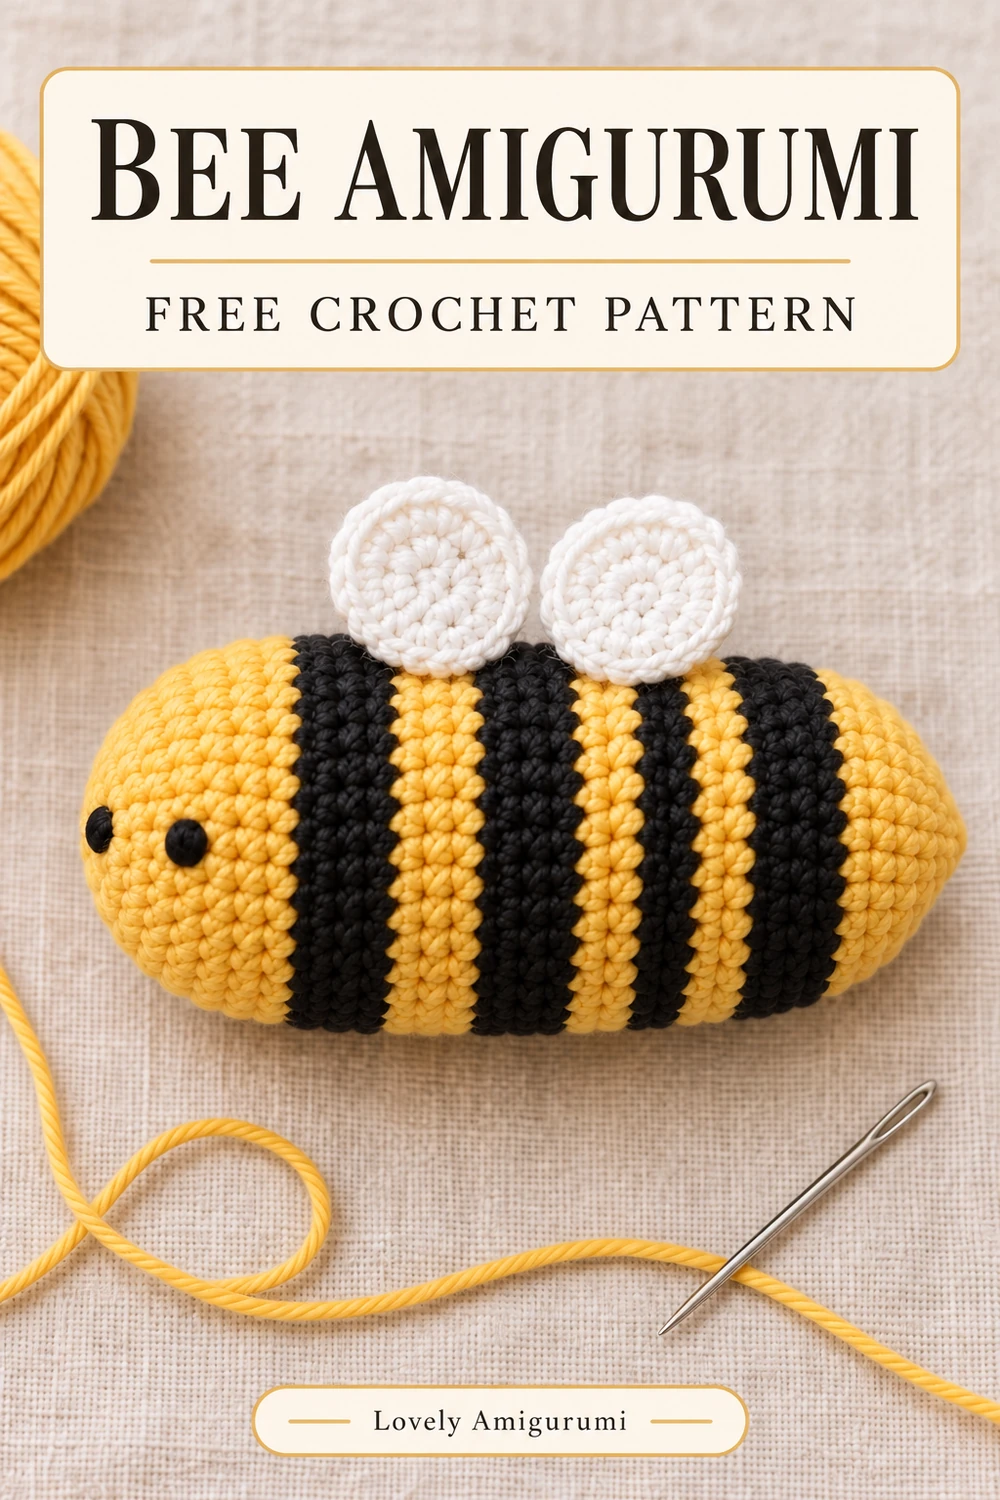
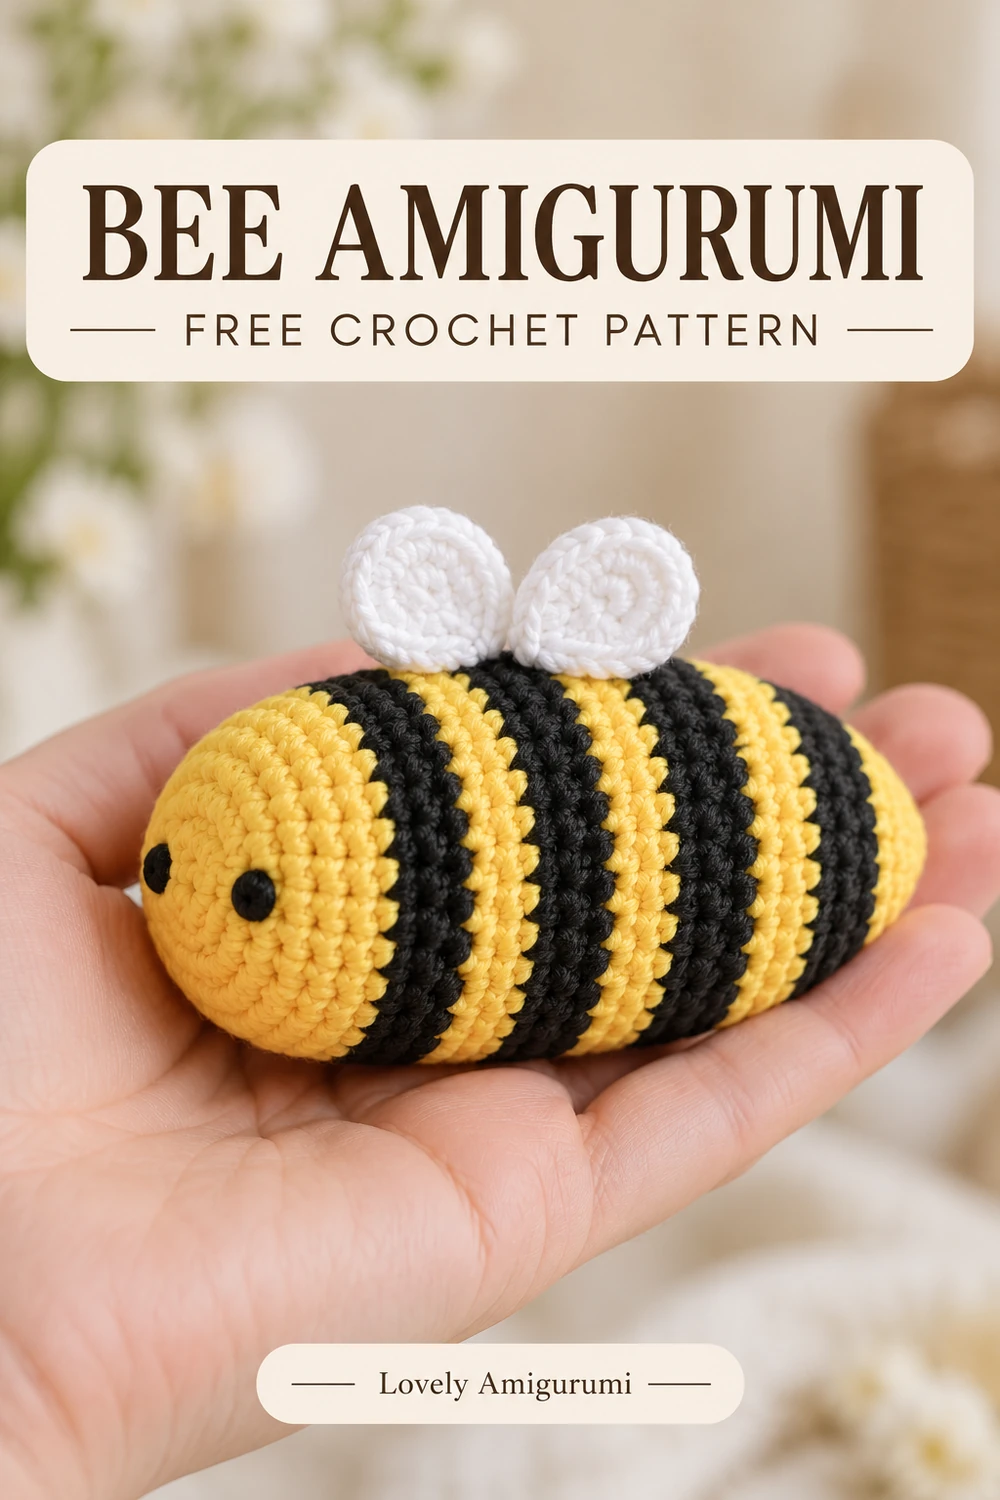
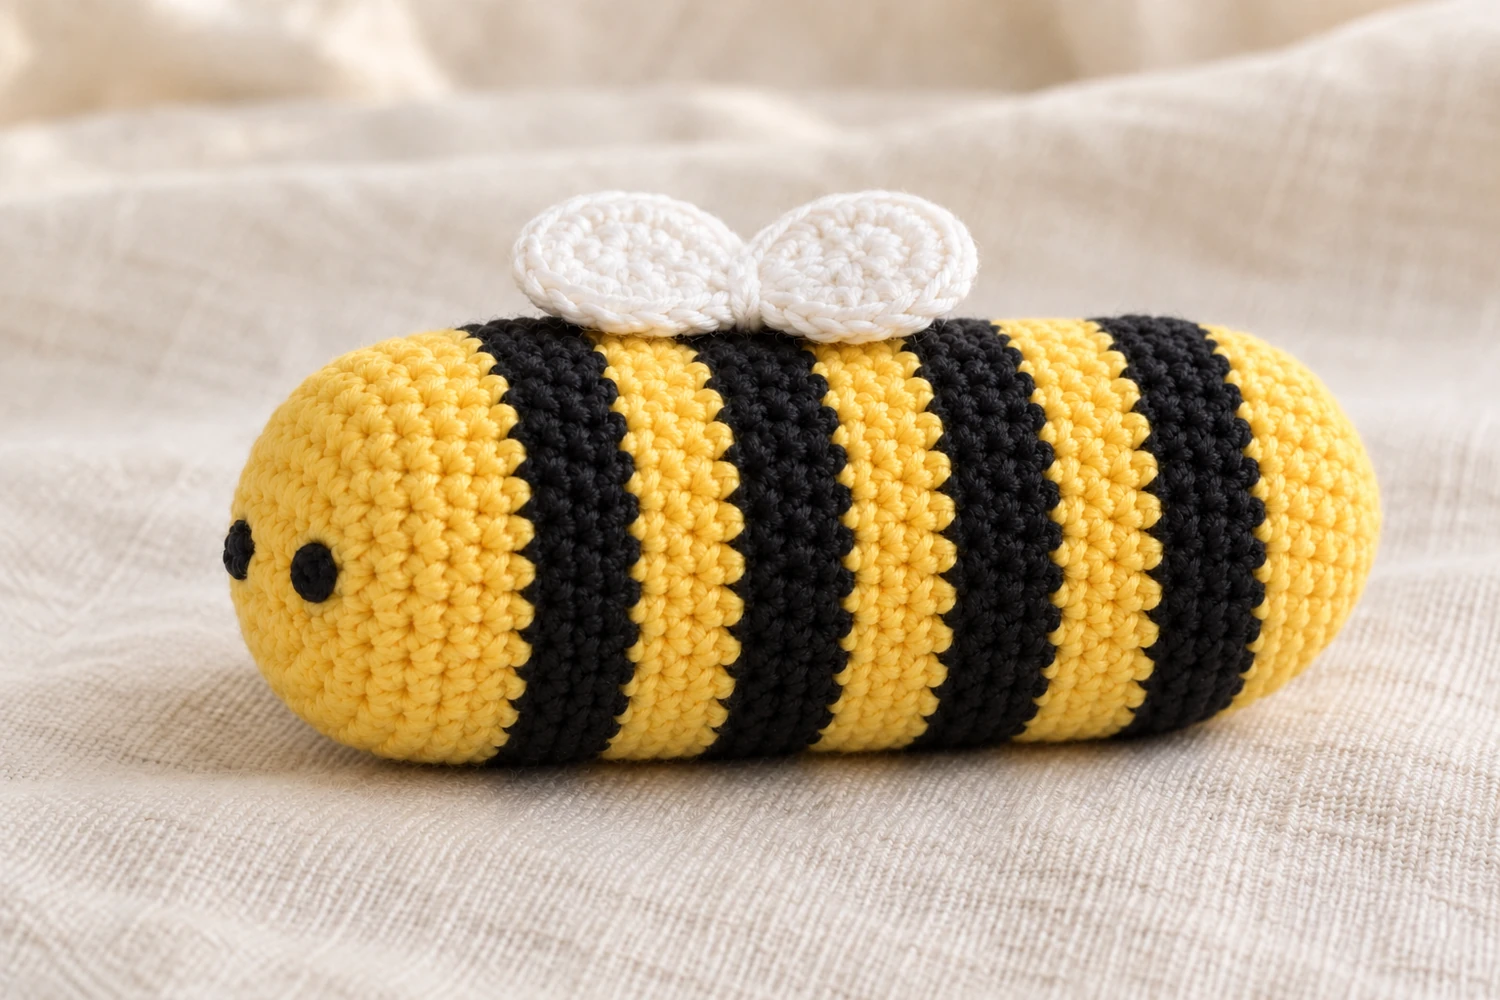
This bee amigurumi crochet pattern makes a plump striped bee with a yellow face and two little white wings. I like the clean three-color palette: the black bands define the body, while the white wings add contrast without needing extra decorations.
The bee is worked from the front of the face toward the tail. That direction matters when placing the eyes and counting the four black stripes. Marking the top before sewing the wings helps keep both wings balanced on the same part of the body.
Follow the numbered rounds below in US crochet terminology. The two diagrams at the end bring the color sequence, stitch counts and wing placement together.
Bee Amigurumi Crochet Pattern: At a Glance
- Level: confident beginner familiar with increases, invisible decreases and sewing.
- Construction: one elongated body and two separate circular wings.
- Colors: yellow and black body, white wings.
- Finished size: varies with yarn, hook and tension; measure your completed bee.
- Features: four black stripes, two embroidered eyes and a rounded yellow tail.
Materials for the Bee Amigurumi Crochet Pattern
- Yellow, black and white cotton yarn in matching sport or DK weights.
- A hook that makes a dense fabric with your yarn; approximately 2.5–3 mm is a starting point for fine cotton.
- Black embroidery thread or a fine strand of black yarn for the eyes.
- Fiberfill, tapestry needle, stitch marker and scissors.
- Extra removable markers or pins for positioning the wings.
Use smooth yarn for a clearly defined bee amigurumi crochet pattern. The white wings are small, so a yarn weight close to the body yarn helps them stay in proportion. Different yarn weights change the size without changing the round counts.
Abbreviations — US Crochet Terminology
- MR: magic ring
- sc: single crochet
- inc: increase — 2 sc in one stitch
- dec: invisible decrease — insert under the front loops of the next two stitches, yarn over and pull through both front loops, then yarn over and pull through the two loops on the hook
- sl st: slip stitch
- st(s): stitch(es)
Pattern Notes
Work in continuous rounds without joining or turning. Move the stitch marker to the first stitch of each new round. Work under both loops except when making an invisible decrease. Counts in parentheses show the completed round total.
At a color change, work the final sc of the old color until two loops remain on the hook. Yarn over with the new color and pull through both loops. The next round begins in the new color. Keep the yarn carried inside relaxed; a tight strand can squeeze the body.
In this bee amigurumi crochet pattern, the initial magic ring is the center of the front face. The final six-stitch opening is the tail. There are no separate antennae, legs or mouth to add.
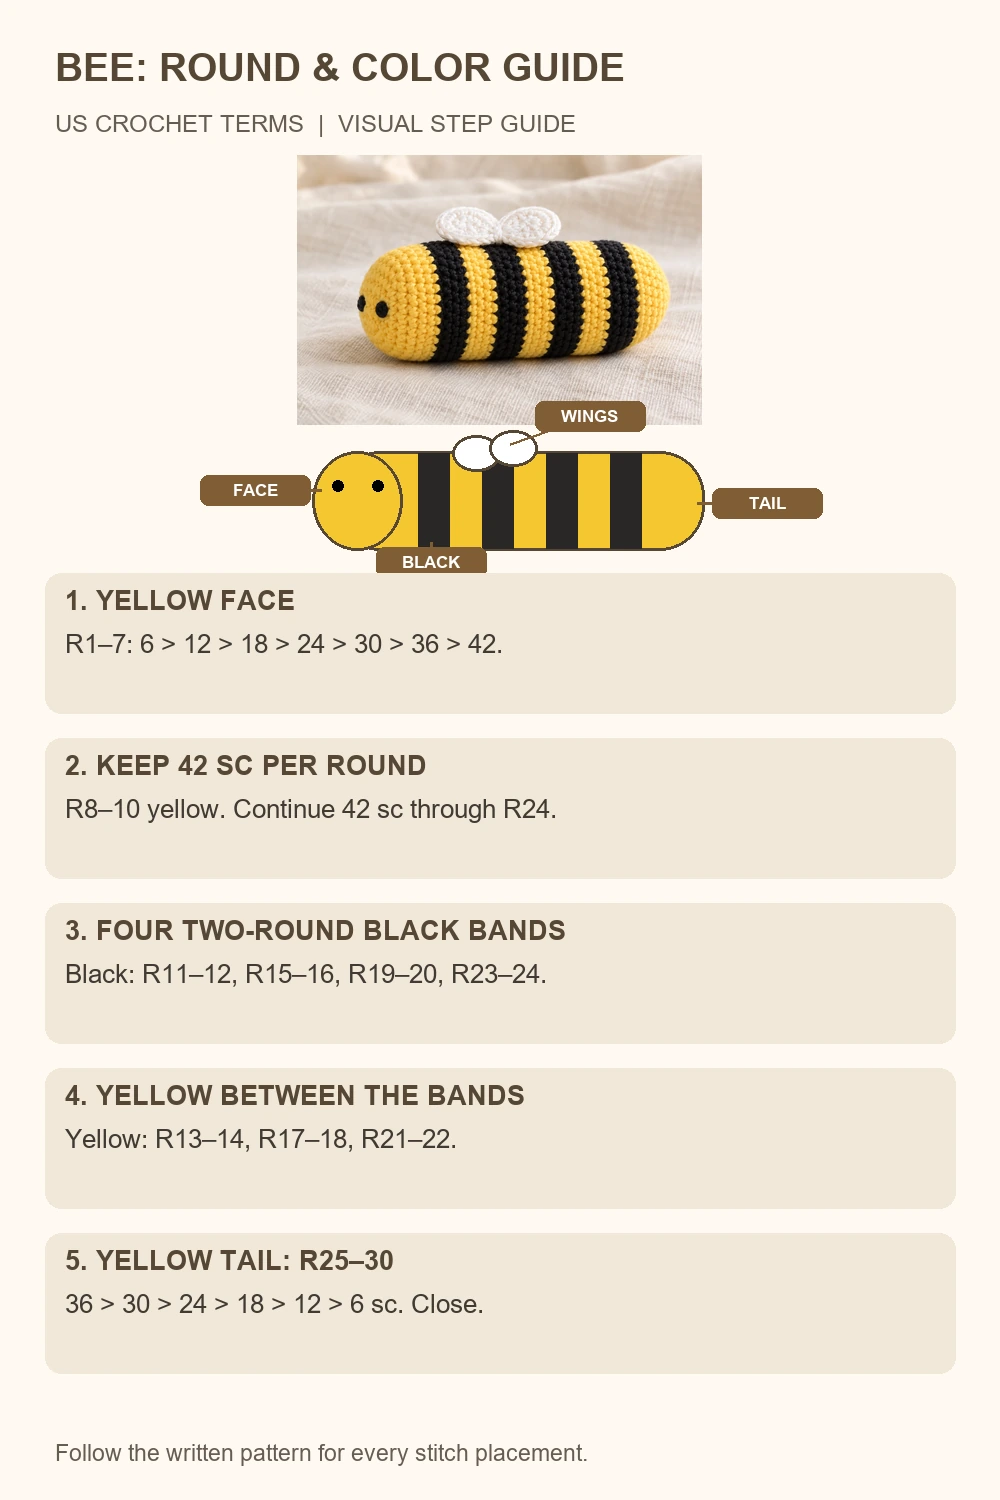
Bee Amigurumi Crochet Pattern: Yellow Face
Start with yellow yarn.
- Round 1: 6 sc in MR. (6)
- Round 2: inc around. (12)
- Round 3: [sc, inc] 6 times. (18)
- Round 4: [2 sc, inc] 6 times. (24)
- Round 5: [3 sc, inc] 6 times. (30)
- Round 6: [4 sc, inc] 6 times. (36)
- Round 7: [5 sc, inc] 6 times. (42)
- Rounds 8–10: sc around for three rounds in yellow. (42 per round)
Secure the starting tail inside the body. Keep the right side facing outward. Change to black on the final yarn-over of Round 10.
Four Black Stripes — Rounds 11–24
Each stripe is two rounds wide. Work 42 sc in every round listed below.
| Rounds | Color | Stitch count per round |
|---|---|---|
| 11–12 | Black — stripe 1 | 42 |
| 13–14 | Yellow | 42 |
| 15–16 | Black — stripe 2 | 42 |
| 17–18 | Yellow | 42 |
| 19–20 | Black — stripe 3 | 42 |
| 21–22 | Yellow | 42 |
| 23–24 | Black — stripe 4 | 42 |
These 14 rounds contain eight black rounds and six yellow rounds. Change color after each two-round group. At the end of Round 24, change back to yellow for the tail.
The color changes in a spiral have a small step. Keep that change line toward the underside when orienting the bee. Do not add an extra stitch or extra round to hide it, because that changes the stripe sequence.
Place the Two Eyes
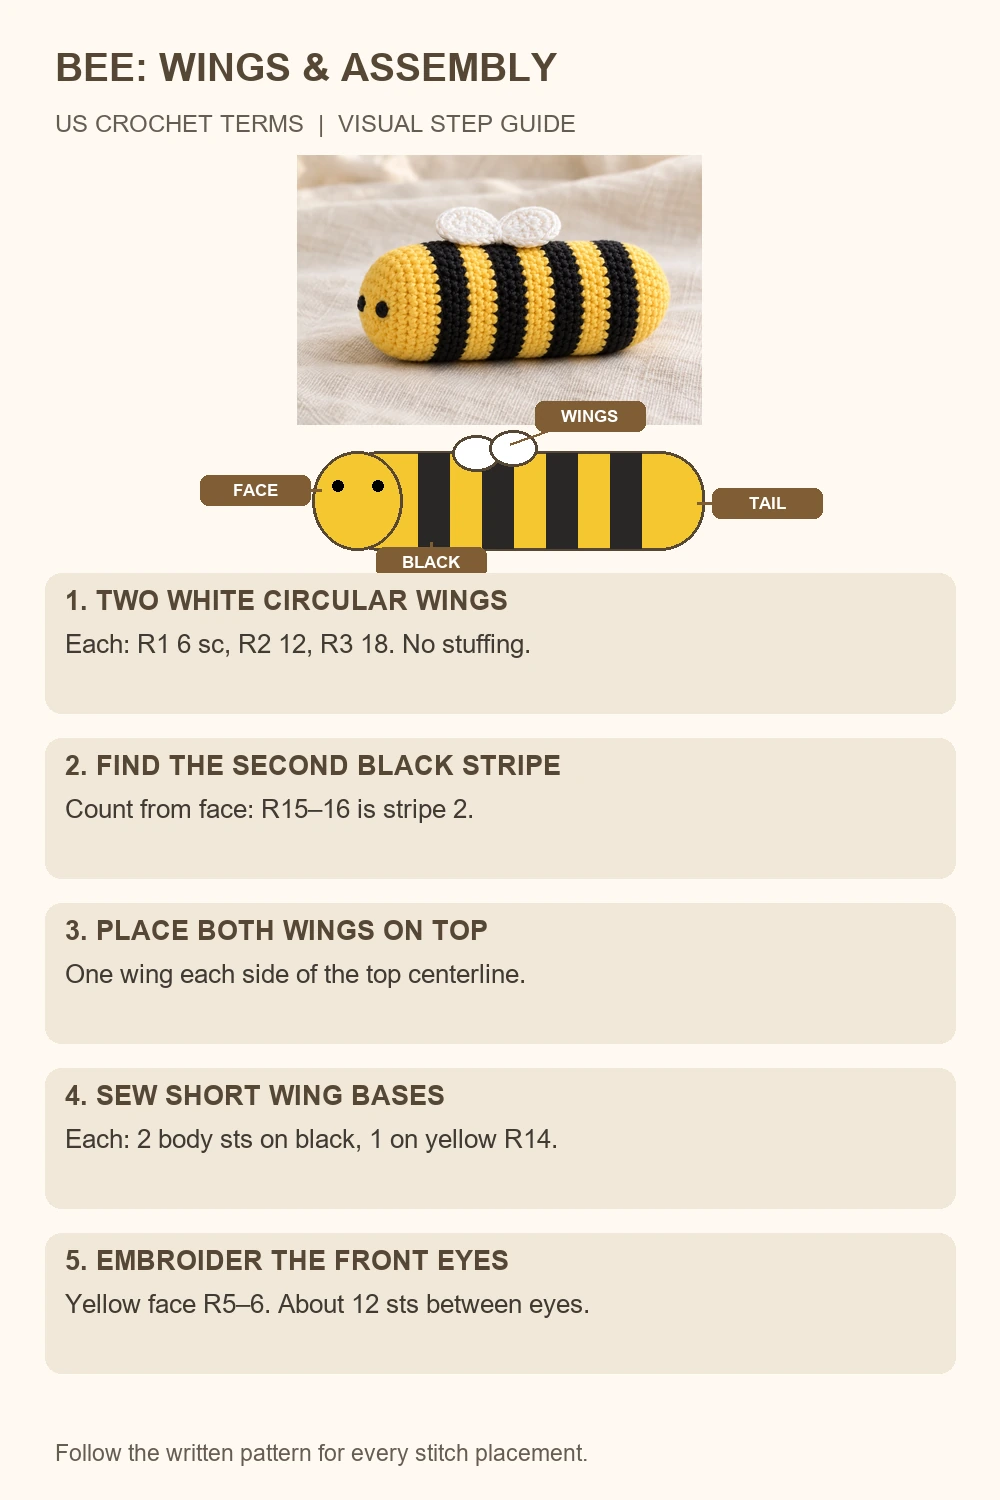
Before stuffing and decreasing, hold the body horizontally with the yellow face toward you. Mark the top opposite the underside color-change line. Pin the eyes on the yellow face between Rounds 5 and 6, on opposite sides of the central magic ring, with roughly 12 stitches between them along that round.
Check the front view before embroidering. Use short black stitches to build two small round eyes, keeping the thread relaxed so it does not dent the face. Secure the ends inside the body.
I prefer the plain face for this bee amigurumi crochet pattern: the eye placement and rounded front are enough to give it character. The eyes belong on the yellow end, rather than on a striped side.
Yellow Tail — Rounds 25–30
Add stuffing gradually. Fill the face evenly, then work toward the tail without stretching the stitches.
- Round 25: [5 sc, dec] 6 times. (36)
- Round 26: [4 sc, dec] 6 times. (30)
- Round 27: [3 sc, dec] 6 times. (24)
- Round 28: [2 sc, dec] 6 times. (18)
- Round 29: [sc, dec] 6 times. (12)
- Round 30: dec 6 times. (6)
After Round 28, add the remaining stuffing while the opening is still accessible. Keep the body elongated rather than forcing it into a ball. Finish Round 30, cut the yarn with a tail and pass the tail through the front loops of the remaining six stitches. Pull closed, secure and bury the end.
Your bee amigurumi crochet pattern now has a yellow face, four black bands and a yellow tail. Count the bands before sewing on the wings so the placement reference is clear.
White Wings — Make Two
- Round 1: 6 sc in MR. (6)
- Round 2: inc around. (12)
- Round 3: [sc, inc] 6 times. (18)
Sl st in the next stitch and fasten off, leaving a long sewing tail. Secure the starting tail on the back. Do not stuff the wings. Gently flatten each small circle with your fingers; the finishing slip stitch is not a nineteenth sc.
Assemble Your Bee Amigurumi Crochet Pattern
Locate the second black stripe, which is Rounds 15–16 counting from the face. Position both wings on top of this stripe, one on each side of the top centerline. The wing circles should open outward, with a small space between their bases.
Sew a short section of each wing edge to the body across about three body stitches: two on the second black stripe and one on the neighboring yellow round toward the face, Round 14. Take several passes through those attachment points without sewing down the entire wing.
Check from the face, side and back before securing the tails. Both wings should sit at the same distance from the front. Bury the ends inside the body and reshape the stuffing gently.
Finishing and Care
Check the wing seams and tail closure with a gentle pull. Follow the yarn label for cleaning and let the filling dry completely before displaying the bee. Embroidered eyes avoid separate plastic eye pieces, but do not by themselves make a handmade item suitable for babies or pets.
For a softer palette, replace yellow with a pastel color while keeping the same black stripe sequence. Changing the main color leaves the bee amigurumi crochet pattern counts unchanged.
Bee Amigurumi Crochet Pattern: Troubleshooting
- Stripes look squeezed: loosen yarn carried inside at the color changes and redistribute the filling.
- Body count changes during a stripe: Rounds 8–24 all have 42 sc. Do not crochet into the marker or add joining stitches.
- Wings lean unevenly: check both bases against Rounds 15–16 and adjust their pins before resewing.
- Tail has gaps: use invisible decreases through the front loops and reduce pressure from excess stuffing.
Frequently Asked Questions
Is this bee amigurumi crochet pattern suitable for beginners?
It suits confident beginners who can count continuous rounds and sew small parts. Practice the invisible decrease and color change on a scrap swatch if those techniques are new.
How many black stripes should I have?
Four, at Rounds 11–12, 15–16, 19–20 and 23–24. Each is two rounds wide.
Can I use chenille yarn?
You can use thicker yarn with a suitable hook, but the bee will become larger and stitch definition will change. Keep the same round counts and use matching weights for both wings.
Where do the wings attach?
On top of the second black stripe, around Rounds 15–16. Count the stripes from the yellow face.
Does the bee need antennae?
No. This version has a plain yellow face and two white wings. Its stripes give it the recognizable bee shape.
More Crochet Projects
Pair this bee with a daisy flower keychain or a sunflower pot amigurumi. For a flat bee accessory, try the cute flat bee applique crochet pattern.
Save this bee amigurumi crochet pattern for a striped cotton-yarn project. The four Pins and two diagrams below show the bee, its numbered rounds and the wing assembly.
Pinterest Pins and Crochet Diagrams