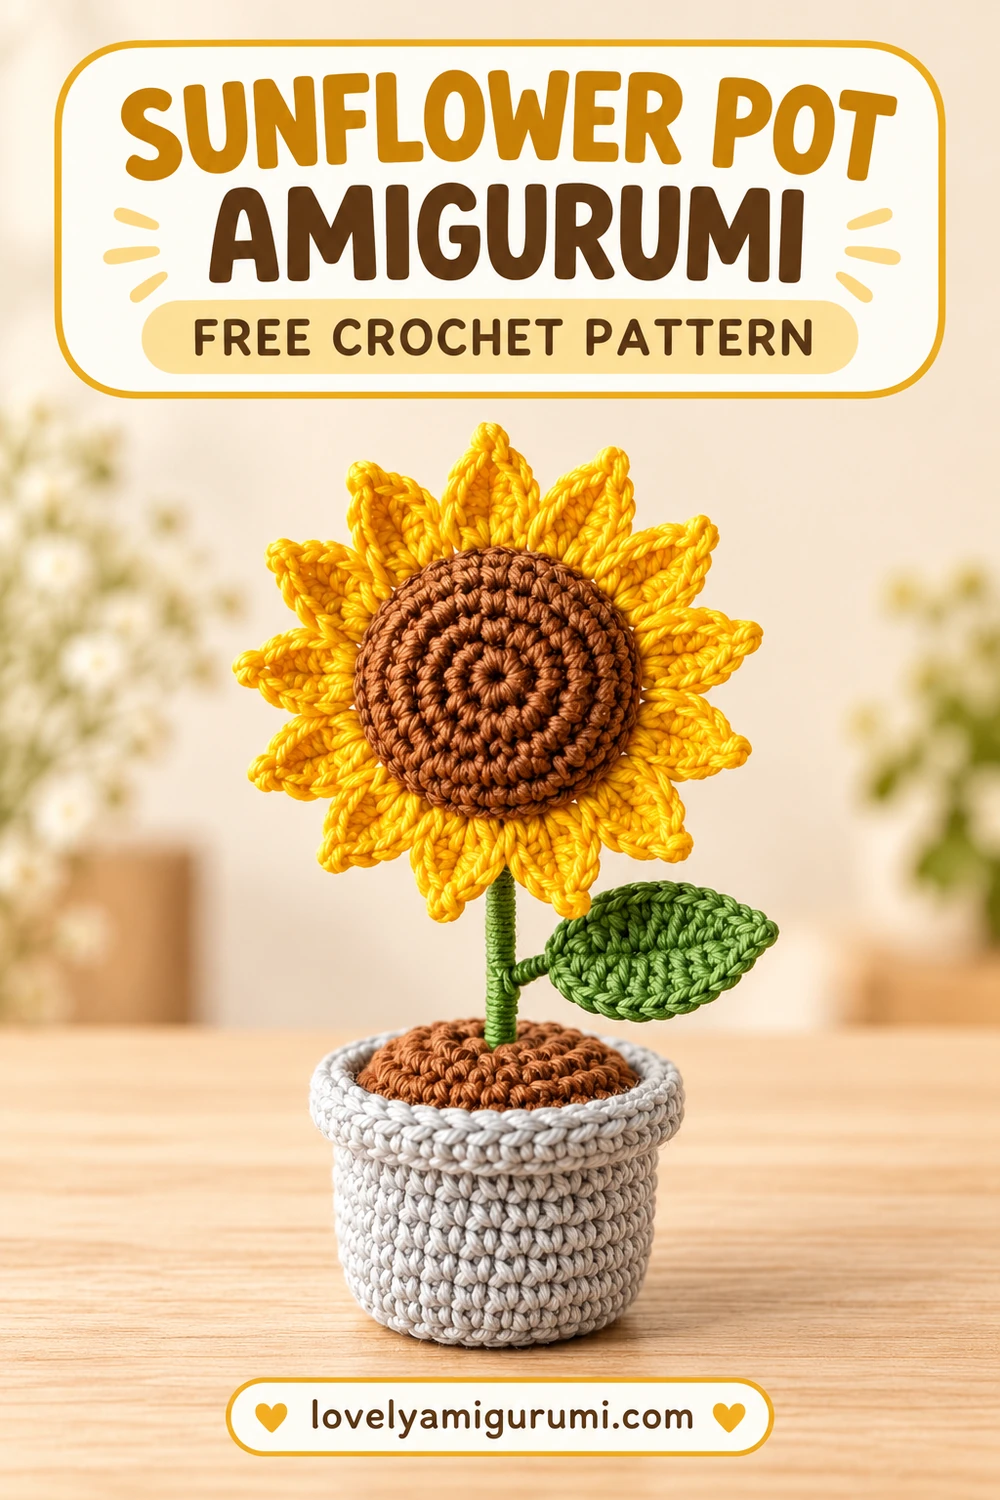
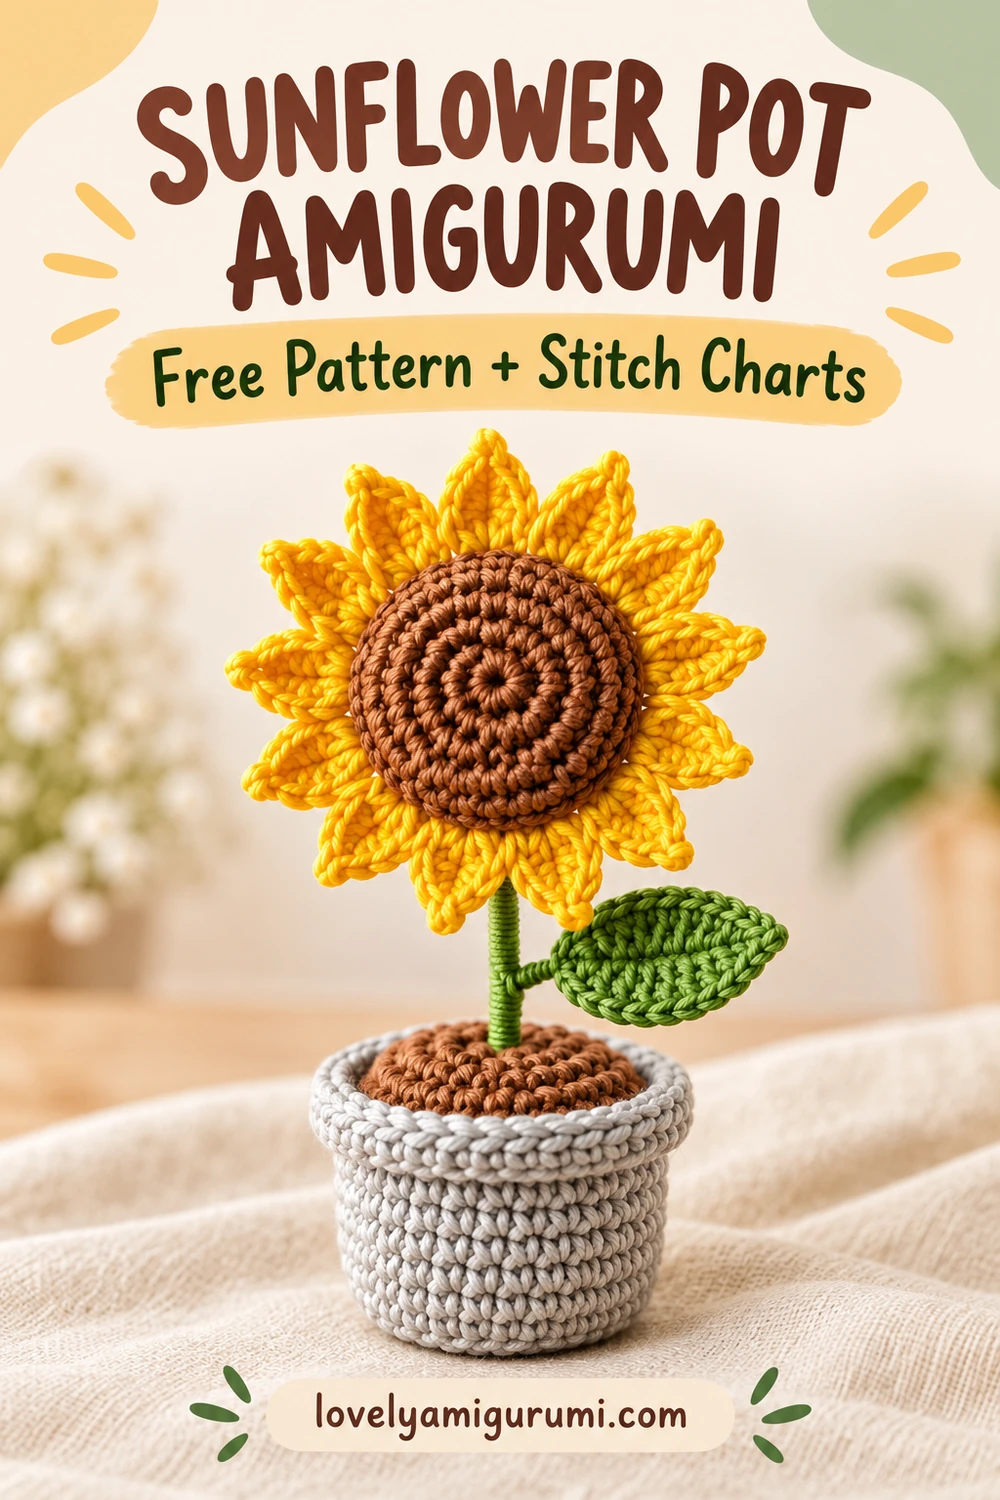
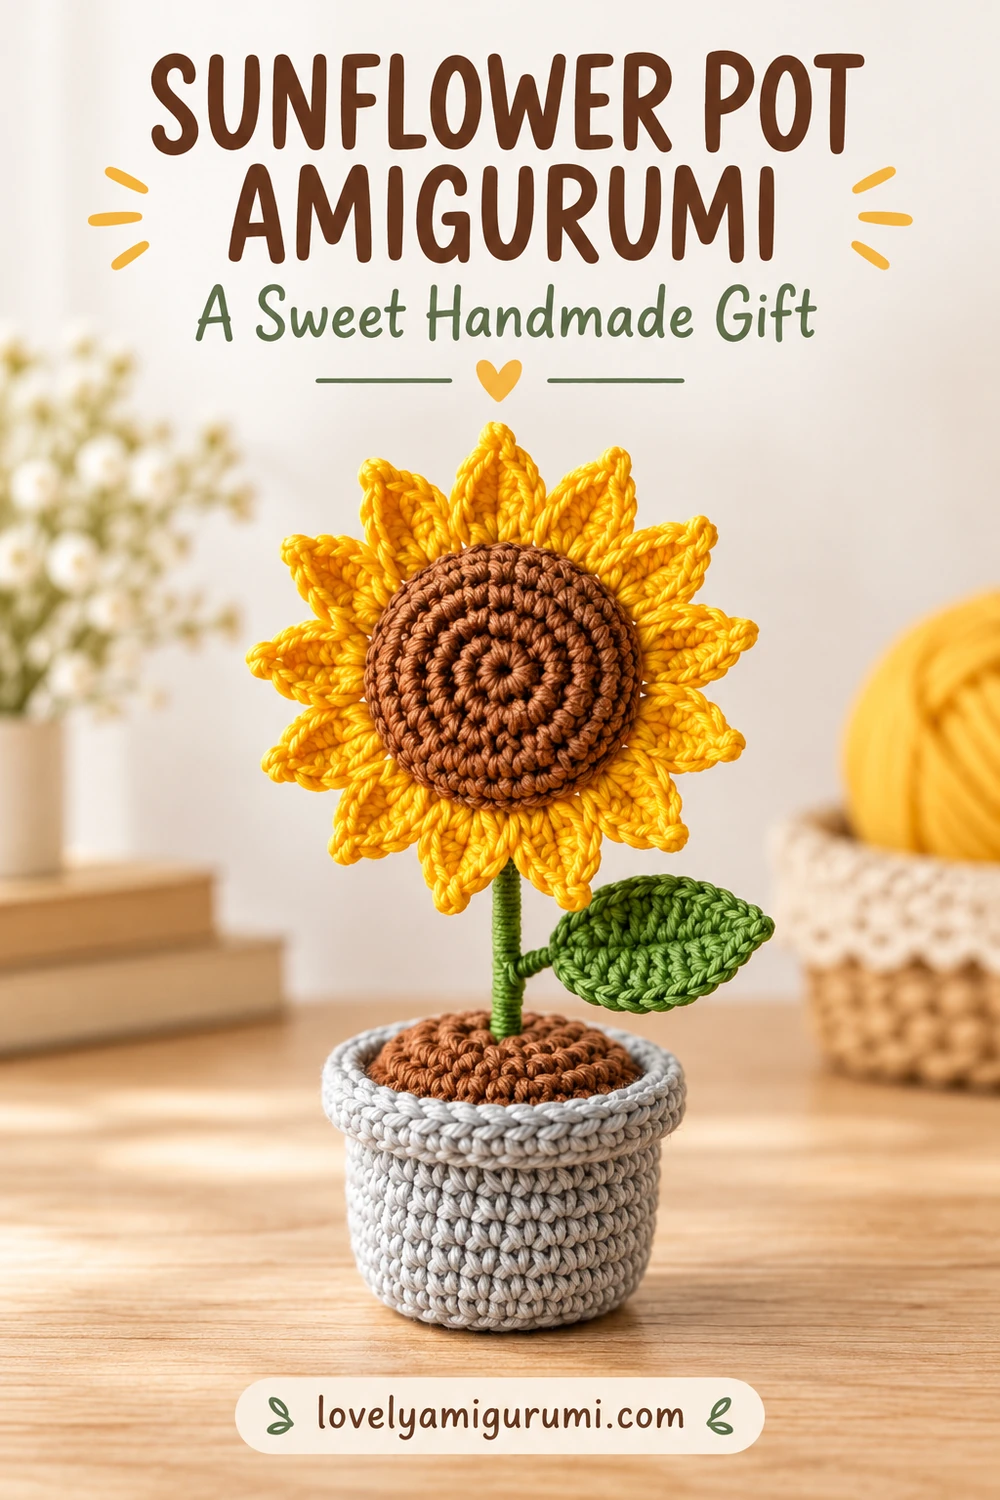
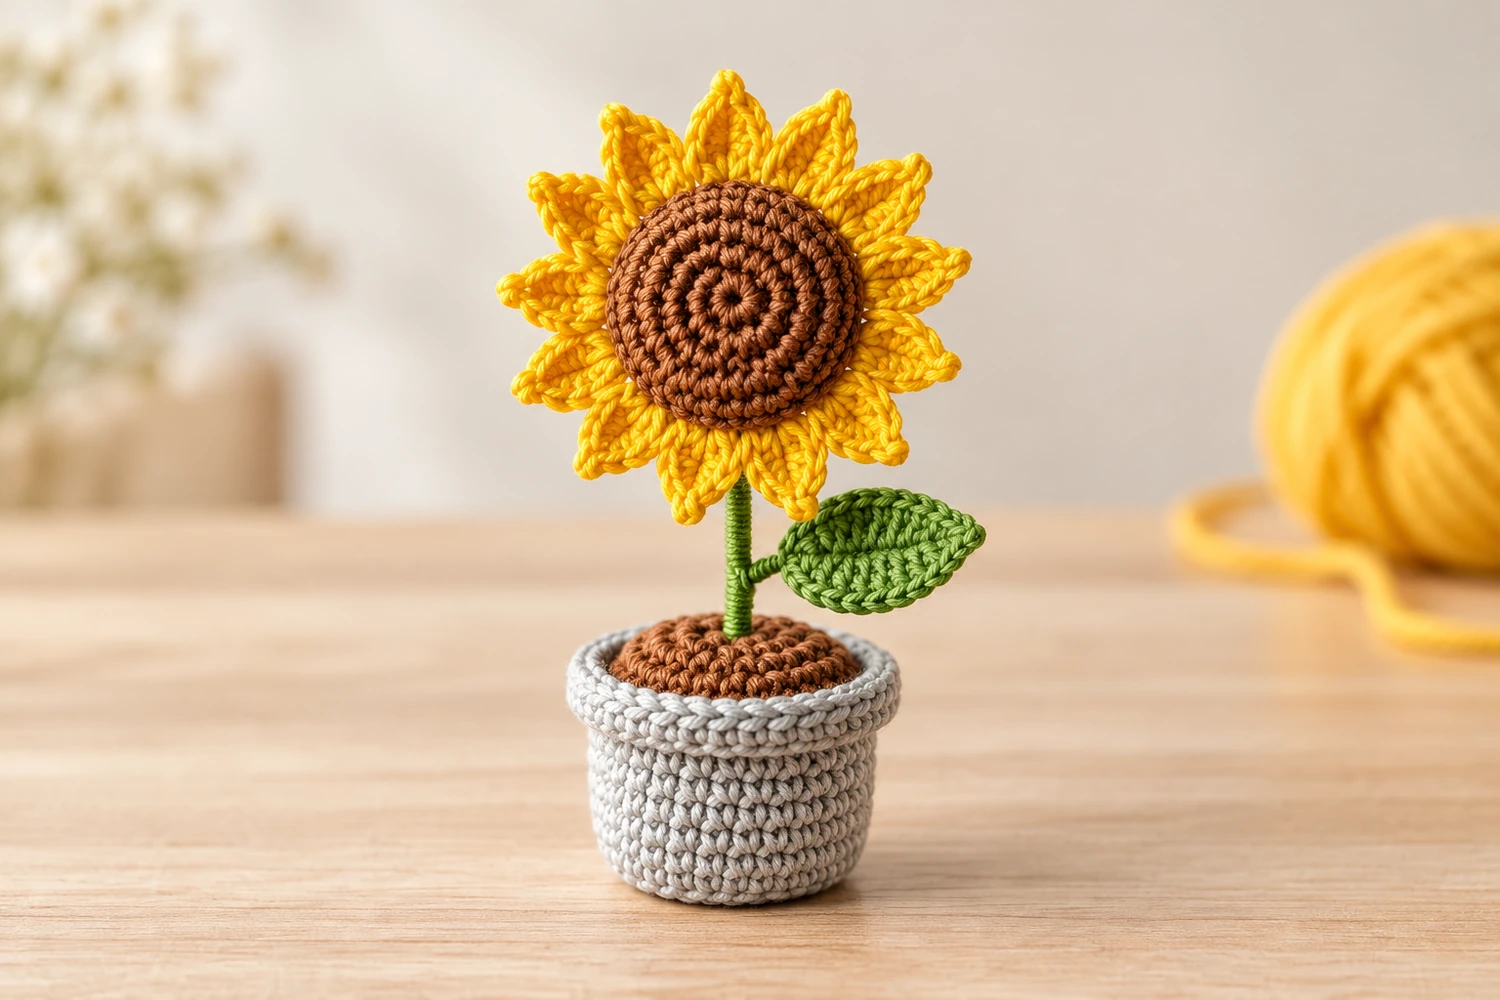
I like a crochet flower that can stand on its own: a bright bloom, one green leaf and a small pot that gives the whole piece a place on a desk. This sunflower pot amigurumi has a raised brown center, fourteen yellow petals and a gray pot with a folded rim. The brown soil closes the top and hides the stem support inside.
The part I would plan first is the balance. Keep the flower centered over the pot and secure the stem at the base before filling. A neatly crocheted bloom can still lean if its support moves inside the stuffing.
Materials for Sunflower Pot Amigurumi
- Matching-thickness smooth yarn in light gray for the pot, brown for the soil and flower center, green for the flower back, leaf and stem wrap, and yellow for the petals.
- A hook that produces dense sc fabric with your chosen yarn. For DK cotton, 2.5–3.0 mm is a starting point; adjust for your tension.
- Fiberfill, stitch marker, tapestry needle, scissors and positioning pins.
- Firm floral wire for the stem, wire cutters and pliers. Begin with approximately 11 cm only if it suits your finished pieces; allow length for the bottom anchor and top attachment.
- A small glue gun for the wrapped stem and its base anchor; follow the tool’s handling instructions.
- Optional: a smooth plastic disk cut just smaller than the inside pot base, with its edges rounded.
Before You Begin
Work the pot, soil and flower center in continuous rounds. Mark the first stitch and do not count a finishing slip stitch as an extra stitch. The petals and leaf have separate instructions. The finished height depends on yarn, hook, tension and stem length; fit the support to the actual crochet pieces rather than a fixed measurement.
This sunflower pot amigurumi is a decorative item with an internal wire support. Keep it out of reach of babies and young children. The gray pot and single green leaf follow the cover design; you can change the pot color without changing its counts.
Stitches and Abbreviations
- MR: magic ring.
- ch: chain.
- sc: single crochet: insert hook, pull up a loop, yarn over and pull through both loops.
- sl st: slip stitch.
- inc: 2 sc in one stitch.
- dec: single crochet two stitches together.
- BLO / FLO: back loop only / front loop only.
- st(s): stitch(es).
The number in brackets is the finished stitch count. A starting or turning ch 1 does not count as a stitch. For example, (2 sc, inc) × 5 means one sc in each of the next two stitches, then two sc in the following stitch, repeated five times.
hdc: half double crochet; yarn over, insert hook and pull up a loop, then pull through all three loops. dc: double crochet; yarn over, insert hook and pull up a loop, then pull through two loops twice. tr: treble crochet; yarn over twice, insert hook and pull up a loop, then pull through two loops three times.
Sunflower Pot Amigurumi: Crochet the Pot
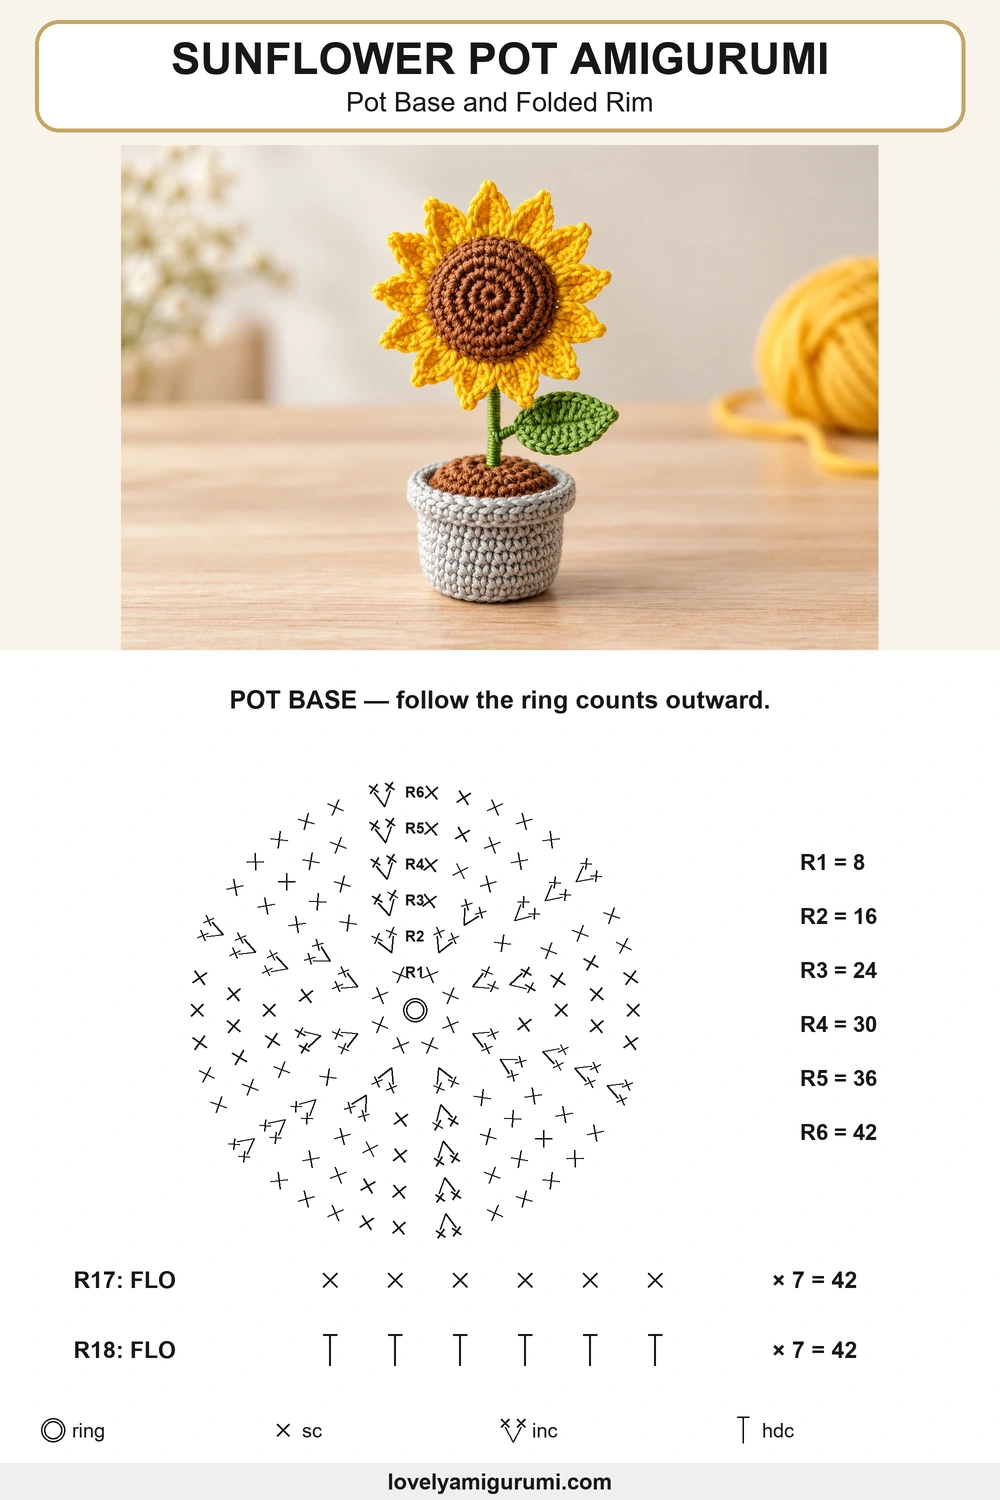
Use gray yarn. The base starts with eight stitches; the later rounds use six evenly spaced increases to reach the 42-stitch wall.
- Round 1: 8 sc in MR. (8)
- Round 2: inc × 8. (16)
- Round 3: (sc, inc) × 8. (24)
- Round 4: (3 sc, inc) × 6. (30)
- Round 5: (4 sc, inc) × 6. (36)
- Round 6: (5 sc, inc) × 6. (42)
- Round 7: sc BLO in each stitch. (42)
- Round 8: (13 sc, inc) × 3. (45)
- Rounds 9–15: sc in each stitch. (45 each; seven rounds)
- Round 16: (13 sc, dec) × 3. (42)
- Round 17: sc FLO in each stitch. Leave the 42 back loops of Round 16 free for the soil seam. (42)
- Round 18: hdc FLO in each stitch. (42)
Finish with a sl st, fasten off and weave in the tail. Fold the last two rounds outward to form the rim. The unused loops near Round 7 are at the bottom of the pot; the soil will be sewn to the reserved loops near the top, from Round 16.
Prepare the Stem Support
If using a plastic base disk, place it flat inside the pot without forcing the crochet edge outward. Bend the bottom end of the wire into a flat closed loop that sits on the inside base. Turn the top end into a small closed loop too, so no cut wire end points toward the fabric.
Wrap the visible stem tightly with green yarn, using small amounts of glue to secure the start and finish. Leave the bottom anchor flat. Fix that anchor to the inside base or reinforcement disk and let the adhesive set fully. The upper loop will be sewn to the flower back. Check the chosen height with the flower held above the pot before closing the soil.
Brown Soil Disk
For the sunflower pot amigurumi soil, use brown yarn:
- Round 1: 6 sc in MR. (6)
- Round 2: inc × 6. (12)
- Round 3: (sc, inc) × 6. (18)
- Round 4: (2 sc, inc) × 6. (24)
- Round 5: (3 sc, inc) × 6. (30)
- Round 6: (4 sc, inc) × 6. (36)
- Round 7: (5 sc, inc) × 6. (42)
Finish with a sl st and leave a long sewing tail. Guide the wrapped stem gently through the center of the disk before securing the ring tightly around it. Do not force a wire end through a closed crochet stitch.
Add filling around the anchored wire, keeping the pot bottom flat. Pin the disk evenly inside the rim. Sew its 42 edge stitches to the 42 unused back loops of pot Round 16, matching one to one. Leave a short opening, add enough filling to support a gently domed soil surface, then close the seam. The gray folded rim should remain visible above it.
Sunflower Center and Green Back
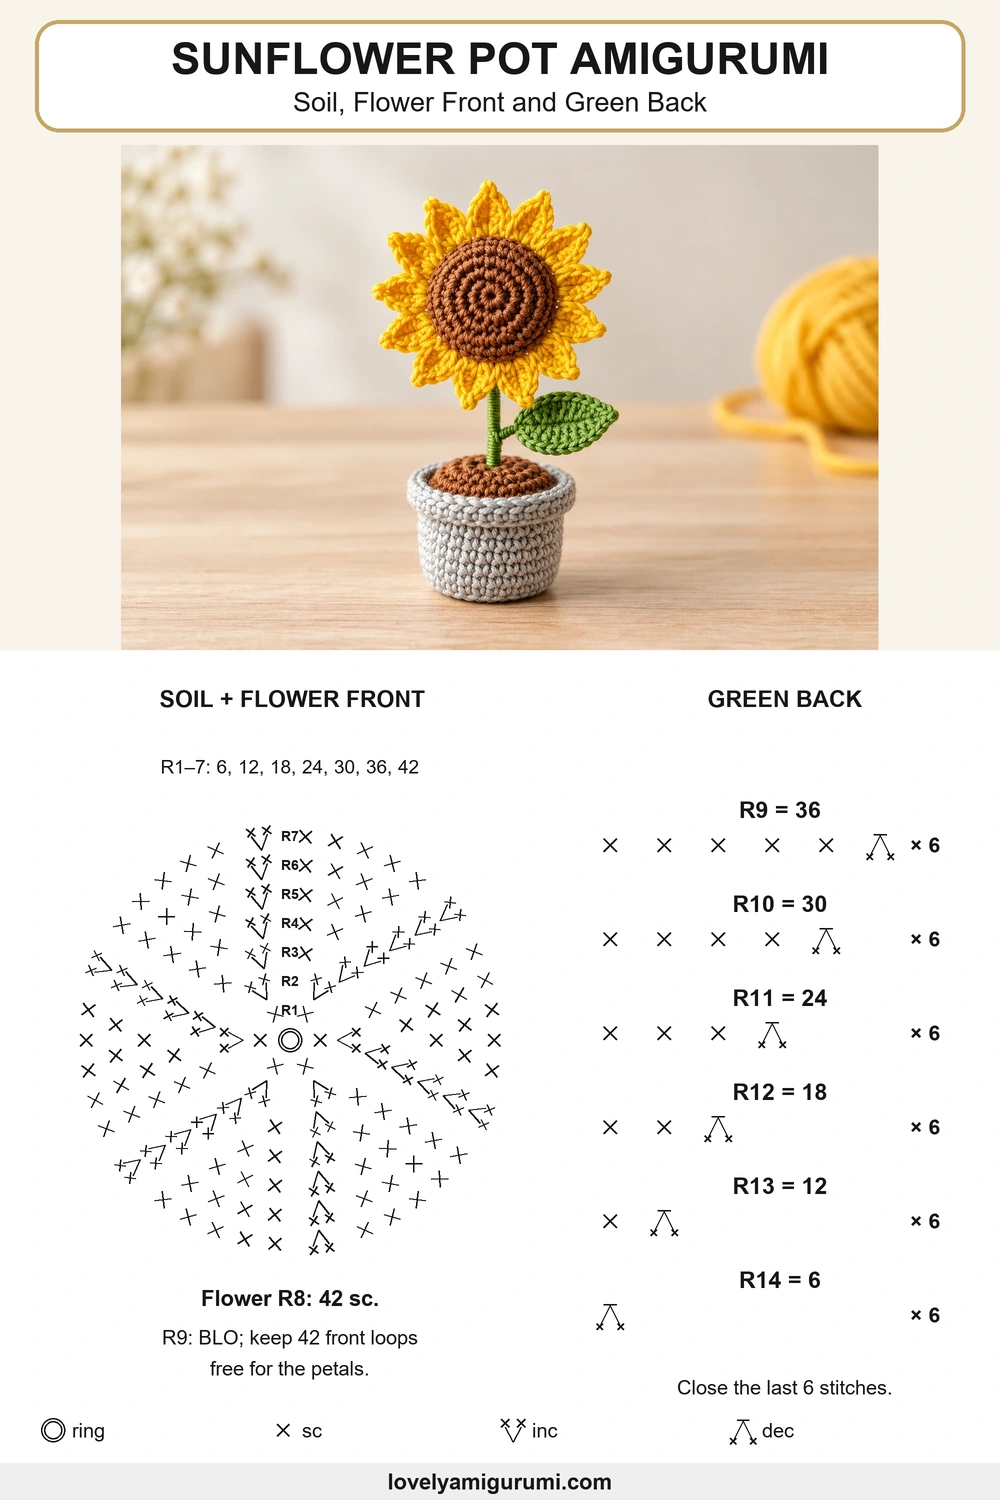
Start with brown yarn. Work Rounds 1–7 exactly as for the soil disk: 6, 12, 18, 24, 30, 36 and 42 stitches.
- Round 8: sc in each stitch. (42)
- Round 9: change to green; in BLO, work (5 sc, dec) × 6. Leave the 42 front loops of Round 8 free for petals. (36)
- Round 10: (4 sc, dec) × 6. (30)
- Round 11: (3 sc, dec) × 6. (24)
- Round 12: (2 sc, dec) × 6. (18)
- Round 13: (sc, dec) × 6. (12)
- Round 14: dec × 6. (6)
Add filling before the last two rounds. Keep the brown front rounded and the green back slightly flatter. Fasten off, thread the tail through the six remaining front loops, pull closed and hide the end. Use actual decreases rather than skipping stitches, which can leave holes in the back.
Fourteen Yellow Sunflower Petals
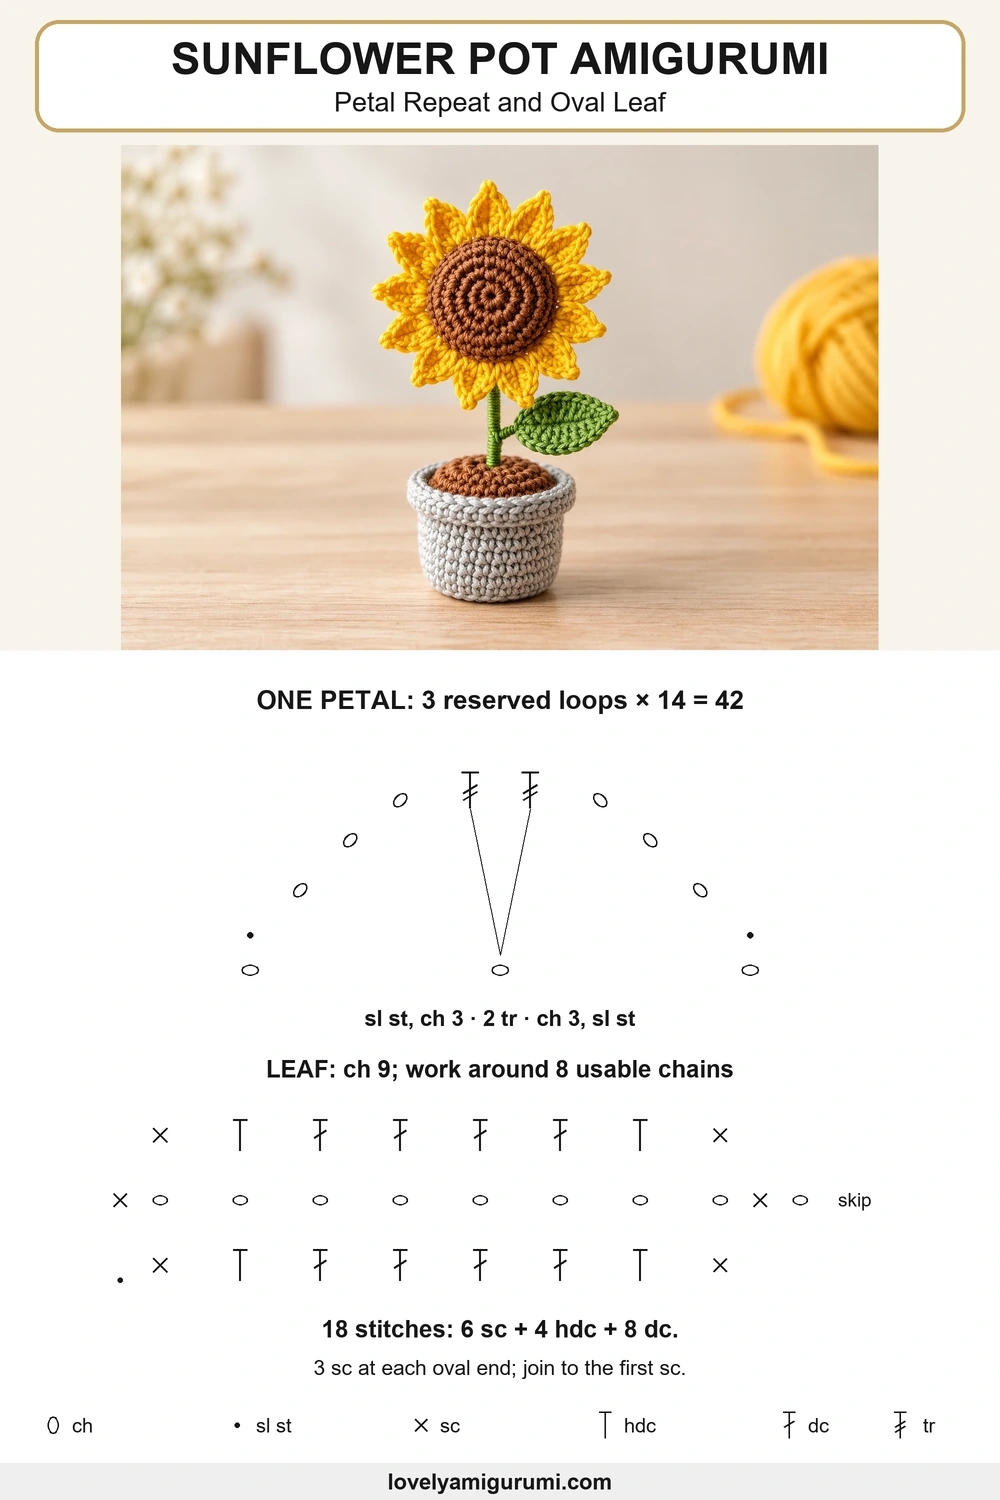
Work into the 42 reserved front loops of center Round 8. Each petal uses three consecutive loops, so 42 ÷ 3 = 14 petals. Mark every third loop if that helps keep track.
Join yellow yarn to the first reserved loop. Repeat the following sequence fourteen times:
- Sl st in the next available loop, then ch 3.
- Work 2 tr in the next loop, then ch 3.
- Sl st in the following loop to finish the petal.
For the first petal, the joining slip stitch serves as the first anchor; do not add another loop position. Begin each later petal with a sl st in the next unused loop. Do not share a loop between petals or add an extra travel stitch. After the fourteenth petal, join neatly to the first anchor and weave in the ends. Spread the petals evenly around the raised brown center.
Green Leaf: Make One
The cover includes one leaf. With green yarn, ch 9. Work around both sides of the foundation chain:
- Starting in the second chain from the hook: sc, hdc, dc in each of the next 4 chains, hdc, then 3 sc in the last chain.
- Along the opposite side of the chain: hdc, dc in each of the next 4 chains, hdc, then 2 sc in the chain where the first sc was made.
Sl st to the first sc. (18 stitches: 6 sc, 4 hdc and 8 dc.) Fasten off with a sewing tail. The three sc at each end make the oval ends; one end will be the tip and the other the stem attachment. Pin it flat briefly if the chain pulls it into a twist. Sew the leaf base around the wrapped stem just above the soil, pointing to the right when viewed from the front.
Assemble the Sunflower Pot Amigurumi
Hold the flower upright and sew its green back to the small closed wire loop at the stem top. Take several sewn passes across separate stitches so the bloom does not pivot on one stitch. Keep the support behind the brown center and cover it with green yarn if needed.
Attach the leaf and check the balance from the side as well as the front. Bend the stem gently only if necessary, keeping the bloom over the pot’s center. Shape the yellow petals with your fingers and confirm that the pot rests flat.
Reading the Three Sunflower Diagrams
The first chart shows the pot base, with its 8, 16, 24, 30, 36 and 42 stitch totals, plus the folded-rim repeats. The second shows the seven-round soil and flower-front increase sequence and the flower-back decrease repeats. The third shows a three-loop petal repeat and the oval leaf. The charts use the same counts as the written pattern; stem wrapping, support and sewing are described above.
Tips for a Balanced Crochet Sunflower
The soil sits too low
Check the attachment loops. Use the free back loops of Round 16 near the pot opening, rather than the lower loops left by the base turn.
The petals do not reach around
Count three reserved loops for every petal. Fourteen repeats use all 42 loops; extra slip stitches between repeats will use up the ring early.
The flower leans
Check the bottom wire anchor and top sewn attachment before adding more filling. Keep the stem and bloom centered above the pot.
Sunflower Pot Amigurumi: Questions
Can I make a terracotta pot?
Yes. Substitute rust or orange-brown yarn for gray. Keep the yarn thickness the same so the soil disk still fits.
Can I change the yarn weight?
Yes, using matching thicknesses for the separate crochet parts. Adjust the hook and stem length to the finished pieces. The fixed counts stay the same.
Can I omit the wire?
The upright version uses a support. Without it, the narrow wrapped stem cannot reliably hold the bloom. For a wire-free display, omit the tall stem and sew the flower directly to the soil as a low arrangement.
More Flower and Garden Crochet Projects
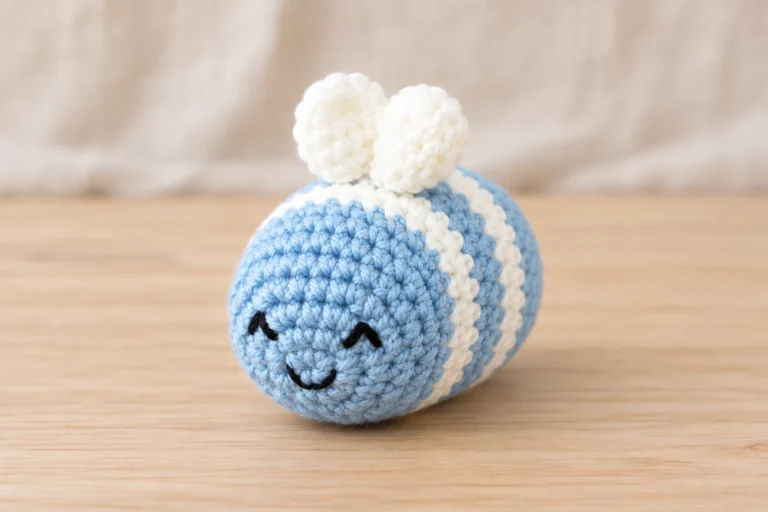
Try the Daisy Flower Keychain Crochet Pattern for a smaller flower, or add a Bee Amigurumi to your handmade garden.
Save this sunflower pot amigurumi for your next desk decoration or handmade gift. I would love to see your pot colors; share your finished flower and tag @lovelys.amigurumi.