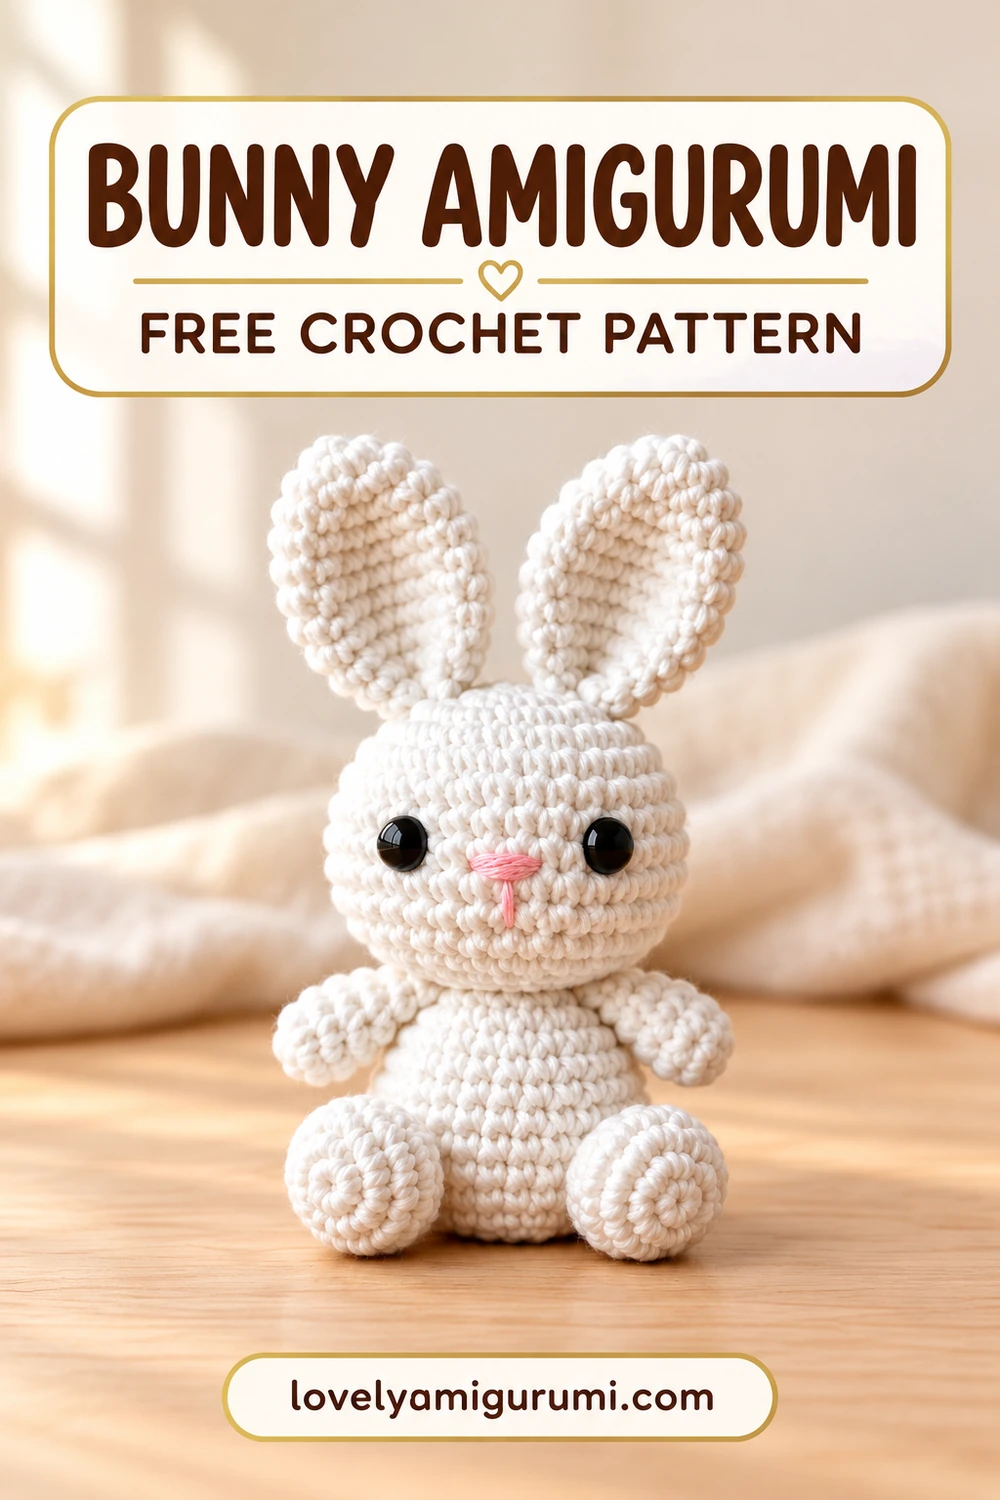
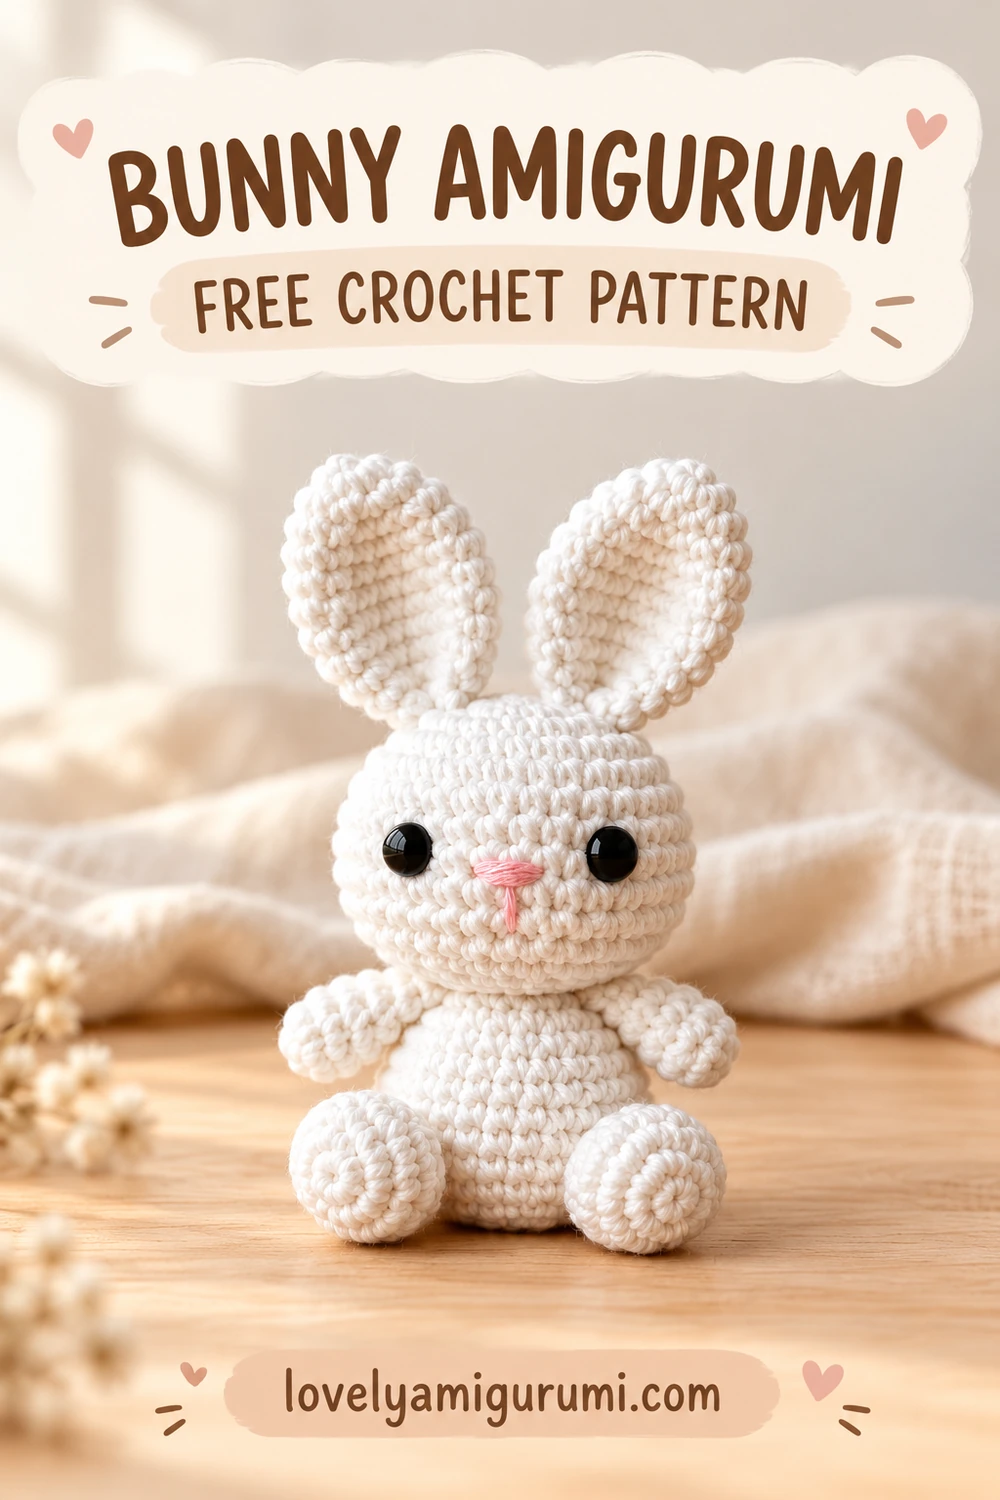
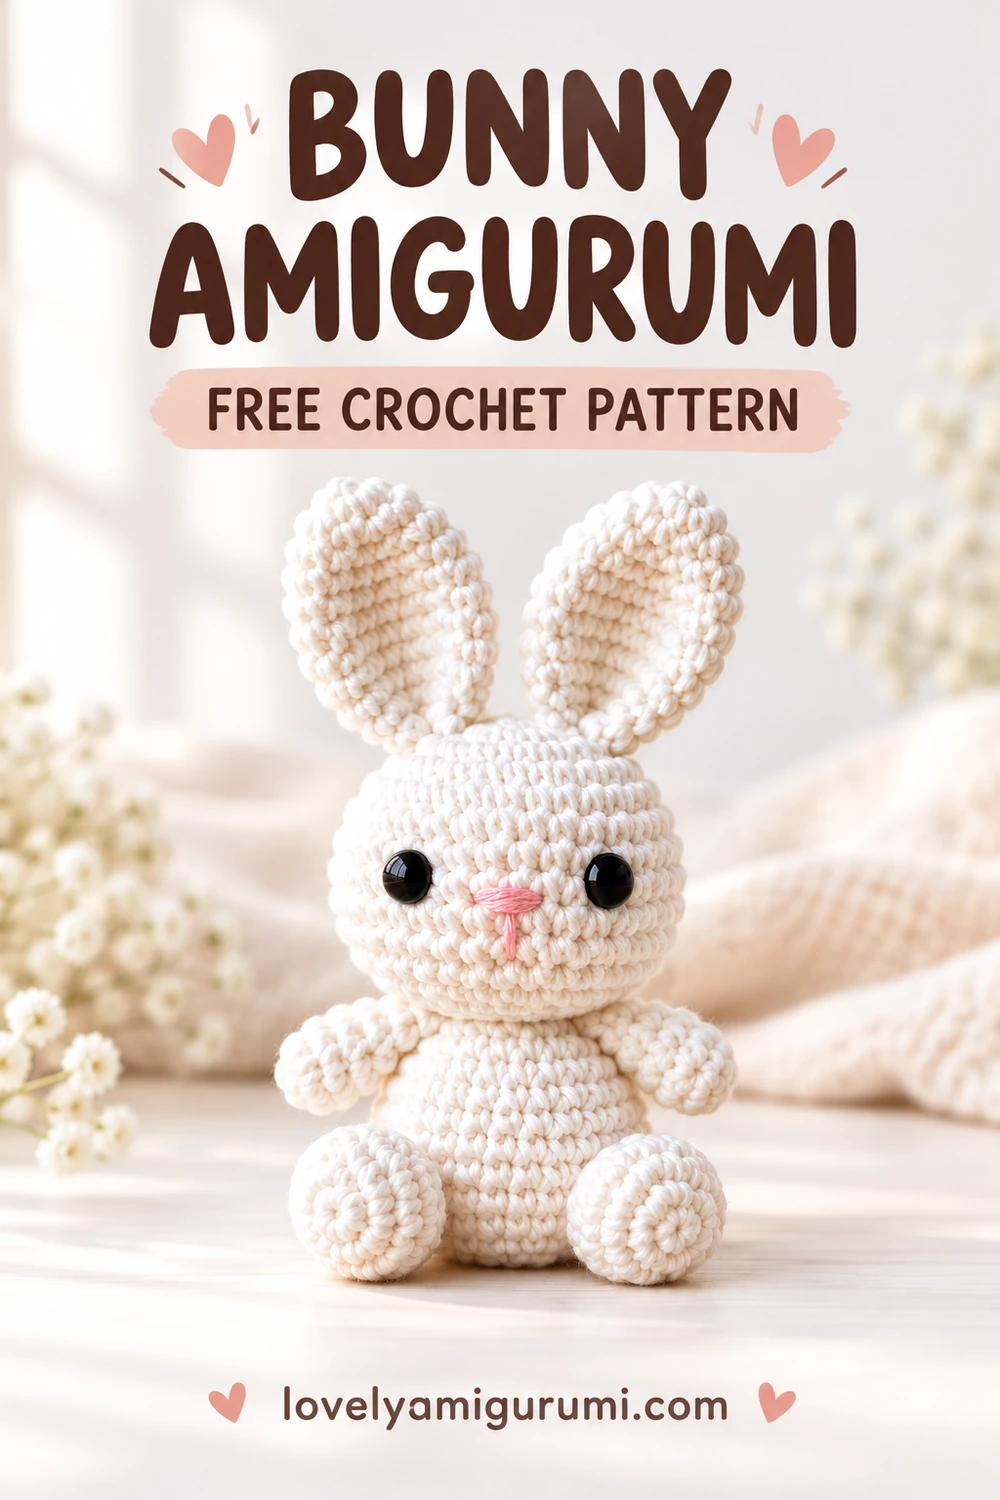
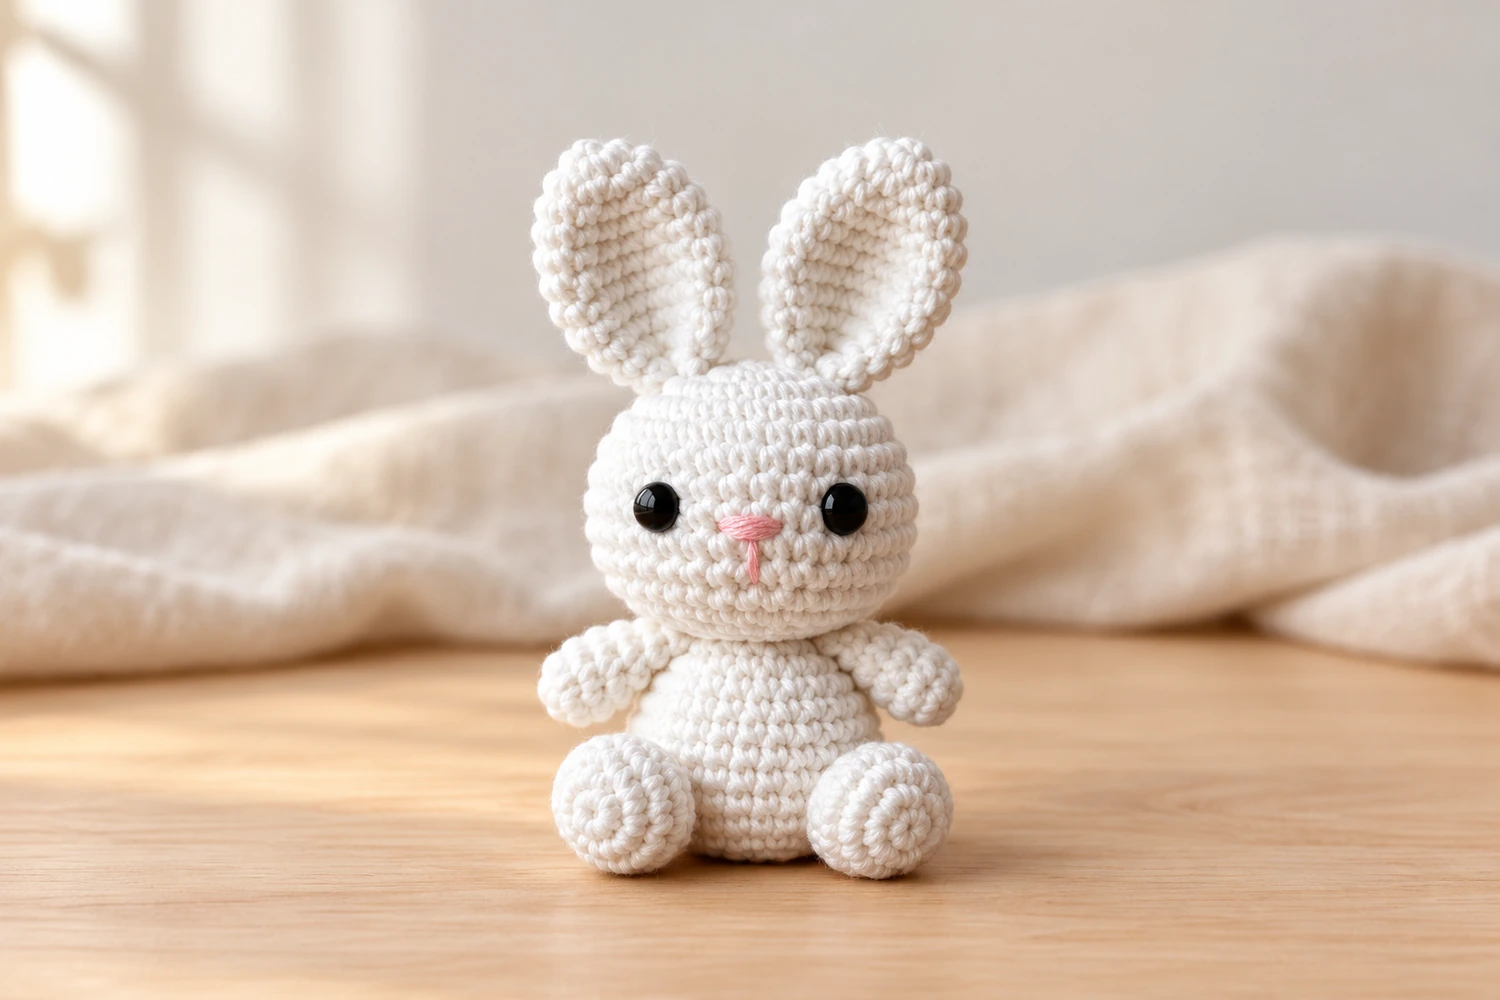
I love the expression a tiny pink nose gives a white rabbit. This Bunny Amigurumi pairs that little detail with upright, cupped ears and round feet, so the silhouette stays recognizable even before the face is finished. My recommendation is to pin the ears and feet first: a small change in their angle can make the bunny look alert, shy or ready to sit on a shelf.
The body and head are crocheted together from the bottom up. The arms, feet and ears are made separately, then sewn on. Below you will find every round, a row-by-row ear section and three stitch charts to help you check the shaping as you work.
Materials for your Bunny Amigurumi
- White DK cotton or cotton-blend yarn; a small amount of pink yarn for the nose.
- A 2–2.5 mm hook, adjusted to make a dense fabric without forcing the stitches.
- Black embroidery thread for eyes, or optional 8–10 mm safety eyes for a decorative piece.
- Polyester filling, stitch marker, yarn needle, scissors and assembly pins.
Yarn thickness and tension determine the finished size. Keep the same yarn and hook for all white pieces so the head, feet and ears remain in proportion. This is a seated decorative rabbit; no wire or stiffener is needed.
Stitches and reading the pattern
MR = magic ring; ch = chain; sc = single crochet; hdc = half double crochet; dc = double crochet; tr = treble crochet; sl st = slip stitch; st(s) = stitch(es); inc = 2 sc in one stitch; dec = single crochet two stitches together. For an invisible decrease, pick up the front loop of each of the next two stitches, yarn over and pull through both front loops, then complete the single crochet. BLO and FLO mean back loops only and front loops only.
The number in parentheses is the stitch count after the round. Repeat only the instructions inside brackets the stated number of times. Unless a section says to turn, work in a continuous spiral without joining; move the marker to the first stitch of each new round. Turning chains do not count as stitches. Work through both loops unless instructed otherwise.
Bunny Amigurumi: body and head
Use white yarn. Start at the bottom of the body and work upward; the head begins after the narrow neck.
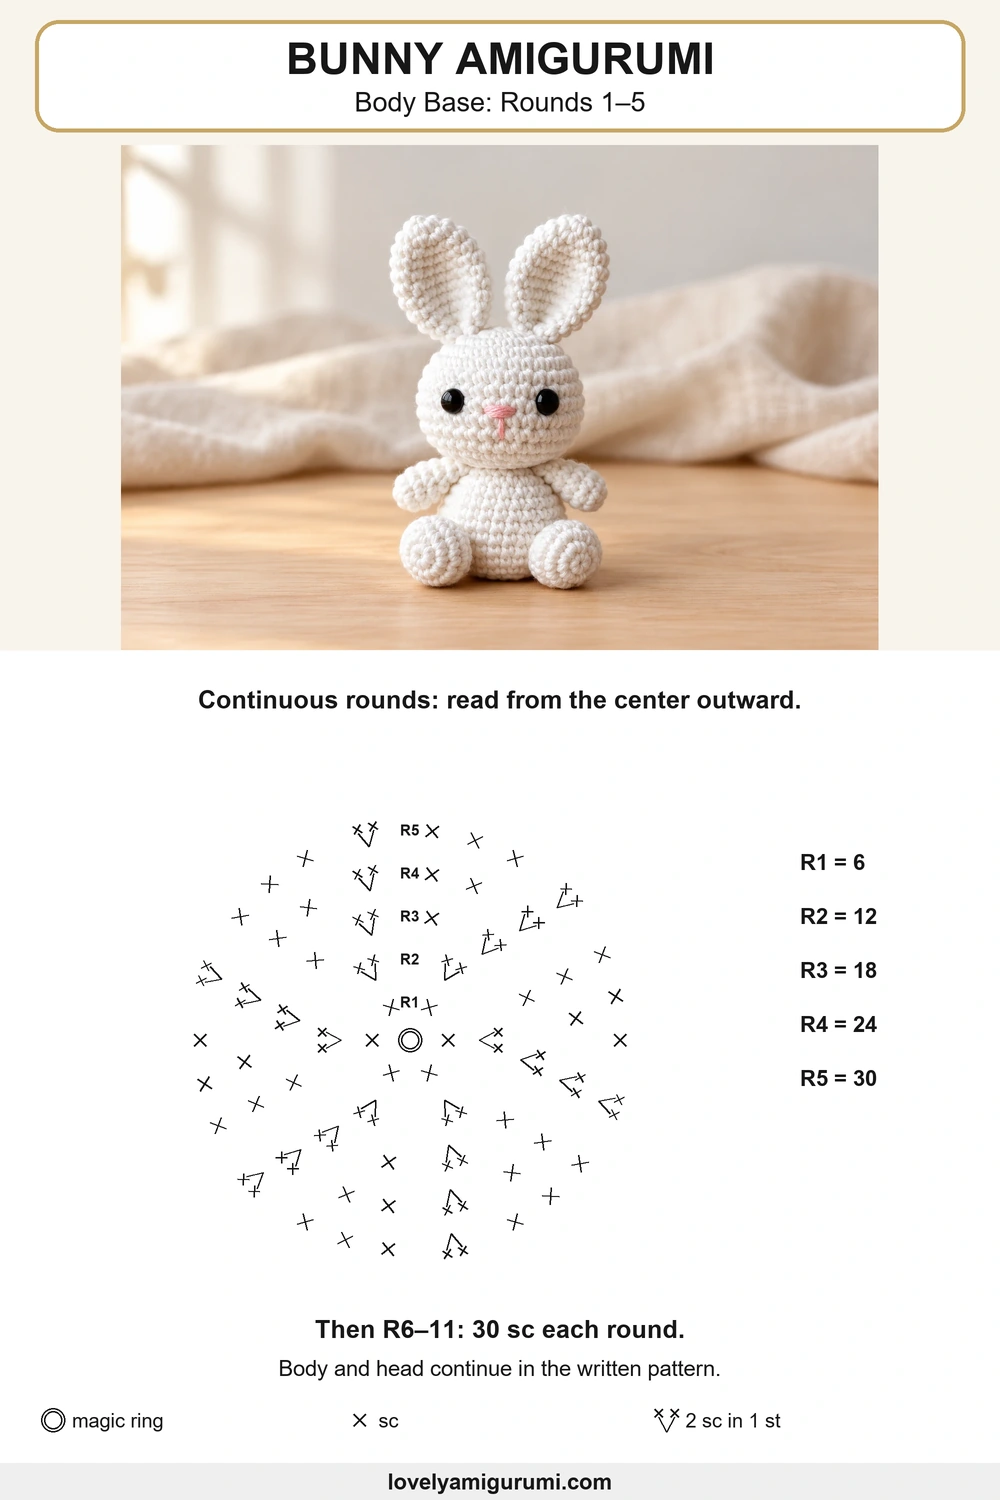
R1: 6 sc in MR. (6)
R2: inc × 6. (12)
R3: [sc, inc] × 6. (18)
R4: [2 sc, inc] × 6. (24)
R5: [3 sc, inc] × 6. (30)
R6–11: 30 sc in each round. (30; 6 rounds)
R12: [3 sc, dec] × 6. (24)
R13: 24 sc. (24)
R14: [2 sc, dec] × 6. (18)
R15: 18 sc. (18)
R16: [sc, inc] × 9. (27)
R17: [2 sc, inc] × 9. (36)
R18: [5 sc, inc] × 6. (42)
R19–27: 42 sc in each round. (42; 9 rounds)
Add filling to the body in small pieces, keeping the bottom rounded rather than pointed. If using safety eyes, place them between R22 and R23, leaving about 7–8 stitches between the posts. Check the front against the body and pin the nose position before securing the washers. Embroidered eyes can be added after closing.
R28: [5 sc, dec] × 6. (36)
R29: [4 sc, dec] × 6. (30)
R30: [3 sc, dec] × 6. (24)
R31: [2 sc, dec] × 6. (18)
R32: [sc, dec] × 6. (12)
Finish filling the head without stretching the stitches.
R33: dec × 6. (6)
Fasten off. Thread the tail through the front loops of the last six stitches, pull closed and bury the end inside the head.
Upright cupped ears: make 2
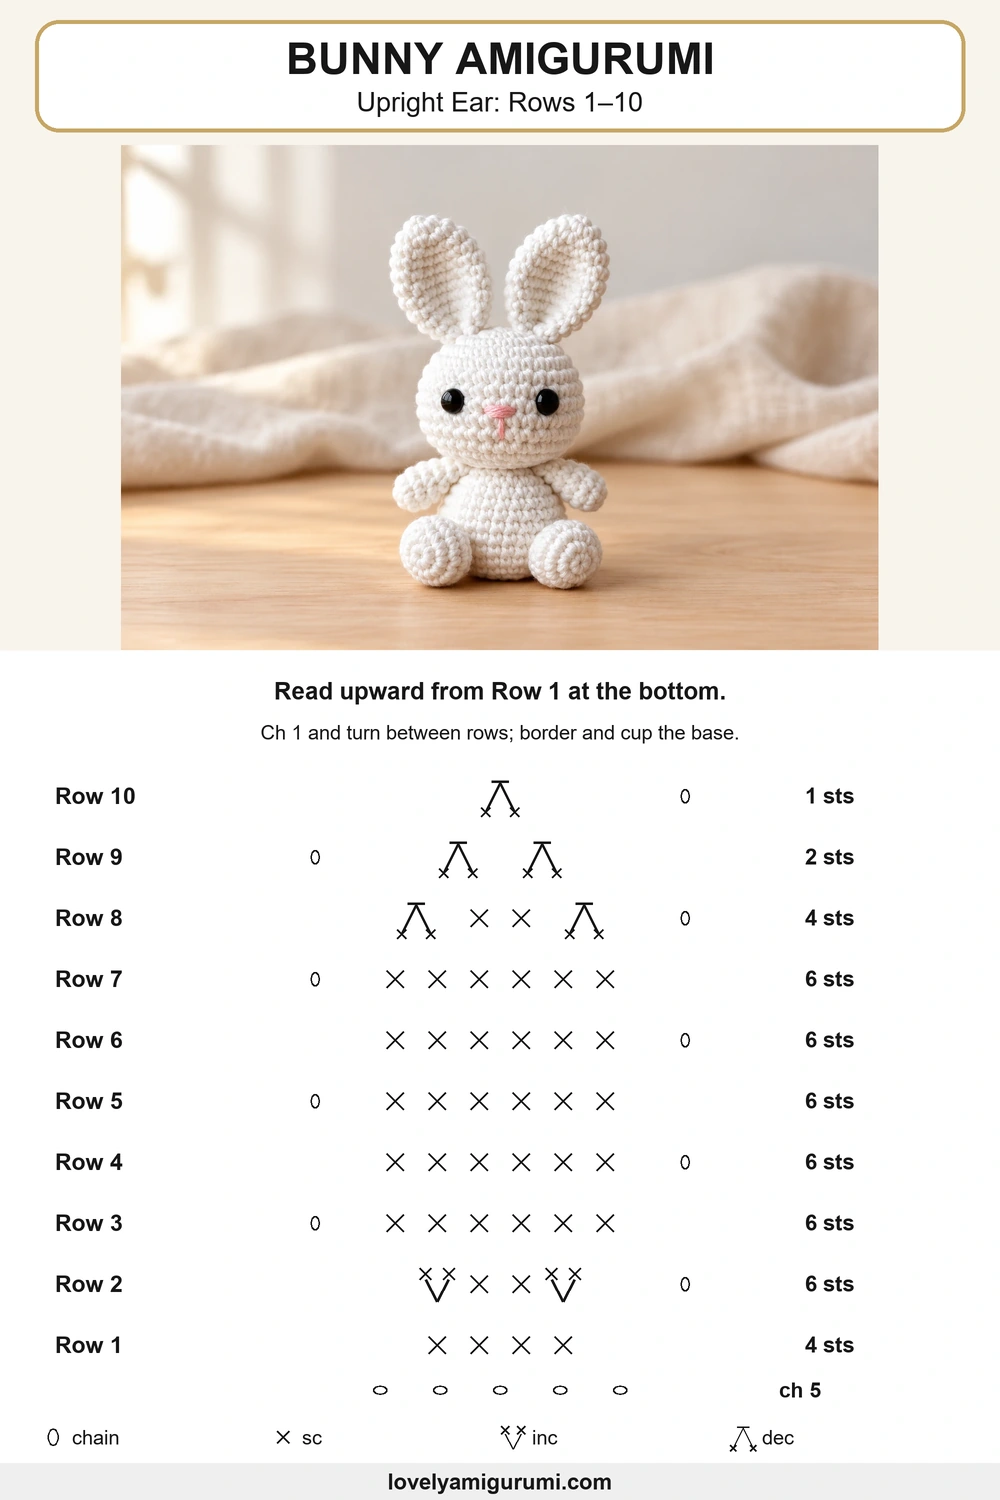
The Bunny Amigurumi ears are flat row-worked panels with a tapered tip and a neat border. Leave them unstuffed; cupping the sides at the base gives them their upright shape.
Ch 5.
Row 1: sc in the second ch from the hook and in the next 3 chains. (4)
Row 2: ch 1, turn; inc, 2 sc, inc. (6)
Rows 3–7: ch 1, turn; 6 sc. (6; 5 rows)
Row 8: ch 1, turn; dec, 2 sc, dec. (4)
Row 9: ch 1, turn; dec × 2. (2)
Row 10: ch 1, turn; dec. (1)
Ch 1 and work a sc border around the panel: one sc in each row end down the first side, one sc in each of the four foundation stitches, then one sc in each row end up the other side. Add an extra sc at each lower corner if the border pulls tight. Join to the first border sc. Leave a long sewing tail. Pinch the two lower corners toward each other and secure them with two stitches; keep the upper ear open like a shallow cup.
Short arms: make 2
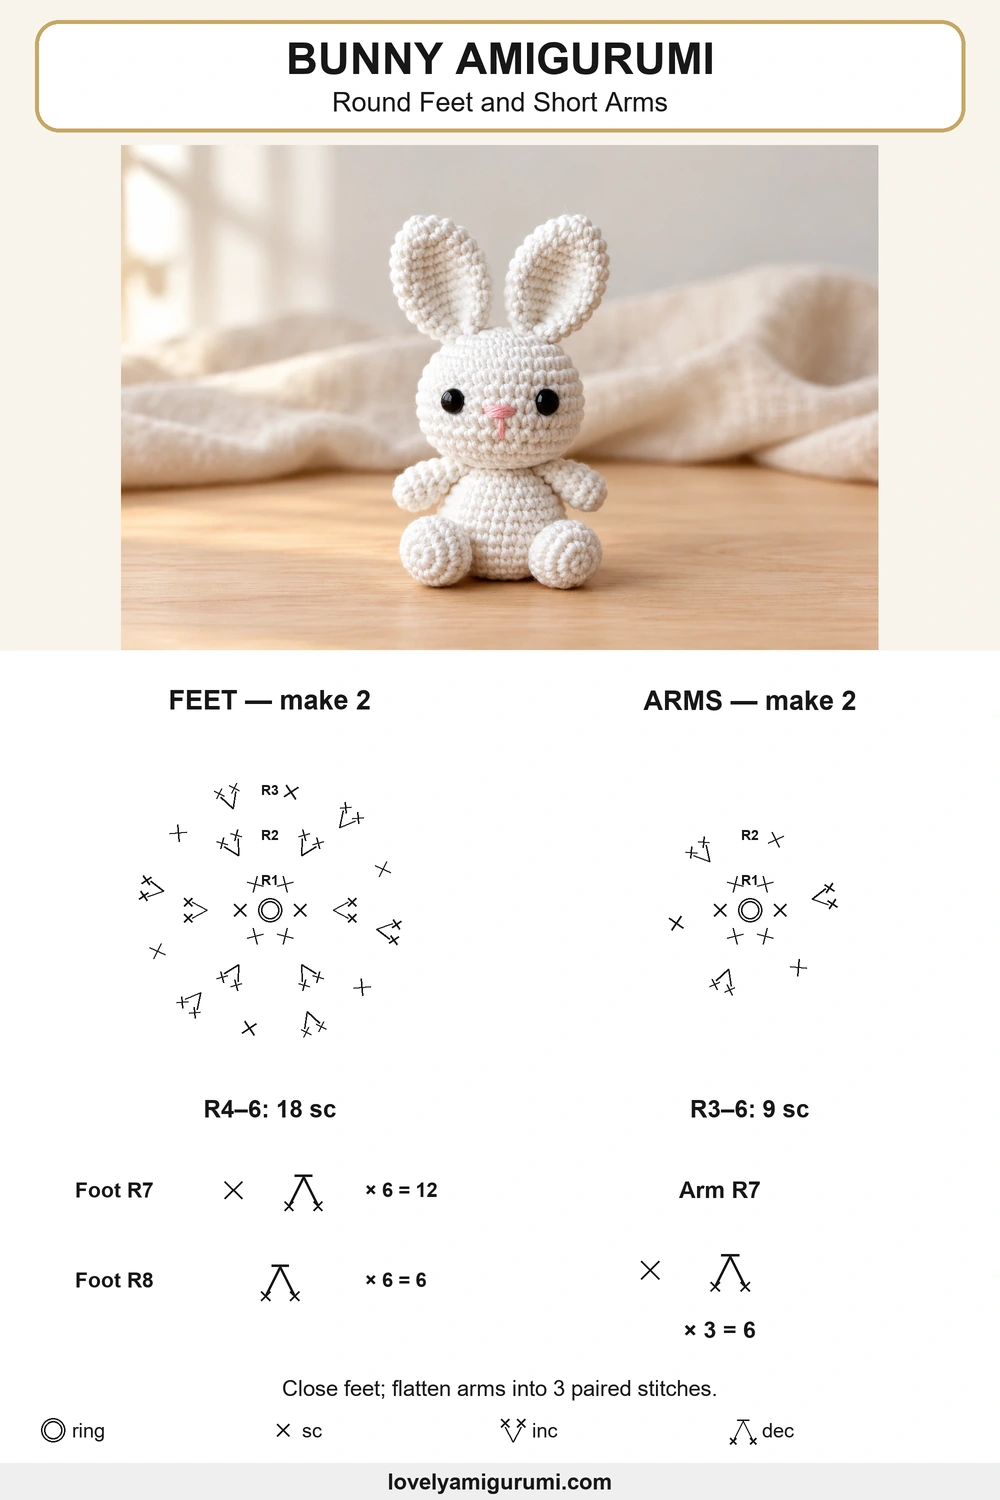
R1: 6 sc in MR. (6)
R2: [sc, inc] × 3. (9)
R3–6: 9 sc in each round. (9; 4 rounds)
R7: [sc, dec] × 3. (6)
Lightly fill the hand end only. Flatten the opening and stitch through both layers across the three paired stitches. Leave a tail for sewing.
Round feet: make 2
R1: 6 sc in MR. (6)
R2: inc × 6. (12)
R3: [sc, inc] × 6. (18)
R4–6: 18 sc in each round. (18; 3 rounds)
R7: [sc, dec] × 6. (12)
Fill lightly.
R8: dec × 6. (6)
Close the six-stitch opening and leave a sewing tail. The magic-ring end faces forward to show the round toe; sew the closed end to the body.
Assemble and finish the Bunny Amigurumi
- Pin the feet symmetrically on the lower front, around body R3–7. Set the bunny on a flat surface and adjust both feet before sewing.
- Sew the arms to the sides below the neck, around R13–15, with the hands angled slightly forward.
- Sew each cupped ear base to the upper head around R26–29. Keep the open face of each ear toward the front.
- Embroider a small pink triangle centered between the eyes, just below their level, with a short vertical stitch beneath it.
- For embroidered eyes, use matching black ovals. Hide and secure all thread ends inside the head.
Reading the three Bunny Amigurumi charts
Chart 1 shows the body base R1–5. Chart 2 shows the ear rows from the foundation to the tapered tip. Chart 3 compares the feet and arm starts and shows their finishing decreases. Repeated plain rounds are labeled rather than drawn as dozens of identical symbols; follow the written round ranges for their full length.
Helpful finishing checks
If the ears lean sideways, tighten the stitches at their bases instead of stuffing them. If the feet sit at different heights, unpin and reposition them before sewing. A flat body base and two evenly placed feet give the Bunny Amigurumi a more balanced seated pose. Keep the nose small so it does not hide the head stitches.
Can I change the color or yarn weight?
Yes. Cream, pale gray or a pastel shade can replace white. A thicker yarn makes a larger rabbit, but use it consistently throughout and choose a hook that keeps the filling inside.
Should I stuff the ears?
No. These ears are bordered panels, not closed tubes. Their cupped base provides the shape. Keep the arms softly filled and the feet rounded.
Why are the eyes placed on R22–23?
The head begins at R16. R22–23 places the eyes on the face instead of the narrow body and neck. Pin or mark the face before attaching any permanent fittings.
More small crochet projects
For another seated animal, try the mini penguin pattern. The tiny star amigurumi and sunflower pot also make cheerful additions to a small handmade display.
Save this Bunny Amigurumi pattern to Pinterest so the round counts and ear charts are easy to find again. I would love to see the colors and expressions you choose for your rabbit.