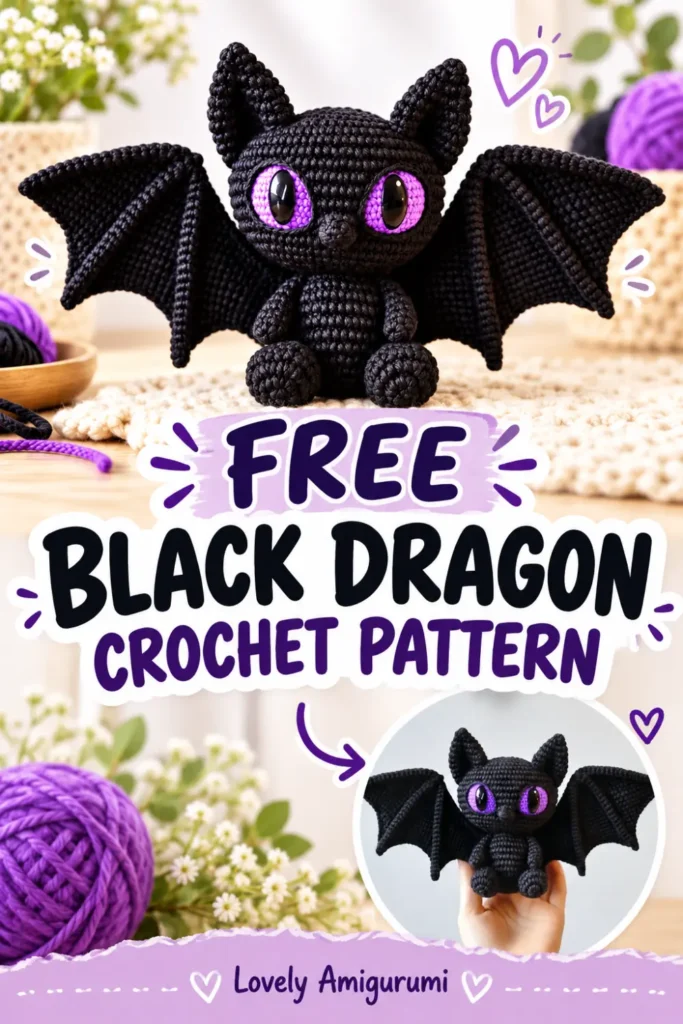
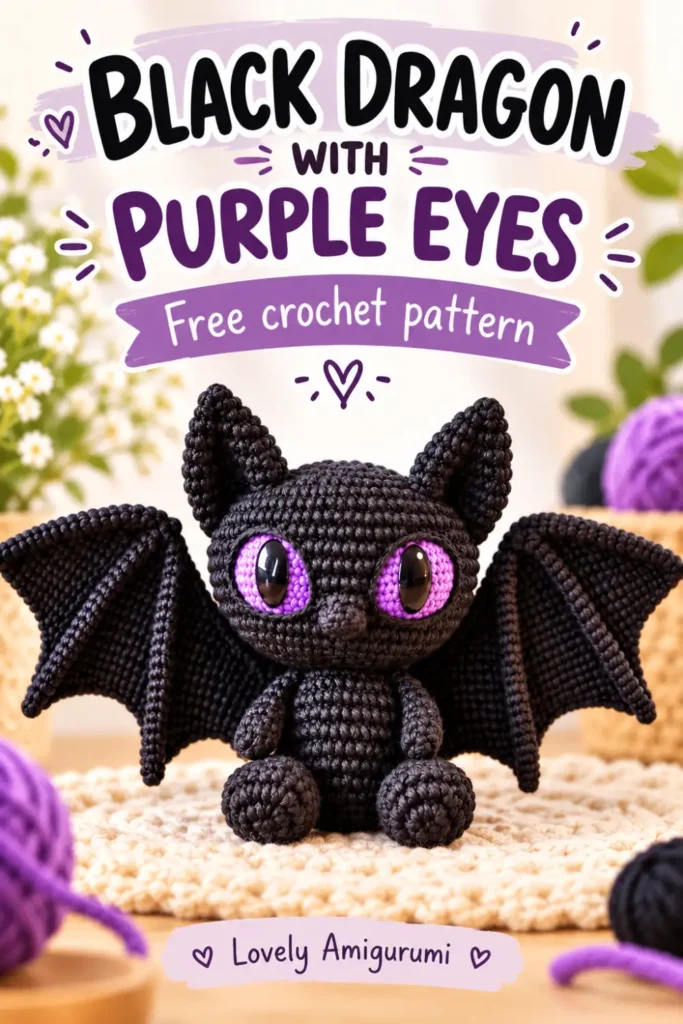
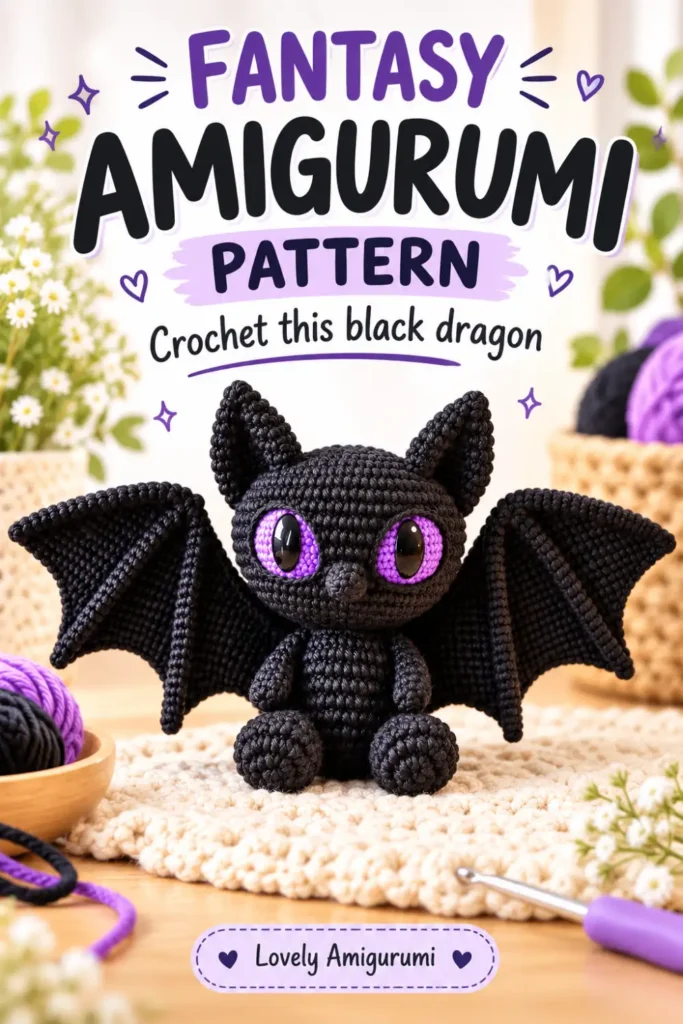
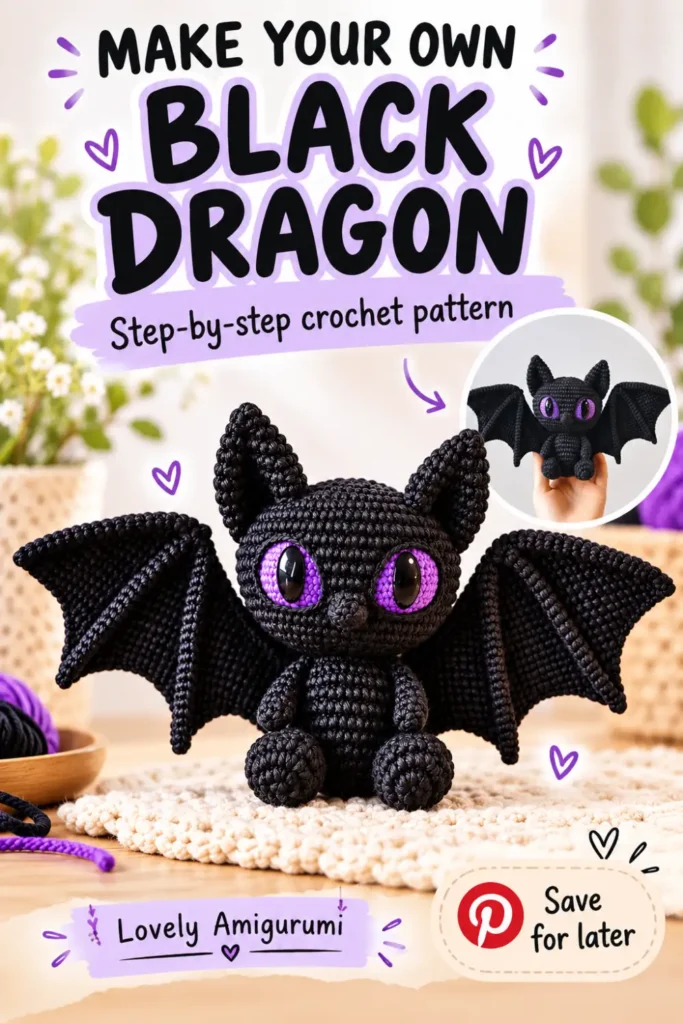
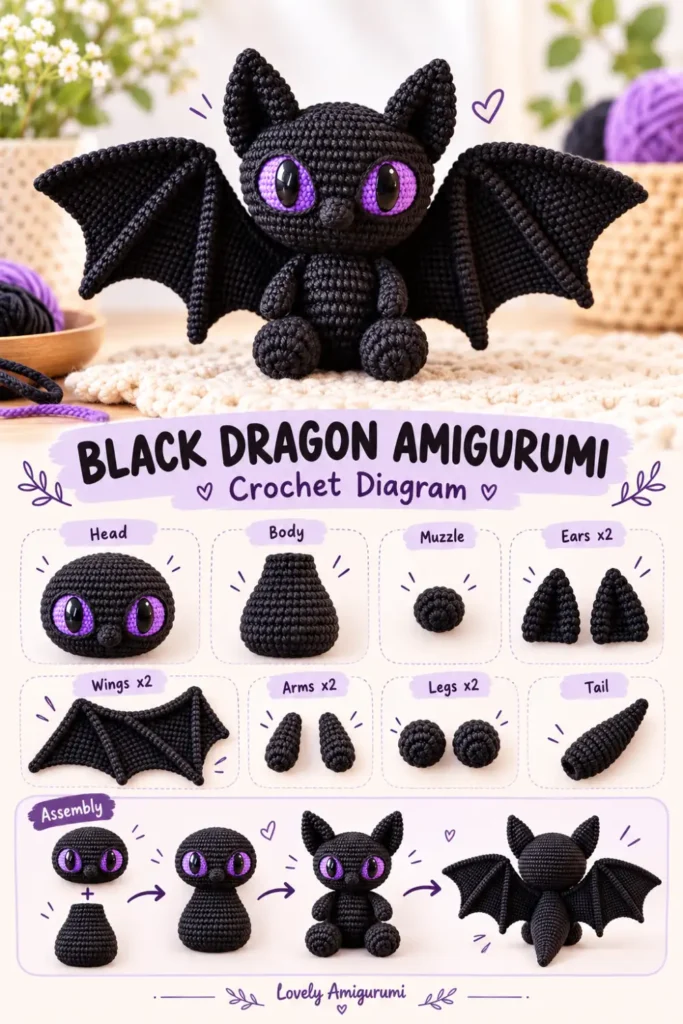
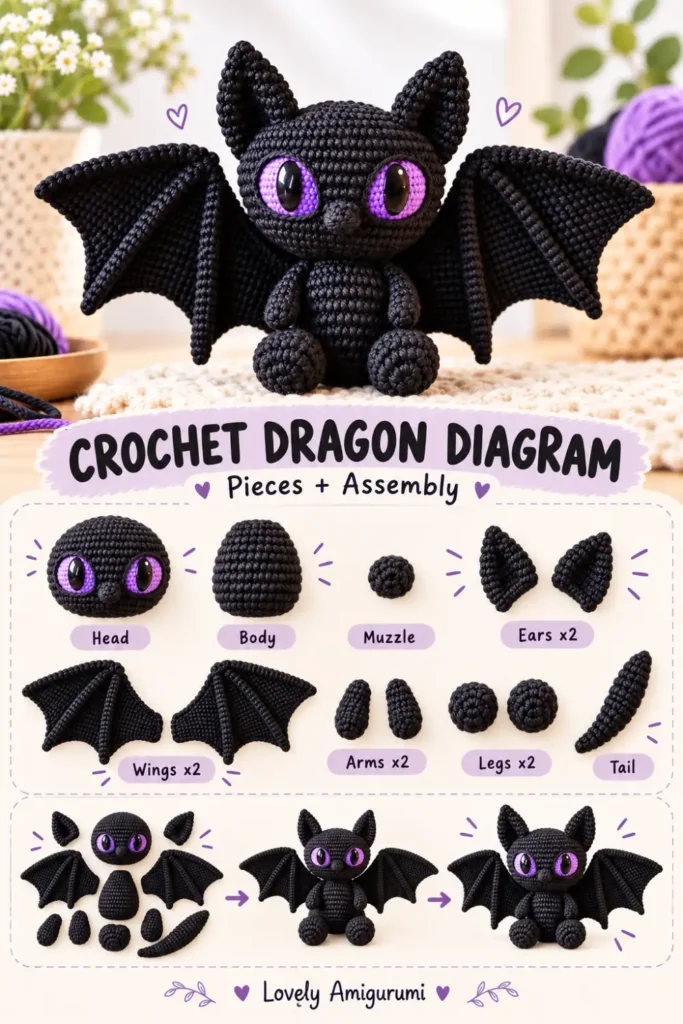
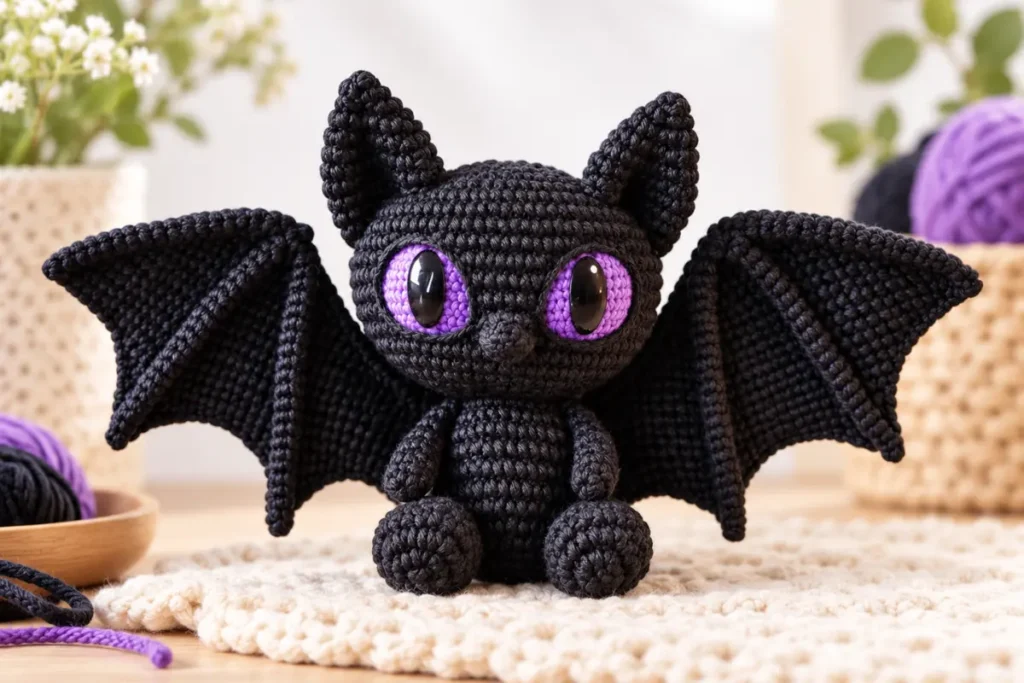
A tiny dragon with oversized wings has a way of looking impressive before you even notice how simple most of its individual pieces really are. This Black Dragon Amigurumi Crochet Pattern combines a round amigurumi body, pointed ears, a small muzzle, dramatic wings, and bright purple eyes that stand out beautifully against the dark yarn.
The body uses familiar increases and decreases, while the wings add the most interesting construction to the project. They are worked flat, shaped in rows, and finished with simple embroidered ribs, so there is no wire required.
I especially like this design as a fantasy-themed shelf decoration or handmade gift. Using black yarn makes stitch visibility a little more challenging, though, so good lighting and a stitch marker make a noticeable difference while working the smaller pieces.
If you have black yarn left after this project, the Mini Penguin Amigurumi Keychain is another compact project that uses dark yarn but has a much simpler shape.
Black Dragon Amigurumi Crochet Pattern: What You’ll Need
Yarn
- Black DK or light worsted yarn
- Purple yarn for the eyes
- Small amount of white yarn for eye highlights
- Black embroidery thread or thin black yarn
Supplies
- 2.75–3.0 mm crochet hook
- Polyester fiberfill
- Yarn needle
- Scissors
- Stitch marker
- Sewing pins
The pattern uses US crochet terminology. If you’re still getting familiar with standardized crochet terms and yarn categories, the Craft Yarn Council crochet standards are a useful reference for abbreviations and yarn-weight terminology. Craft Yarn Council
US Crochet Abbreviations
MR – magic ring
ch – chain
sc – single crochet
sl st – slip stitch
inc – increase, 2 sc in one stitch
dec – invisible decrease
st / sts – stitch / stitches
Rnd – round
FO – fasten off
Unless otherwise noted, work the amigurumi pieces in continuous rounds without joining.
Head
With black yarn:
Rnd 1: 6 sc in MR. [6]
Rnd 2: inc × 6. [12]
Rnd 3: (sc, inc) × 6. [18]
Rnd 4: (2 sc, inc) × 6. [24]
Rnd 5: (3 sc, inc) × 6. [30]
Rnd 6: (4 sc, inc) × 6. [36]
Rnd 7: (5 sc, inc) × 6. [42]
Rnd 8–13: 42 sc. [42]
Rnd 14: (5 sc, dec) × 6. [36]
Rnd 15: 36 sc. [36]
Rnd 16: (4 sc, dec) × 6. [30]
Begin stuffing the head evenly.
Rnd 17: (3 sc, dec) × 6. [24]
Rnd 18: (2 sc, dec) × 6. [18]
Finish stuffing firmly, especially around the sides of the face.
Rnd 19: (sc, dec) × 6. [12]
Rnd 20: dec × 6. [6]
FO.
Thread the tail through the remaining front loops and pull closed.
Muzzle
The short oval muzzle gives the face more dimension without making the dragon look too realistic.
With black yarn:
Ch 5.
Round 1
Starting in the second chain from the hook:
3 sc, 3 sc in the last ch.
Continue along the opposite side of the foundation chain:
2 sc, inc in the last stitch. [10]
Round 2
inc, 2 sc, inc × 3, 2 sc, inc × 2. [16]
Round 3
16 sc. [16]
FO, leaving a long tail.
Add only a tiny amount of stuffing before sewing.
Position the muzzle low on the front of the head, beneath the eyes.
Purple Eyes
Make 2.
With purple yarn:
Ch 4.
Round 1
Starting in the second chain from the hook:
2 sc, 3 sc in the last ch.
Working on the opposite side:
1 sc, inc in the final stitch. [8]
Round 2
inc, sc, inc × 3, sc, inc × 2. [14]
FO with a long sewing tail.
Gently stretch each piece into an oval before attaching.
Sew the purple eye pieces onto the face with approximately 4–5 stitches between their inner edges.
Pupils
Using black yarn or embroidery thread, embroider a thick vertical oval in the center of each purple eye.
Add one small white stitch near the upper edge of each pupil for a light reflection.
That little highlight is worth doing—it keeps the dark face from losing expression.
Pointed Ears
Make 2.
With black yarn:
Rnd 1: 4 sc in MR. [4]
Rnd 2: (sc, inc) × 2. [6]
Rnd 3: 6 sc. [6]
Rnd 4: (2 sc, inc) × 2. [8]
Rnd 5: 8 sc. [8]
Rnd 6: (3 sc, inc) × 2. [10]
Rnd 7–9: 10 sc. [10]
FO with a long tail.
Do not stuff.
Flatten each ear lightly and sew it near the upper sides of the head. Angle the tips slightly outward rather than placing them completely upright.
Body
With black yarn:
Rnd 1: 6 sc in MR. [6]
Rnd 2: inc × 6. [12]
Rnd 3: (sc, inc) × 6. [18]
Rnd 4: (2 sc, inc) × 6. [24]
Rnd 5: (3 sc, inc) × 6. [30]
Rnd 6–9: 30 sc. [30]
Rnd 10: (3 sc, dec) × 6. [24]
Rnd 11–12: 24 sc. [24]
Begin stuffing.
Rnd 13: (2 sc, dec) × 6. [18]
Rnd 14–15: 18 sc. [18]
Finish stuffing.
FO, leaving a long tail for sewing.
The body should be firm enough to support the head and wings without becoming stretched between the stitches.
Arms
Make 2.
With black yarn:
Rnd 1: 6 sc in MR. [6]
Rnd 2: inc × 6. [12]
Rnd 3–4: 12 sc. [12]
Rnd 5: (2 sc, dec) × 3. [9]
Rnd 6–9: 9 sc. [9]
Stuff only the lower half.
Flatten the opening.
FO, leaving a long tail.
Back Legs
Make 2.
With black yarn:
Rnd 1: 6 sc in MR. [6]
Rnd 2: inc × 6. [12]
Rnd 3: (sc, inc) × 6. [18]
Rnd 4–5: 18 sc. [18]
Rnd 6: (sc, dec) × 6. [12]
Rnd 7: 12 sc. [12]
Stuff firmly enough to maintain the rounded shape.
FO with a long tail.
These chunky feet help give the finished dragon its seated pose.
Tail
With black yarn:
Rnd 1: 4 sc in MR. [4]
Rnd 2: (sc, inc) × 2. [6]
Rnd 3: 6 sc. [6]
Rnd 4: (2 sc, inc) × 2. [8]
Rnd 5–6: 8 sc. [8]
Rnd 7: (3 sc, inc) × 2. [10]
Rnd 8–10: 10 sc. [10]
Rnd 11: (4 sc, inc) × 2. [12]
Rnd 12–14: 12 sc. [12]
Stuff very lightly as you work.
FO with a long tail.
A lightly stuffed tail is easier to curve naturally around the body than one packed tightly with fiberfill.
Large Crochet Dragon Wings
Make 2.
The wings are what give this Black Dragon Amigurumi Crochet Pattern its dramatic silhouette.
They are worked flat in rows.
With black yarn:
Ch 21.
Row 1
Starting in second ch from hook, 20 sc.
Ch 1, turn. [20]
Row 2
20 sc.
Ch 1, turn. [20]
Row 3
dec, 18 sc.
Ch 1, turn. [19]
Row 4
19 sc.
Ch 1, turn. [19]
Row 5
dec, 17 sc.
Ch 1, turn. [18]
Row 6
18 sc.
Ch 1, turn. [18]
Row 7
Sl st into the first 3 sts, 15 sc.
Ch 1, turn. [15]
Row 8
15 sc.
Ch 1, turn. [15]
Row 9
dec, 13 sc.
Ch 1, turn. [14]
Row 10
Sl st into the first 3 sts, 11 sc.
Ch 1, turn. [11]
Row 11
11 sc.
Ch 1, turn. [11]
Row 12
dec, 9 sc.
Ch 1, turn. [10]
Row 13
Sl st into the first 3 sts, 7 sc.
Ch 1, turn. [7]
Row 14
7 sc.
FO.
The stepped sections form the three main changes in the lower wing edge.
Wing Border
Join black yarn anywhere along the outer edge.
Work sc evenly around the entire wing.
At each pointed corner created by the stepped rows, work:
(sc, ch 2, sc)
in the same space.
This makes the wing tips more defined.
FO and weave in the end.
Make the second wing the same way. Flip it during assembly so the pieces mirror each other.
Adding the Wing Ribs
Thread a yarn needle with black yarn.
Starting near the inner upper corner of the wing, make long surface stitches toward each lower wing point.
Keep these stitches relaxed.
If you pull too tightly, the wing will fold or cup inward.
Three visible rib lines per wing are enough to create definition without making the piece look busy.
How to Assemble the Black Dragon
Assembly makes a bigger difference to this dragon than adding extra decorative details, so pin everything first.
1. Head and Body
Center the body beneath the head.
Sew securely around the neck opening.
Check the dragon from the front every few stitches so the head doesn’t gradually tilt to one side.
2. Eyes
Position the purple eyes symmetrically on the lower half of the face.
Do not sew them immediately.
Pin both first, then check:
- spacing;
- height;
- pupil direction.
Once you’re happy with the expression, sew them in place.
3. Muzzle
Center the muzzle just below and slightly between the eyes.
Sew around the entire outer edge.
Embroider two very small nostrils with black thread.
4. Ears
Attach the ears near the upper sides of the head.
A slight outward angle creates a softer silhouette than placing them straight upward.
5. Arms
Sew the arms to the upper sides of the body.
Angle them slightly forward.
6. Legs
Place the legs toward the lower front of the body.
Pin both before sewing so the dragon can sit evenly.
7. Tail
Attach the tail low on the back.
Curve it gently toward one side before adding a few anchoring stitches.
8. Wings
Position the inner straight edge of each wing along the upper back.
The top of the wings should begin near the shoulder area, with the widest section spreading outward.
Sew only the inner edge securely to the body.
Leave the rest of each wing free.
This gives the dragon a much more dimensional appearance.
Practical Tips for a Cleaner Black Dragon Amigurumi
Black yarn is beautiful for this design, but it hides stitches more easily than lighter colors.
I recommend working near a window or under a strong neutral light. A stitch marker is especially useful when starting small black pieces because the first and last stitch can be surprisingly difficult to distinguish.
Don’t overstuff the muzzle
The muzzle needs only enough fiberfill to stop it collapsing.
Too much stuffing will push it away from the face and make the seam much more noticeable.
Pin the eyes before sewing
Eye placement changes the entire expression.
Moving one eye even a single stitch can make the finished dragon look noticeably different.
Keep the wings flat
If the wings curl after crocheting, lightly shape or block them before attaching.
Don’t compensate by sewing the whole wing against the body—the large free wings are one of the strongest visual features of the design.
Use less stuffing in the tail
A softly stuffed tail bends much more naturally.
Check symmetry from a distance
After pinning the wings and ears, put the dragon down and look at it from a few feet away.
Small differences are easier to spot than when the project is directly in your hands.
Make It Your Own
The black-and-purple combination creates a strong nighttime fantasy look, but the same construction can produce completely different dragons.
Try:
Midnight Dragon: black + violet
Forest Dragon: deep green + gold
Ice Dragon: pale blue + silver-gray
Berry Dragon: plum + pink
Storm Dragon: charcoal + icy blue
If you like small projects with expressive faces, the Mini Penguin Amigurumi Keychain is a much quicker project to make with leftover black yarn. The Lovely Amigurumi Animals collection also has more small creature patterns to explore after you finish your dragon. lovelyamigurumi.com
For a magical companion project rather than another animal, the Tiny Star Amigurumi pattern works nicely with the fantasy theme and can also be turned into a hanging ornament or charm. lovelyamigurumi.com
Black Dragon Amigurumi FAQ
Is this black dragon crochet pattern beginner-friendly?
The body uses basic amigurumi techniques, including single crochet, increases, and decreases. The wing shaping and assembly make the overall project more suitable for a confident beginner or intermediate crocheter.
Do the dragon wings need wire?
No. The wings are designed to remain flat without wire. Careful tension, a firm border, and light blocking should provide enough structure.
Can I use thicker yarn?
Yes. Changing the yarn and hook will change the final size. Keep the stitch counts the same and choose a hook that creates a dense fabric so stuffing does not show through.
Can I embroider the eyes instead?
Absolutely. Embroidered eyes are also a good option when making a soft toy intended for a young child.
Why is my black yarn difficult to see?
Dark yarn absorbs light and makes individual stitches harder to distinguish. Strong lighting and a contrasting stitch marker make the rounds much easier to follow.
Final Thoughts
The combination of huge wings, a compact seated body, and bright purple eyes gives this Black Dragon Amigurumi Crochet Pattern plenty of personality without requiring unusually complicated stitches.
The wings will probably take more attention than the body, but that contrast is part of what makes the finished project interesting: simple amigurumi shaping in the center, with the visual drama concentrated around the silhouette.
Once you’ve made your first version, try changing the eye and body colors to create a whole collection of little fantasy dragons.
And if you’re in the mood for another quick project afterward, browse the Lovely Amigurumi animal patterns for your next make.