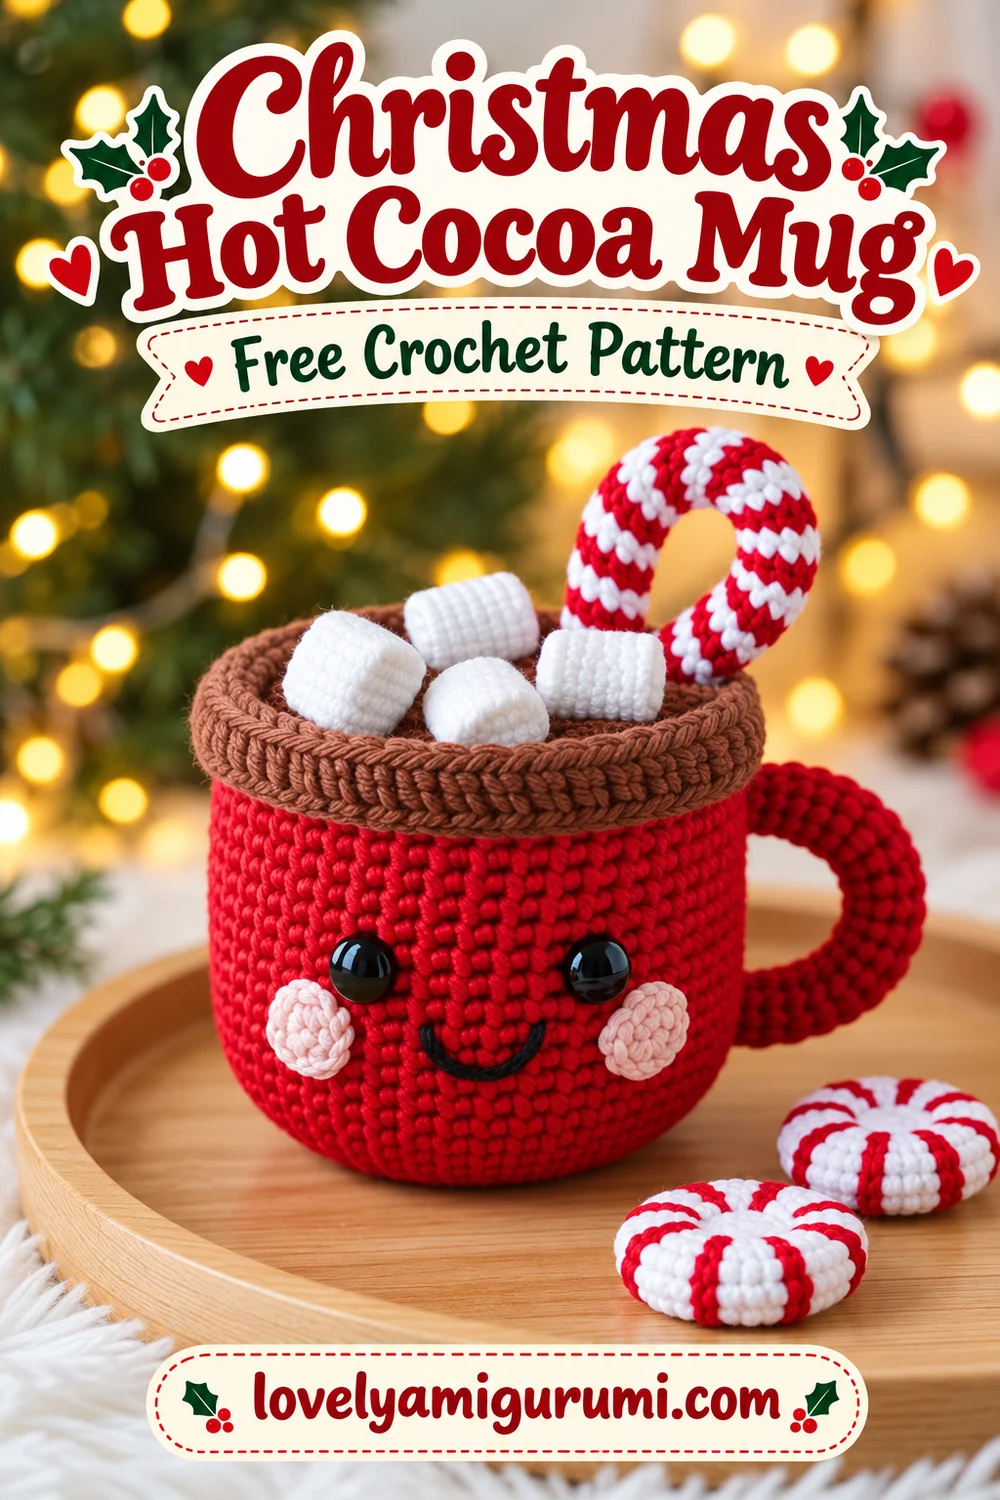
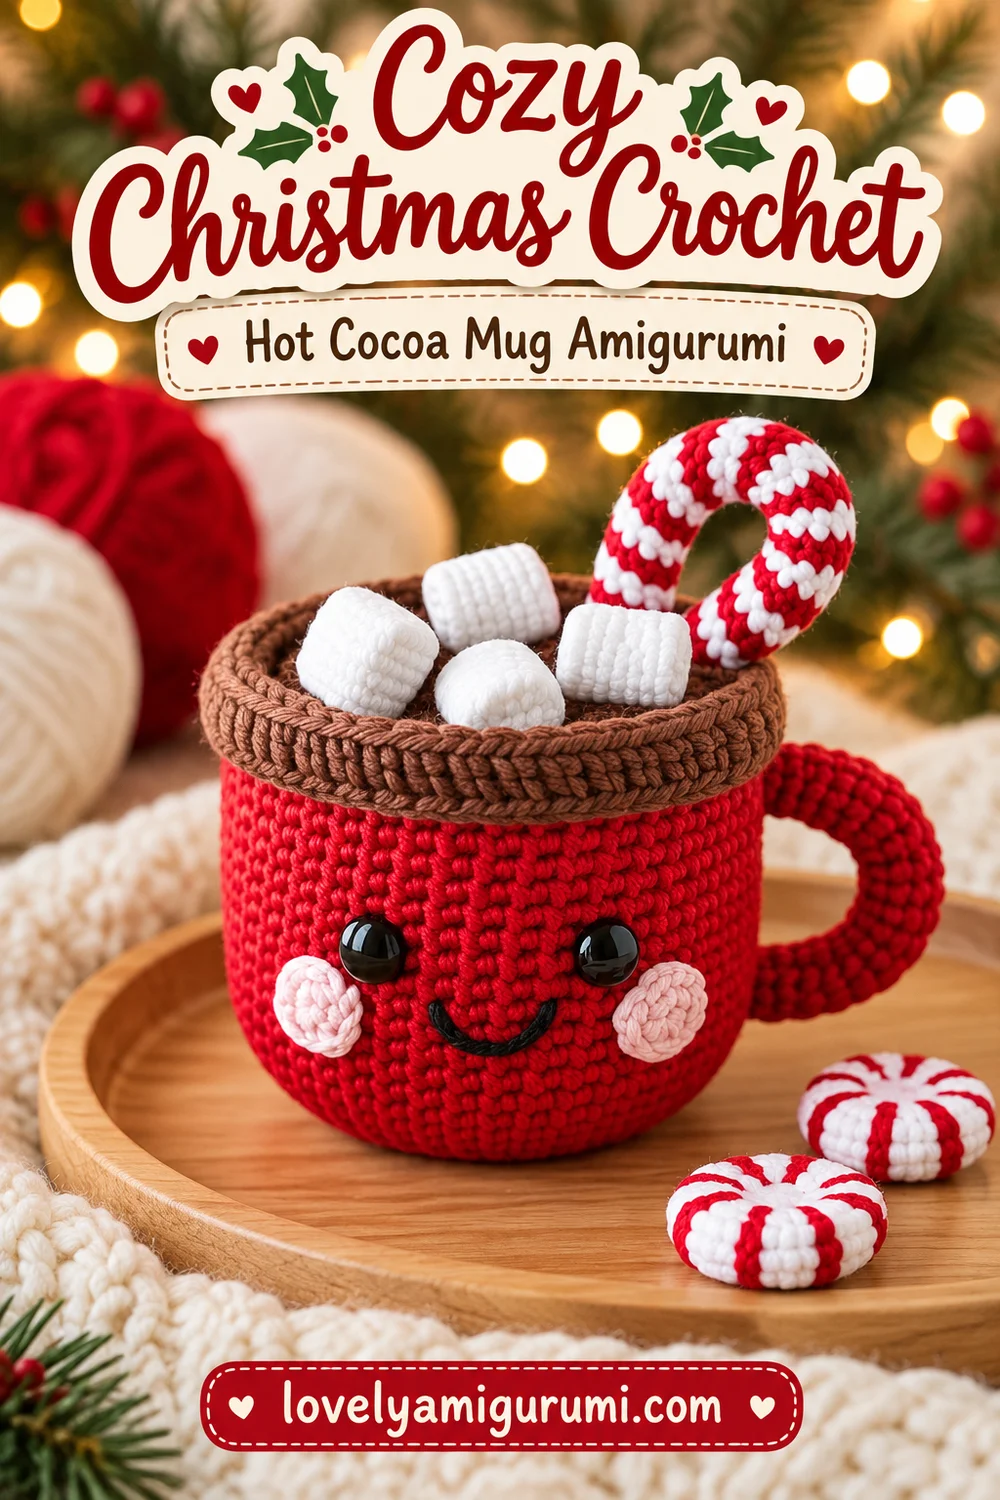
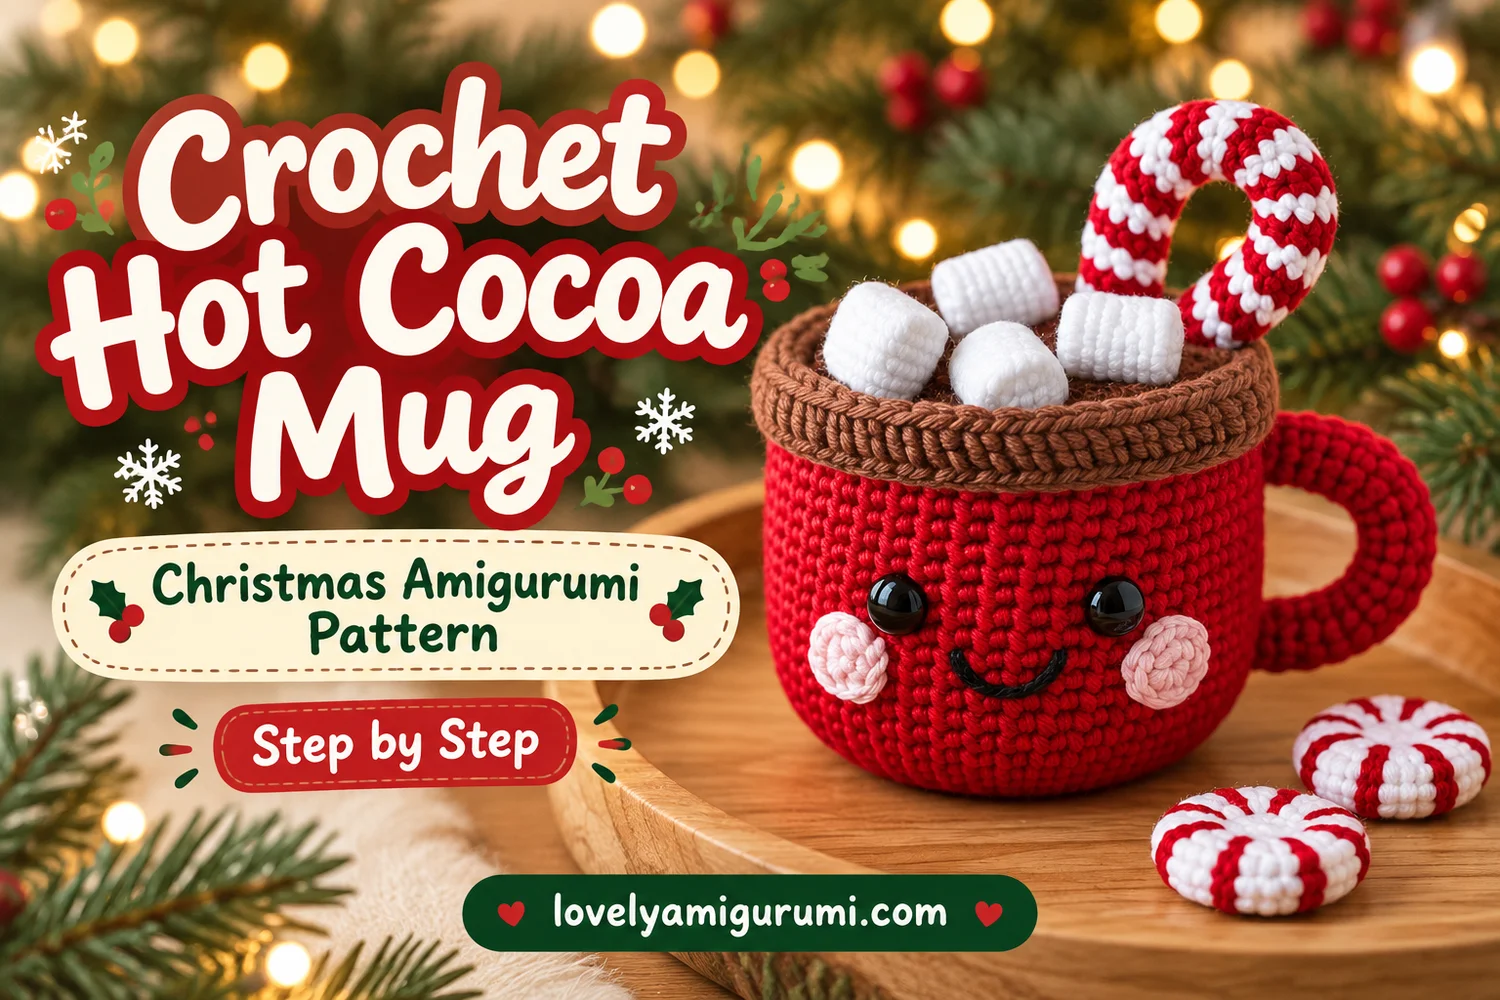
This Christmas Hot Cocoa Mug Crochet Pattern makes a smiling red amigurumi cup with a brown cocoa top, a rounded handle, four white marshmallows, and a red-and-white candy cane. Pink cheeks and a little embroidered smile give it the cheerful expression in the reference image.
Two peppermint sweets complete the scene. Make this soft decoration for a holiday shelf, a cozy crochet display, or a handmade festive gift. The cup is stuffed and sewn closed.
Pattern Information
- Skill level: Intermediate, or a confident beginner comfortable with sewing small pieces.
- Terms: US crochet terminology.
- Construction: Red cup and brown top worked separately in rounds, with a stuffed tube handle and sewn toppings.
- Estimated size: Approximately 10–12 cm tall for the cup with sport-weight cotton yarn; the cane adds height. This is an estimate, not a measured sample.
- Reference details: Red cup, handle on the right, brown rim and cocoa, black eyes and smile, pink cheeks, four marshmallows, a striped cane, and two peppermint sweets.
Pattern note: This is an image-inspired adaptation. Stitch counts have been checked, but the pattern has not been physically crocheted or independently tested. Yarn, tension, and stuffing affect the final proportions. The images are illustrative guides.
Materials for the Christmas Hot Cocoa Mug Crochet Pattern
- Sport-weight cotton yarn in red, brown, and white; approximately 35–50 g red, 15–25 g brown, and 15–25 g white as starting allowances.
- Small amounts of pink yarn for the cheeks and black yarn for the smile.
- A 2.5–3 mm crochet hook as a starting point; adjust for dense fabric.
- Fiberfill stuffing.
- Two black safety eyes, approximately 10–12 mm, or black yarn for embroidered eyes.
- Stitch marker, tapestry needle, scissors, and strong coordinating sewing thread if preferred.
This pattern makes a decorative stuffed mug. Use embroidered eyes when making a version for a young child, and keep every topping firmly sewn to the cup.
Stitches and Abbreviations
| Abbreviation | Meaning |
|---|---|
| MR | magic ring |
| ch | chain |
| sc | single crochet |
| hdc | half double crochet |
| sl st | slip stitch |
| inc | 2 sc in one stitch |
| dec | invisible sc decrease over the next 2 stitches |
| BLO | back loop only |
| st(s) | stitch(es) |
Numbers in brackets show the completed stitch count. Repeat the instructions in parentheses the stated number of times. Turning chains and finishing slip stitches do not count as stitches.
Before You Begin
Work the round pieces in a spiral without joining or turning unless directed otherwise. Mark the first stitch and move the marker at the beginning of each round. Keep the right side facing outward.
The red cup begins at its base. A separate brown disc closes the top after the face is attached and the cup is stuffed. The brown rim covers the joining seam. Keep the cup softly full with a flat base, rather than packing it into a ball.
Christmas Hot Cocoa Mug Crochet Pattern
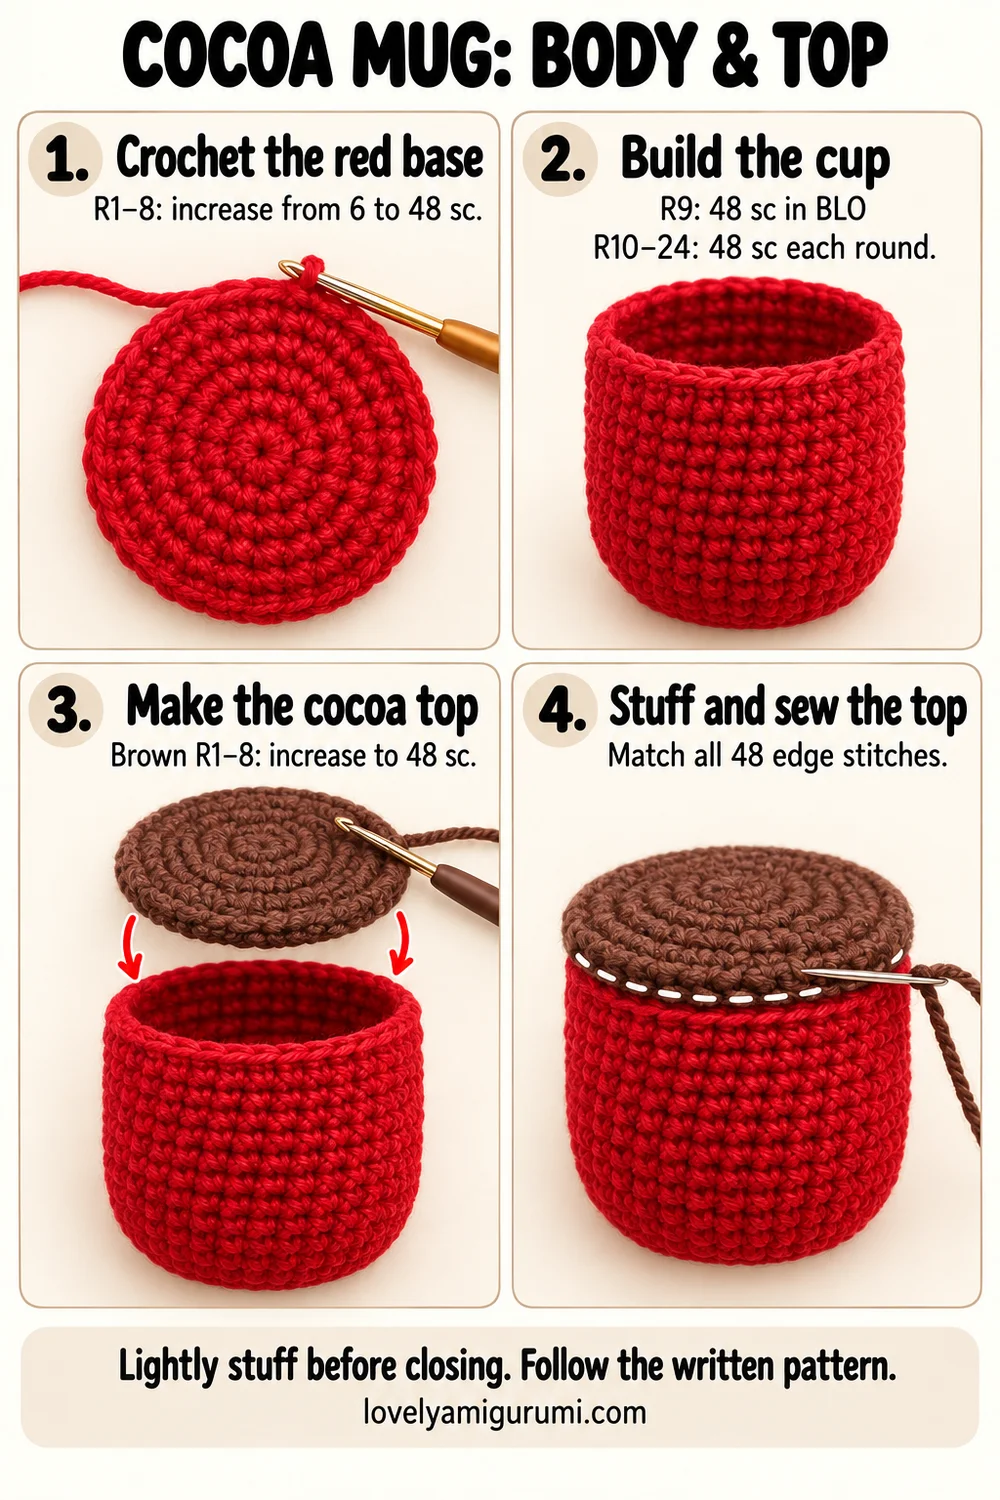
1. Red Cup Body
With red yarn:
- Round 1: 6 sc in MR. [6]
- Round 2: Inc in each stitch. [12]
- Round 3: (Sc, inc) × 6. [18]
- Round 4: (2 sc, inc) × 6. [24]
- Round 5: (3 sc, inc) × 6. [30]
- Round 6: (4 sc, inc) × 6. [36]
- Round 7: (5 sc, inc) × 6. [42]
- Round 8: (6 sc, inc) × 6. [48]
- Round 9: Sc in BLO around. [48]
- Rounds 10–24: Sc in every stitch. [48 per round; 15 rounds]
Sl st into the next stitch to smooth the end. Fasten off and weave in the tail. Leave the opening unsewn. The back-loop round defines the base edge.
2. Face and Pink Cheeks
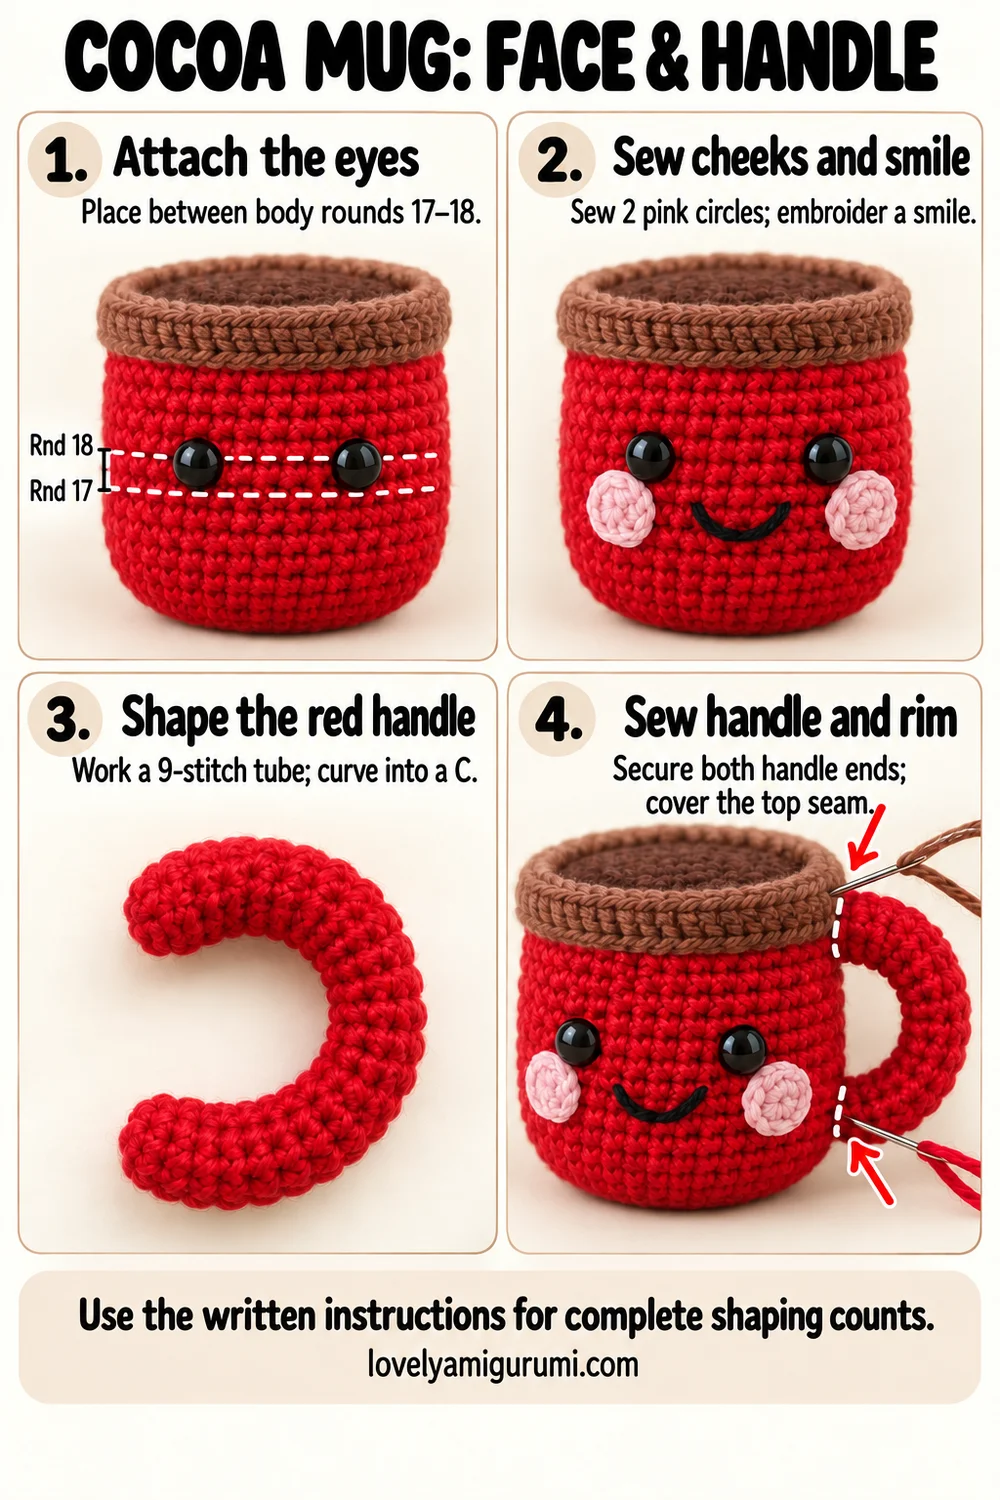
Choose the front of the cup, keeping the finishing point at the back if possible. Place the eyes between body Rounds 17 and 18, with approximately 10–12 stitches between their centers. Check the expression before fitting the eye backs. Keep room on the right for the handle.
Cheeks — make 2 with pink: Round 1: 6 sc in MR. [6] Round 2: inc in each stitch. [12] Sl st in the next stitch and fasten off with a sewing tail.
Sew one cheek below and slightly outside each eye. With black yarn, embroider a small U-shaped smile between the cheeks, approximately two rounds below the eyes. Secure all face ends inside the cup before closing it.
3. Brown Cocoa Top
With brown, work Rounds 1–8 exactly as for the red base: 6, 12, 18, 24, 30, 36, 42, and 48 stitches. Sl st in the next stitch and fasten off, leaving a long sewing tail.
Fill the cup with small wisps of stuffing. Flatten the base and keep the sides upright. Place the brown disc over the opening, right side facing up. Match all 48 disc edge stitches to the 48 body edge stitches and sew around the full circumference.
Before sewing the last gap shut, check the shape and add a little filling if needed. The cocoa surface should be mostly flat with a gentle softness, not a dome. Finish the seam, secure the thread, and hide the tail.
4. Brown Rim
With brown, ch 49.
- Row 1: Starting in the second chain from the hook, hdc in each chain. [48]
- Row 2: Ch 1, turn, sl st in each stitch. [48]
Fasten off with a long sewing tail. Test the strip around the top seam before joining. If it does not fit your tension, adjust the starting chain count; Row 1 will have one fewer hdc than the starting chains, and Row 2 keeps that stitch count.
Sew the short ends together to form a ring, with the seam at the back. Place it over the cocoa joining seam and sew both long edges in place using small brown stitches. Keep the rim slightly raised above the cocoa surface, as in the reference.
5. Red Handle
With red:
- Round 1: 6 sc in MR. [6]
- Round 2: (Sc, inc) × 3. [9]
- Rounds 3–20: Sc in every stitch. [9 per round]
- Round 21: (Sc, dec) × 3. [6]
Stuff lightly as you go, leaving the final end flexible. Fasten off with a long tail, thread it through the six front loops, and draw closed. Shape the tube into a C.
Place the handle on the right side of the decorated front. Pin its upper end just below the rim around Rounds 21–23 and its lower end around Rounds 12–14. Adjust the curve so there is a clear opening between handle and cup. Sew both ends through several body stitches, repeating the attachment to spread the pull. Secure and hide the tails.
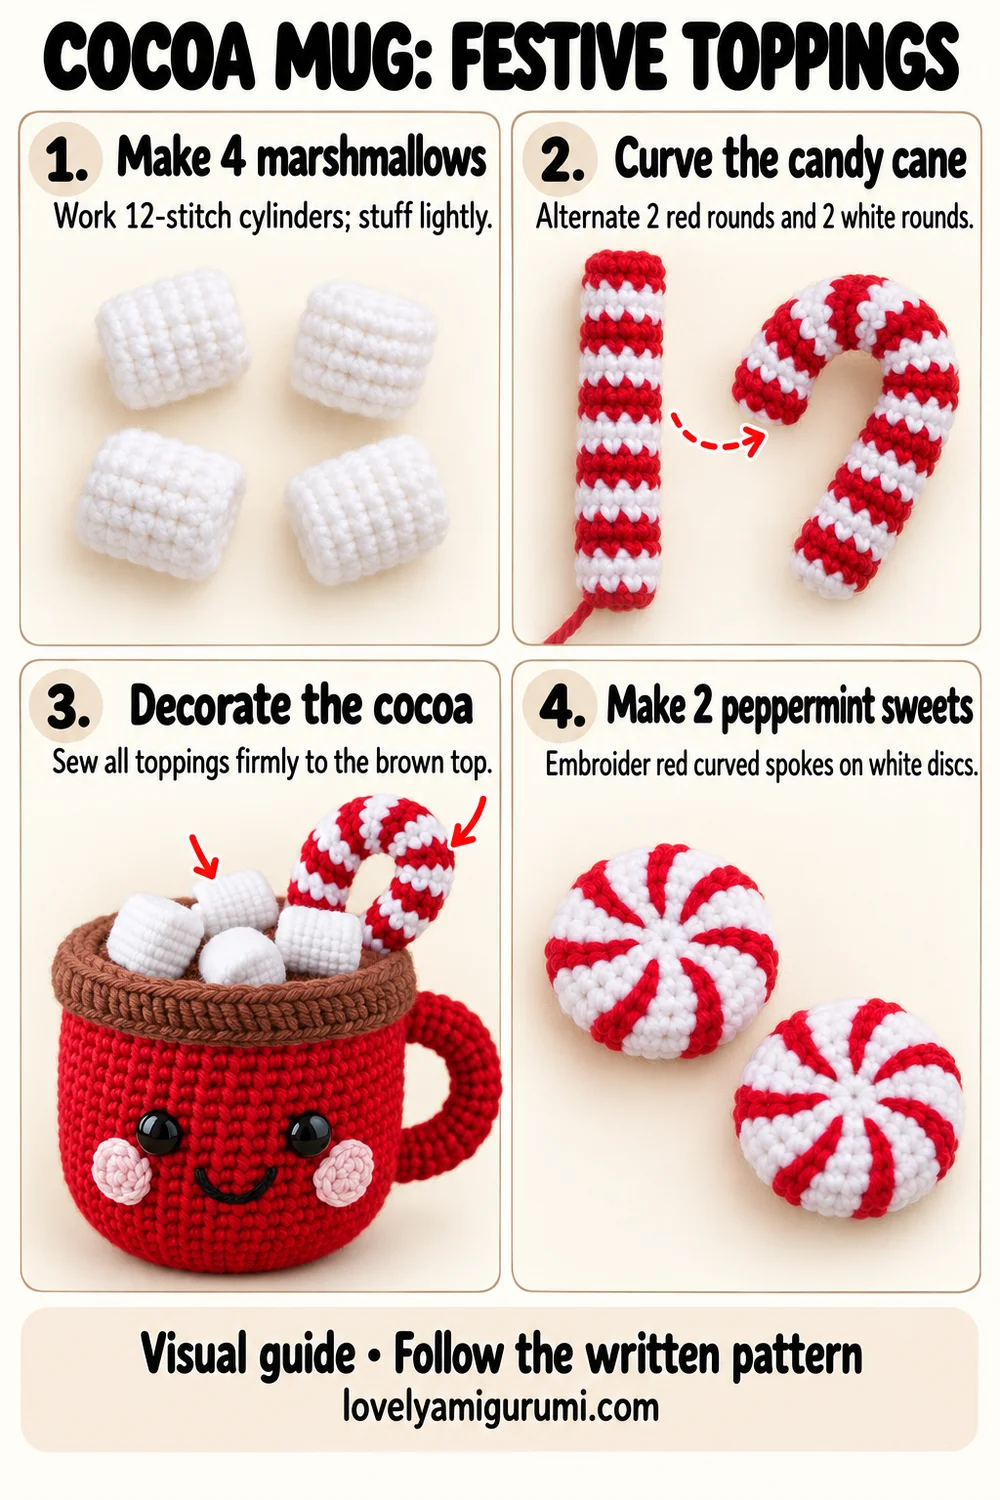
Four White Marshmallows
Make 4 with white.
- Round 1: 6 sc in MR. [6]
- Round 2: Inc in each stitch. [12]
- Round 3: Sc in BLO around. [12]
- Rounds 4–6: Sc in every stitch. [12 per round]
- Round 7: Working in BLO, dec × 6. [6]
Lightly stuff before the final round. Fasten off with a long tail, thread it through the remaining front loops, and draw closed. Shape each marshmallow into a short cylinder with softly flat ends.
Arrange four marshmallows at different angles on the cocoa surface, keeping space at the back right for the cane. Sew each marshmallow through its lower fabric and several brown top stitches. Hide the sewing ends beneath the marshmallows.
Red-and-White Candy Cane
The cane is a small stuffed striped tube shaped by sewing; no internal wire is needed.
- Round 1, red: 6 sc in MR. [6]
- Round 2, red: Sc around. [6]
- Rounds 3–4, white: Sc around. [6 per round]
- Rounds 5–30: Continue with 6 sc per round, alternating 2 red rounds and 2 white rounds. Rounds 29–30 are red.
Change color on the final yarn-over of the stitch before the next color begins. Carry the unused yarn loosely inside the tube or secure it at each change. Add tiny wisps of filling as the tube grows.
Fasten off after Round 30, draw the remaining six stitches closed, and hide the end. Curve approximately the upper third of the tube into a hook. With coordinating thread, take small stitches between several nearby inner-curve stitches and tighten gently until the hook holds its shape. Secure the thread inside the tube.
Place the lower end on the back-right cocoa surface, behind the marshmallows. Sew it through several brown stitches. Add a second discreet attachment between the lower shaft and the nearby rim so the cane stands steadily. Keep the curved top visible above the marshmallows.
Two Peppermint Sweets
Make 2 with white.
- Round 1: 6 sc in MR. [6]
- Round 2: Inc in each stitch. [12]
- Round 3: (Sc, inc) × 6. [18]
- Round 4: (2 sc, inc) × 6. [24]
- Rounds 5–6: Sc in every stitch. [24 per round]
- Round 7: (2 sc, dec) × 6. [18]
- Round 8: (Sc, dec) × 6. [12]
- Round 9: Dec × 6. [6]
Add a thin layer of filling before the last rounds. Fasten off, draw the remaining stitches closed, and flatten gently into a disc. Do not overstuff.
With red yarn, embroider approximately eight curved spokes radiating from the center of each white face toward the edge. Continue each red band across the outer edge to the opposite face. Make two or three adjacent stitches per spoke for a visible red stripe. Leave white spaces between the red bands. Secure the ends inside the disc.
Display the two sweets beside the mug, as in the reference, or sew them to the base if you want every piece attached.
Assembly and Finishing
- Attach the eyes, cheeks, and smile before closing the cup.
- Stuff the cup, sew on the cocoa disc, and cover the seam with the brown rim.
- Sew the handle to the right side.
- Attach all four marshmallows to the cocoa top.
- Secure the cane at the back right with two attachment points.
- Embroider the peppermint sweets and arrange them beside the mug.
Check every attachment with a gentle tug. Massage the filling into an even shape and flatten the base so the mug rests neatly on a shelf.
Three Visual Tutorials
The final gallery shows the cup and cocoa top, face and handle, and festive toppings. Follow the numbered panels for an overview and the written directions for complete stitch counts and assembly. These are illustrative construction images.
Practical Tips and Troubleshooting
The cup looks round instead of cylindrical
Use less filling and flatten the base. Keep the cocoa disc flat when sewing it onto the 48-stitch opening.
The handle collapses
Add a little filling evenly through the tube, then sew a wider area at both ends. Avoid packing it so firmly that it cannot curve.
The cane leans
Secure both its lower end to the cocoa and its lower shaft to the nearby rim. Keep the bend in the upper third.
The marshmallows look like balls
Use less filling and gently press the end faces flat. The back-loop rounds define their short cylindrical edges.
FAQ
Can I use this as a real cup?
No. It is a stuffed amigurumi decoration with a sewn cocoa surface.
Can I leave off the face?
Yes. Keep the red cup, brown top, handle, marshmallows, and cane for a simple festive display.
Can I make it with thicker yarn?
Yes. Use a matching hook and expect a larger mug. Check the rim length around the sewn top before joining.
More Free Crochet Patterns
- Mini Christmas Mitten Crochet Pattern
- Christmas Wreath Crochet Keychain Pattern
- Teacup Amigurumi Crochet Pattern
Save This Pattern
Save this Christmas Hot Cocoa Mug Crochet Pattern to your Pinterest crochet board for your next cozy holiday project. Happy crocheting from Lovely Amigurumi!
Hot Cocoa Mug Visual Tutorials and Pinterest Gallery
Keep these three visual tutorial guides and three Pinterest images together for your next crochet session.