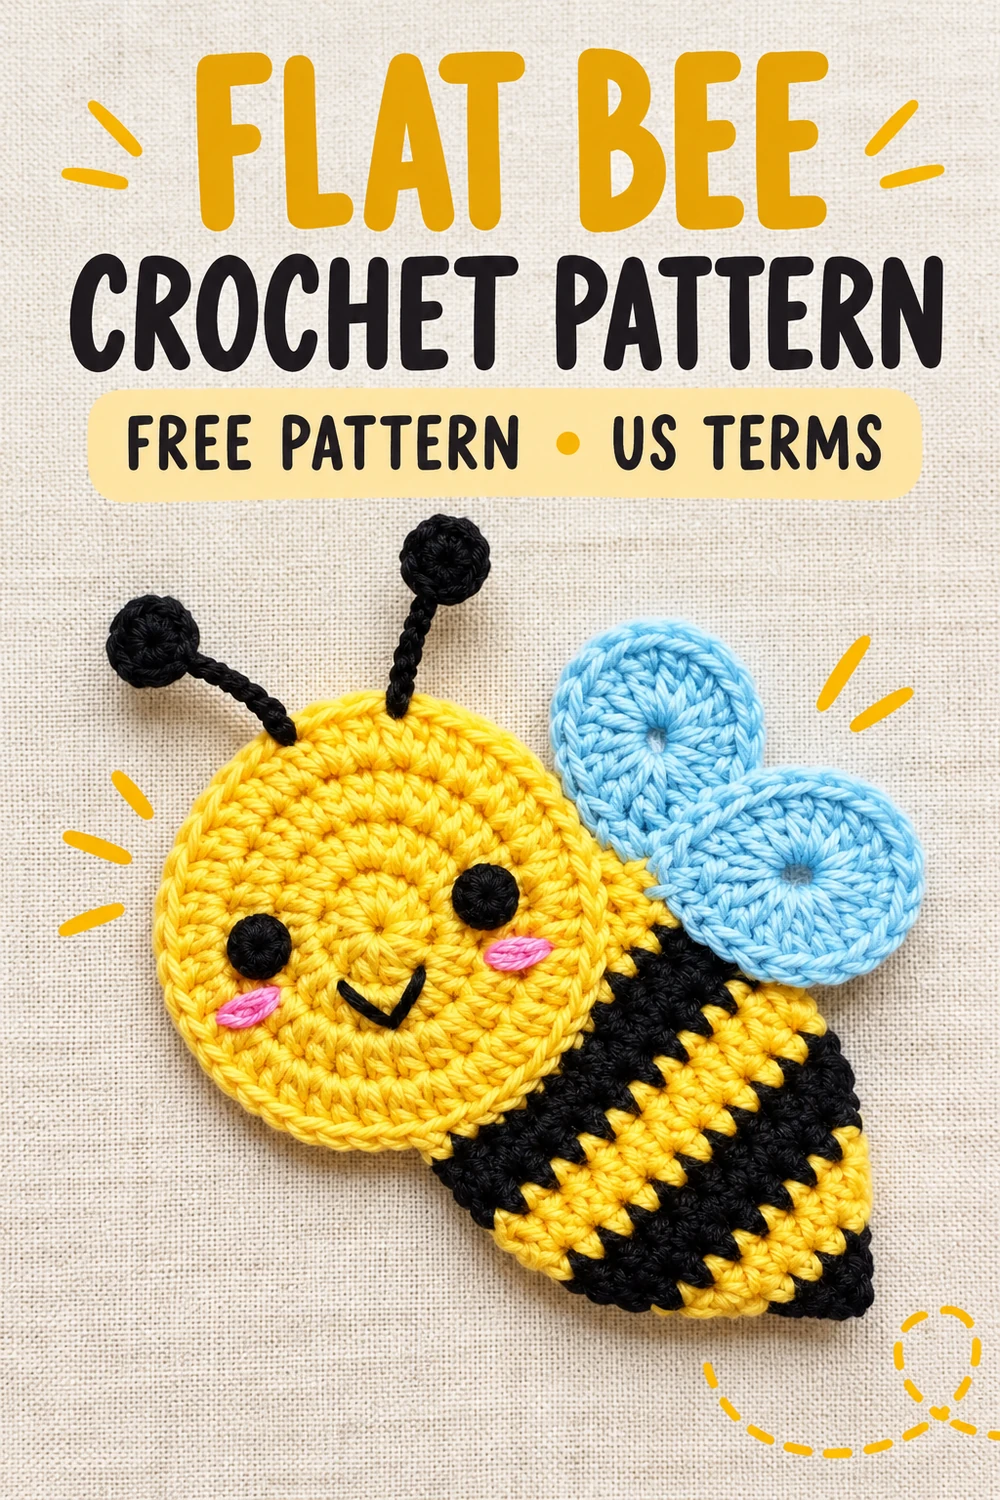
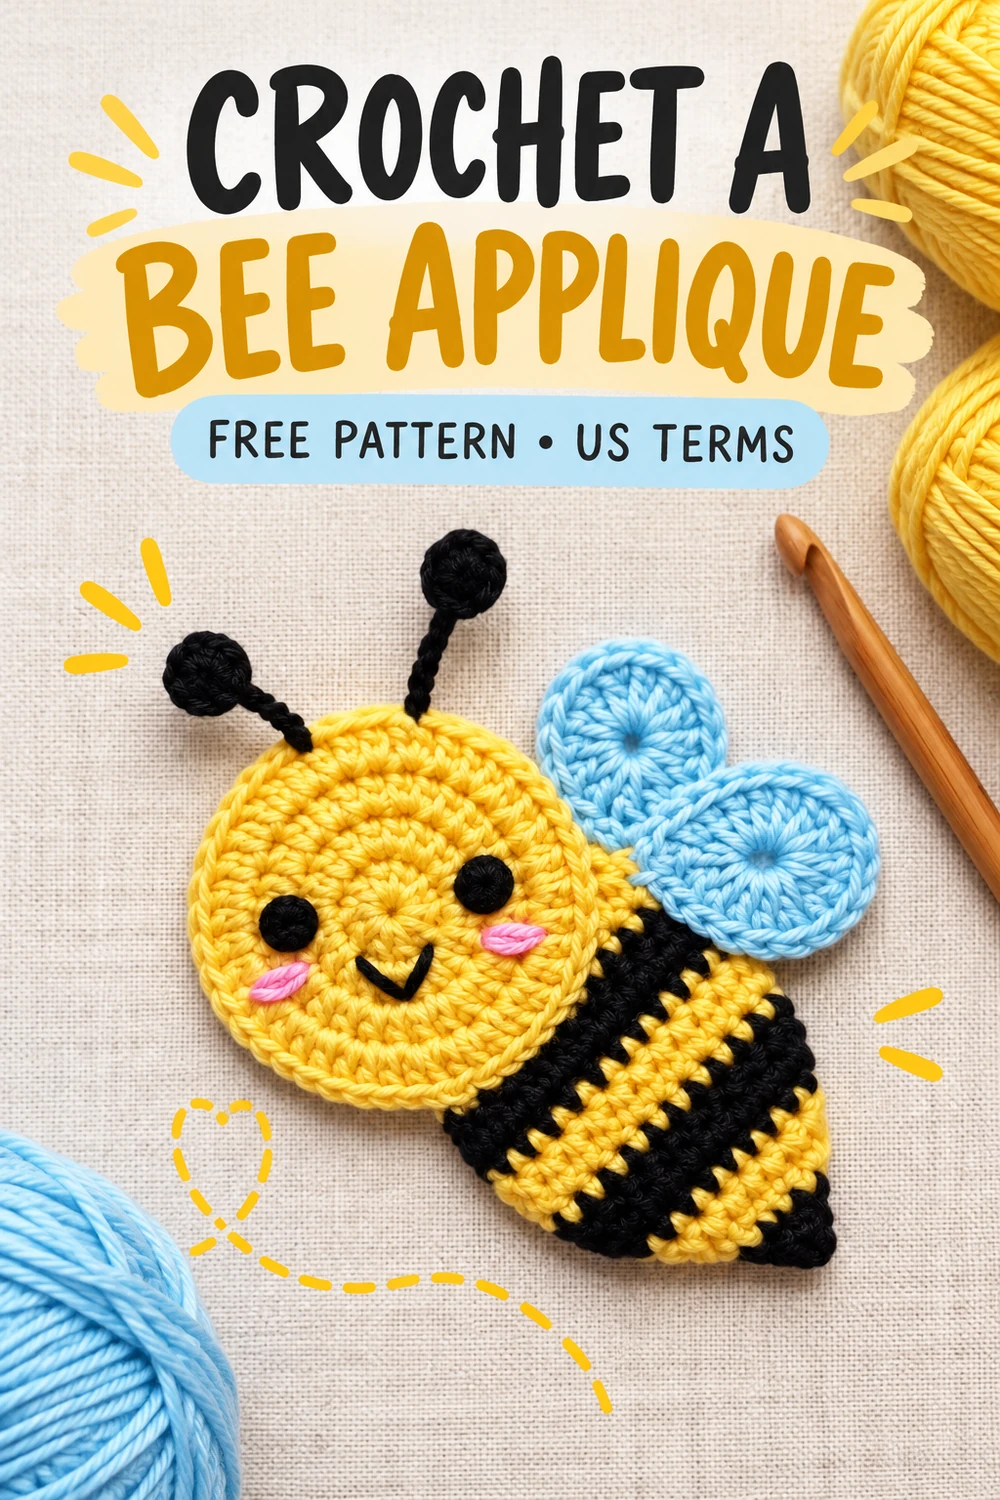
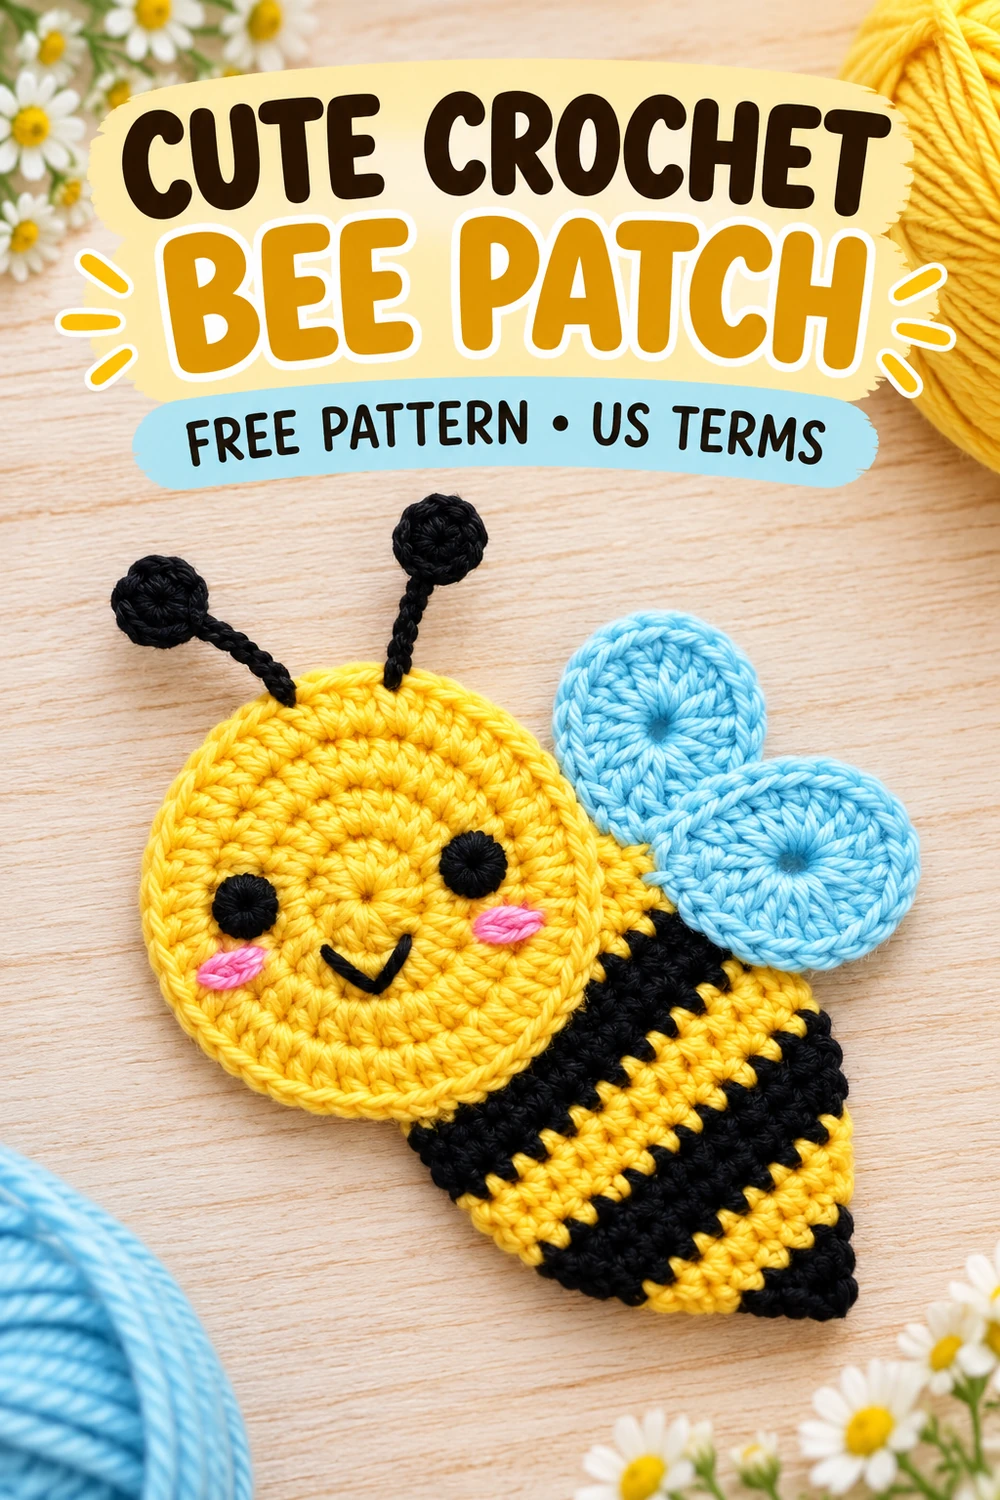
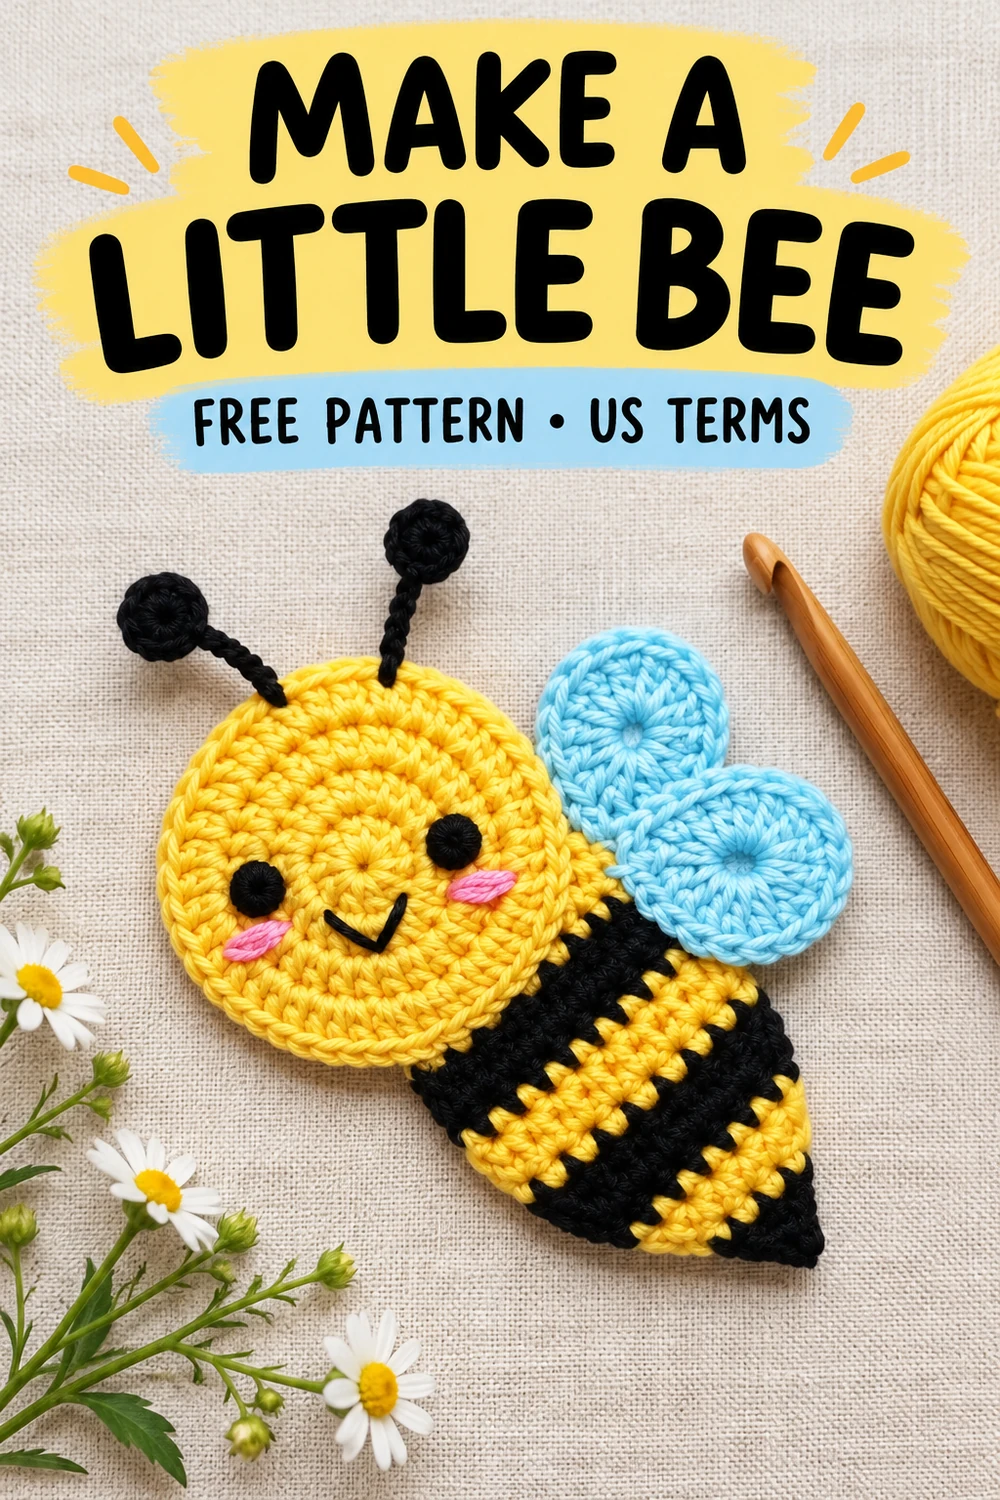
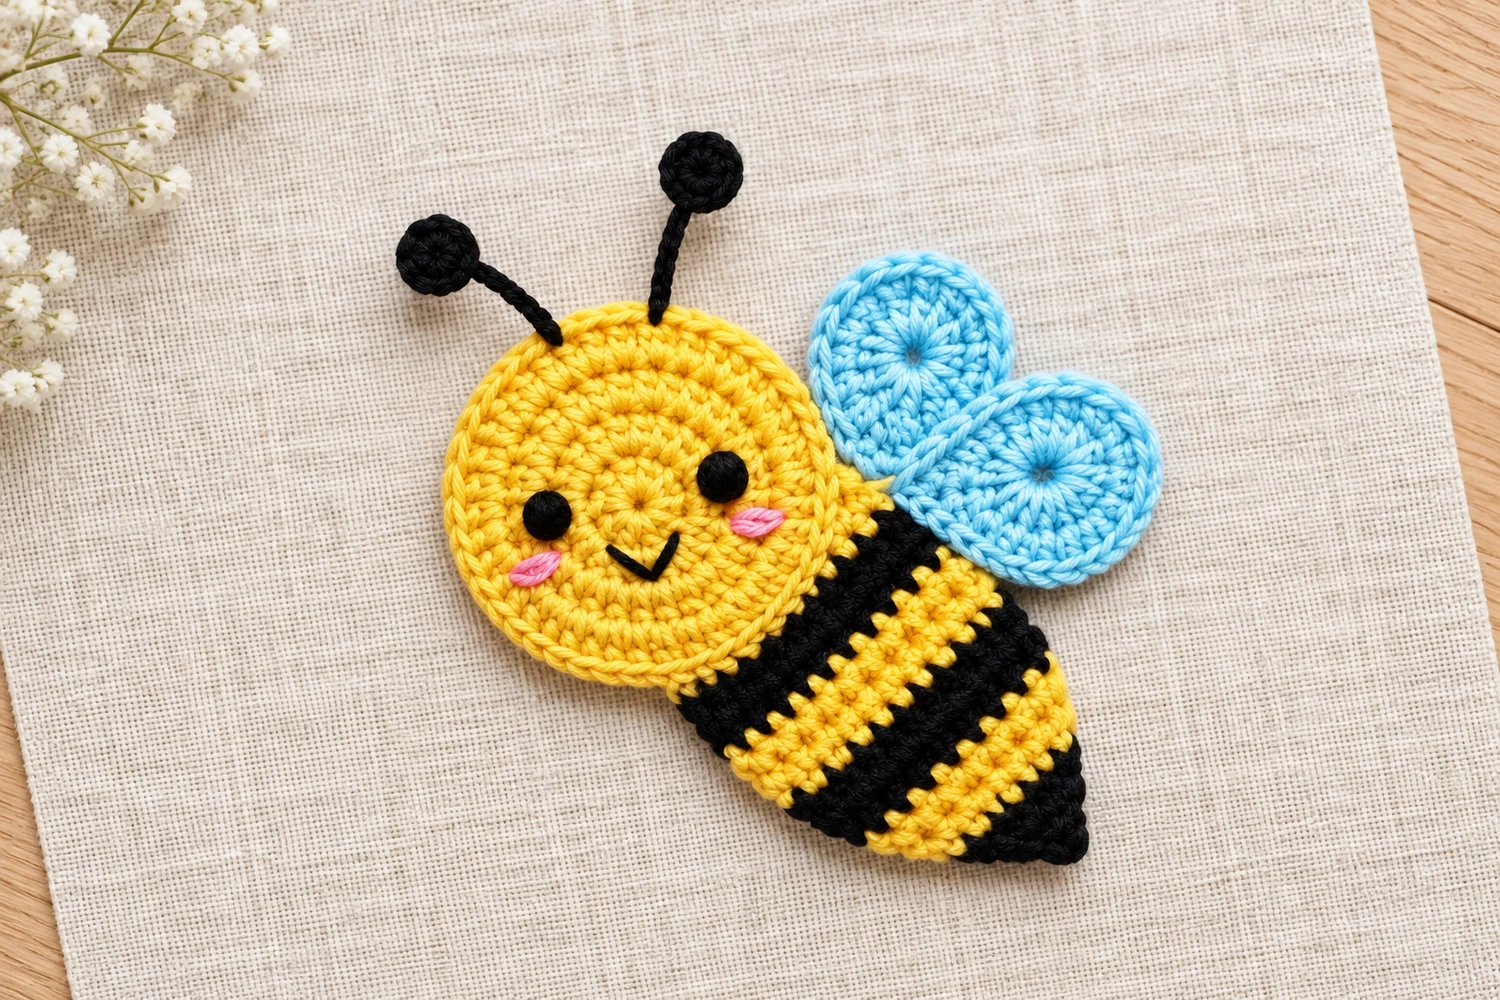
What I like most about this flat bee appliqué crochet pattern is the contrast between the yellow face and the little blue wings. The pink cheeks add just enough detail to make the expression stand out without needing complicated embroidery.
With an appliqué, I pay attention to the back as well as the front. Bulky knots, loose strands, and curled edges can make a small decoration awkward to sew onto a bag or blanket. Keeping the pieces unstuffed and weaving in the ends carefully makes assembly easier.
This bee combines a circular head, a striped body worked in rows, and two separate wings. You’ll find the instructions for each piece below, followed by placement tips and finishing guidance.
Pattern Information
- Skill level: Confident beginner
- Terminology: US crochet terminology
- Construction: Separate flat pieces sewn together
- Main stitches: Single crochet and double crochet
- Stuffing: None
- Finished size: Varies with yarn, hook, and tension
Materials for the Flat Bee Appliqué Crochet Pattern
- Cotton yarn in yellow, black, light blue, and pink
- Crochet hook suitable for your chosen yarn; a 3.5 mm hook is a starting option for light worsted cotton
- Black embroidery thread or fine black yarn
- Yarn needle
- Scissors
- Stitch marker
- Pins for arranging the pieces
- Measuring tape
Use the same yarn weight for the main pieces so their proportions remain similar.
Use embroidered black eyes to keep the appliqué flexible and avoid hard eye backings on the reverse.
Abbreviations
- MR: Magic ring
- ch: Chain
- sc: Single crochet
- dc: Double crochet
- sl st: Slip stitch
- inc: Work 2 sc in the same stitch
- sc2tog: Single crochet 2 stitches together
- st / sts: Stitch / stitches
Numbers in parentheses show the completed stitch count.
How to Work sc2tog
Insert your hook into the next stitch, yarn over, and pull up a loop. Insert your hook into the following stitch, yarn over, and pull up another loop. Yarn over and pull through all three loops.
Before You Start
The head and wings are worked in joined rounds. The body is worked back and forth in rows.
For single crochet rounds, ch 1 at the beginning and join with a sl st to the first sc at the end. Neither the starting chain nor the joining slip stitch counts as a stitch.
For the wings, the starting ch 2 does not count as a stitch. Join to the first dc.
For body rows, ch 1 and turn before starting the next row. This chain does not count as a stitch.
Leave sewing tails on the pieces. Keep all parts unstuffed.
Flat Bee Appliqué Crochet Pattern Instructions
Head
Using yellow yarn:
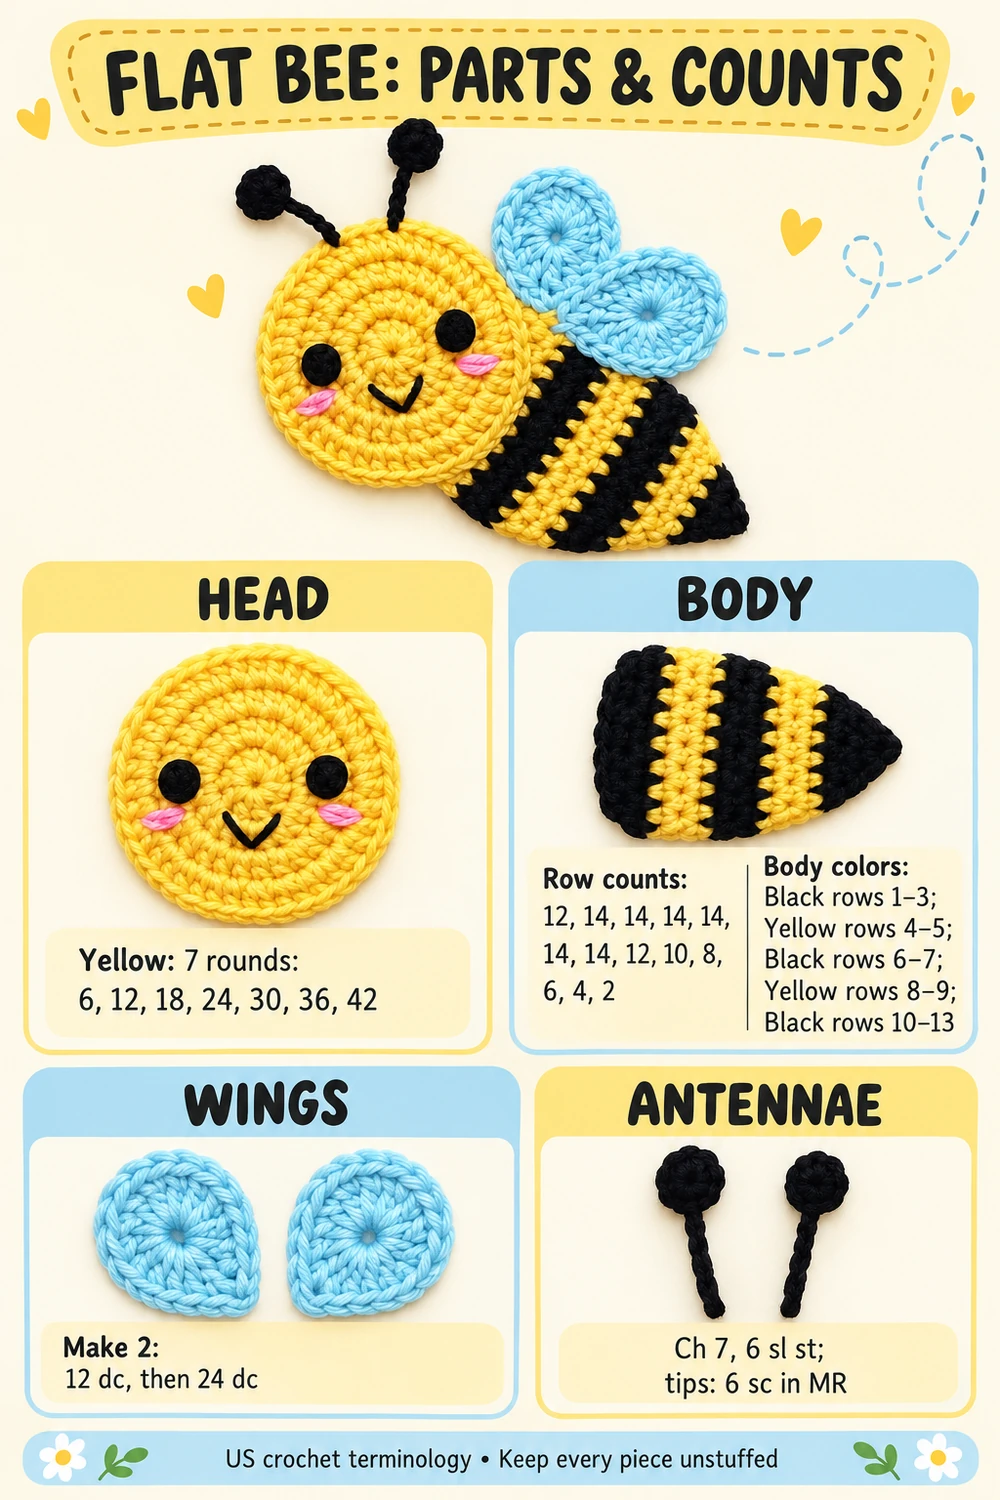
Round 1: Make a MR, ch 1, and work 6 sc into the ring. Tighten the ring and join. (6)
Round 2: Ch 1, inc in each st around. Join. (12)
Round 3: Ch 1, [sc in next st, inc in next st] 6 times. Join. (18)
Round 4: Ch 1, [sc in next 2 sts, inc in next st] 6 times. Join. (24)
Round 5: Ch 1, [sc in next 3 sts, inc in next st] 6 times. Join. (30)
Round 6: Ch 1, [sc in next 4 sts, inc in next st] 6 times. Join. (36)
Round 7: Ch 1, [sc in next 5 sts, inc in next st] 6 times. Join. (42)
Fasten off, leaving a long tail for assembly.
Lay the head on a flat surface. Do not add extra rounds without increases: those rounds can make the edge turn upward rather than remain flat.
Striped Body
Start at the broad end that will sit behind the head. Work toward the tapered rear.
Using black yarn:
Row 1: Ch 13. Starting in the second chain from the hook, sc across. (12)
Row 2: Ch 1, turn. Inc in first st, sc in next 10 sts, inc in last st. (14)
Row 3: Ch 1, turn. Sc across. (14)
Change to yellow.
Rows 4–5: Ch 1, turn. Sc across. (14)
Change to black.
Rows 6–7: Ch 1, turn. Sc across. (14)
Change to yellow.
Row 8: Ch 1, turn. Sc2tog, sc in next 10 sts, sc2tog. (12)
Row 9: Ch 1, turn. Sc2tog, sc in next 8 sts, sc2tog. (10)
Change to black.
Row 10: Ch 1, turn. Sc2tog, sc in next 6 sts, sc2tog. (8)
Row 11: Ch 1, turn. Sc2tog, sc in next 4 sts, sc2tog. (6)
Row 12: Ch 1, turn. Sc2tog, sc in next 2 sts, sc2tog. (4)
Row 13: Ch 1, turn. Sc2tog twice. (2)
Fasten off and weave in the ends.
The paired color rows create broader stripes, while the final decreases form a tapered black tip.
Changing Colors
On the last stitch before a color change, complete the final yarn over with the new color.
Cut the previous color with enough yarn left to weave in securely. Avoid carrying long loose strands across the back, especially if the appliqué will be attached to fabric.
Wings — Make 2
Using light blue yarn:
Round 1: Make a MR, ch 2, and work 12 dc into the ring. Tighten the ring and join to the first dc. (12)
Round 2: Ch 2, work 2 dc in each st around. Join to the first dc. (24)
Fasten off, leaving a long sewing tail.
These instructions create two rounded wings. Positioning them at different angles gives the bee a similar silhouette to the reference image.
Antenna Stems — Make 2
Using black yarn:
Ch 7.
Starting in the second chain from the hook, sl st in each chain across. (6)
Fasten off, leaving a sewing tail.
Antenna Tips — Make 2
Using black yarn:
Make a MR, ch 1, and work 6 sc into the ring. Tighten and join to the first sc. (6)
Fasten off, leaving a tail.
These tips are small flat circles rather than stuffed balls. Sew one circle securely to the end of each antenna stem.
Flat Bee Appliqué Crochet Pattern Assembly
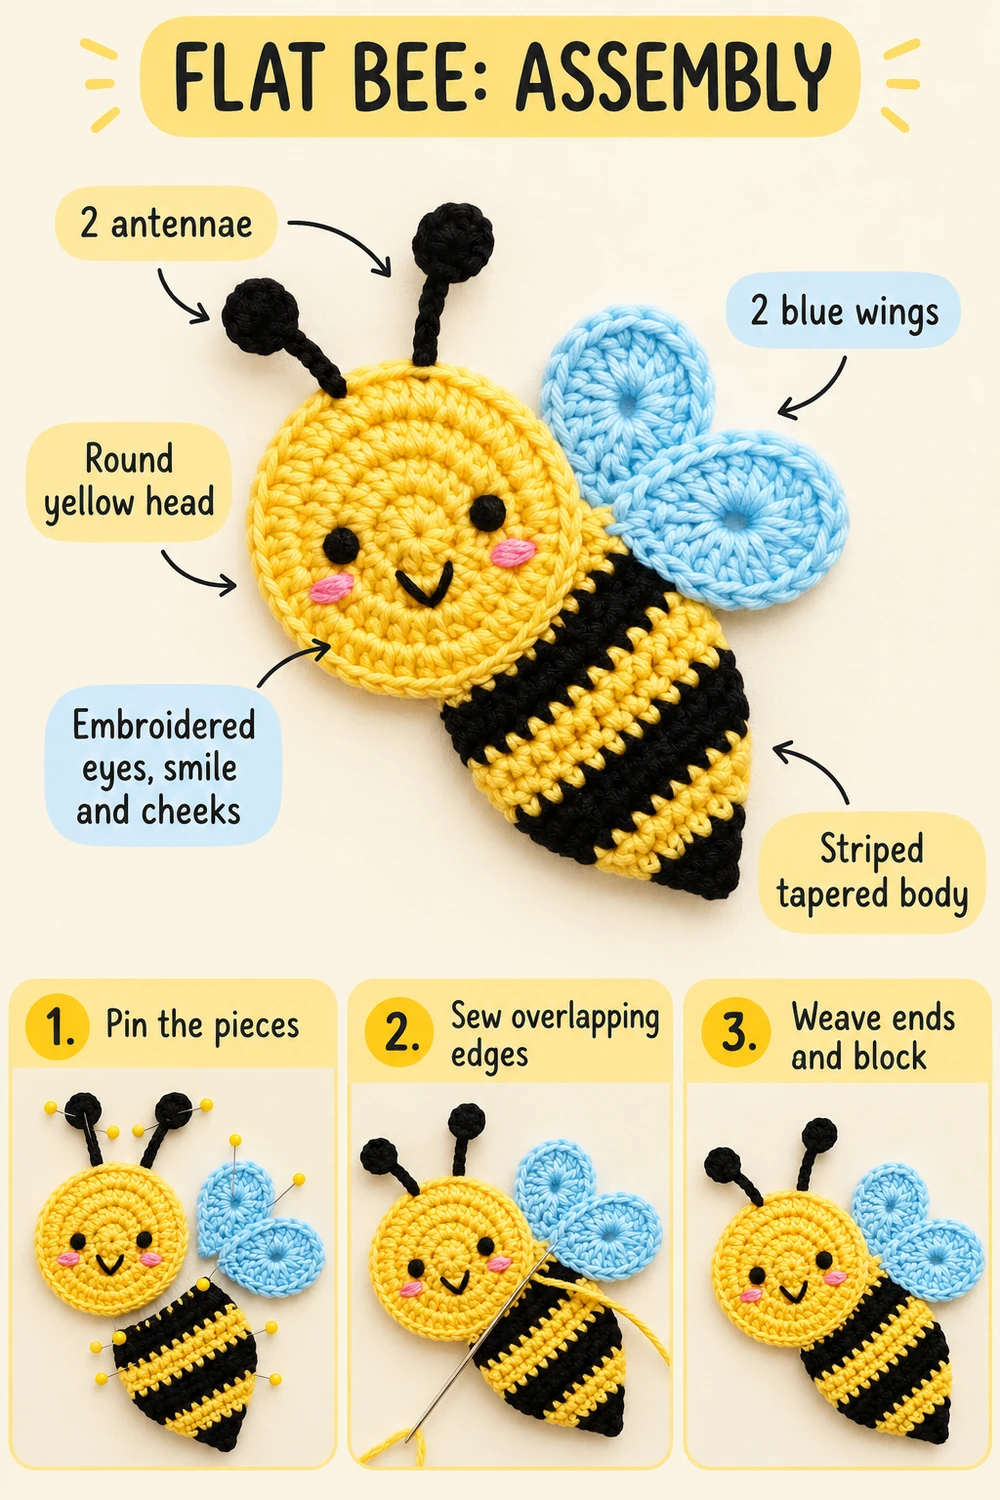
Arrange the pieces on a table before sewing. Place the head toward the upper left and the body pointing diagonally toward the lower right.
Attach the Head and Body
Slide the broad black end of the body slightly behind the lower-right edge of the head.
Overlap enough fabric to make a secure seam without hiding the first yellow stripe. Sew through the overlapping area using small stitches.
Keep the pieces flat while sewing. Pulling the yarn too tightly can gather the head or distort the body.
Position the Wings
Place the wings behind the upper edge of the body, close to the head.
Angle one wing upward and the other outward to the right. Let their inner edges overlap slightly.
Sew the inner section of each wing securely to the body. When attaching the finished bee to another item, stitch down the remaining wing edges if you want a fully secured patch.
Attach the Antennae
Sew the stems to the upper edge of the head, leaving space between them.
Angle one slightly outward and let the other point upward. Secure both the stems and their circular tips, then weave in the ends.
Embroider the Eyes
Using black thread, embroider two small eyes across the face.
Place them symmetrically on either side of the center. Begin with a few stitches, check the expression, and add more only if needed.
Avoid large knots on the reverse.
Add the Smile
Below the eyes, embroider a shallow V-shaped smile using two short stitches.
Keep the thread relaxed enough that it does not pull the yellow fabric inward.
Add Pink Cheeks
Using pink yarn, make two or three short stitches beneath the outer side of each eye.
Keep the cheeks similar in width and thickness.
Finishing Your Crochet Bee Appliqué
Check the reverse for loose tails, bulky joins, and unsecured pieces.
If the yarn label allows wet blocking:
- Lightly dampen the appliqué.
- Press out excess water without twisting.
- Lay it on a towel.
- Shape the head, wings, and tapered body.
- Let it dry completely.
Measure the finished bee from the widest outer points, including the wings. Record your yarn, hook, and measurements for future projects.
Ways to Use Your Bee
This flat bee appliqué crochet pattern can be used to make a decoration for:
- A crochet tote bag
- A fabric pouch
- A spring wall hanging
- A greeting card
- A hat or scarf
- A blanket square
For washable items, sew the appliqué in place rather than relying only on glue. Attach the outer edges and check that the stitches allow the underlying fabric to move naturally.
For items intended for babies or young children, omit plastic eyes and detachable embellishments, secure every piece, and assess the suitability of the complete item. Embroidered eyes alone do not establish that an item is safe.
Troubleshooting
My Head Is Cupping
Check the stitch count for every round. Missing increases can cause the circle to curve.
If the counts are correct, try a slightly larger hook to loosen the fabric. Blocking will not reliably fix pronounced cupping.
My Wings Look Wavy
Check that Round 2 has 24 stitches and that the starting chain was not counted or worked into as an extra stitch.
If the count is correct, a slightly smaller hook for the wings may improve the result.
The Body Twists After Assembly
Check whether the color-change tails or sewing stitches are pulling one side tighter than the other. Loosen and redo the affected seam if needed.
The Pieces Look Out of Proportion
Make sure all main colors are the same yarn weight. Different yarn thicknesses can change the wing and body sizes even when you use the same hook.
Flat Bee Appliqué Crochet Pattern FAQ
Is this flat bee appliqué crochet pattern beginner-friendly?
It is suitable for confident beginners who can increase, decrease, change colors, and sew small pieces together. The embroidery is simple, but placement benefits from taking your time.
Can I Use Acrylic Yarn?
Yes. Use a hook that produces a flexible fabric and follow the yarn’s washing instructions. The finished dimensions may differ from those made with cotton.
Does This Bee Need Stuffing?
No. This version is constructed from single-layer flat pieces. Adding stuffing would require a backing and a different assembly method.
Can I Make a Smaller Bee?
Use thinner yarn and a smaller matching hook for all pieces. Keep the stitch counts the same to preserve the intended proportions.
What Affects the Finished Look?
Yarn thickness, hook size, tension, and placement affect the proportions. Keep the pieces flat and pin the wings, body, and antennae before sewing.
More Crochet Projects to Try
For another animal-themed flat project, try the Crochet Pig Coaster Pattern.
If you prefer small accessories, explore the Crochet Amigurumi Bag Keychain Pattern.
Save This Flat Bee Appliqué Crochet Pattern
Save this flat bee appliqué crochet pattern to Pinterest so you can find it again when you’re choosing your next small project.
If you share your finished bee, include your yarn, hook size, and final measurements. Those details help other crocheters understand how different materials affect the result.
Pinterest Pins and Assembly Diagrams