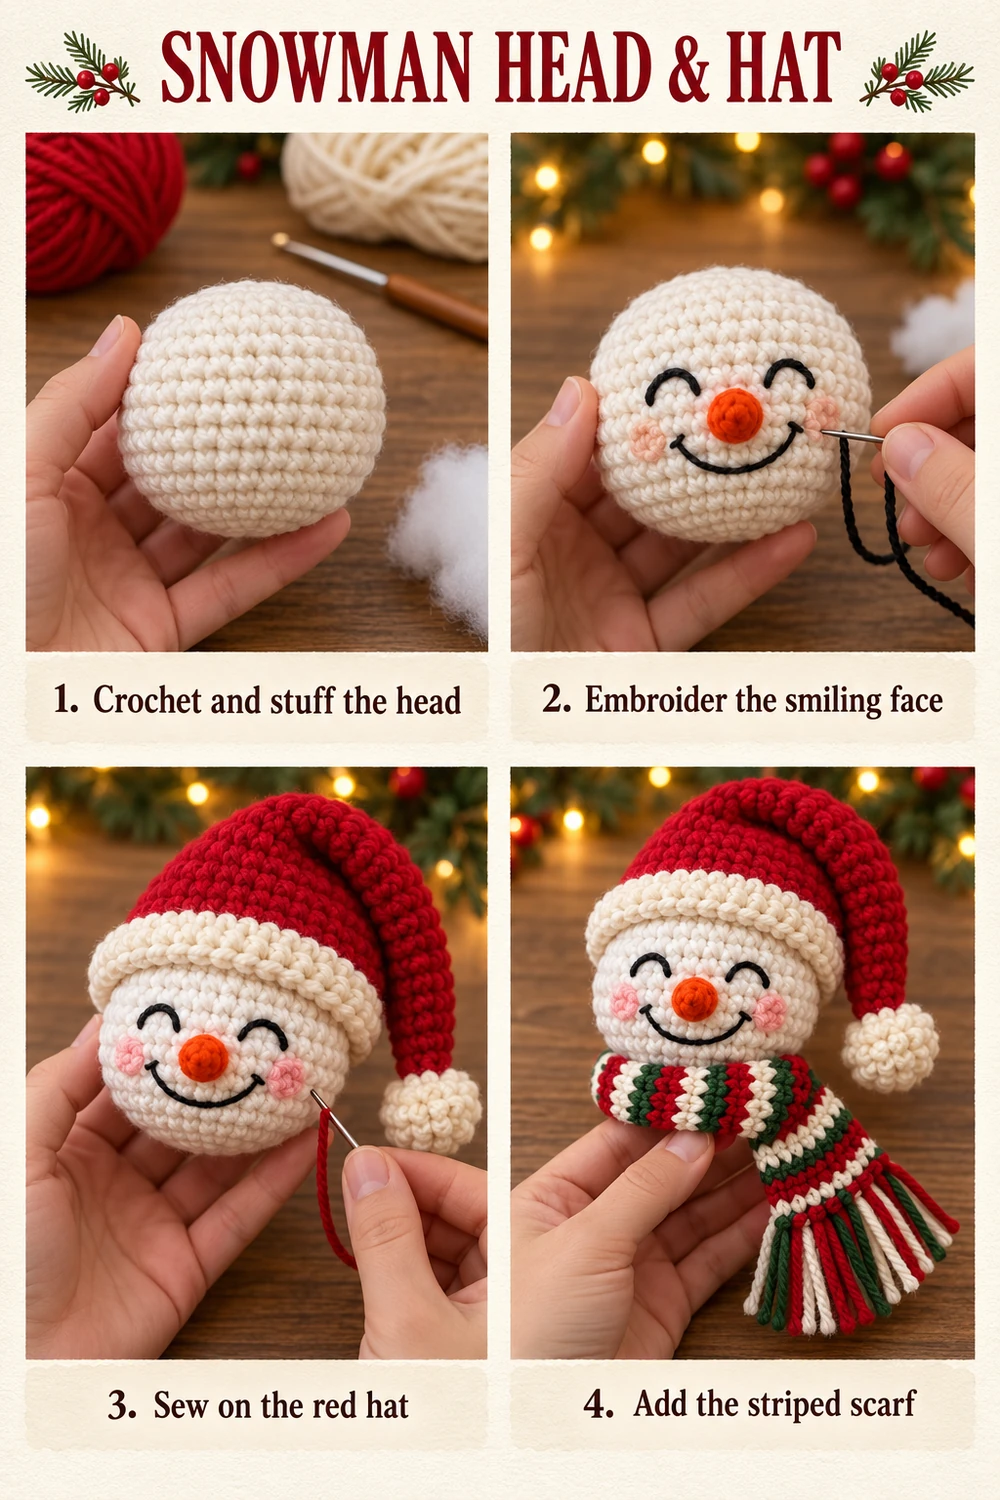
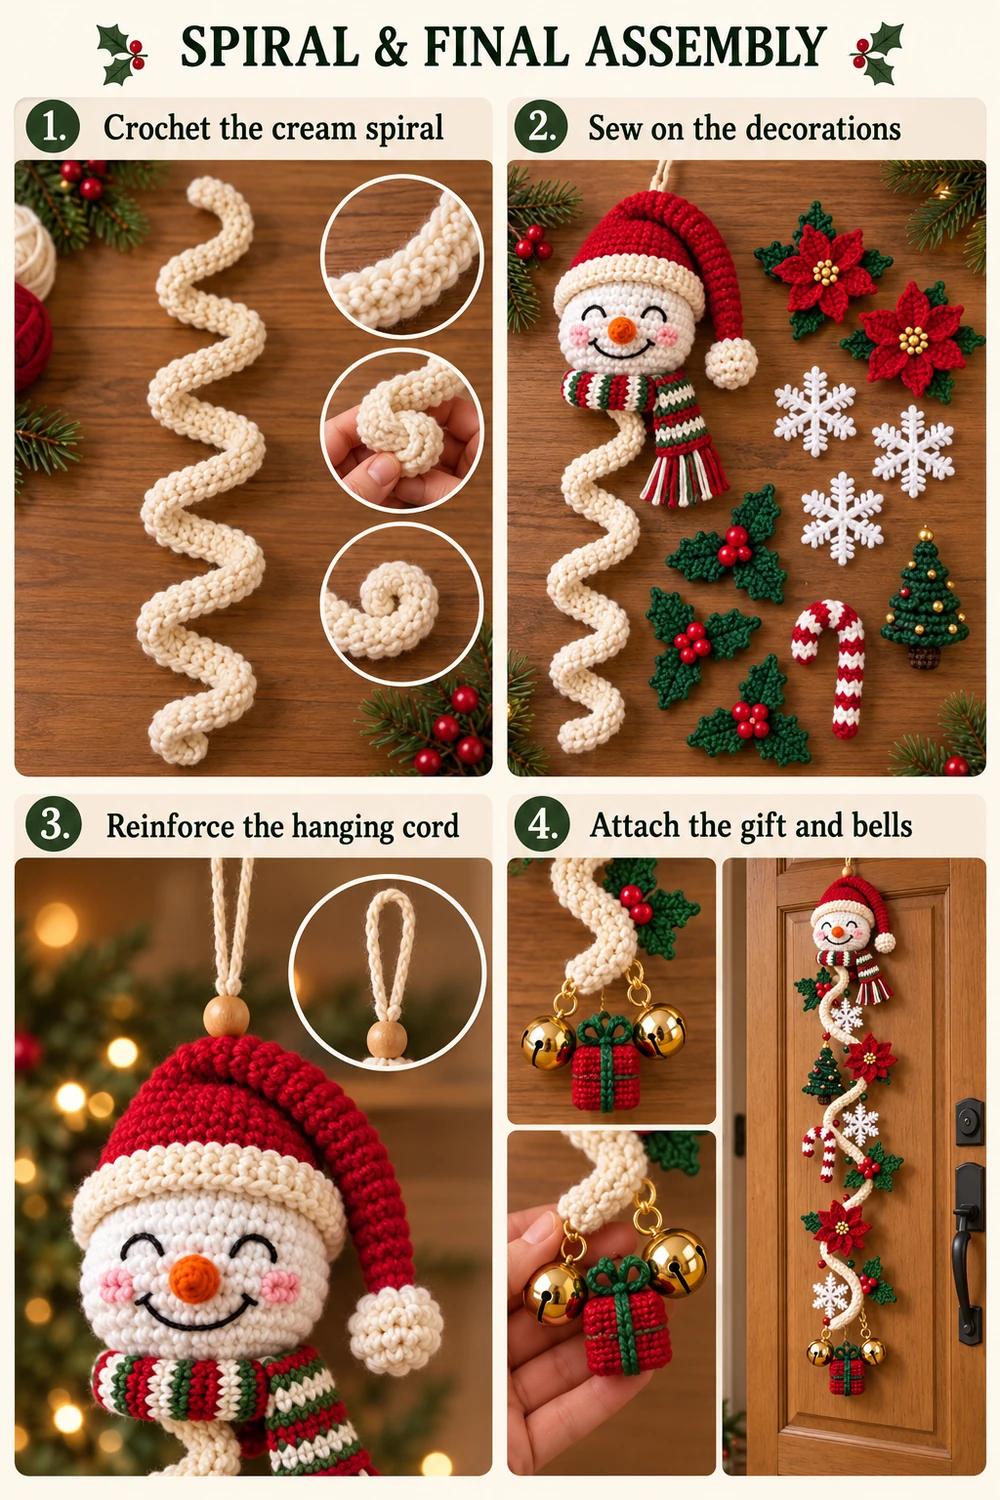
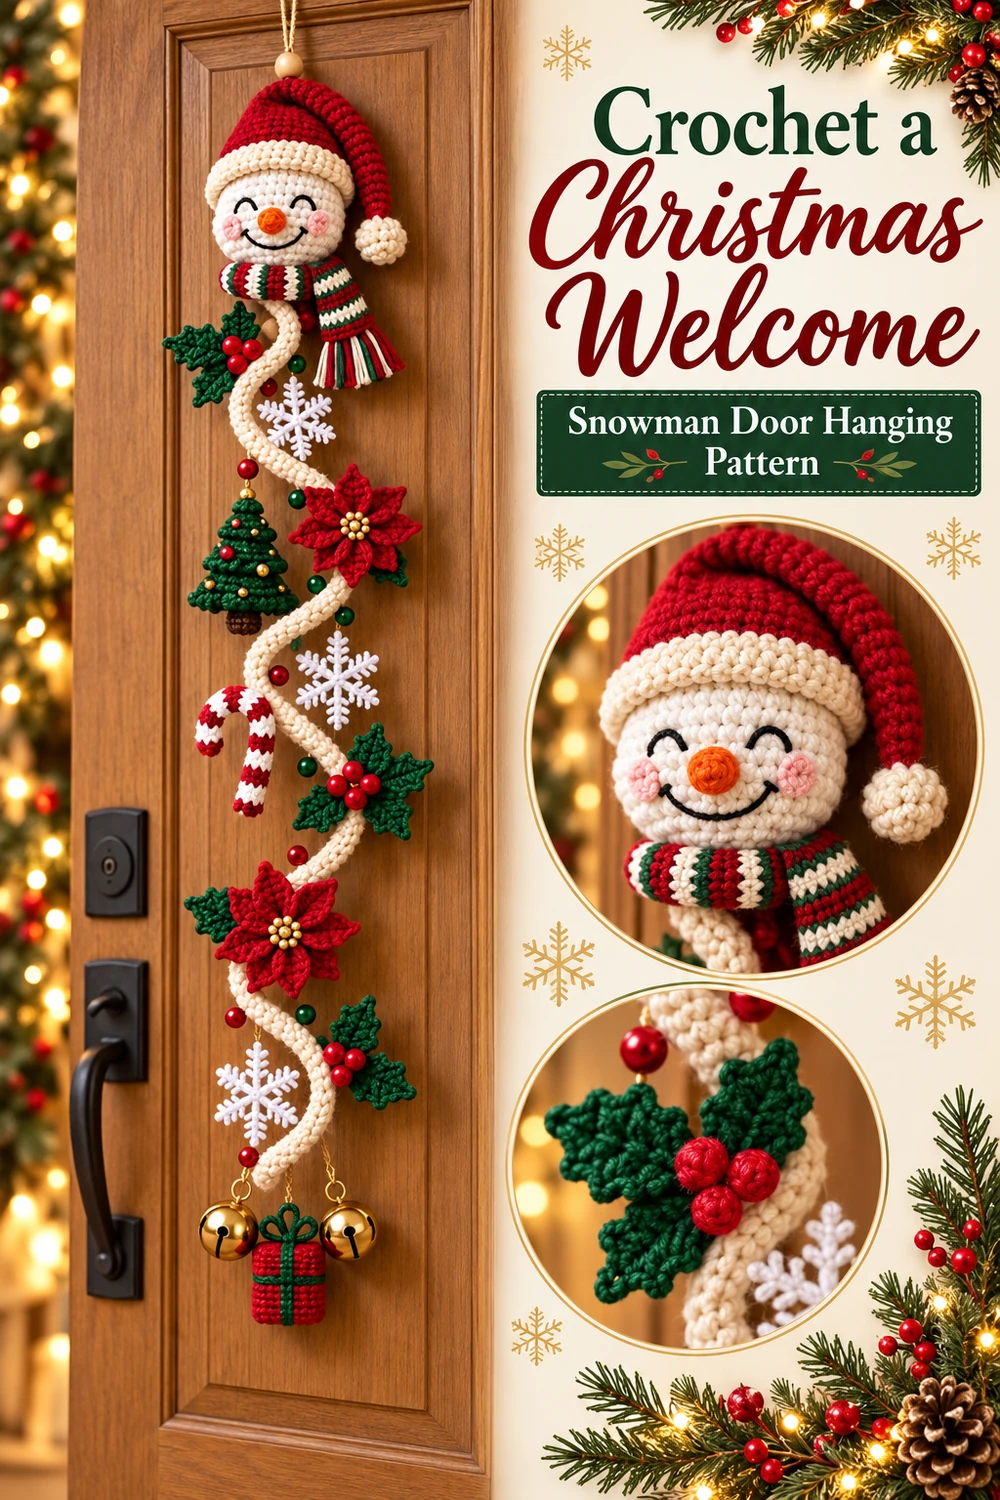
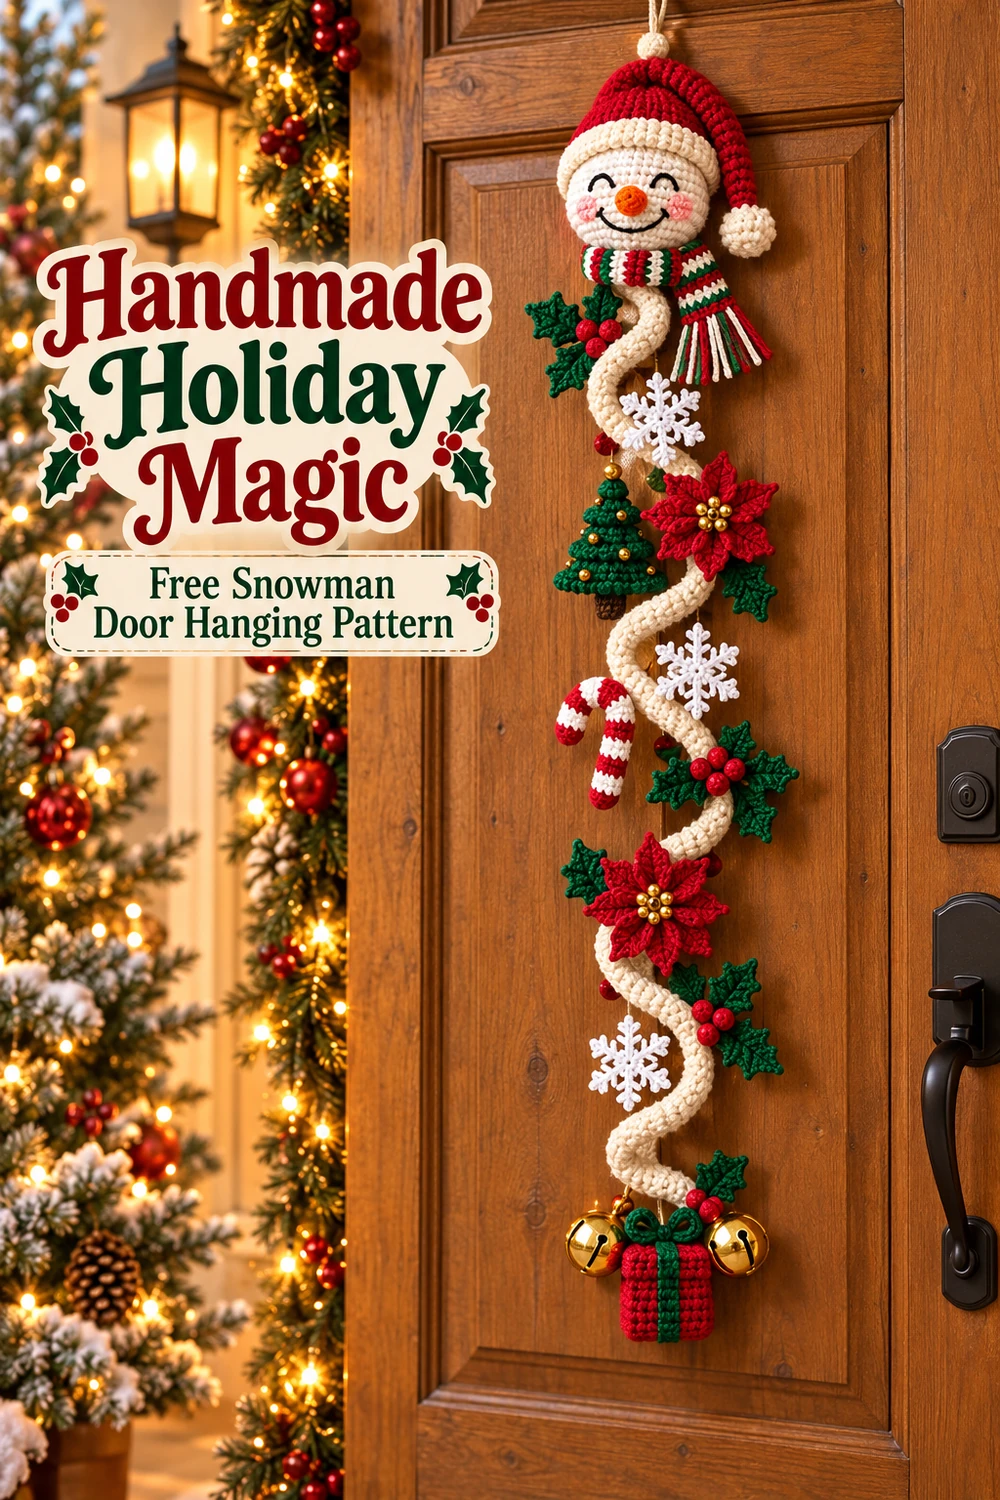
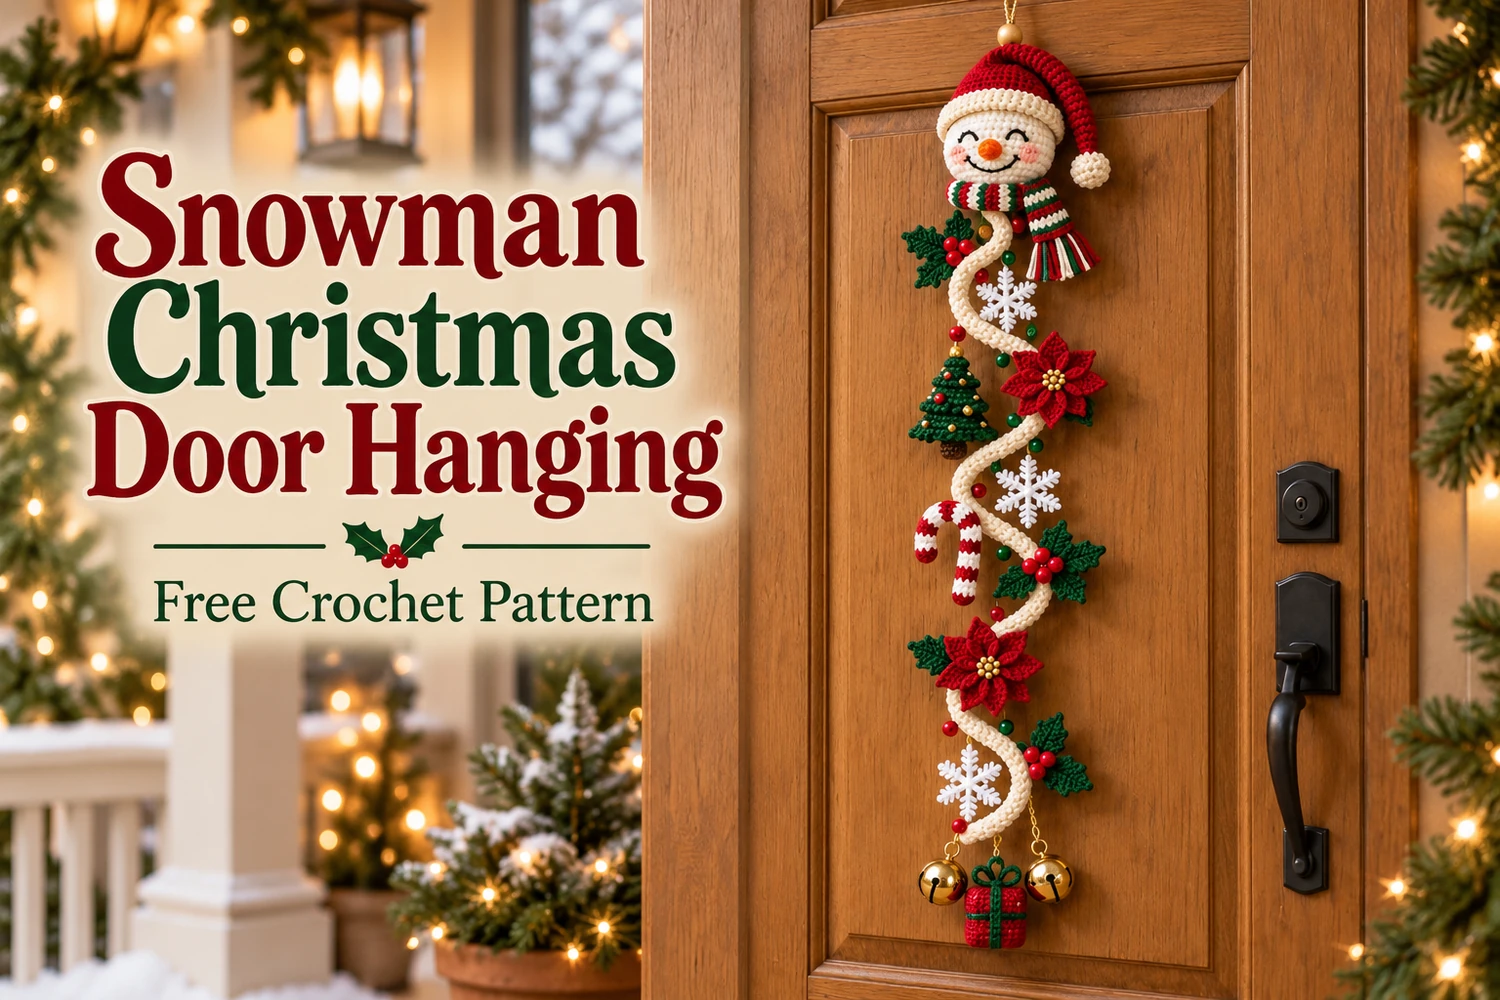
This Snowman Christmas Door Hanging Crochet Pattern combines a smiling snowman, a floppy Santa hat, and a long cream spiral decorated with holly, snowflakes, poinsettias, a tiny tree, and a candy cane. A miniature gift and two gold bells finish the bottom, following the festive arrangement in the reference.
Make the pieces separately, then sew them onto the curled strip. A concealed strong cord carries the weight from the top hanging loop to the lower decorations, helping the finished ornament keep its shape on your door.
Pattern Information
- Skill level: intermediate; several small motifs and careful assembly.
- Terminology: US crochet terms.
- Estimated length: 65–85 cm; snowman head approximately 8–10 cm wide with DK yarn. Size depends on yarn, tension, and spacing.
- Construction: stuffed head, unstuffed hat, flat curling strip, appliqués, and a reinforced hanging cord.
This is an original image-inspired adaptation. Counts have been reviewed, but the pattern has not been physically crocheted or independently tested. Use the written instructions for construction; the images illustrate the intended appearance.
Materials
- DK cotton: cream approximately 90–120 g; red 40–60 g; forest green 25–40 g; scraps of orange, brown, black, and gold.
- 2.5 mm hook for head and motifs; 3 mm hook for the cream spiral if needed for a softer curl.
- Polyester stuffing, tapestry needle, embroidery needle, scissors, pins, stitch markers.
- Strong braided hanging cord, approximately 1.5–2 m, and matching strong sewing thread.
- Two small gold craft bells, optional red and green beads, and tiny gold beads for flower centers and the tree.
- Optional wooden bead above the head. Embroidered knots can replace small beads.
This is a decorative hanging, not a toy. Keep the finished piece and its small ornaments away from young children and pets. Choose lightweight bells and decorations so they do not pull the crochet out of shape.
Abbreviations and Notes
- MR: magic ring; ch: chain; sl st: slip stitch.
- sc: single crochet; hdc: half double crochet; dc: double crochet; tr: treble crochet.
- inc: 2 sc in one stitch; dec: sc2tog over two stitches.
- BLO: back loop only; R: round or row, as stated.
- Picot: ch 3, sl st into the first of those three chains.
- Numbers in brackets give the finished stitch count. Turning chains and joining slip stitches do not count.
Work the head, nose, hat, berries, and gift in continuous spirals unless a join is specified. Mark the first stitch of every round. For rows, ch 1 and turn; work the first stitch into the first stitch of the previous row. For dc rows, ch 2 and turn; ch 2 does not count.
Snowman Christmas Door Hanging Crochet Pattern
1. Cream Snowman Head
Begin at the crown with cream yarn. The final closure will sit beneath the scarf.
- R1: 6 sc in MR. [6]
- R2: inc × 6. [12]
- R3: (sc, inc) × 6. [18]
- R4: (2 sc, inc) × 6. [24]
- R5: (3 sc, inc) × 6. [30]
- R6: (4 sc, inc) × 6. [36]
- R7: (5 sc, inc) × 6. [42]
- R8–14: 42 sc each round. [42]
- R15: (5 sc, dec) × 6. [36]
- R16: (4 sc, dec) × 6. [30]
- R17: (3 sc, dec) × 6. [24]
- R18: (2 sc, dec) × 6. [18]
- R19: (sc, dec) × 6. [12]
- R20: dec × 6. [6]
Pause after R17. Embroider the face before stuffing: two upward-curving closed eyes between R10 and R12, approximately 7 stitches apart, and a broad smile between R13 and R15. Add a few pink embroidery stitches at each cheek. Stuff firmly after R18, finish the last rounds, then gather the final six front loops closed.
Orange Carrot Nose
- R1: 4 sc in MR. [4]
- R2: (sc, inc) × 2. [6]
- R3: 6 sc. [6]
Fasten off with a sewing tail. Add a tiny tuft of stuffing if needed. Sew the six-stitch opening to the center of the face between the eyes and smile; point the MR tip outward.
2. Long Floppy Santa Hat
Use red. Begin at the narrow tip. Keep this piece unstuffed so it can bend beside the head.
- R1: 6 sc in MR. [6]
- R2–5: 6 sc each round. [6]
- R6: (sc, inc) × 3. [9]
- R7–10: 9 sc each round. [9]
- R11: (2 sc, inc) × 3. [12]
- R12–14: 12 sc each round. [12]
- R15: (3 sc, inc) × 3. [15]
- R16–17: 15 sc each round. [15]
- R18: (4 sc, inc) × 3. [18]
- R19: 18 sc. [18]
- R20: (2 sc, inc) × 6. [24]
- R21: 24 sc. [24]
- R22: (3 sc, inc) × 6. [30]
- R23: 30 sc. [30]
- R24: (4 sc, inc) × 6. [36]
- R25: (5 sc, inc) × 6. [42]
- Change to cream. R26–28: 42 sc each round. [42]
Fasten off with a long tail. Fold the cream rounds outward into a narrow brim. Test over the head crown and sew the brim in place without covering the eyes. Bend the red tip down one side and secure its curve with a few hidden stitches.
For the cream pom-pom, make 6 sc in MR; next round inc × 6 [12]; next round 12 sc; add a little stuffing; next round dec × 6 [6]. Gather closed and sew to the hat tip. A yarn pom-pom of similar size is an alternative.
3. Striped Scarf
Ch 8 in cream. R1: sc in the second chain and each remaining chain. [7] R2 onward: ch 1, turn, 7 sc. Work two rows each in cream, red, and green, repeating this six-row color sequence until the scarf measures approximately 28–32 cm. Finish after a complete two-row stripe, weave in all ends, and add short matching fringe to both ends. Wrap beneath the face and tack the overlap to the head. Do not use the scarf as the structural suspension point.
4. Long Cream Curling Spiral
The spiral is a narrow ruffled strip, not a stuffed tube. Its extra stitches make it curl naturally. Make a small swatch first: ch 22, then work the following two rows over its 20 foundation positions to check the curl with your yarn.
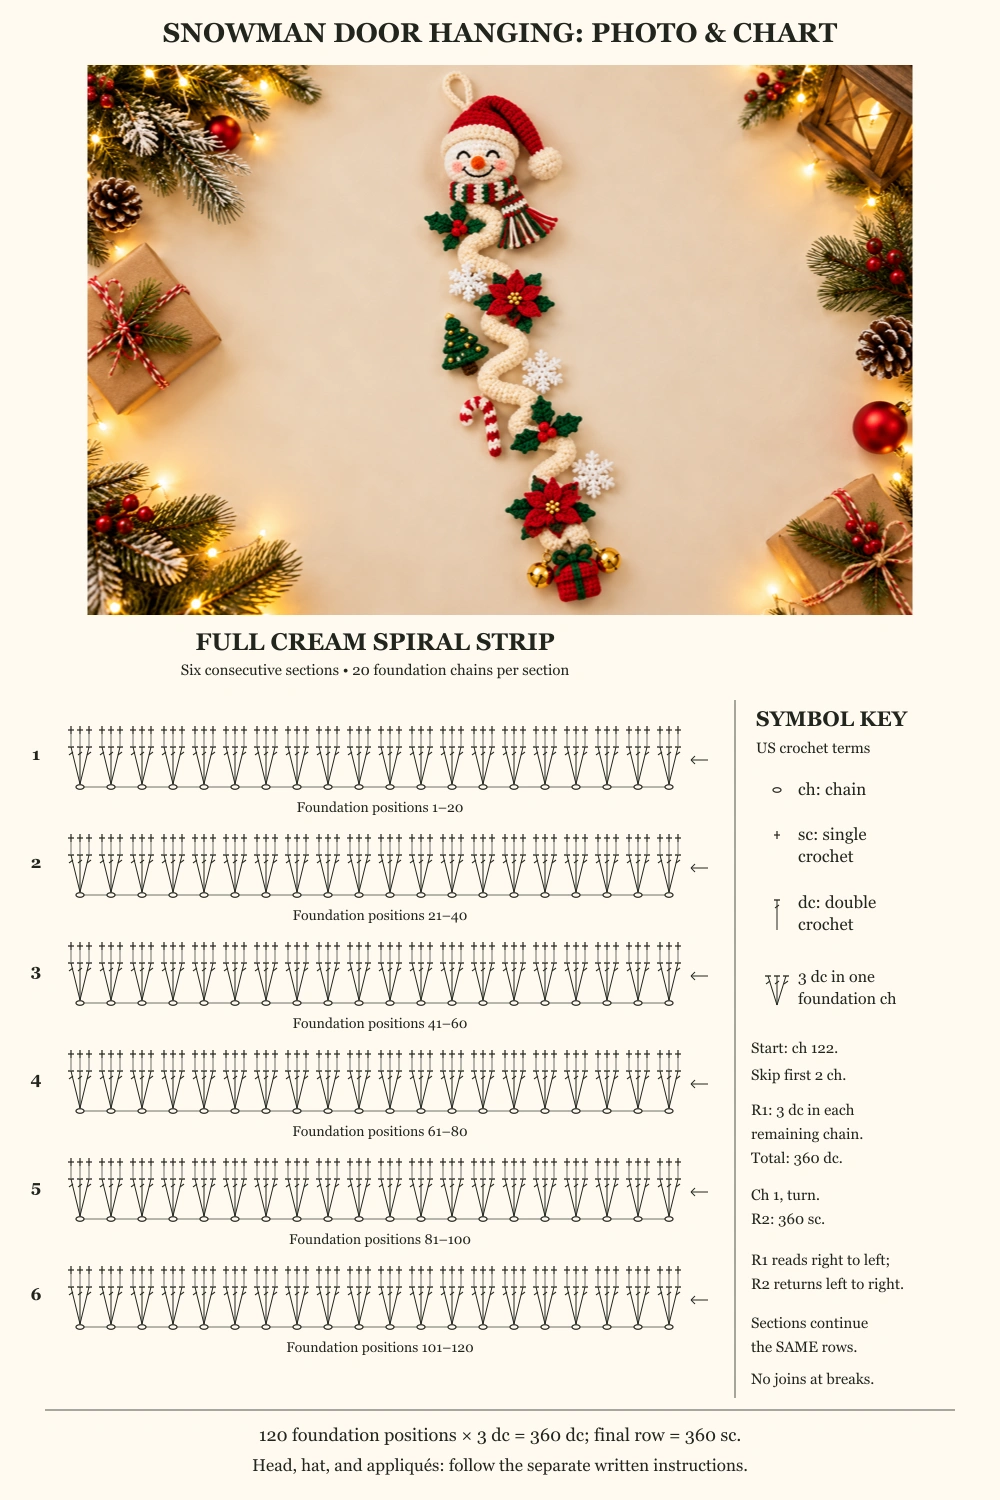
- Full strip: ch 122.
- R1: starting in the third chain from the hook, work 3 dc into each of the remaining 120 chains. [360 dc]
- R2: ch 1, turn, work 1 sc into each dc. [360 sc]
Fasten off and weave in ends. Coil the strip into a corkscrew with the foundation-chain edge on the inside. Do not flatten it by heavy blocking. Gently stretch or relax the coil to the desired hanging length. If your yarn produces a loose wave, wind it around a cylinder while shaping it dry; do not add wire. Lengthen or shorten by changing the foundation chain: every working foundation chain receives three dc, so a chain of N + 2 produces 3N dc and the same number of sc.
5. Holly Clusters — Make Three
Leaf — Make Nine
With green, ch 8. Work along one side: from second ch, sl st, sc, hdc, dc, hdc, sc, then (sl st, ch 2, sl st) into the final chain for the tip. Work back along the unused loops on the opposite side: sc, hdc, dc, hdc, sc, sl st. Join at the base and leave a sewing tail. The two sides mirror each other; the ch-2 tip does not count as a body stitch.
Red Berries — Make Nine
R1: 6 sc in MR. R2: 6 sc. Add a tiny tuft of stuffing. R3: dec × 3 [3]. Close with the yarn tail. Sew three leaves in a fan and three berries over their joined bases for each cluster. Keep the tails for attaching each cluster to the cream strip.
6. Six-Arm Snowflakes — Make Three
Use white or cream with a firm tension. Ch 4 and sl st into the first chain to form a ring. For each of six arms, work: ch 7; sl st in the second chain from the hook and in the next chain; ch 3, sl st into the first of these three chains for a side picot; sl st into the next chain of the main arm; make another ch-3 picot; sl st into each of the three remaining main-arm chains; sl st into the center ring. Repeat the whole arm sequence six times. Fasten off. Each arm has six return slip stitches and two side picots. Pin flat and lightly damp-block before sewing. Stiffen separately with a textile stiffener only if desired, following its label.
7. Red Poinsettias — Make Two
Red Petal — Make Twelve
Ch 7 in red. From the second chain: sc, hdc, dc, dc, hdc; in the final chain work (sc, ch 2, sc). Return along the opposite side: hdc, dc, dc, hdc, sc. Sl st at the base and fasten off with a sewing tail. Make six petals per flower.
Arrange three petals as a lower layer and three more between them as the upper layer. Sew all bases together firmly. Add a green holly leaf behind two or three outer petals, using additional leaves made as above. Sew a cluster of tiny gold beads at the center, or substitute gold French knots. Sew through all petal bases when attaching the flower to the hanging.
8. Tiny Green Christmas Tree
Work in rows with green. Ch 2. R1: 2 sc in second ch [2]. R2: inc in each stitch [4]. R3: 4 sc [4]. R4: inc, 2 sc, inc [6]. R5: 6 sc [6]. R6: inc, 4 sc, inc [8]. R7: 8 sc [8]. R8: inc, 6 sc, inc [10]. R9: 10 sc [10]. Fasten off. Join brown to the fourth stitch of the bottom row and work 4 sc. Turn and work 4 sc for a second trunk row. Fasten off. Add small gold and red embroidery knots or securely sewn beads. This is a flat tree appliqué; lightly block it before assembly.
9. Red-and-White Candy Cane
Use continuous rounds. In red, make 6 sc in MR, then work 6 sc for two more rounds. Change to white for three rounds of 6 sc. Repeat three red rounds and three white rounds until there are 24 rounds total, including the MR round. Stuff lightly as you go; keep the last third flexible. Gather closed. Bend the top third into a hook and hold the curve with a few hidden stitches between the inside edges. Do not insert wire.
10. Miniature Red Gift
Work in red. Ch 7. R1: starting in the second chain, 5 sc, 3 sc in the last chain; along the other side work 4 sc and 2 sc in the first chain. [14] R2: (6 sc, inc) × 2 [16]. R3: 16 sc BLO. R4–8: 16 sc each round. Stuff lightly; flatten the opening so the front and back each have 8 stitches. Join the edges with 8 sc through both layers. Fasten off. Sew a green chain or narrow green ribbon vertically around the gift and another horizontally; add a small green bow on top.
11. Reinforced Hanging Cord and Assembly
Lay the whole project flat before sewing. Make a strong cord loop above the hat, long enough for your chosen door hook. Run a doubled cord down the back of the hat and head, anchoring it through several dense crochet stitches with multiple passes of strong thread. Continue the cord loosely down the back of the hanging. It should follow the vertical axis and support the lower bells and gift; the cream spiral curls around it.
Sew the upper end of the cream strip to the underside of the head with several passes across its width. Tack the inside chain edge of the corkscrew to the supporting cord at intervals of approximately 8–10 cm. Keep enough slack in the cord to preserve the intended curves without letting the crocheted strip bear the weight of the bells.
- Below the scarf: attach one holly cluster and the first snowflake.
- Next section: place the tree to one side and the first poinsettia on the other.
- Middle section: add the candy cane, second snowflake, and second holly cluster.
- Lower section: add the second poinsettia, third holly cluster, and third snowflake.
- At the bottom: suspend the red gift from the support cord and attach a gold bell on each side.
Pin every motif before sewing so the face and decorative fronts point toward the viewer. Sew through the motif base and the cream strip at several points, catching the support cord where practical. Add red and green beads to selected curves if desired, securing each with at least three thread passes. Keep all connecting threads hidden at the back. Tie and sew the lower cord attachments securely, then test the whole hanging above a soft surface with a gentle tug.
Photo and Full Stitch Chart
The third tutorial image below combines a finished-project photo with a connected stitch chart for the entire cream spiral strip. Every one of its 120 foundation positions, all 360 dc, and all 360 sc are shown in six consecutive sections. A section break is only a page-layout break: keep working the same row. The head and all decorations follow their separate written instructions above. The English legend explains the chain, dc, and sc symbols.
Finishing Tips
- If the spiral is too long, relax fewer turns and move the attachment points closer together; make a shorter foundation for a smaller version.
- If motifs rotate, secure them at two or three separated points rather than one central stitch.
- Avoid heavy stuffing in the hat and candy cane so they retain their curves.
- Keep the bottom bells lightweight, with their weight supported by the strong cord.
- Spot-clean gently and let the hanging dry flat; protect metal bells and beads from soaking.
Frequently Asked Questions
Can I leave off the bells and beads?
Yes. Replace the beads with embroidery and omit the bells for a lighter, fully yarn-based decoration. Keep the reinforcing cord for the long spiral.
Can I make it shorter?
Yes. Reduce the spiral foundation chain and space fewer motifs along it. Keep two extra turning chains and work three dc into every remaining foundation chain. The head pattern can remain unchanged.
Does the spiral need wire?
No. The increased dc row creates the curl. Shaping and discrete cord attachment points keep the arrangement stable.
More Free Christmas Crochet Patterns
- Christmas Bell Ornament Crochet Pattern
- Poinsettia Keychain Crochet Pattern
- Two-Tone Christmas Bauble Crochet Pattern
Save This Pattern
Save this Snowman Christmas Door Hanging Crochet Pattern for your holiday decorating. Happy crocheting from Lovely Amigurumi!
Photo Tutorials, Full Spiral Chart, and Pinterest Gallery
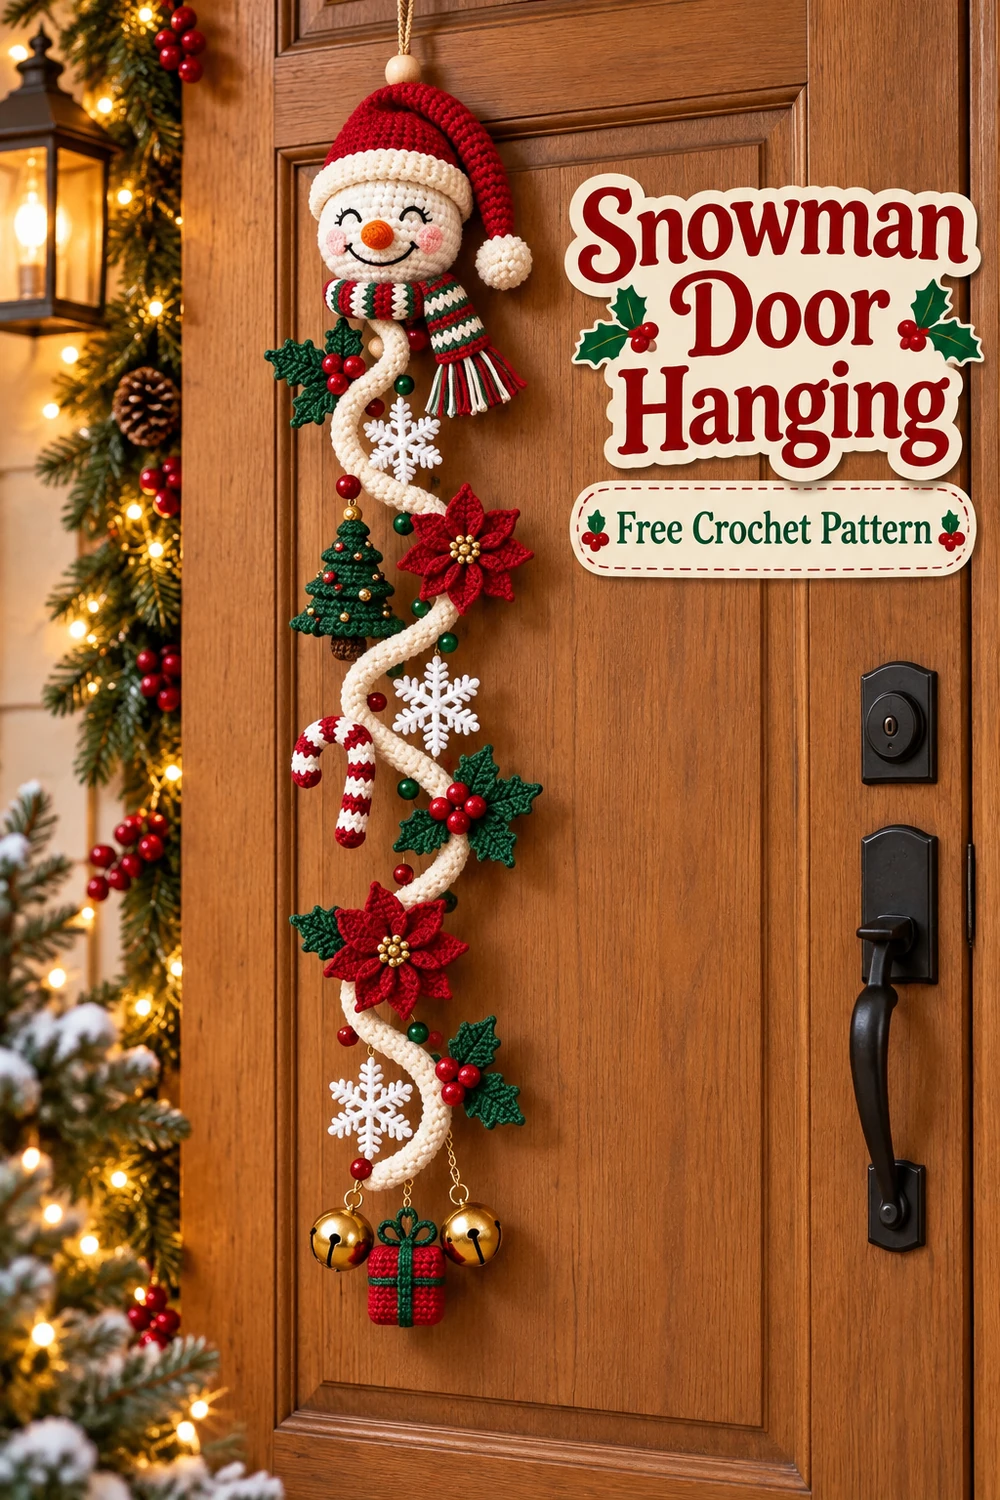
The two photo tutorials and the finished-project photo with its full spiral stitch chart are followed by three Pinterest images. All six images are grouped here at the end.