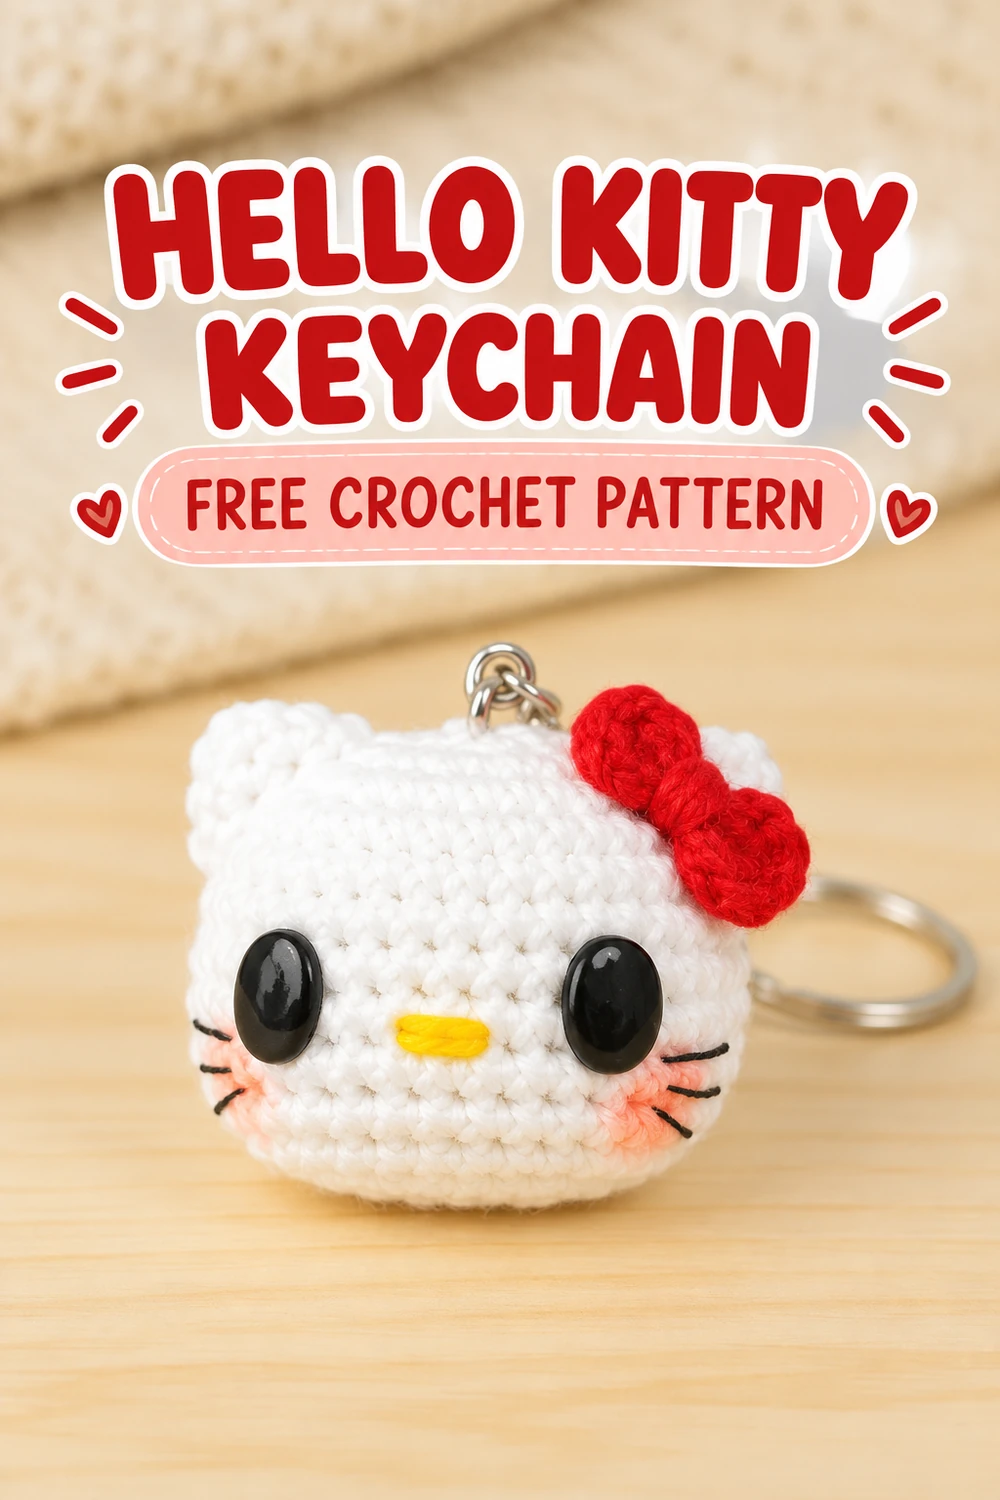
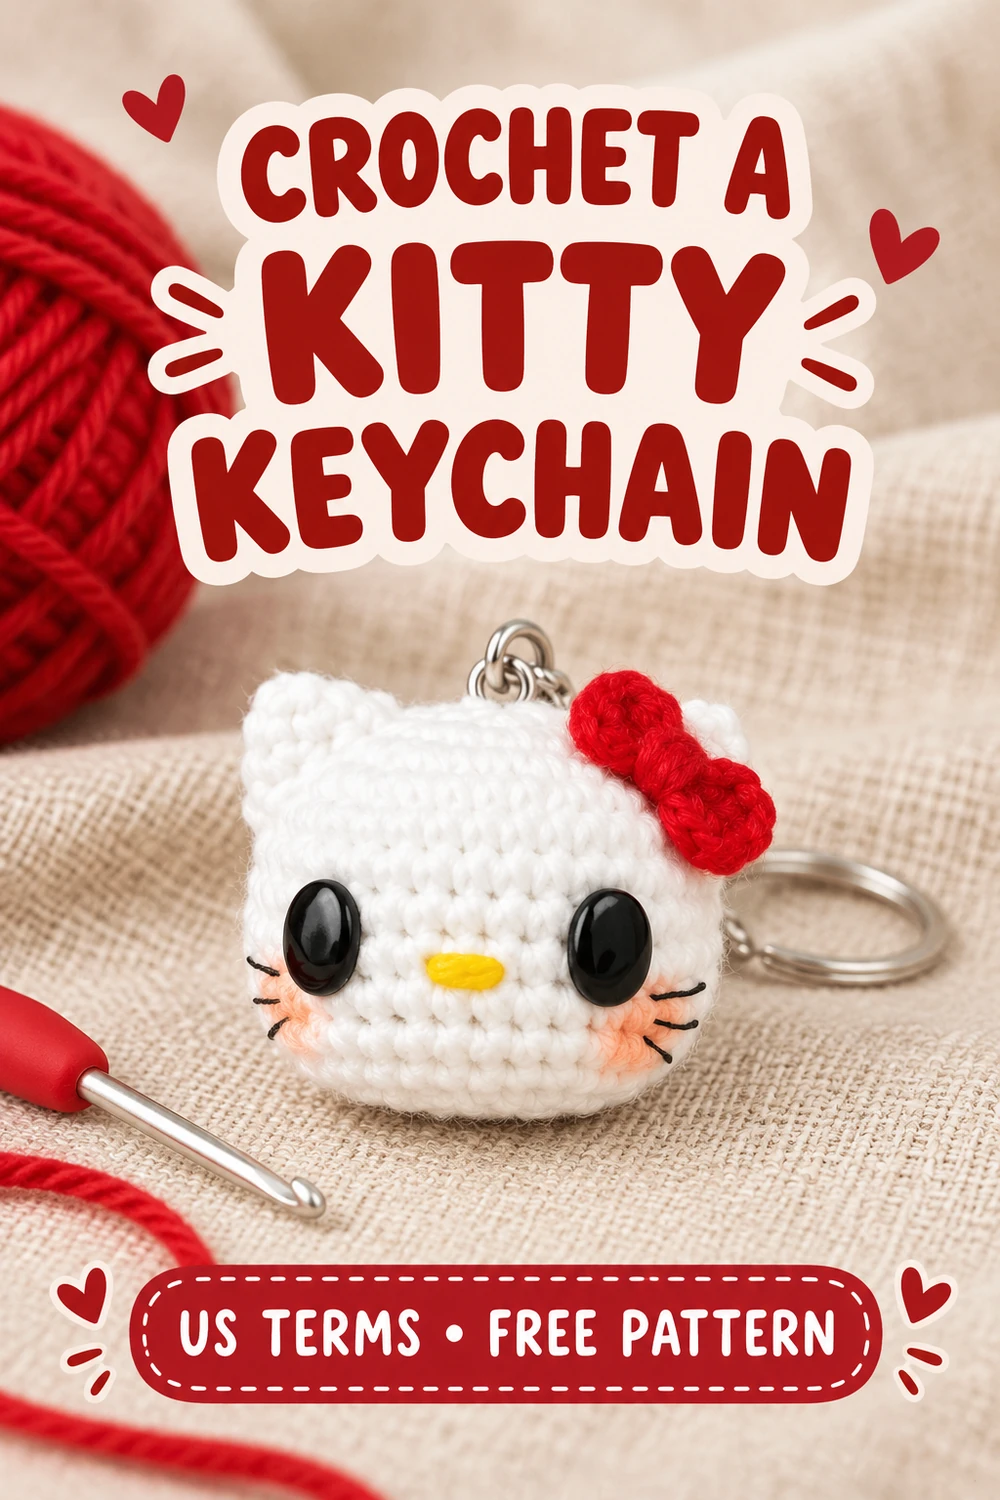
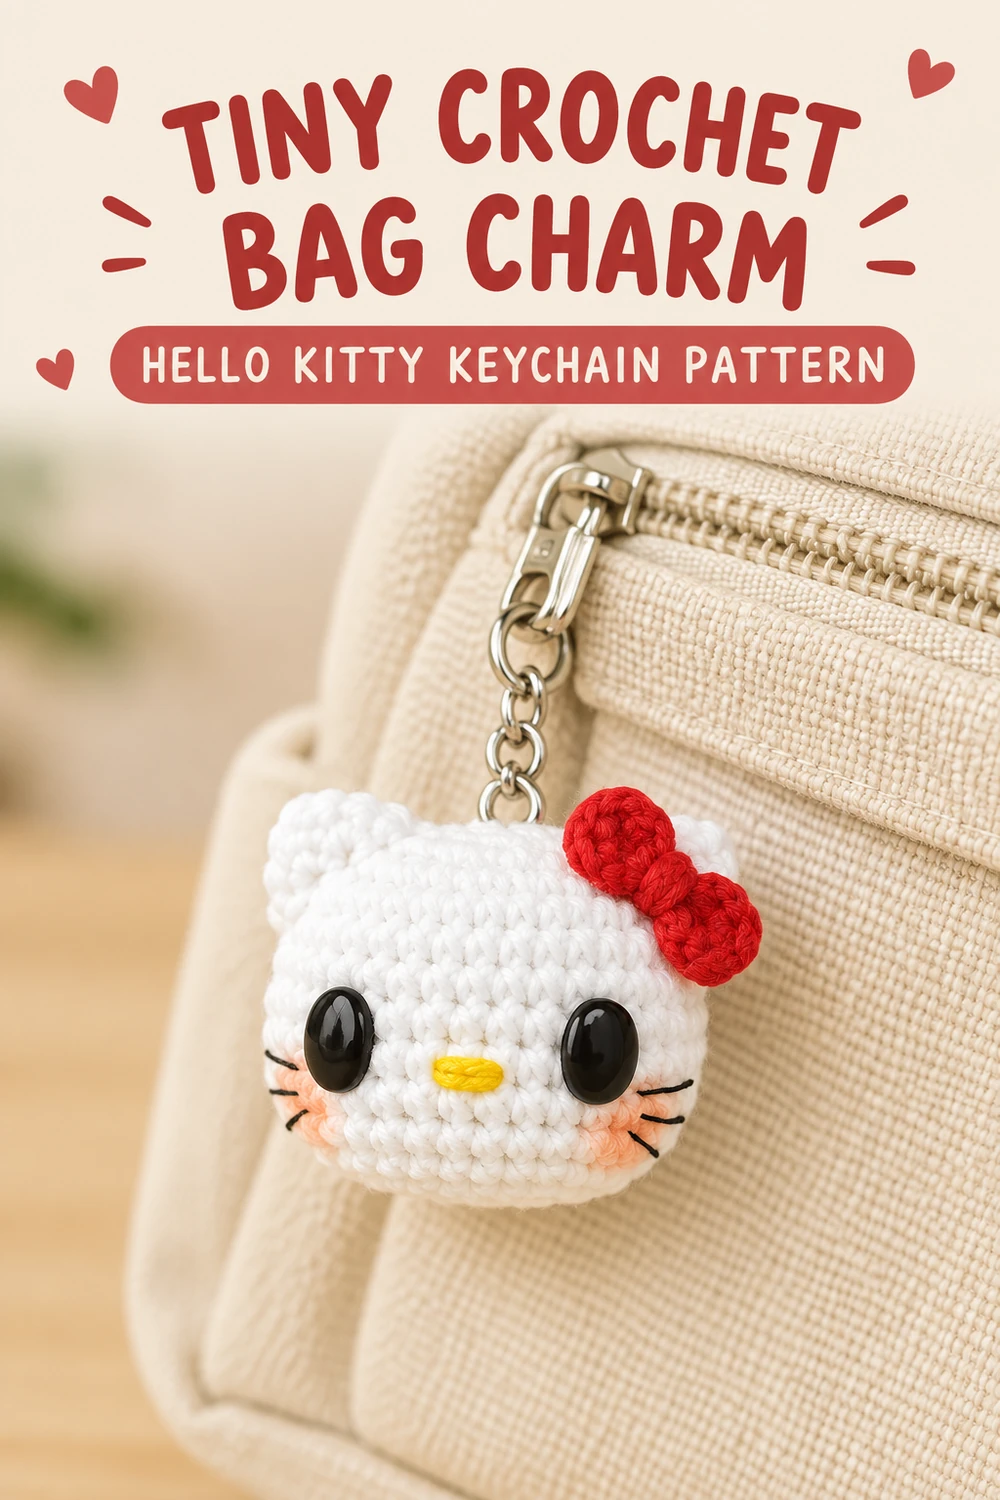
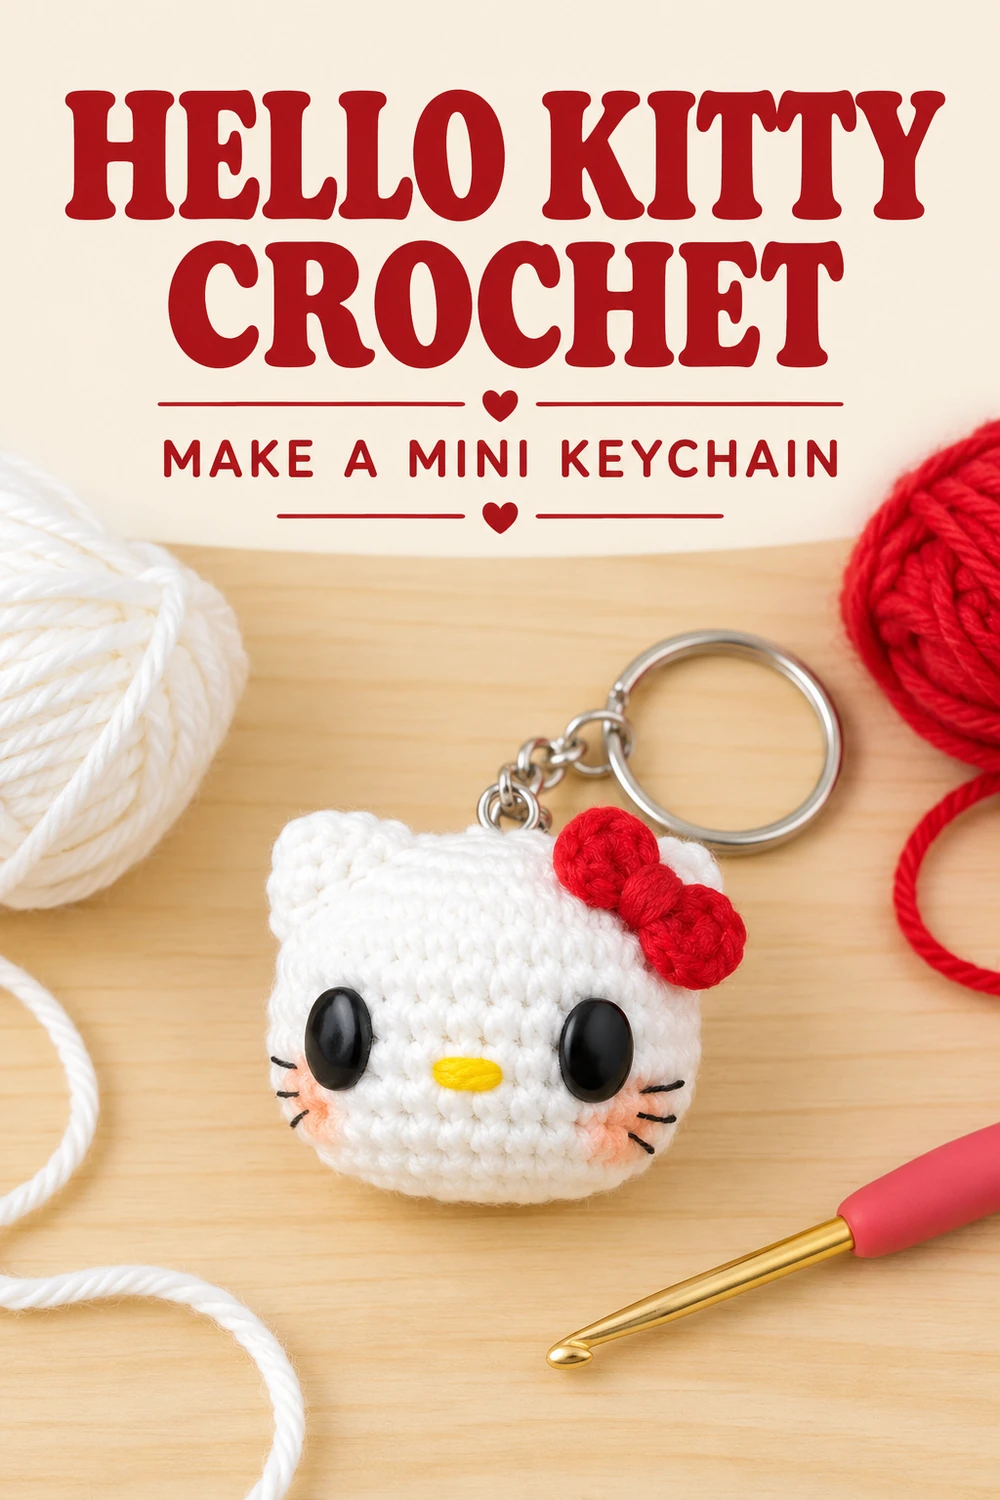
What draws me to this Hello Kitty keychain amigurumi pattern is the simple face: two dark eyes, a yellow nose, and a red bow make a small white head instantly recognizable. I would keep the embroidery light and check the placement with pins before sewing. On a charm this small, a few stitches can change the whole expression.
This project makes the head only, with two separate ears and a small crocheted bow. The instructions below use US crochet terminology and include the stitch count for every round.

Pattern Information
- Skill level: Confident beginner
- Terminology: US crochet terms
- Construction: Stuffed head, two ears, and a separate bow
- Finished size: Varies with yarn, hook size, tension, and stuffing
Materials for the Hello Kitty Keychain Amigurumi Pattern
- White yarn for the head and ears
- Red yarn for the bow
- Yellow and black embroidery thread or fine yarn for the face
- A 3 mm crochet hook as a starting point, adjusted to suit your yarn
- Polyester fiberfill
- Oval black eyes, or black thread for embroidered eyes
- Yarn needle, stitch marker, scissors, and sewing pins
- Keyring with a short chain or a small lobster clasp
Choose a hook that produces a close fabric without making the stitches difficult to work. Stuffing should not show through the gaps. The cover uses oval eyes; embroidered oval eyes are another way to achieve that look. Keep small hardware and detachable parts away from young children. This is a decorative accessory.
US Crochet Abbreviations
- MR: Magic ring
- ch: Chain
- sc: Single crochet
- inc: Work 2 sc in one stitch
- dec: Single crochet decrease over 2 stitches
- st / sts: Stitch / stitches
For an invisible decrease, insert the hook through the front loops of the next two stitches, yarn over and draw through both front loops, then yarn over and draw through the two loops on the hook.
Before You Begin
Work the head and ears in continuous rounds. Do not join or add a chain at the end of a round. Mark the first stitch and move the marker up after each round. Instructions in parentheses are repeated the stated number of times. Counts in brackets show the total after completing the round.
The shaping rounds use increases and decreases in two groups. Keep the round marker in place so those groups stay aligned. The head is worked from the top down; its final opening closes underneath.
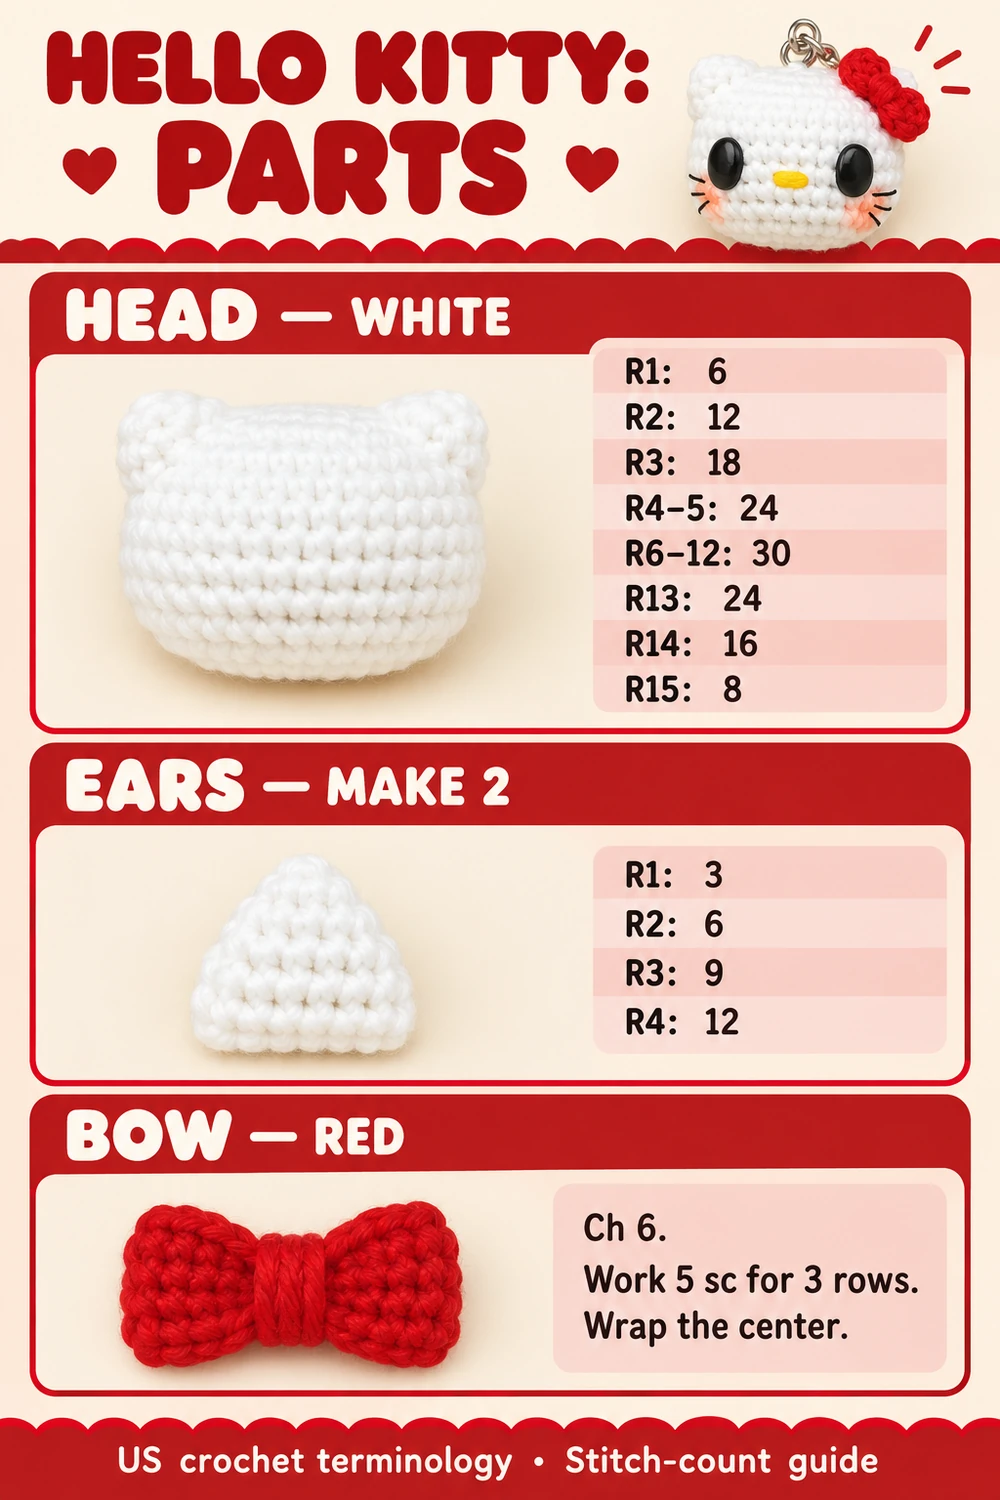
Hello Kitty Keychain Amigurumi Pattern: Head
Use white yarn.
- Round 1: 6 sc in a MR. [6]
- Round 2: Inc in each stitch around. [12]
- Round 3: (Sc, inc) 6 times. [18]
- Round 4: Inc in the next 3 stitches, 6 sc, inc in the next 3 stitches, 6 sc. [24]
- Round 5: Sc in each stitch around. [24]
- Round 6: (Sc, inc) 3 times, 6 sc, (sc, inc) 3 times, 6 sc. [30]
- Rounds 7–12: Sc in each stitch around for 6 rounds. [30 in each round]
Place the Eyes
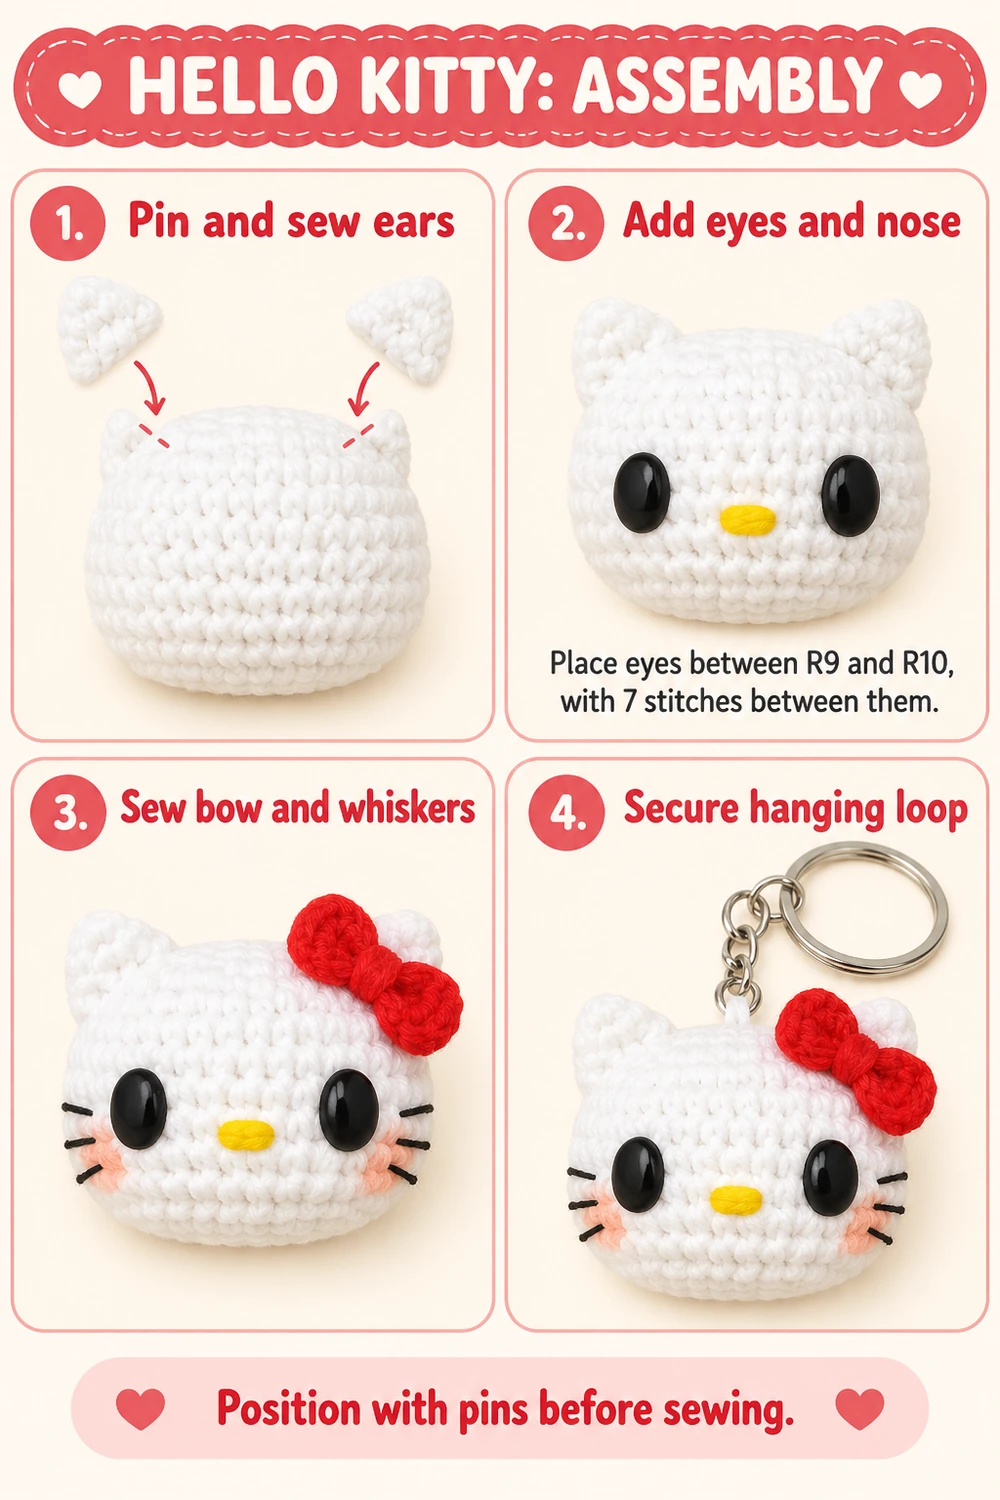
Before decreasing and stuffing, position the eyes between Rounds 9 and 10, with 7 unworked stitches between their insertion points. Pin or mark the positions first and check them from the front. Choose the front face so the shaping groups sit at the sides. If using backed eyes, attach their backs before closing the head.
- Round 13: (Sc, dec) 3 times, 6 sc, (sc, dec) 3 times, 6 sc. [24]
- Round 14: (Sc, dec) 8 times. [16]
- Round 15: Dec 8 times. [8]
Add small pieces of stuffing after Round 13 and top up before Round 15. Shape the head gently into a broad oval rather than stretching it into a ball. Fasten off with a sewing tail. Pass the tail through the front loops of the remaining 8 stitches, pull the opening closed, and weave the tail securely inside.
Ears: Make Two
Use white yarn. Work from the tip toward the open base.
- Round 1: 3 sc in a MR. [3]
- Round 2: Inc in each stitch around. [6]
- Round 3: (Sc, inc) 3 times. [9]
- Round 4: (2 sc, inc) 3 times. [12]
Fasten off with a long sewing tail. Leave the ears unstuffed and flatten their openings. Each flattened base has approximately 6 stitches along the front and 6 along the back. Pin one ear at each upper side of the head, using the area around Rounds 3–7 as a starting guide. Check the spacing before sewing both layers of each base to the head.
Small Red Crochet Bow
The bow in this Hello Kitty keychain amigurumi pattern uses a short rectangle cinched at its center. The center wraps shape the two sides of the bow.
- With red yarn, ch 6.
- Row 1: Starting in the second chain from the hook, work 5 sc. [5]
- Rows 2–3: Ch 1, turn, and work 5 sc. The turning chain does not count as a stitch. [5 in each row]
- Fasten off with a long tail. Weave the tail to the middle of the rectangle and wrap it around the center several times to form two bow loops.
- Secure the wraps on the back, leaving enough yarn to sew the bow to the head.
Pin the bow beside the ear on the right when you look at the face, matching the cover. Sew it through several attachment points so it cannot rotate easily.
Embroider the Face
Yellow Nose
Place a small horizontal oval halfway between the eyes, slightly below their centers. Use a few short yellow stitches laid close together. Keep the nose smaller than either eye.
Black Whiskers
Embroider three whiskers on each cheek. Start with a short middle line, then add an upper and lower line angled slightly apart. Use fine thread so the whiskers do not overwhelm the face. Leave the face without a mouth, as shown in the reference.
If you prefer embroidered eyes, build each oval with closely placed black stitches and secure the thread inside. Add facial details before final closure when practical, so the thread ends can be hidden inside the head.
Attach the Keychain
Make a reinforced hanging loop at the top center, between the ears. Pass a strong matching yarn strand through several head stitches, bring it out at the top, and repeat the route to distribute the pull. Leave a small loop for the chain connector, then secure and weave in the ends. Close the metal connector fully and gently tug the assembly to check the attachment.
Finishing Tips
- Keep the head softly oval: Add filling gradually and stop before the stitches spread.
- Check symmetry: Look at the ears and eyes from the front before securing them.
- Use thin embroidery: Fine whiskers leave more white space around the eyes.
- Sew the bow securely: Multiple attachment points are useful on an accessory that gets handled.
Hello Kitty Keychain Amigurumi Pattern FAQ
Does This Pattern Include a Body?
No. This Hello Kitty keychain amigurumi pattern makes the head-only charm shown in the cover.
How Big Will the Finished Keychain Be?
Yarn thickness, hook size, tension, and stuffing all affect the result. Use finer yarn for a smaller charm and measure your finished piece after assembly.
Can I Change the Hook Size?
Yes. Choose the hook together with the yarn and aim for a close fabric. A larger hook with thicker yarn generally produces a larger head.
How Long Does It Take?
The time depends on your crochet speed and familiarity with small pieces. Allow time for embroidery and careful sewing as well as the head.
Can I Use a Pink Bow?
Yes. Keep the same bow construction and substitute pink for red. The red version matches the cover.
More Small Crochet Projects
For another accessory, try the Crochet Bag Keychain Pattern. For a flat decoration, explore the Flat Bee Appliqué Crochet Pattern.
Save This Hello Kitty Keychain Amigurumi Pattern
Save this Hello Kitty keychain amigurumi pattern to Pinterest for later. When sharing your finished charm, include the yarn, hook size, and final measurements to help other crocheters compare their results.
Hello Kitty Keychain Reference Gallery