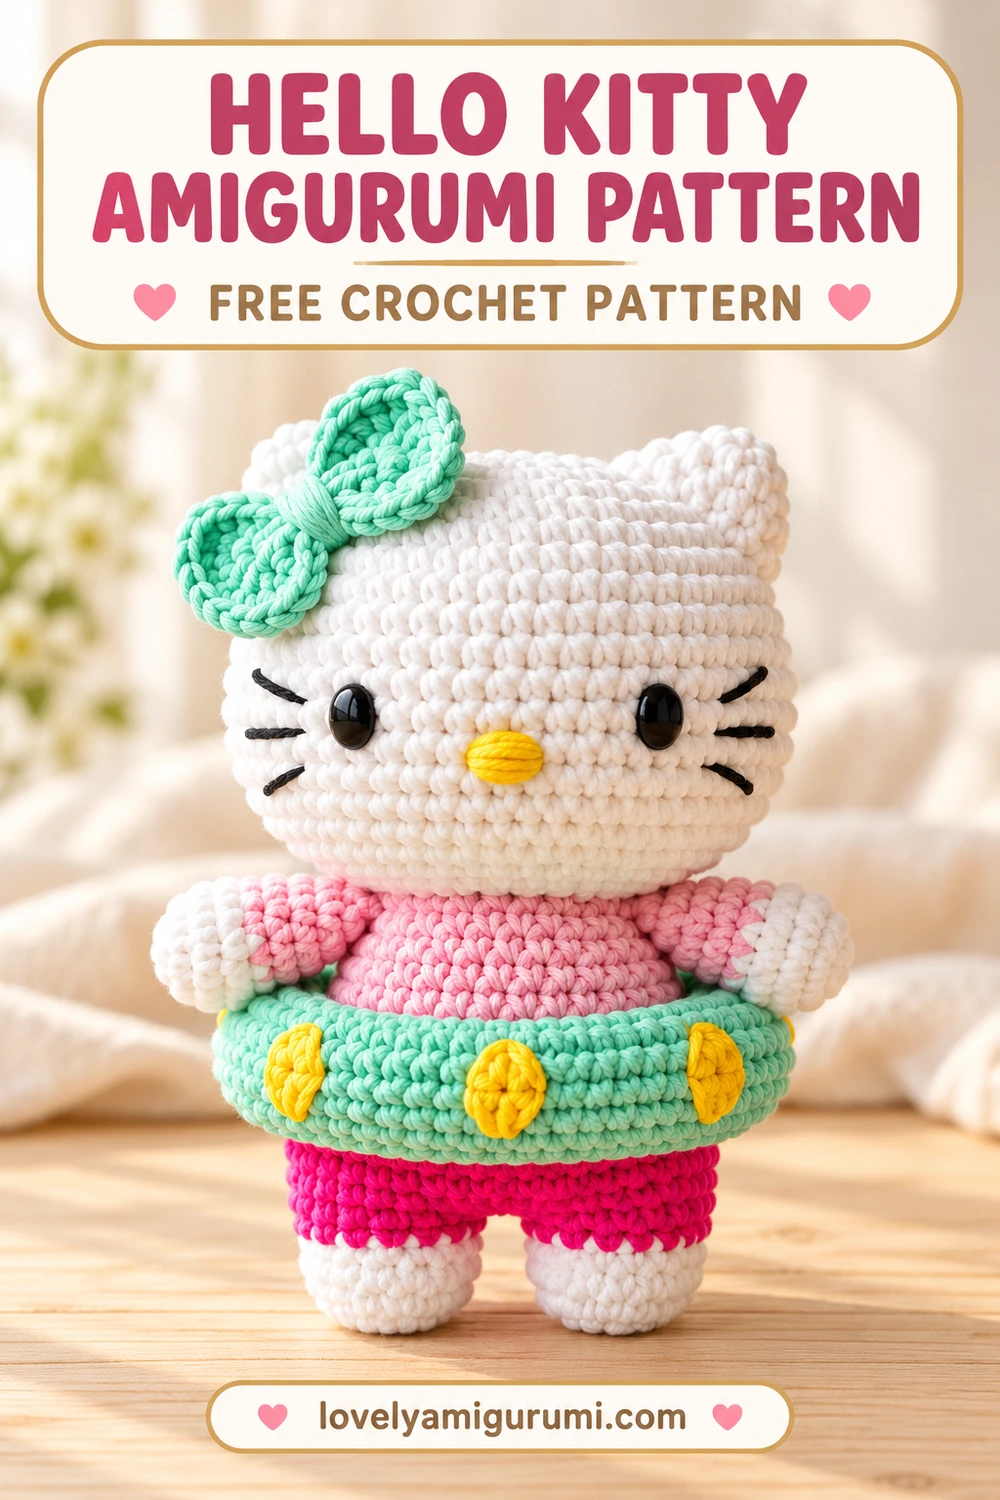
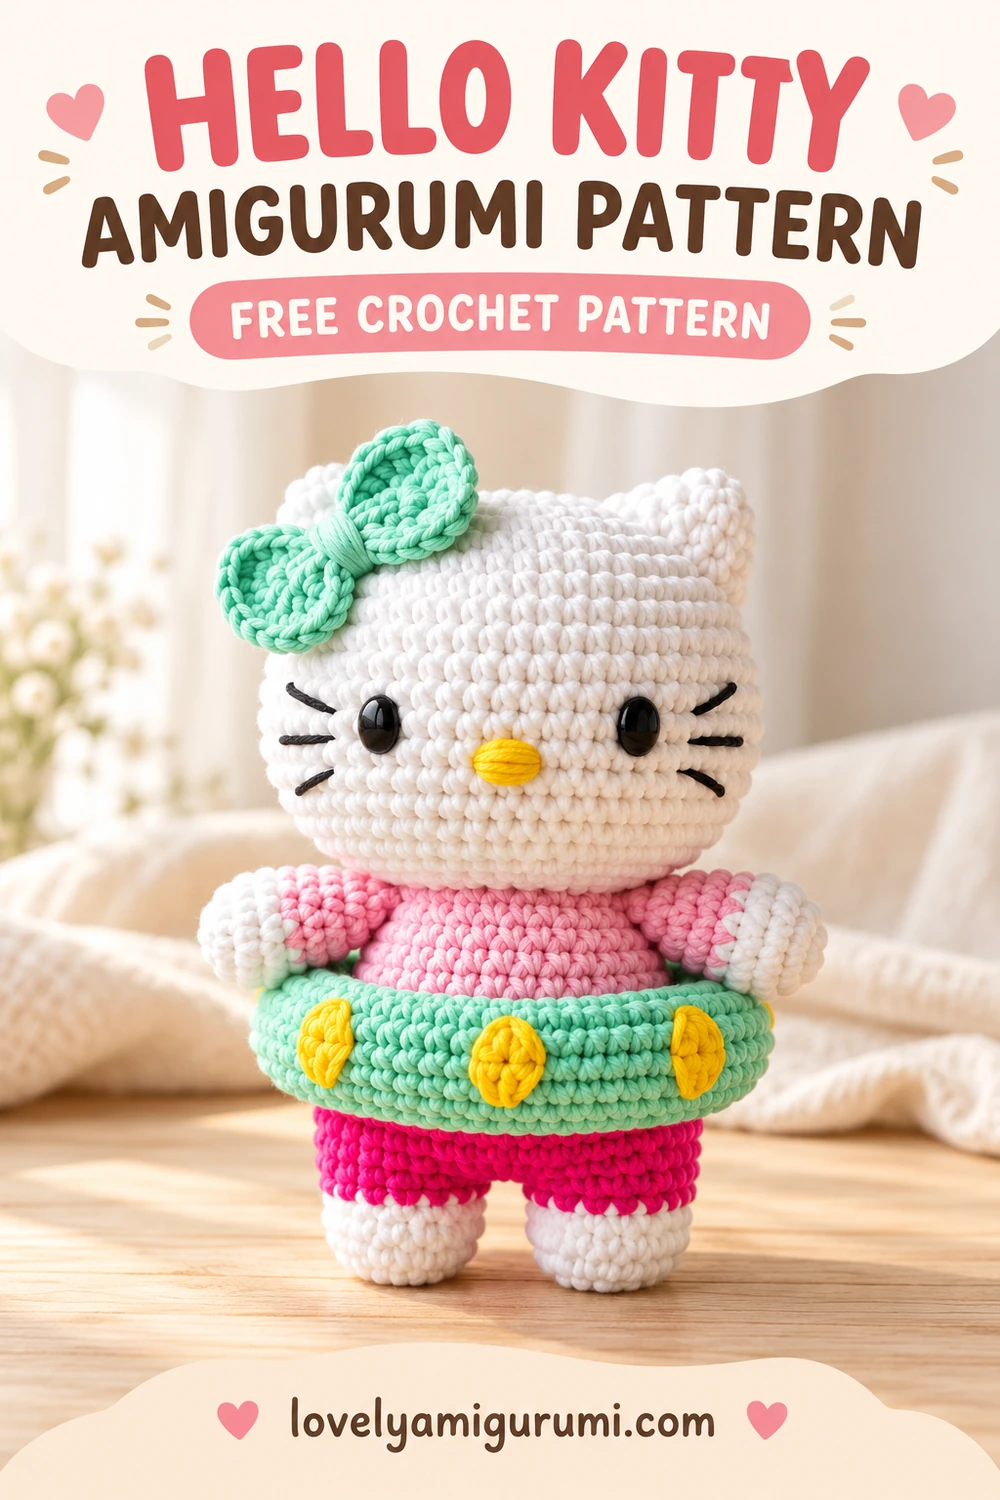
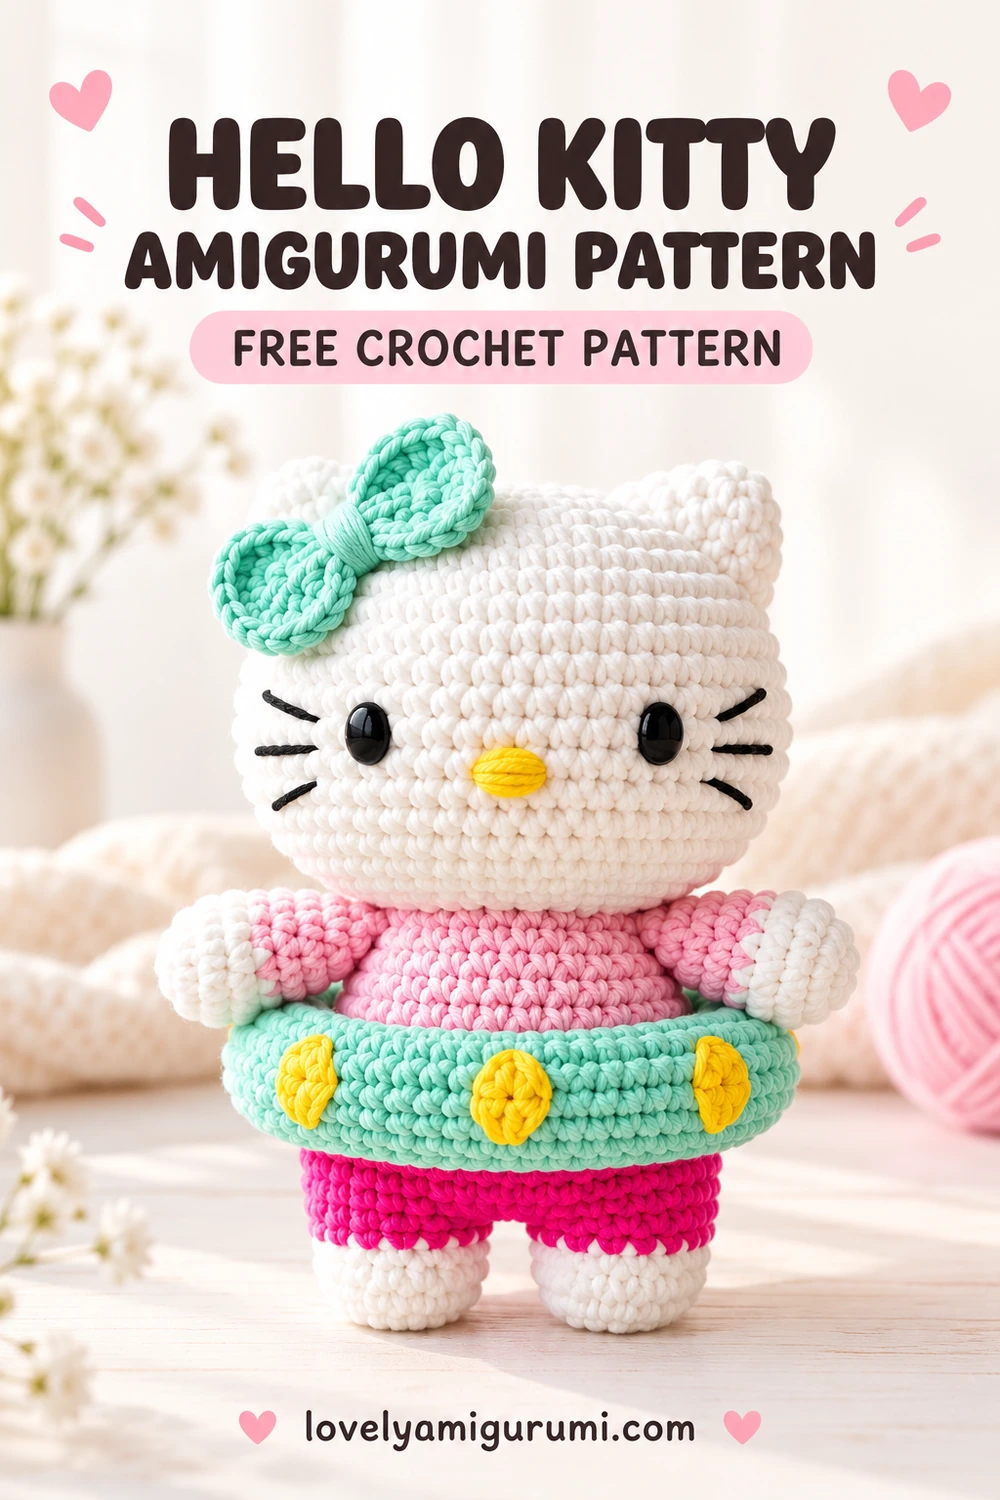
The mint bow and swimming ring are my favorite details in this Hello Kitty amigurumi pattern. They give a simple pink outfit a summery look without hiding the familiar white face. I recommend finishing the face and pinning the ring in place before sewing the arms: that makes it easier to leave enough room around the waist.
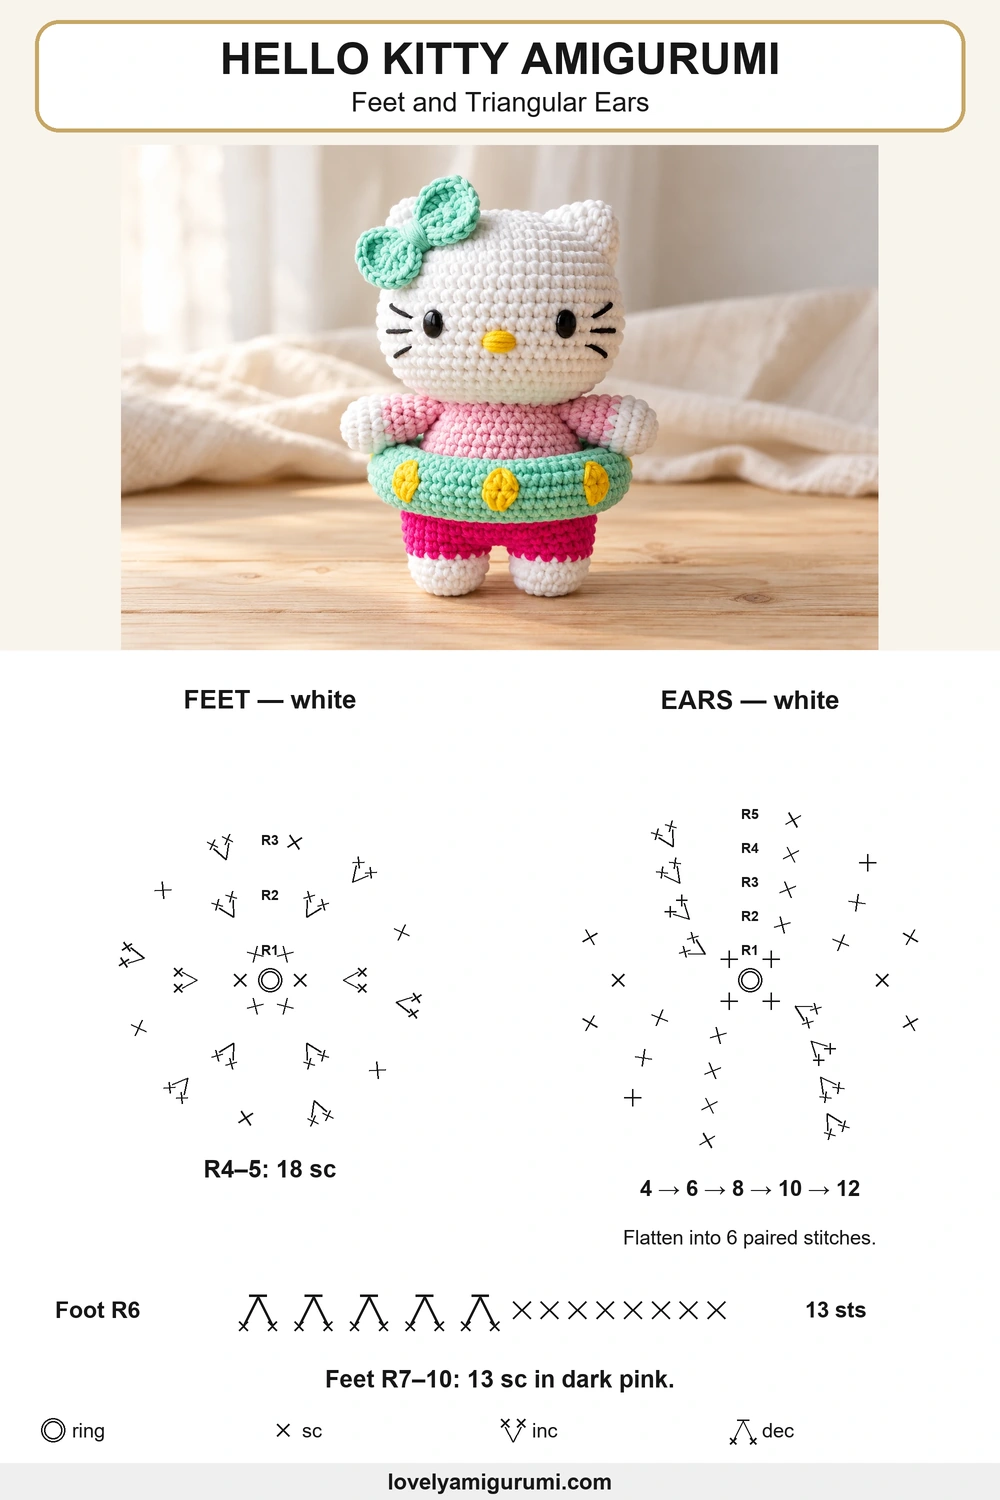
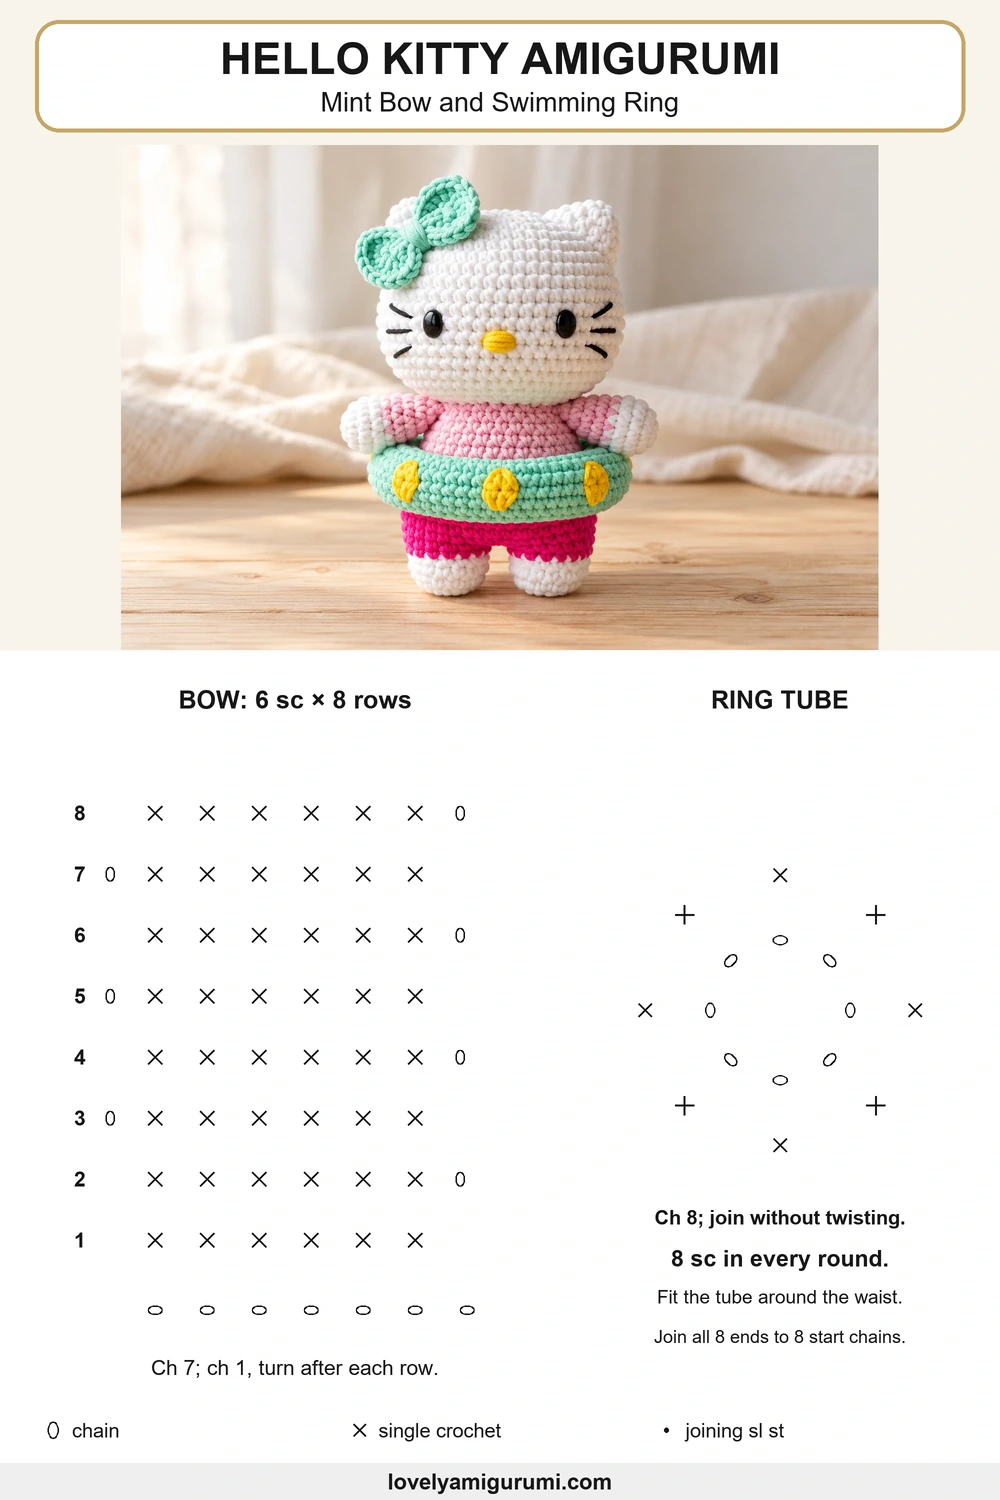
This version has a wide oval head, a pink torso and sleeves, white hands and feet, dark pink shorts and a mint ring decorated with yellow crochet patches. Make the pieces separately and assemble them with a needle. The three charts show the oval head foundation, the smaller round pieces and the bow with ring construction.
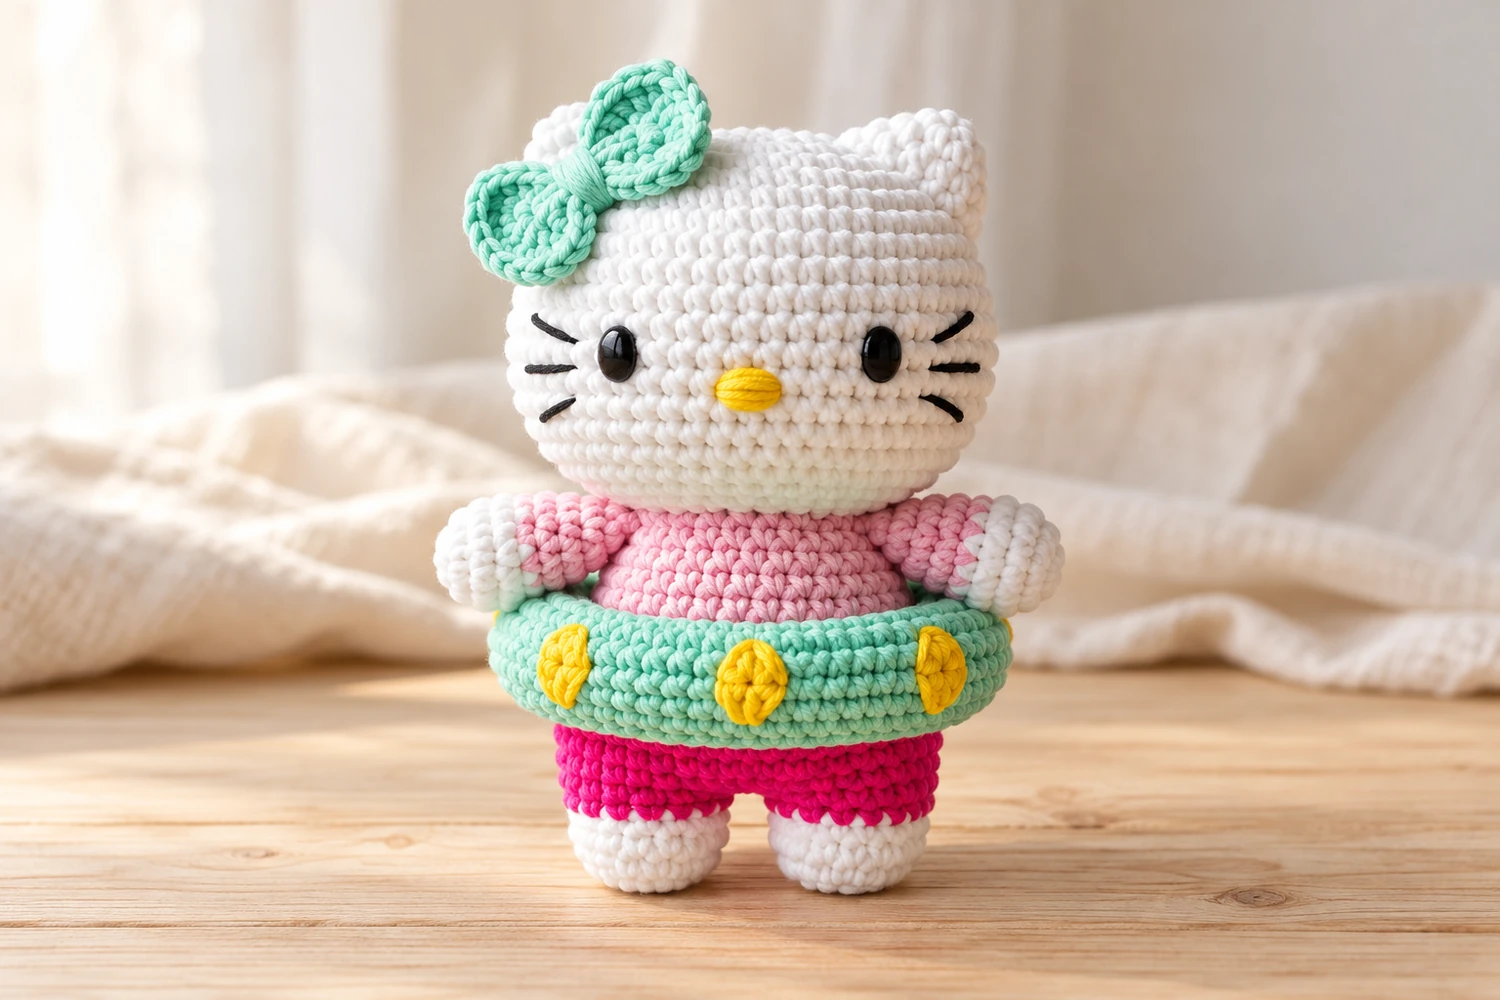
Materials for the Hello Kitty amigurumi pattern
- DK or worsted cotton yarn in white, light pink, dark pink, mint and yellow. Use one consistent weight for all parts.
- A 2.5–3 mm hook appropriate to your yarn and dense amigurumi tension.
- Black embroidery thread for eyes and whiskers; yellow thread for the nose.
- Fiberfill, marker, yarn needle, scissors and pins.
A thicker chenille yarn is an optional substitution, but it changes the size and makes the small details harder to count. The smooth cotton finish matches the cover. Finished dimensions depend on the materials; no fixed height or completion time is required.
Stitches and reading the pattern
MR = magic ring; ch = chain; sc = single crochet; hdc = half double crochet; dc = double crochet; tr = treble crochet; sl st = slip stitch; st(s) = stitch(es); inc = 2 sc in one stitch; dec = single crochet two stitches together. For an invisible decrease, pick up the front loop of each of the next two stitches, yarn over and pull through both front loops, then complete the single crochet. BLO and FLO mean back loops only and front loops only.
The number in parentheses is the stitch count after the round. Repeat only the instructions inside brackets the stated number of times. Unless a section says to turn, work in a continuous spiral without joining; move the marker to the first stitch of each new round. Turning chains do not count as stitches. Work through both loops unless instructed otherwise.
Hello Kitty amigurumi pattern: oval head
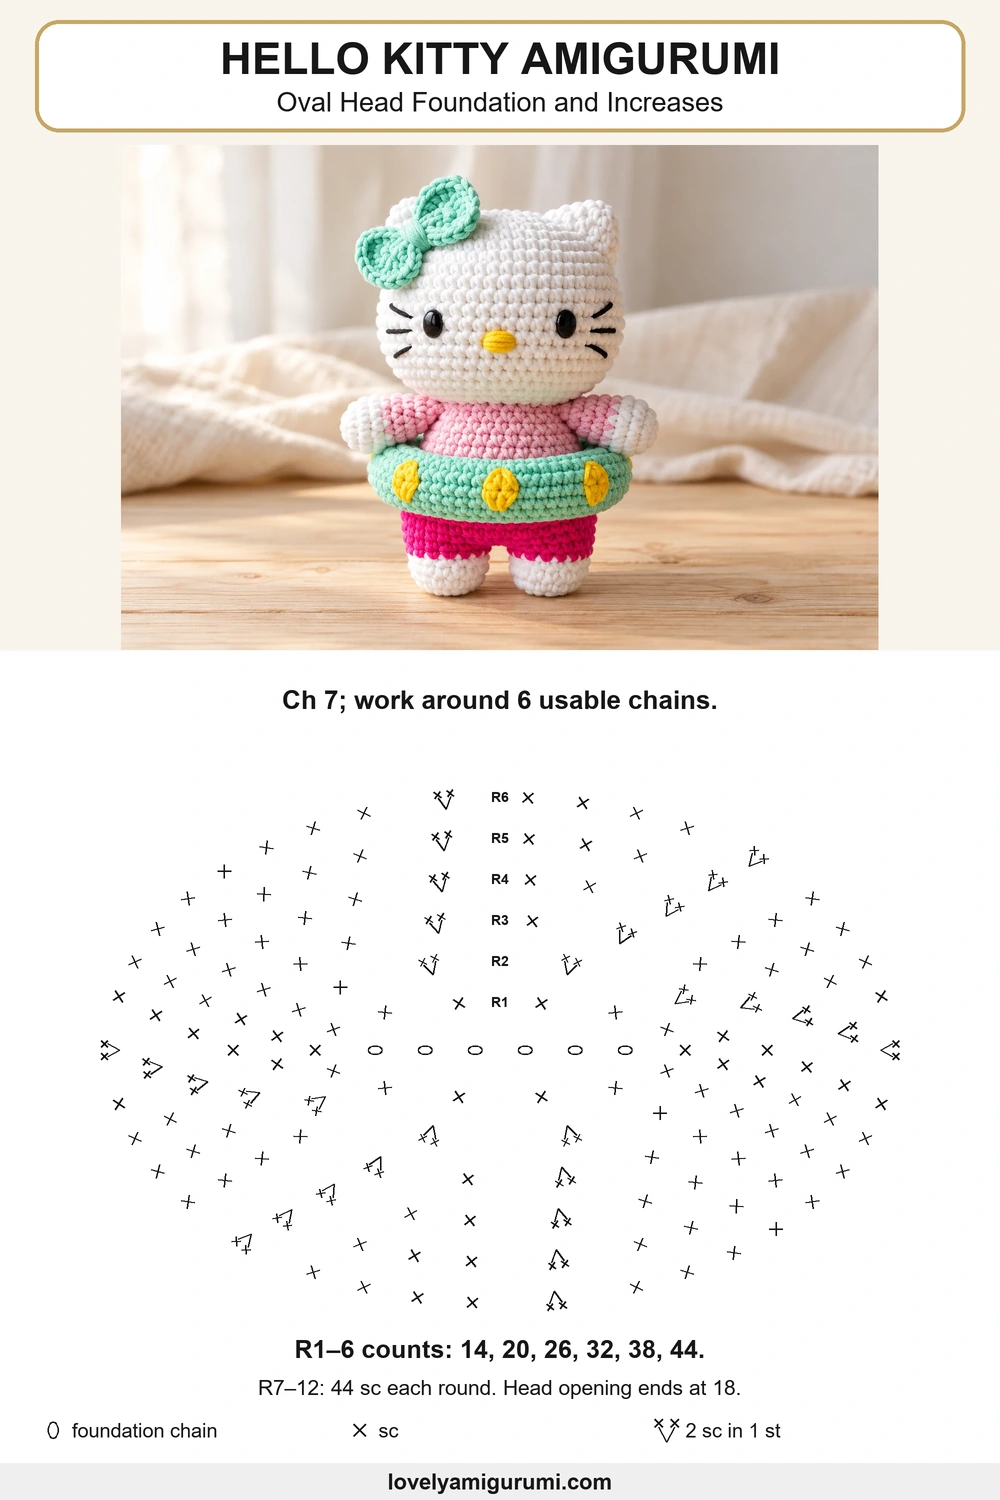
Start in white. Ch 7. Work around both sides of the chain; there are six usable chains after skipping the chain nearest the hook. The end chains receive the turning increases.
R1: 2 sc in the second ch from the hook, 4 sc, 3 sc in the last ch; rotate to the unused side, 4 sc, then 1 sc in the first worked chain. (14)
R2: inc × 2, 4 sc, inc × 3, 4 sc, inc. (20)
R3: [sc, inc] × 2, 4 sc, [sc, inc] × 3, 4 sc, sc, inc. (26)
R4: [2 sc, inc] × 2, 4 sc, [2 sc, inc] × 3, 4 sc, 2 sc, inc. (32)
R5: [3 sc, inc] × 2, 4 sc, [3 sc, inc] × 3, 4 sc, 3 sc, inc. (38)
R6: [4 sc, inc] × 2, 4 sc, [4 sc, inc] × 3, 4 sc, 4 sc, inc. (44)
R7–12: 44 sc in each round. (44; 6 rounds)
R13: [4 sc, dec] × 2, 4 sc, [4 sc, dec] × 3, 4 sc, 4 sc, dec. (38)
R14: [17 sc, dec] × 2. (36)
R15: [4 sc, dec] × 6. (30)
R16: [3 sc, dec] × 6. (24)
R17: [2 sc, dec] × 6. (18)
R18: 18 sc. (18)
Fill the head and shape it into a wide oval. Leave the 18-stitch neck opening unclosed with a long sewing tail. Position the face on one broad side, not on a narrow chain end.
Pink body
Start at the bottom with dark pink yarn. The two dark pink legs will meet this section to suggest shorts; there is no added skirt.
R1: 6 sc in MR. (6)
R2: inc × 6. (12)
R3: [sc, inc] × 6. (18)
R4: [2 sc, inc] × 6. (24)
R5: [3 sc, inc] × 6. (30)
R6–8: 30 sc in each round. (30; 3 rounds)
Change to light pink in the last stitch of R8.
R9–13: 30 sc in each round. (30; 5 rounds)
R14: [3 sc, dec] × 6. (24)
R15: [2 sc, dec] × 6. (18)
R16: 18 sc. (18)
Fill the body and leave its opening unclosed. Sew the 18 body stitches to the 18 head-neck stitches, adding a little filling to support the neck before closing the seam.
White hands and pink sleeves: make 2
With white, R1: 6 sc in MR. (6)
R2: [sc, inc] × 3. (9)
R3–4: 9 sc in each round. (9; 2 rounds)
Change to light pink.
R5–8: 9 sc in each round. (9; 4 rounds)
R9: [sc, dec] × 3. (6)
Lightly fill only the hand. Flatten the top and sew through the three pairs, leaving a tail for attachment.
White feet and shorts legs: make 2
With white, R1: 6 sc in MR. (6)
R2: inc × 6. (12)
R3: [sc, inc] × 6. (18)
R4–5: 18 sc in each round. (18; 2 rounds)
R6: dec × 5, 8 sc. (13)
Change to dark pink.
R7–10: 13 sc in each round. (13; 4 rounds)
Fill the foot, keeping the five decreases on the front to define the toe. Leave the top open with a long tail. Sew the legs next to each other to the lower body; distribute each 13-stitch opening around its attachment area without joining the legs into a new round.
Small ears: make 2
With white, R1: 4 sc in MR. (4)
R2: [sc, inc] × 2. (6)
R3: [2 sc, inc] × 2. (8)
R4: [3 sc, inc] × 2. (10)
R5: [4 sc, inc] × 2. (12)
Leave unstuffed. Flatten the six paired stitches and sew the open base to the upper head. The magic-ring tip points upward; these ears are short triangles, not long rabbit ears.
Mint bow: a row-worked rectangle
Ch 7.
Row 1: sc in the second ch from the hook and in the next 5 chains. (6)
Rows 2–8: ch 1, turn; 6 sc. (6; 7 rows)
Fasten off and weave in the ends. Pinch the center of the rectangle and wrap mint yarn around it several times. Tie the wrap securely on the back, leaving a tail. Sew the bow beside an ear, on the left as you look at the finished face.
Mint swimming ring
Ch 8 and sl st to the first chain, making sure the chain is not twisted. The starting chain ring is the open cross-section of the tube, not the whole waist opening.
R1: 1 sc in each chain. (8)
R2 onward: 8 sc in each round. (8)
Keep the tube mint throughout and add small amounts of filling as it grows. Wrap it around the finished waist periodically. Stop only when its ends meet comfortably without squeezing the body; the number of rounds depends on yarn and tension. Cut a long tail and sew the eight ending stitches to the eight starting chain positions, creating a closed ring. Keep the join at the back.
Yellow ring patches: make 3 or 4
Ch 4. Work 2 sc in the second ch from the hook, 1 sc in the next ch, 3 sc in the last ch. Rotate to the other side, work 1 sc, then 1 sc in the first worked chain. (8 sc total.) Sl st to the first sc and fasten off. Sew the small ovals flat along the front and sides of the mint ring. Do not change the tube to yellow bands.
Face and final assembly
- Mark two matching black oval eyes on the broad face, approximately around head R9–10. Leave room for a centered nose. Embroider the eyes before attaching the bow.
- Embroider a small yellow oval nose between and slightly below the eyes. This face has no mouth.
- Add three short black whisker stitches on each side, angling the top and bottom whiskers away from the middle one.
- Pin the ears near the upper corners of the oval head, then sew their entire flattened bases securely.
- Slide the ring around the waist. Attach the arms beside body R13–15 so the white hands rest above the ring.
- Secure the ring with two small matching stitches at the back if you want it fixed in place. Hide all sewing tails.
Using the three Hello Kitty charts
Chart 1 shows the fourteen-stitch oval foundation and the six increase rounds. Chart 2 shows the feet and triangular ears, with the later rounds labeled. Chart 3 shows the eight-row bow and the eight-stitch tube cross-section. A tube chart cannot predict the waist circumference: fit it to your own finished body before joining.
Can I use chenille instead of cotton?
Yes, with a suitable hook and the same yarn weight for every color. Check the small feet, ear and ring counts carefully because fluffy yarn obscures the loops. Expect a larger piece rather than a specific published measurement.
Why is there no skirt?
The cover design uses dark pink shorts under a swimming ring. Separate shorts legs and a dark pink body base create that look without an extra ruffle around the waist.
Is this an official branded pattern?
This is a fan crochet project inspired by the character, not an official Sanrio pattern. The character name identifies the design; it does not imply affiliation or commercial permission.
More crochet projects
For a smaller character accessory, see the Hello Kitty keychain pattern. For another summer idea, try the crochet fish or pink jellyfish.
Save this Hello Kitty amigurumi pattern to Pinterest with the three charts below. I like keeping the bow, face and ring colors consistent because those small details tie the summer outfit together.