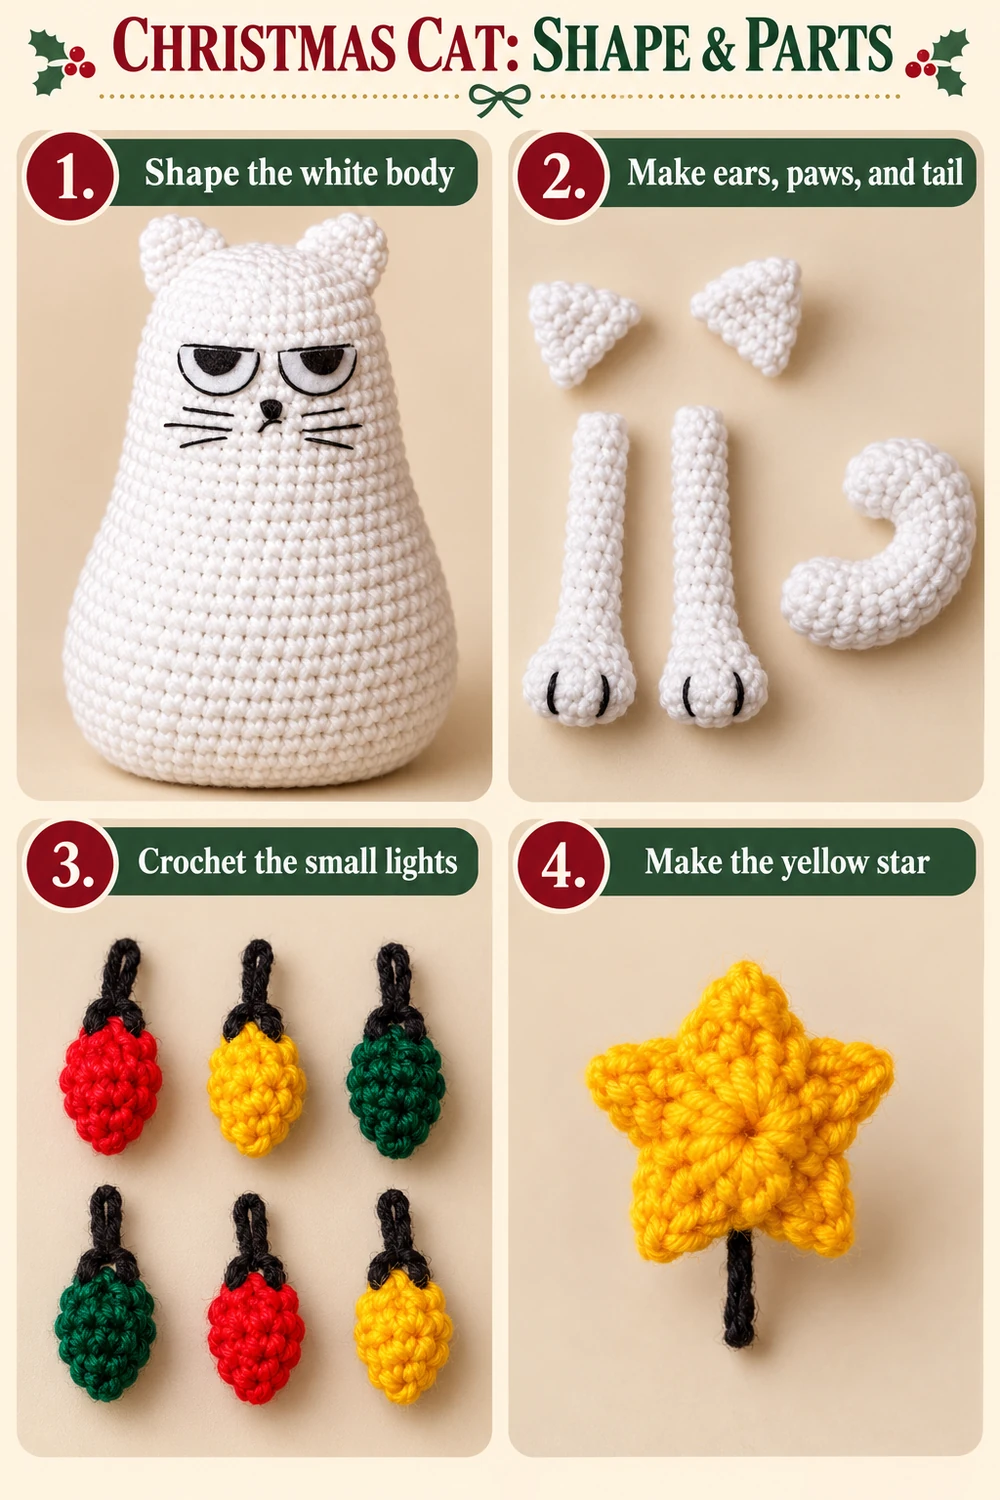
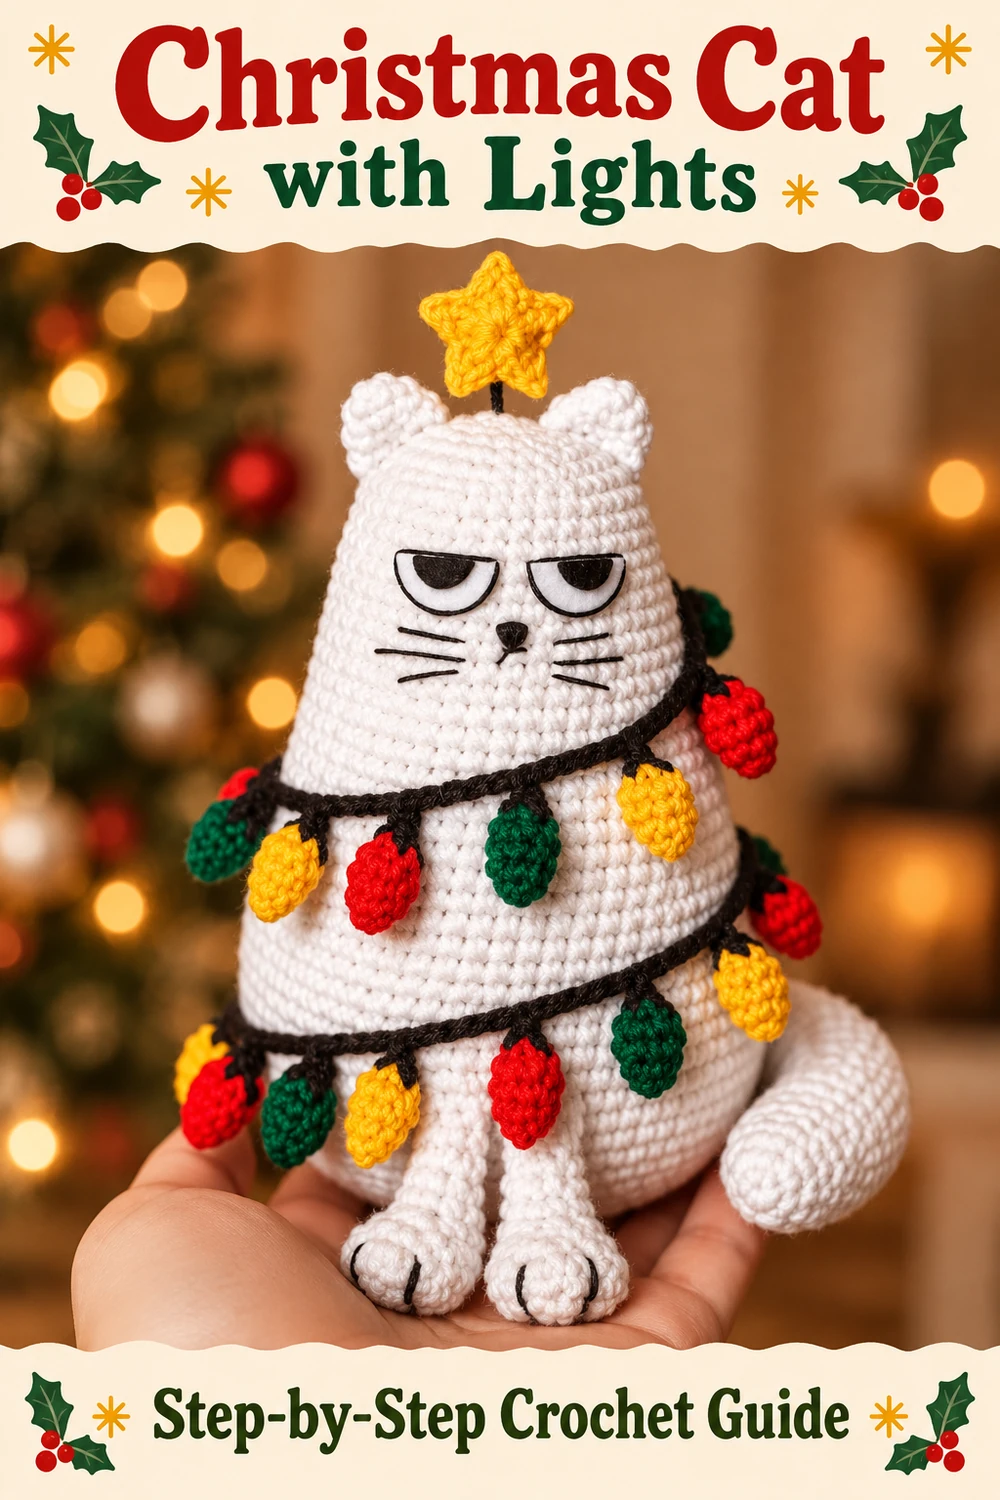
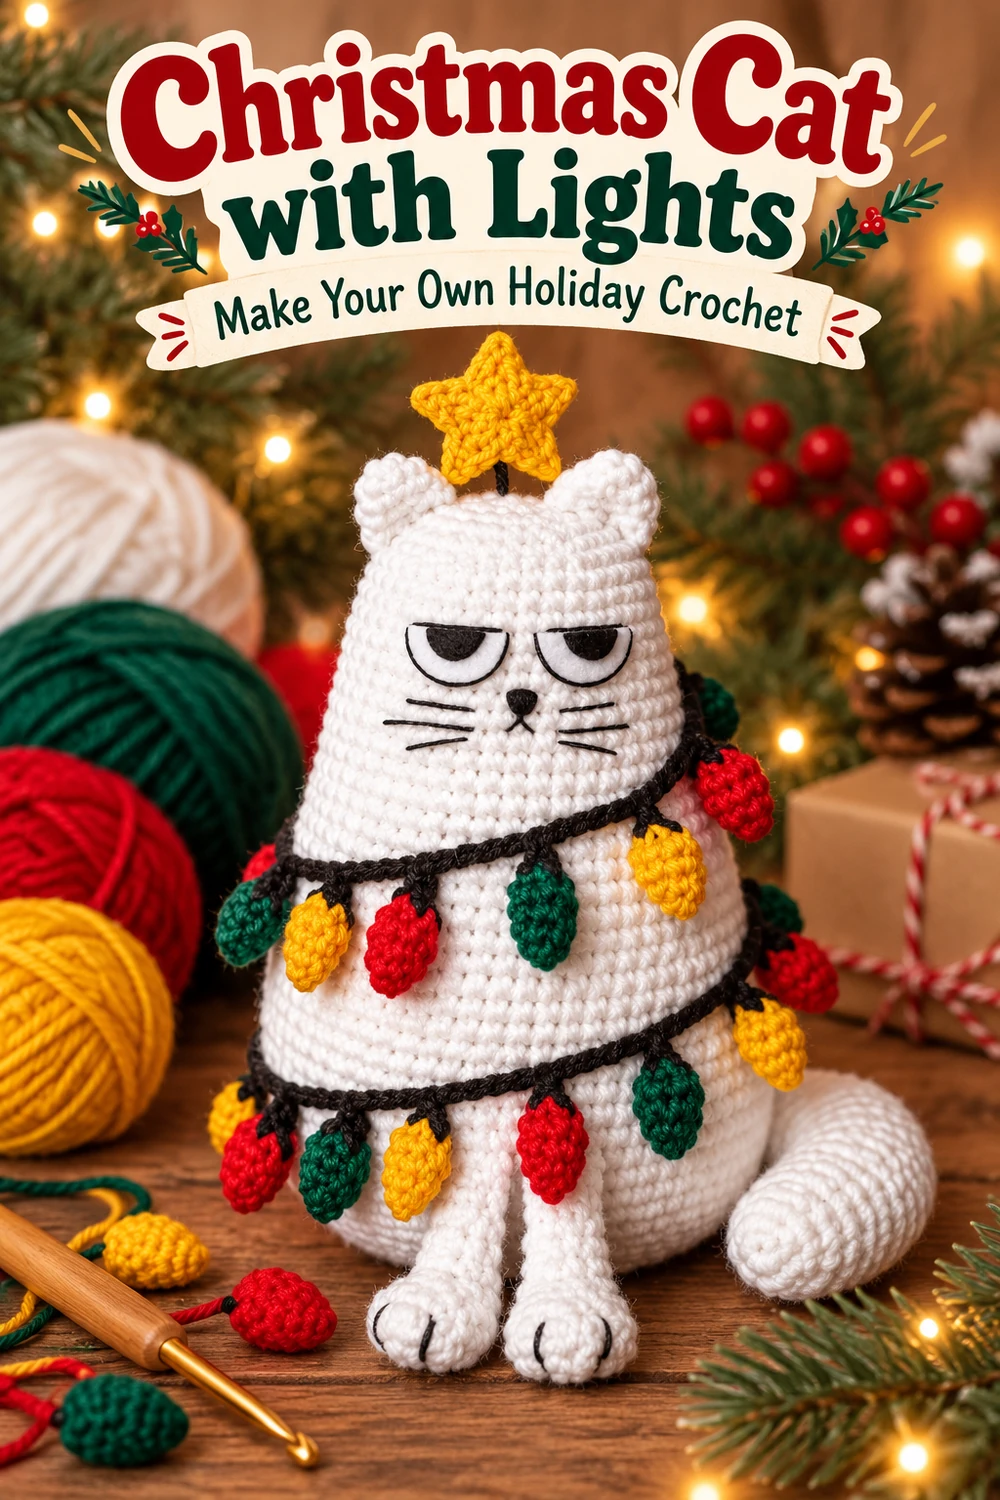
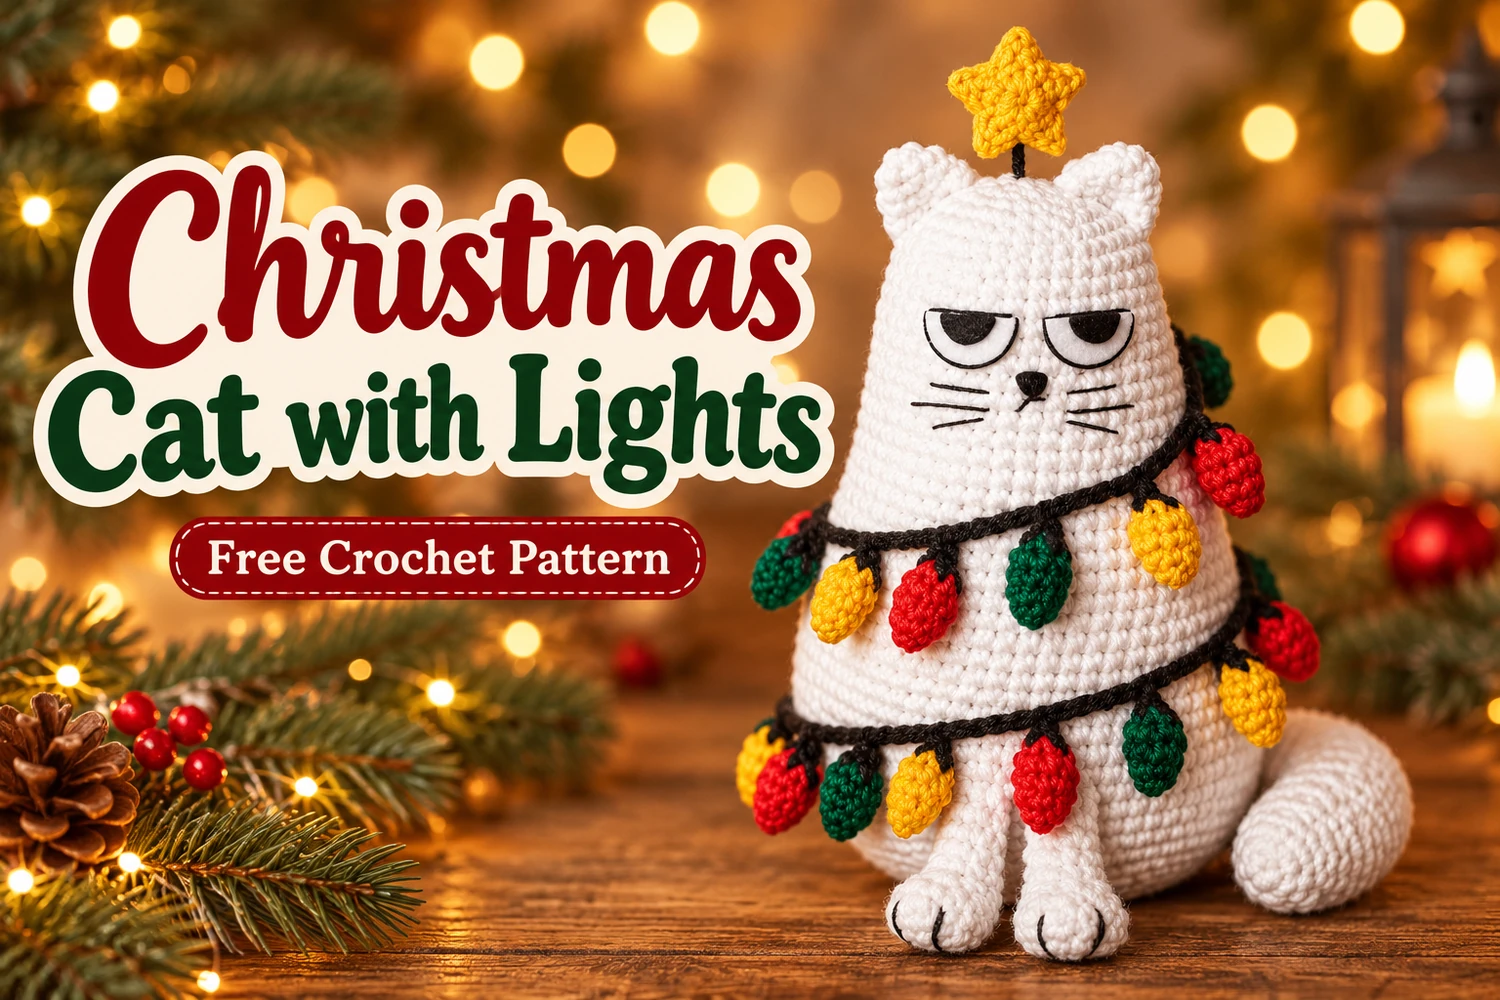
This Christmas Cat with Lights Crochet Pattern makes a tall white cat dressed as a tiny Christmas tree. Its sleepy half-closed eyes, embroidered whiskers, curled tail, colored light bulbs, and yellow star follow the playful reference design.
The body and head form one tapered piece, while the ears, front paws, tail, lights, and star are added separately. Keep the black light cord close to the body and secure every small decoration with sewing stitches.
Pattern Information
- Skill level: intermediate amigurumi.
- Estimated height: 18–22 cm including the star with fine cotton yarn and a 2.5 mm hook. Tension changes the size.
- Construction: one stuffed tapered body/head, separate ears, legs, tail, and decorations.
- Colors: white, black, red, golden yellow, and dark green.
This is an image-inspired adaptation in US crochet terms. The stitch counts have been reviewed, but the pattern has not been physically crocheted or independently tested. The images illustrate the design; follow the written instructions for exact construction.
Materials
- Fine cotton yarn: approximately 60–80 g white, and small amounts of black, red, golden yellow, and dark green.
- 2.5 mm hook, or a size that makes dense stitches.
- Polyester stuffing, tapestry needle, scissors, and stitch markers.
- White and black felt for the half-closed eyes; black embroidery thread.
- Optional sewing pins for positioning. No wire is required.
Use sewn felt eyes to create the reference expression. The star is sewn to the head with a short black yarn connector; do not use a wire stem. For a decoration within reach of children, embroider all eye details instead of using detachable pieces.
Stitches and Abbreviations
- MR: magic ring.
- ch: chain; sl st: slip stitch.
- sc: single crochet; hdc: half double crochet; dc: double crochet.
- inc: 2 sc in one stitch; dec: invisible single crochet decrease over 2 stitches.
- BLO: back loop only. R: round; st(s): stitch(es).
- Numbers in brackets are the finished stitch count. Repeats marked × are worked the stated number of times.
Work continuous spiral rounds unless a joined round or turned row is specified. Mark the first stitch. Chains do not count as stitches unless explicitly stated. Use an invisible decrease by picking up the front loops of the next two stitches, then completing one sc.
Christmas Cat with Lights Crochet Pattern
1. White Body and Head
Start at the broad bottom with white. The first six rounds make the base; later decreases create the gentle tree-like taper.
- R1: 6 sc in MR. [6]
- R2: inc × 6. [12]
- R3: (sc, inc) × 6. [18]
- R4: (2 sc, inc) × 6. [24]
- R5: (3 sc, inc) × 6. [30]
- R6: (4 sc, inc) × 6. [36]
- R7–12: 36 sc each round. [36]
- R13: (4 sc, dec) × 6. [30]
- R14–19: 30 sc each round. [30]
- R20: (3 sc, dec) × 6. [24]
- R21–26: 24 sc each round. [24]
- R27: (2 sc, dec) × 6. [18]
- R28–30: 18 sc each round. [18]
- R31: (sc, dec) × 6. [12]
- R32: dec × 6. [6]
Begin stuffing after R19. Add small tufts as the opening narrows, making the bottom broad and the upper head softly rounded. Before R31, finish adding stuffing without stretching the fabric. Fasten off, pass the tail through the final six front loops, and pull closed. The face sits on the upper third, not on a separate head.
2. Ears — Make Two
- With white, R1: 4 sc in MR. [4]
- R2: (sc, inc) × 2. [6]
- R3: (2 sc, inc) × 2. [8]
- R4: 8 sc. [8]
Leave unstuffed. Flatten the opening and work 4 sc through both layers. Leave a sewing tail. Pin the ears to the upper left and right of the head around R28–30, with a gap between them for the star. Sew through both ear layers and several head stitches.
3. Long Front Legs and Paws — Make Two
- With white, R1: 6 sc in MR. [6]
- R2: inc × 6. [12]
- R3–4: 12 sc each round. [12]
- R5: (sc, dec) × 4. [8]
- R6–13: 8 sc each round. [8]
Stuff the rounded paw lightly; keep the narrow leg softly filled. Flatten the open top and close with 4 sc through both layers. Sew the tops side by side on the lower front around body R7–8, leaving the paws hanging below the base. Embroider two short black toe lines on each paw, keeping the knots inside.
4. Curled Tail
- With white, R1: 6 sc in MR. [6]
- R2: (sc, inc) × 3. [9]
- R3–16: 9 sc each round. [9]
Stuff lightly as you work. Leave the open end for sewing. Curve the tube into a loose hook, then secure the bend with two hidden stitches between adjacent sections of the tube. Sew the open end to the lower back/side around R8–10. Let the curved tip show beside the body.
5. Tiny Light Bulbs — Make Twelve
Make four red, four golden yellow, and four dark green bulbs. Work each bulb from its rounded end toward the narrow top.
- R1: 4 sc in MR. [4]
- R2: inc × 4. [8]
- R3: 8 sc. [8]
- R4: dec × 4. [4]
Add a very small pinch of stuffing before closing. Cut the colored yarn and draw the tail through the four remaining front loops. With black, sew two short stitches across the narrow end to suggest a socket, leaving black tails for attachment. Each bulb should remain small relative to the cat.
6. Yellow Five-Point Star
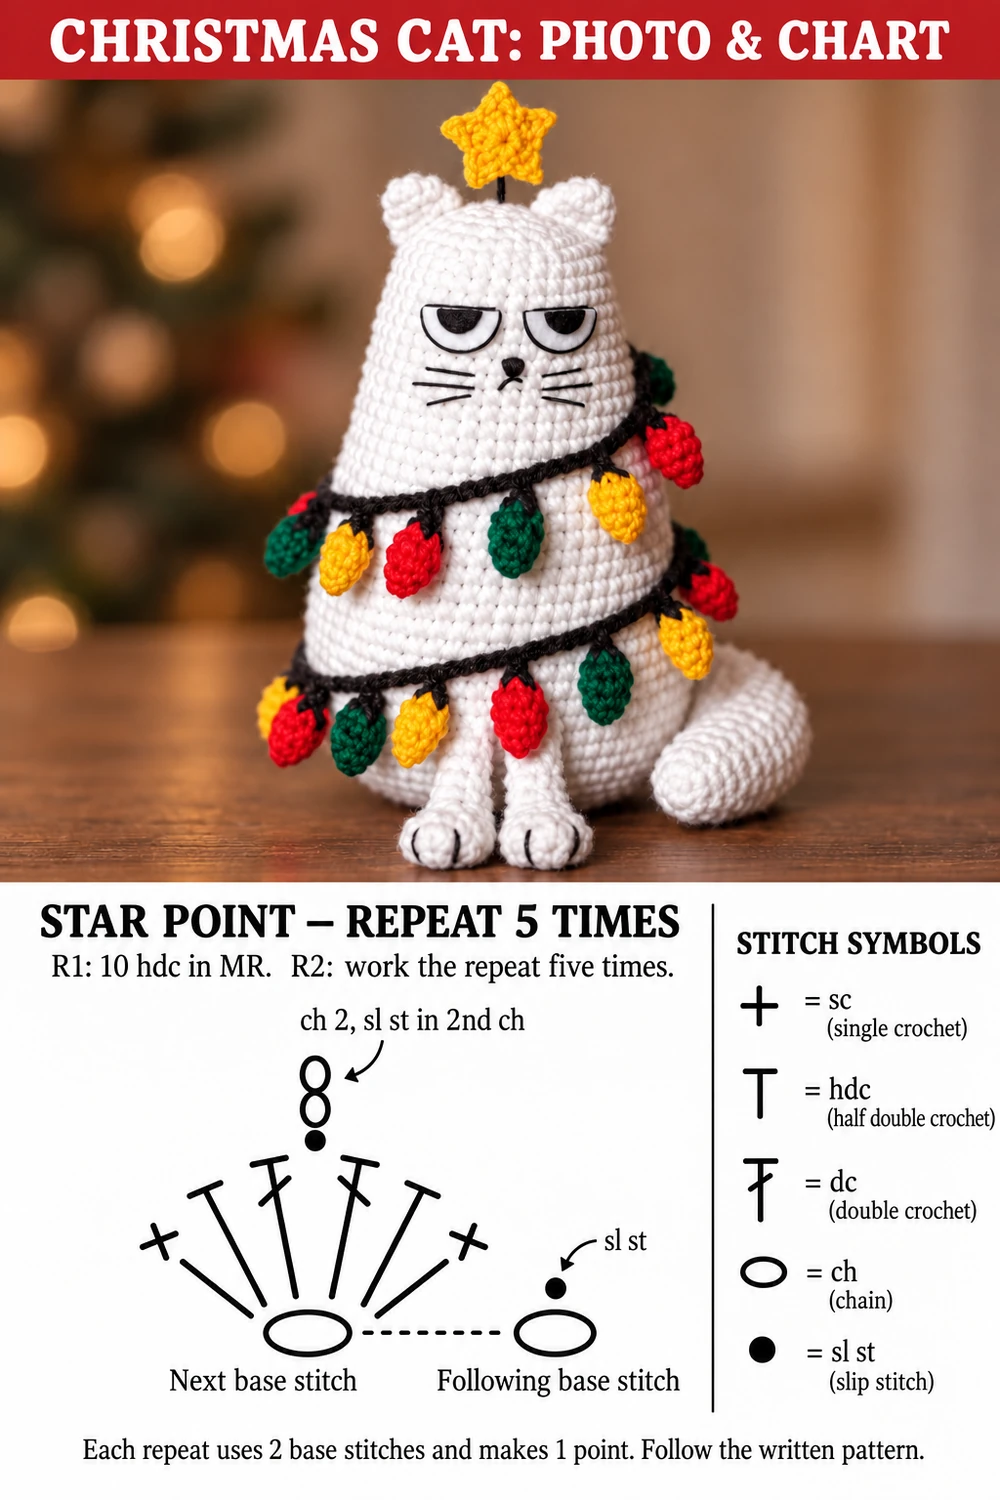
This is the component illustrated in the stitch-symbol chart at the end of the post.
- Joined R1: with yellow, 10 hdc in MR; sl st in the first hdc. [10 hdc]
- R2: *(sc, hdc, dc, ch 2, sl st in the second chain from the hook, dc, hdc, sc) all in the next base stitch; sl st in the following base stitch.* Repeat from * to * five times.
Each repeat uses two stitches of R1 and makes one point: 10 base stitches produce five points. The ch-2 picot sits at each tip; its sl st is made into the chain, while the final sl st of the repeat goes into the next R1 stitch. Fasten off and flatten gently. If the star cups, loosen the stitches rather than adding extra points.
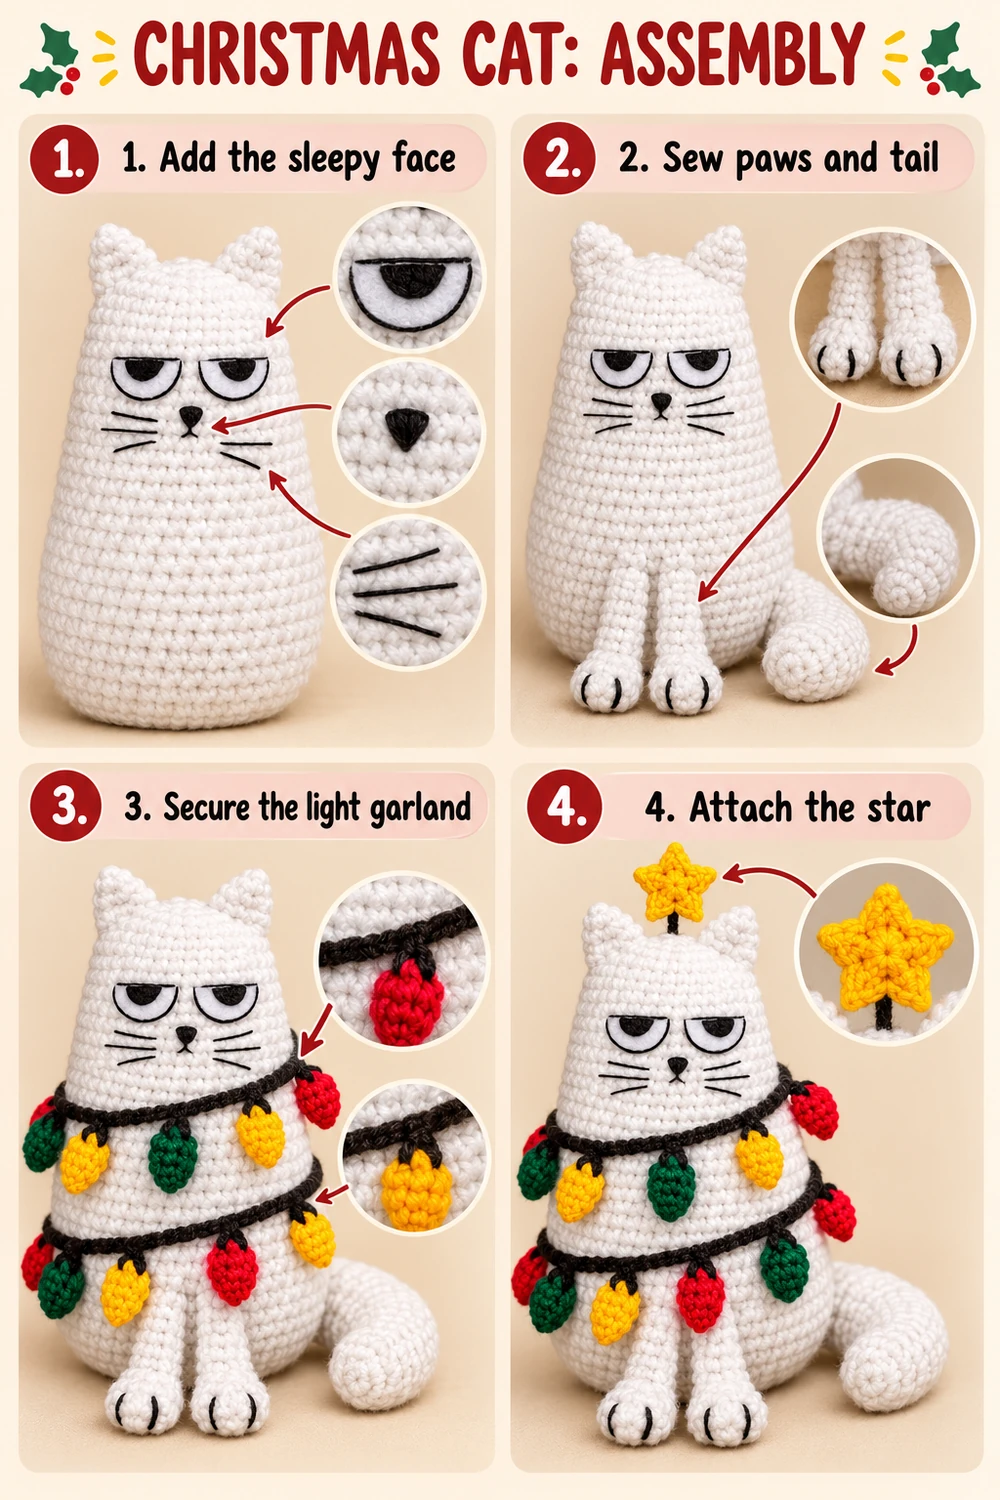
Create the Sleepy Cat Face
Cut two small white half-oval felt eye shapes, approximately 18–22 mm wide, with straight upper edges. Cut smaller black semicircle pupils and place them beneath the upper edges. Outline the white lower curves and straight upper eyelids with black sewing thread. Make the eye size proportional to your actual head.
Pin the eyes on the upper front around R24–27, leaving a small gap between them. Sew all edges securely. Embroider a small black triangular nose below the gap and a short split mouth. Add three short whisker lines on either side. Keep the eyelids nearly horizontal for the reference’s unimpressed expression.
Attach the Christmas Light Garland
With black yarn, crochet a chain long enough to wrap around your stuffed cat twice in a gentle downward spiral. Measure against the actual body rather than using a fixed chain count. Leave sewing tails at both ends.
Pin the first wrap below the face around R18–20 and the second around R8–11, connecting them along the back. Space the twelve bulbs along the cord, alternating green, yellow, and red. Sew each bulb socket to the cord, then tack the cord to the body at every bulb and between bulbs as needed. Secure both ends at the back. Do not leave long loose loops.
Attach the Star and Finish
Sew the bottom of the yellow star directly to the crown between the ears. A few short black yarn stitches may show as the connector, but the star must also be anchored firmly through head stitches. Use several passes and weave the ends deeply into the stuffing. Do not suspend the star on a long loose strand.
Check all seams, smooth the body, and position the paws and tail. A flat lower body helps the cat sit, although it may need a shelf or display support because the narrow paws extend below the base.
Tips and Troubleshooting
- Body looks lumpy: add stuffing in small tufts and massage it evenly before closing.
- Ears lean unevenly: pin both first, check from the front, then sew.
- Lights look oversized: use less stuffing or a finer yarn for the bulbs.
- Garland slips: add hidden tacking stitches at every bulb socket.
- Star curls: keep R2 loose and damp-shape the star flat before attachment.
Frequently Asked Questions
Can I make this without felt?
Yes. Embroider the white eye shapes and black half-closed pupils directly onto the head. Keep the long eyelids straight to preserve the expression.
Are the lights functional?
No. They are small crocheted decorations, with no electrical parts.
Can I use plush yarn?
Yes, but the cat will be much larger and the small details may lose definition. Use a matching smaller hook for dense stitches and adjust the felt eyes to fit.
More Free Christmas Crochet Patterns
- Mini Santa Hat Applique Crochet Pattern
- Christmas Star Keychain Crochet Pattern
- Christmas Wreath Ornament Crochet Pattern
Save This Pattern
Save this Christmas Cat with Lights Crochet Pattern for a playful handmade holiday decoration. Happy crocheting from Lovely Amigurumi!
Christmas Cat Tutorials, Star Chart, and Pinterest Gallery
The six images below include two photo tutorials, a finished-cat photo above the star chart, and three Pinterest images. The chart covers the yellow star only; the cat and light bulbs use the written rounds above.