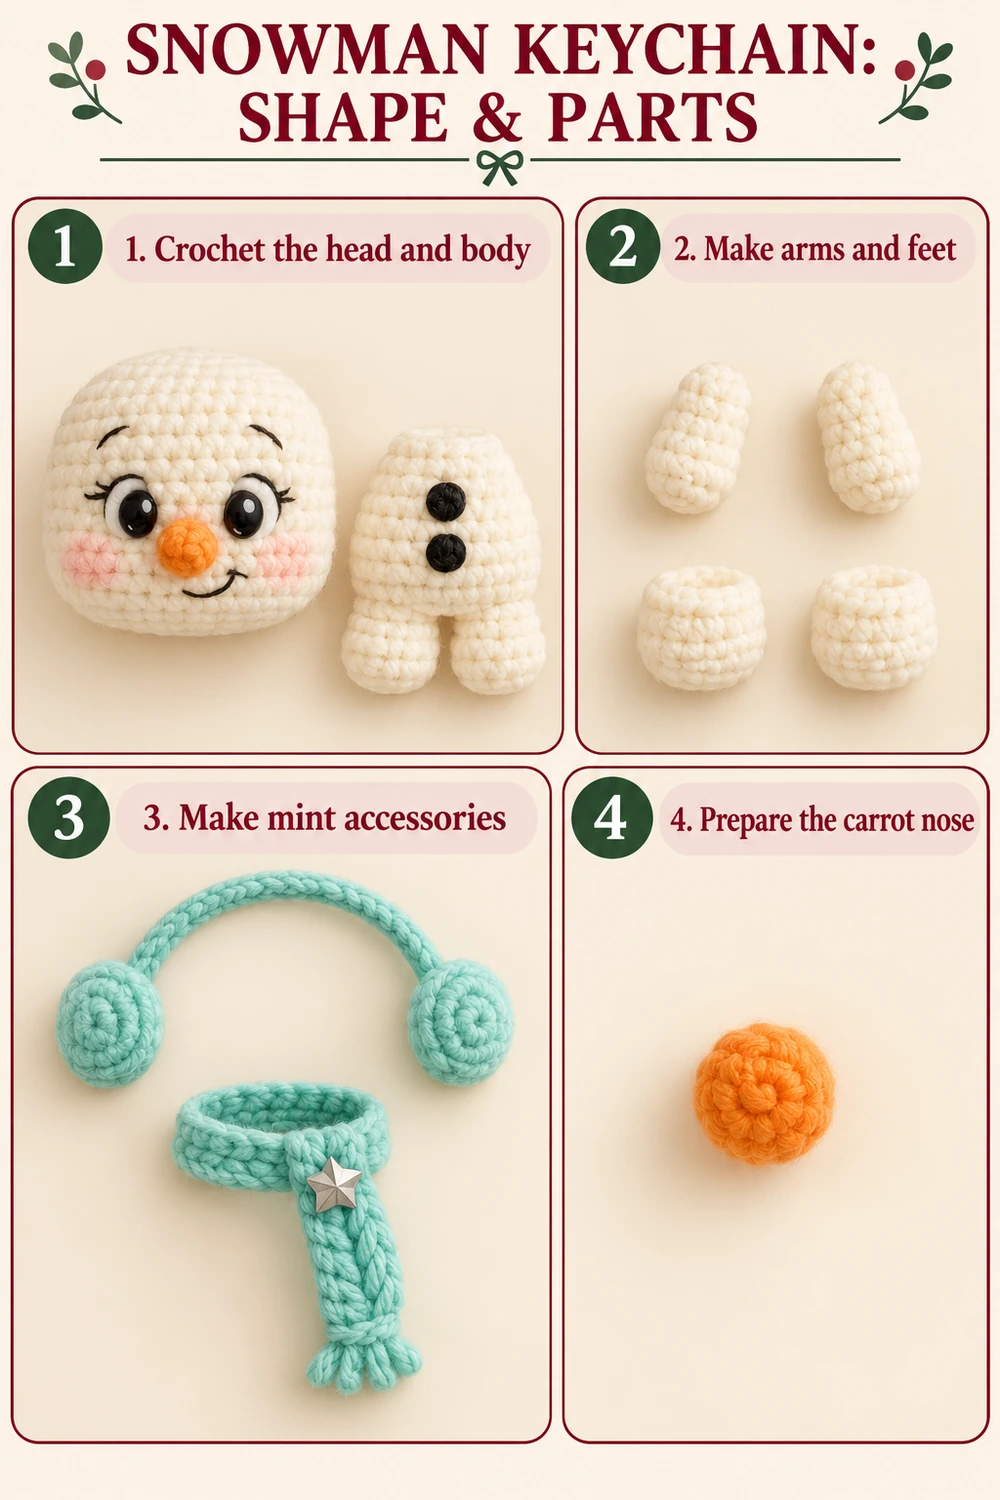
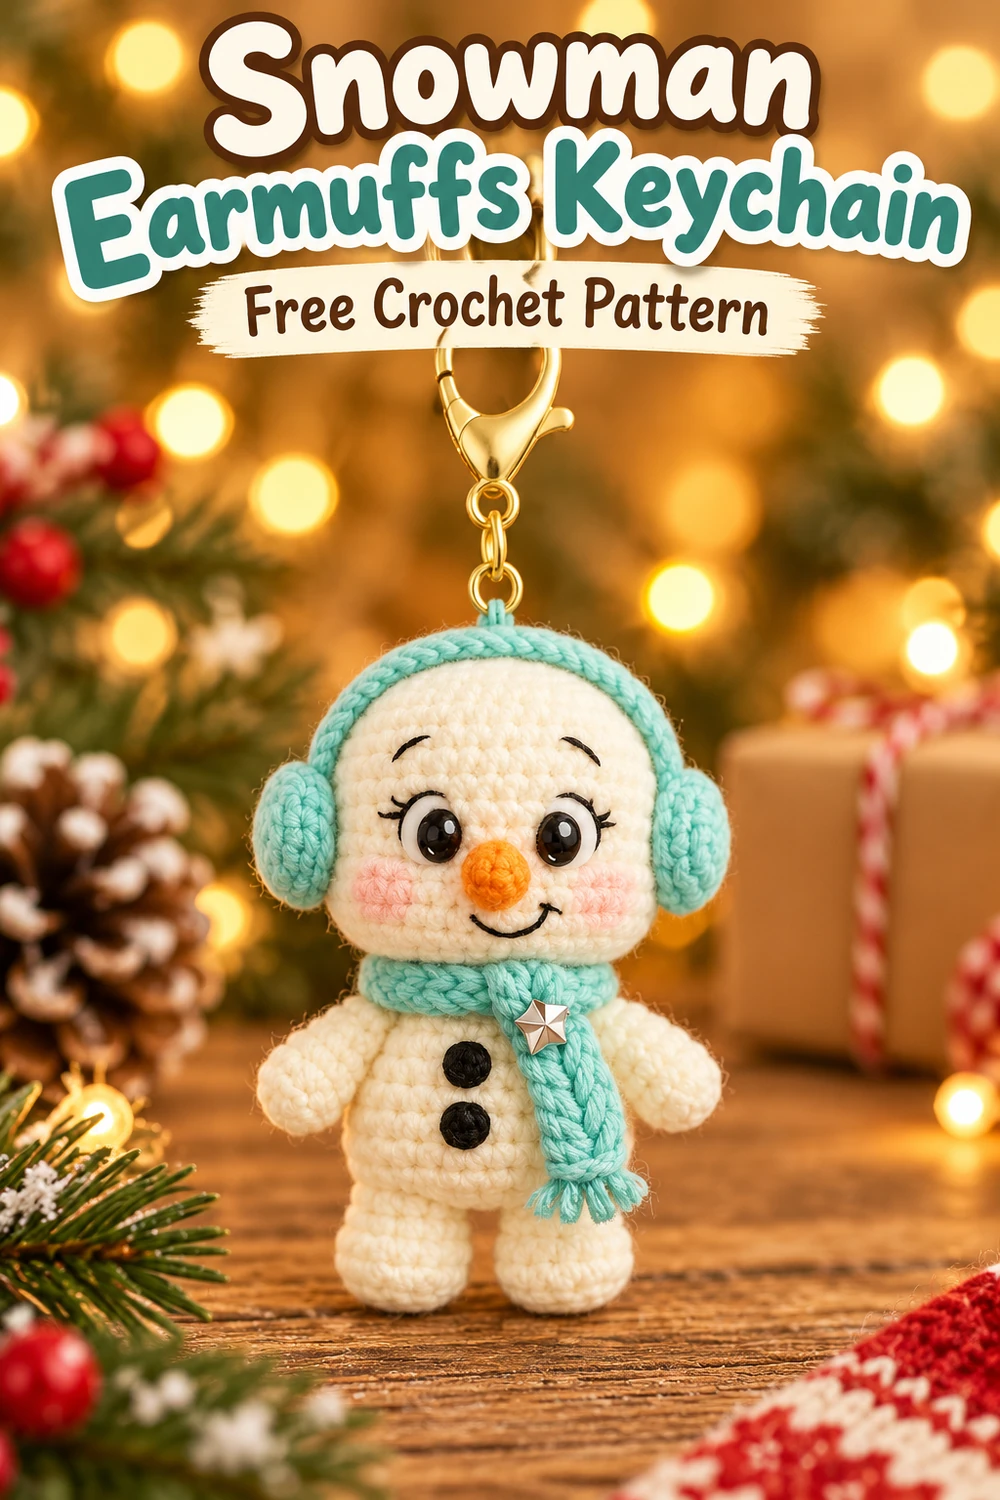
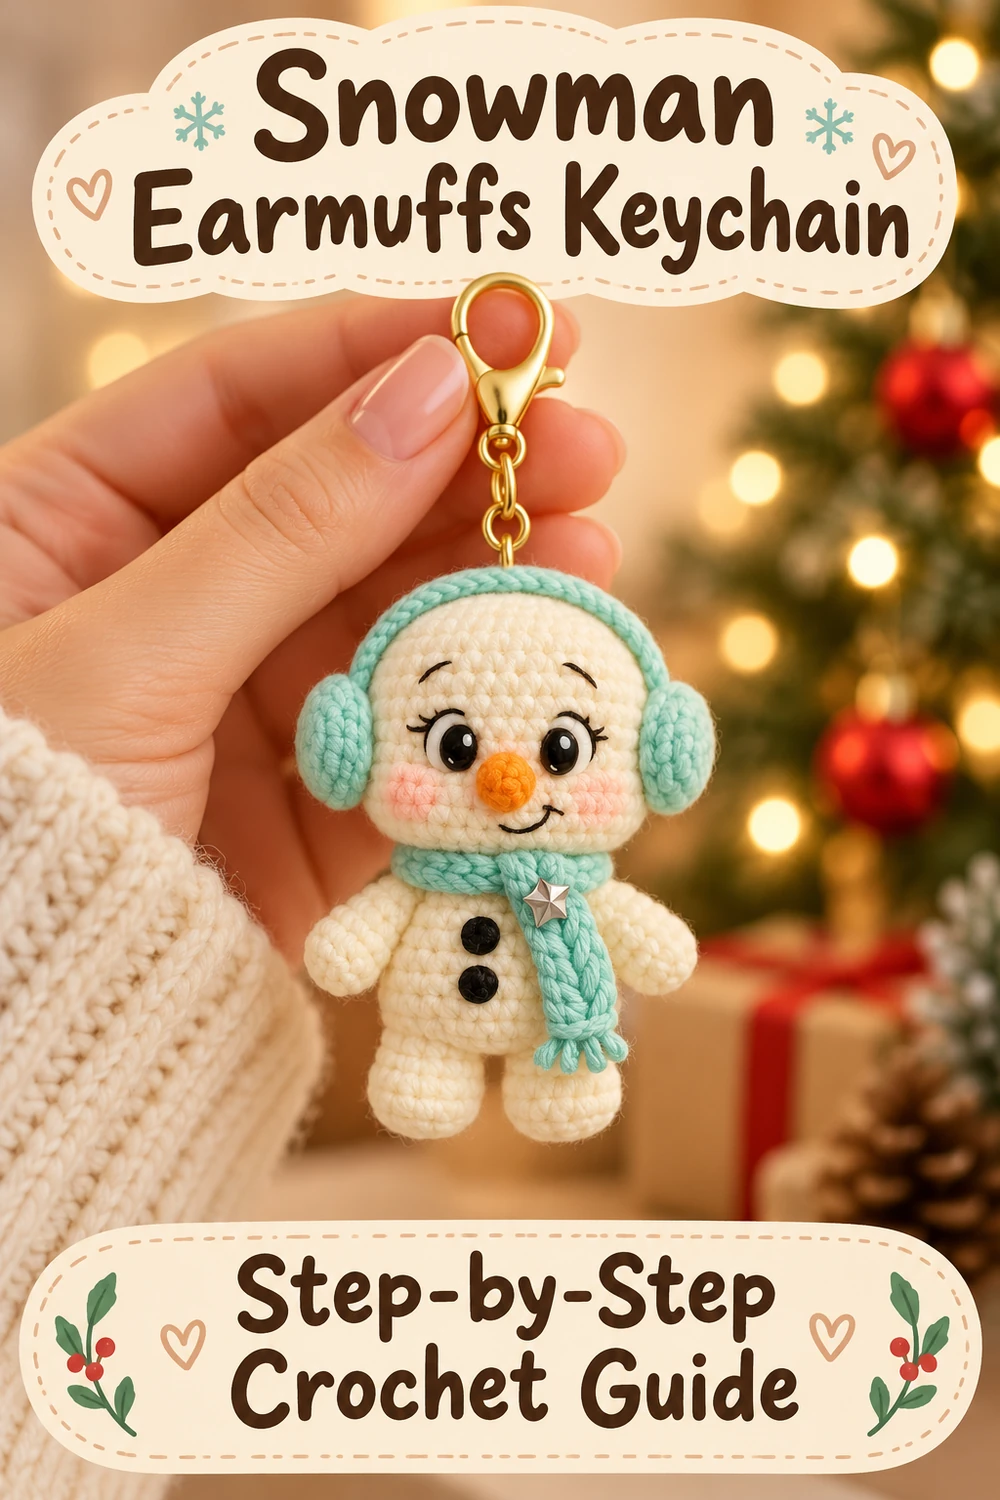
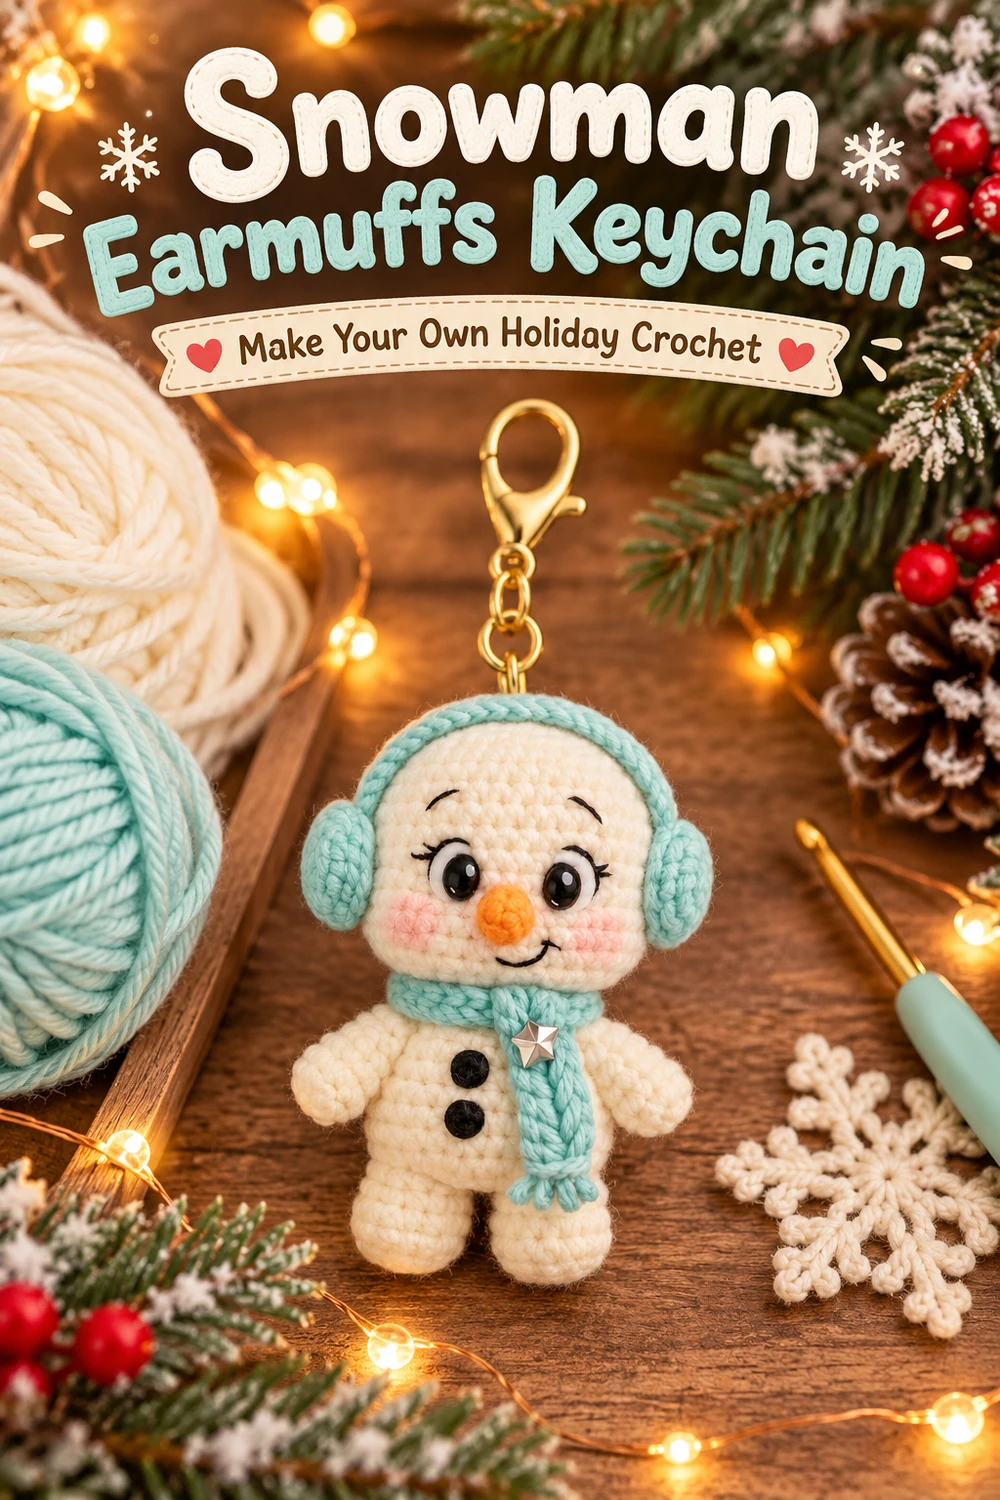
This Snowman Earmuffs Keychain Crochet Pattern creates a tiny smiling snowman with a large ivory head, mint earmuffs, a matching scarf, an orange carrot nose, and a gold bag-clip attachment. Pink cheeks and small black details give it the gentle expression in the reference.
Crochet the head and body separately, add the short arms and feet, then finish with the mint accessories. The three tutorial images and three Pinterest images are grouped at the end of the post.
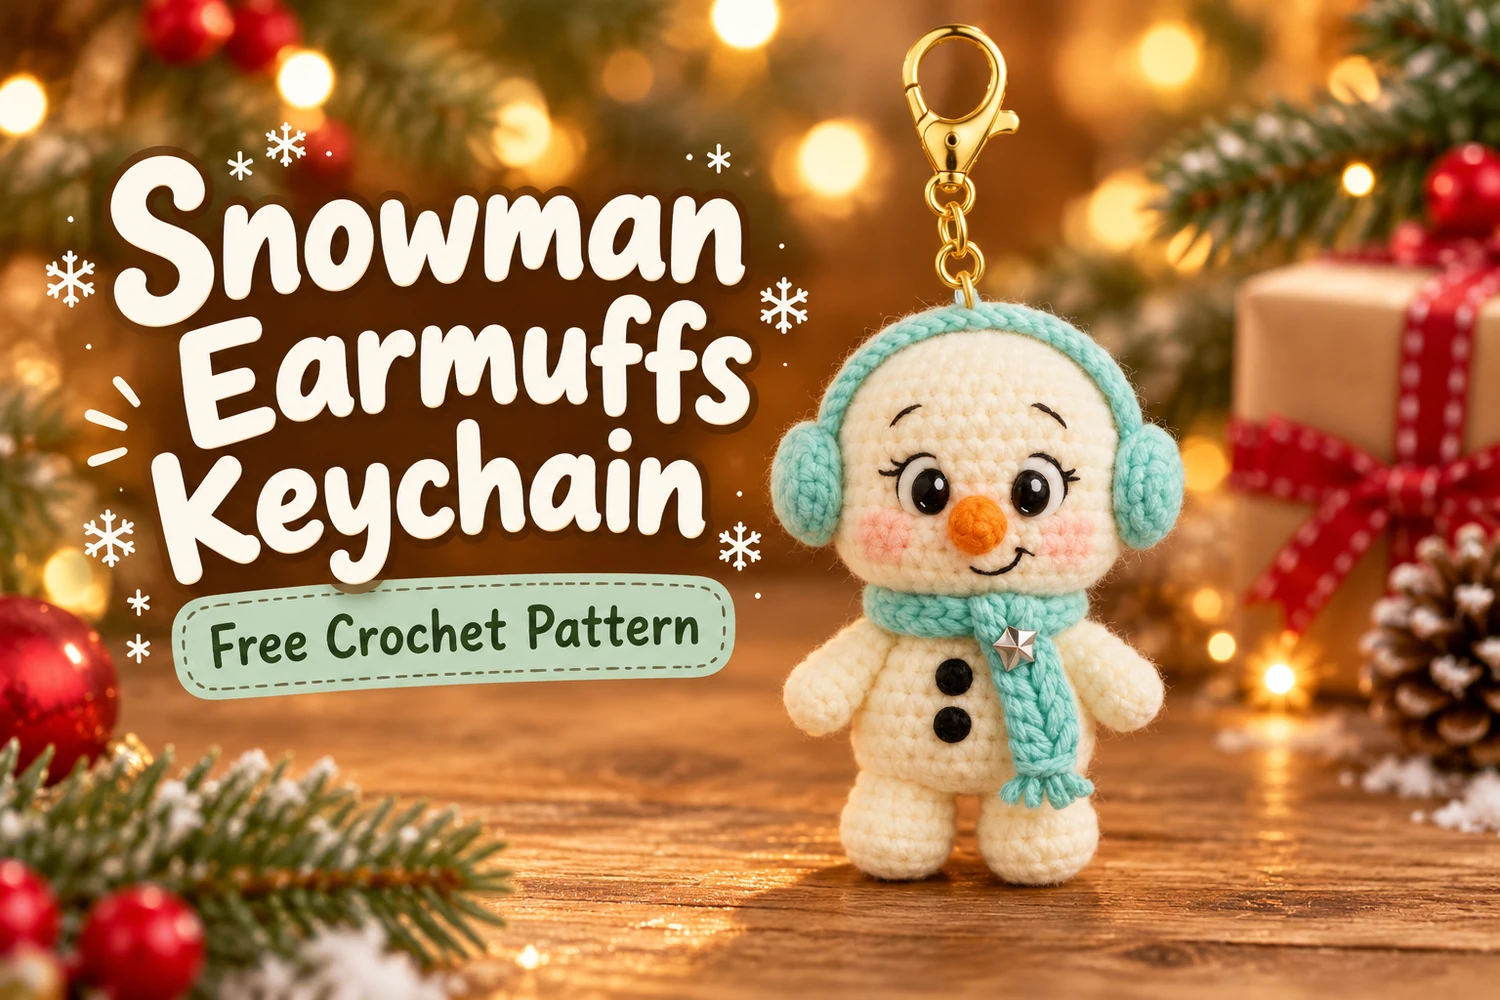
Pattern Information
- Skill level: intermediate beginner with basic amigurumi sewing.
- Terms: US crochet terminology.
- Estimated height: 9–11 cm excluding hardware with fine cotton yarn and a 2 mm hook.
- Construction: separate stuffed head and body; attached arms, feet, nose, scarf, and earmuffs.
This is an image-inspired adaptation in US crochet terms. The stitch counts have been reviewed, but the pattern has not been physically crocheted or independently tested. The images illustrate the design; follow the written instructions for exact construction.
Materials
- Fine cotton yarn: approximately 20–25 g ivory, 8–10 g mint-aqua, and scraps of orange, black, and pink.
- 2 mm crochet hook, or a size that produces dense stitches.
- Polyester stuffing, tapestry needle, scissors, and stitch markers.
- Black embroidery thread for eyes, lashes, eyebrows, smile, and buttons.
- Gold lobster clasp with short chain and a closed jump ring.
- Optional small silver star charm and sewing thread.
The instructions use embroidered eyes and buttons. If you choose safety eyes instead, install them before closing the head according to the hardware instructions. Use the embroidered version and omit the metal charm for a simpler soft decoration.
Stitches and Abbreviations
- MR: magic ring.
- ch: chain; sl st: slip stitch.
- sc: single crochet; hdc: half double crochet; dc: double crochet.
- inc: 2 sc in one stitch; dec: invisible single crochet decrease over 2 stitches.
- BLO: back loop only. R: round; st(s): stitch(es).
- Numbers in brackets are the finished stitch count. Repeats marked × are worked the stated number of times.
Work continuous spiral rounds unless a joined round or turned row is specified. Mark the first stitch. Chains do not count as stitches unless explicitly stated. Use an invisible decrease by picking up the front loops of the next two stitches, then completing one sc.
Snowman Earmuffs Keychain Crochet Pattern
1. Ivory Head
- R1: 6 sc in MR. [6]
- R2: inc × 6. [12]
- R3: (sc, inc) × 6. [18]
- R4: (2 sc, inc) × 6. [24]
- R5: (3 sc, inc) × 6. [30]
- R6–11: 30 sc each round. [30]
- R12: (3 sc, dec) × 6. [24]
- R13: (2 sc, dec) × 6. [18]
- R14: (sc, dec) × 6. [12]
Stuff evenly after R12. Keep the head broad across the face, slightly flattening the front and gently shaping the lower corners with your fingers. Leave the 12-stitch neck opening unclosed and a long tail for sewing. The head is softly rounded; its finished outline depends on stuffing.
2. Ivory Body
- R1: 6 sc in MR. [6]
- R2: inc × 6. [12]
- R3: (sc, inc) × 6. [18]
- R4: (2 sc, inc) × 6. [24]
- R5–8: 24 sc each round. [24]
- R9: (2 sc, dec) × 6. [18]
- R10: 18 sc. [18]
- R11: (sc, dec) × 6. [12]
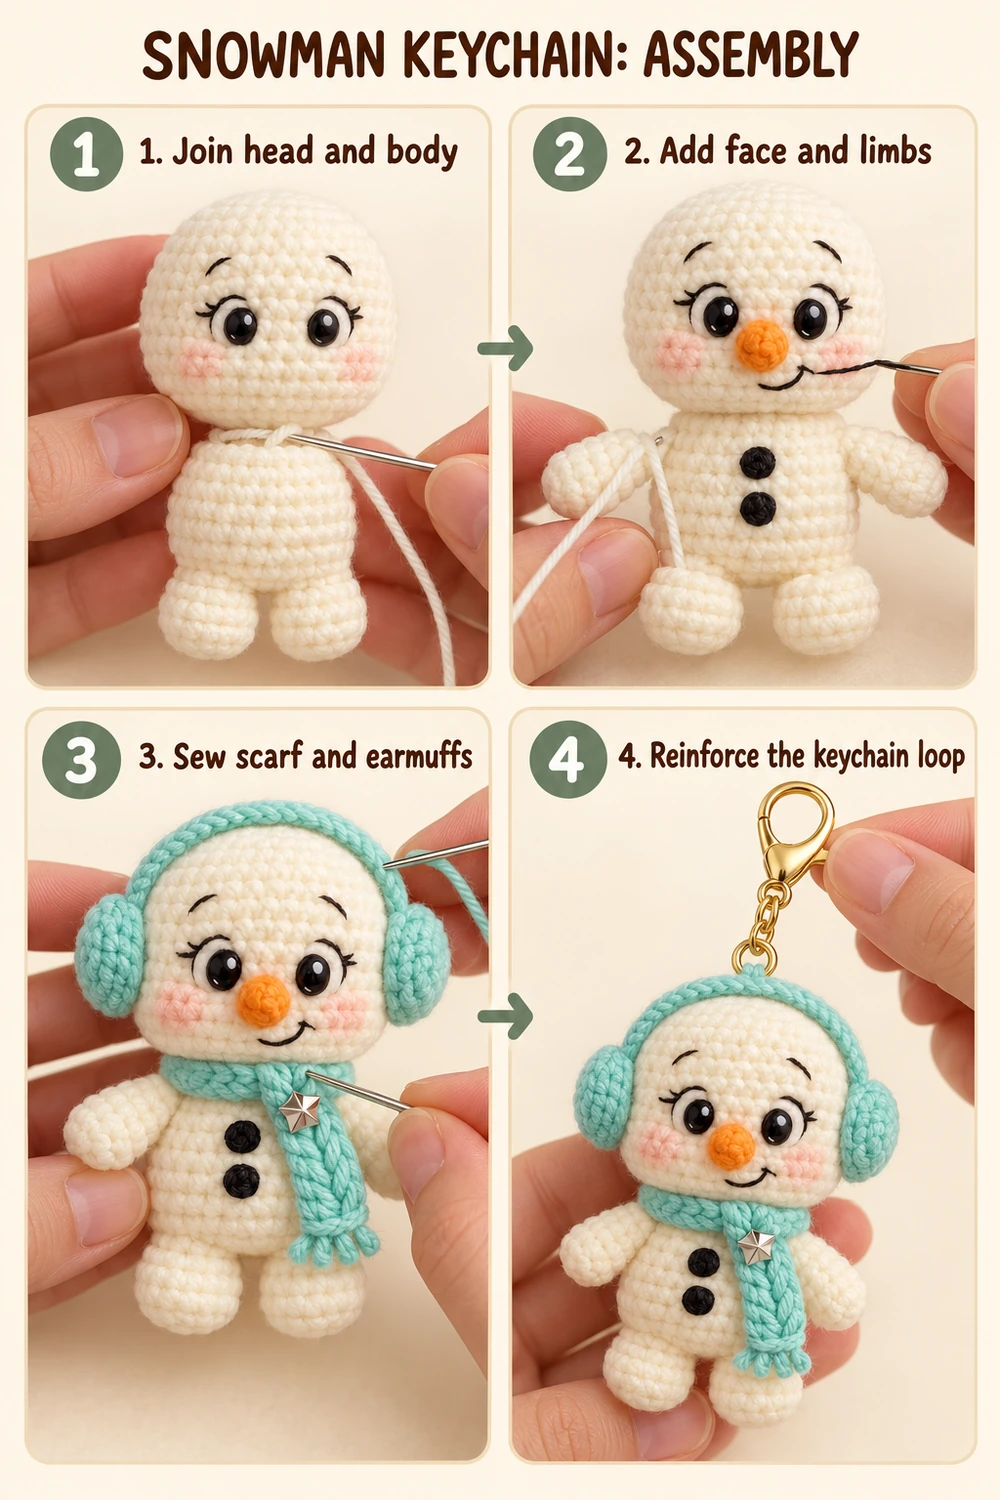
Stuff the body, keeping its base rounded. Leave the 12-stitch opening unclosed. Match its opening to the head opening and sew one stitch to one stitch around all twelve stitches. Make a second small sewing pass around the neck for a firm join. Add a little stuffing into the neck before completing the seam.
3. Feet — Make Two
- With ivory, R1: 6 sc in MR. [6]
- R2: (sc, inc) × 3. [9]
- R3–5: 9 sc each round. [9]
- R6: (sc, dec) × 3. [6]
Stuff lightly, fasten off, and gather the final six front loops. Sew the closed tops to the lower front of the body, with a small gap between the feet. Keep both feet at the same height.
4. Arms — Make Two
- With ivory, R1: 6 sc in MR. [6]
- R2: (sc, inc) × 3. [9]
- R3–4: 9 sc each round. [9]
- R5: (sc, dec) × 3. [6]
- R6: 6 sc. [6]
Use a tiny amount of stuffing in the rounded end. Flatten the open top and close with 3 sc through both layers. Sew each arm just below the neck on opposite sides of the body. Angle them slightly forward.
5. Orange Carrot Nose
- R1: 4 sc in MR. [4]
- R2: (sc, inc) × 2. [6]
- R3: 6 sc. [6]
The MR end forms the tip. Leave the open six-stitch end for sewing and add only a trace of stuffing if needed. Sew the open edge to the center of the face around head R9–10, with the pointed tip projecting outward.
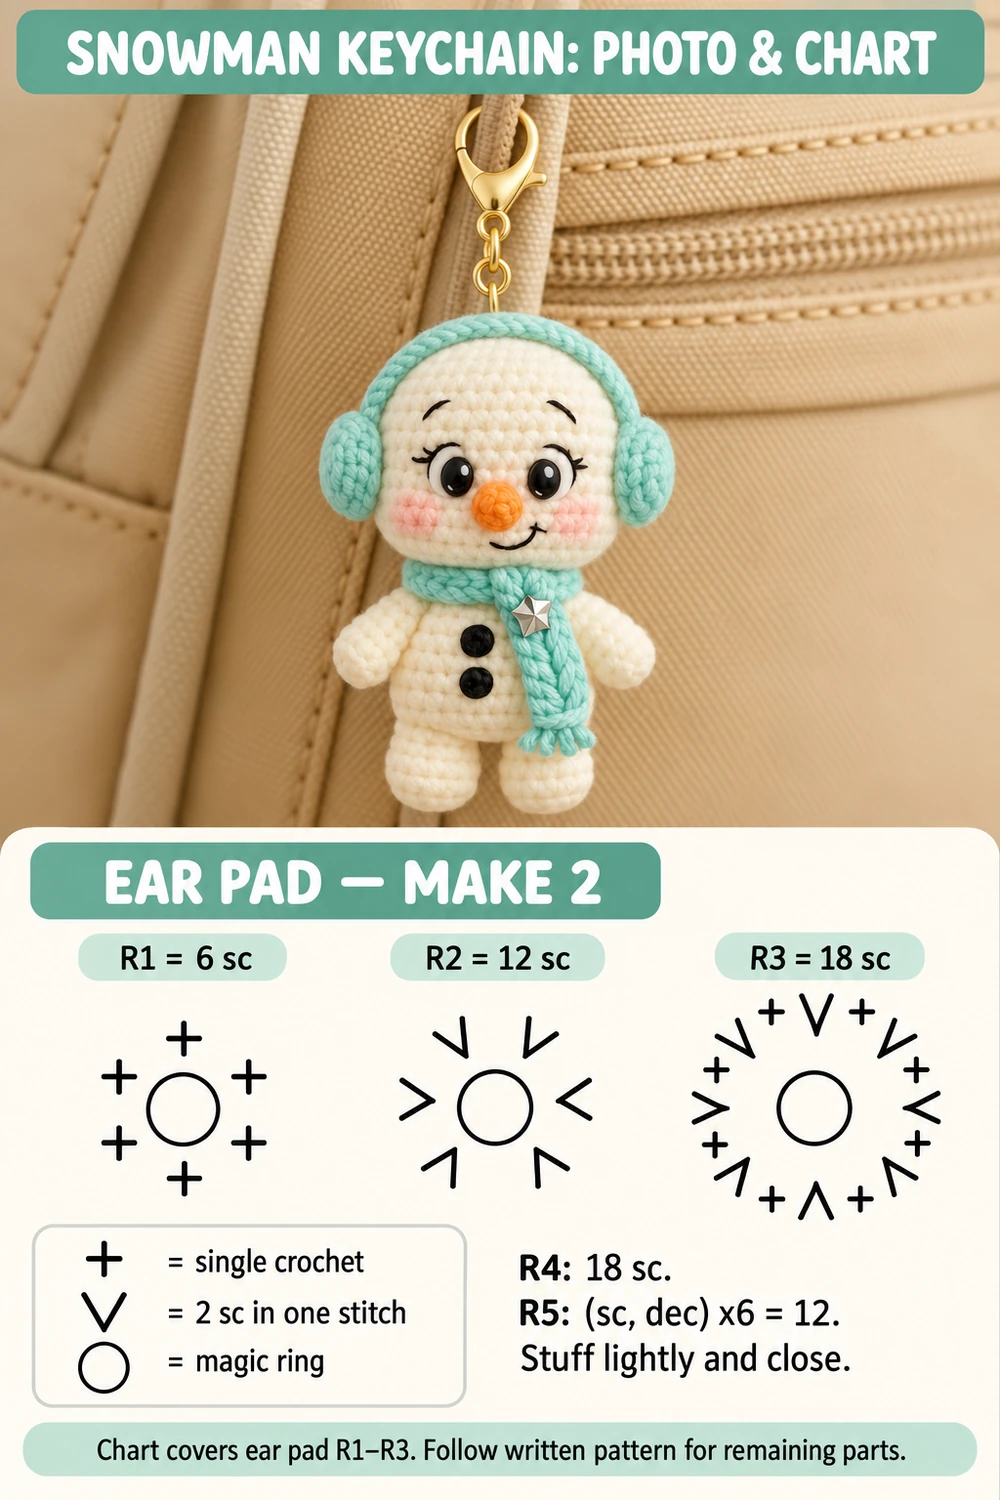
6. Mint Ear Pads — Make Two
The photo-and-chart image illustrates R1–3 of this component.
- R1: 6 sc in MR. [6]
- R2: inc × 6. [12]
- R3: (sc, inc) × 6. [18]
- R4: 18 sc. [18]
- R5: (sc, dec) × 6. [12]
Add a small amount of stuffing. Leave a long sewing tail and keep the twelve-stitch opening. Place one pad on each side of the head around R7–10, with each open edge against the head. Sew all twelve opening stitches to the head so the round outer surface faces outward.
7. Mint Headband
With mint, ch 3. Row 1: sc in the second chain from the hook and the next chain. [2] Rows 2 onward: ch 1, turn, 2 sc. Continue until the strip fits from the top of one ear pad, across the crown, to the top of the other. Approximately 18–24 rows may be needed; measure against your actual head.
Leave a sewing tail. Sew the short ends to the upper edges of the ear pads and tack the band to the crown in several places. Keep it snug without compressing the head. Its middle must leave room for the reinforced keychain loop.
8. Mint Scarf
With mint, ch 46. Row 1: beginning in the second chain from the hook, hdc in each chain. [45 hdc] Fasten off and weave in both ends. For a longer or shorter scarf, adjust the starting chain before crocheting the row.
Wrap the scarf once around the neck, overlap the ends at the front, and leave one end hanging lower. Sew the overlap and add two hidden stitches at the back of the neck to secure it. For fringe, knot two short doubled strands through each scarf end and trim evenly. Sew the optional silver star charm firmly to the overlap; omit it when desired.
Embroider the Face and Buttons
Mark the eyes on head R8–9, about five stitches apart. Embroider two small filled black ovals, keeping the thread layers smooth. Add a tiny white highlight to each eye, two short black lashes toward the outer edge, and a small curved eyebrow above.
Embroider a gentle smile below the carrot nose with two or three short backstitches on each side of the curve. Add small pink yarn stitches to the cheeks beneath the eyes. Keep thread tension loose enough that the stuffing is not pulled inward.
Embroider two filled black circles in a vertical line on the body front, around body R6 and R8. Position the scarf so one long end hangs just to the side of the buttons.
Attach the Keychain Hardware
Use doubled ivory yarn to make a small loop through several dense crown stitches beside the center of the headband. Pass through the head fabric at least four times, spreading the load over several stitches instead of using a single stitch.
Secure the ends deeply inside the head and weave them in different directions. Attach the closed jump ring or chain link through this reinforced yarn loop, then connect the short chain and gold lobster clasp. Close any split in the hardware completely. Gently tug the attachment and every sewn part before use.
The metal attachment belongs to the reinforced head loop. Do not hang the snowman from the scarf, headband, or optional star charm.
Finishing Checklist
- Head and body meet evenly at the neck.
- Both ear pads are level and the headband lies close to the crown.
- The nose is centered, and the smile and eyes are balanced.
- Arms and feet are sewn firmly and symmetrically.
- Scarf, fringe, and optional charm are secured.
- The keychain loop is reinforced and hardware is closed.
Tips and Troubleshooting
The head tilts forward
Add a little more stuffing at the neck and make a second sewing pass around the twelve-stitch join.
The earmuffs look too bulky
Use less stuffing. The ear pads should be softly rounded, with their open backs sewn flat against the head.
The scarf hides the buttons
Turn the overlap slightly to one side and tack the hanging end in place.
Frequently Asked Questions
Can I use safety eyes?
Yes, if appropriate for your intended use. Fit them before stuffing and closing the head. Embroidery keeps the small reference details easy to adjust.
Can this be a tree ornament?
Yes. Replace the metal chain with a securely sewn hanging loop at the crown. Omit the optional metal star if you prefer.
Can I change the accessory color?
Yes. The same scarf and earmuff instructions work in another color; mint-aqua follows the reference.
More Free Christmas Crochet Patterns
- Snowflake Keychain Crochet Pattern
- Christmas Mug Keychain Crochet Patterns
- Christmas Bell Ornament Crochet Pattern
Save This Pattern
Save this Snowman Earmuffs Keychain Crochet Pattern for your next winter bag charm or handmade gift. Happy crocheting from Lovely Amigurumi!
Snowman Tutorials, Ear Pad Chart, and Pinterest Gallery
Two photo tutorials and one finished-snowman photo with an ear-pad stitch chart come first, followed by three Pinterest images. The chart covers ear-pad R1–3 only; use the written pattern for later rounds and all other parts.