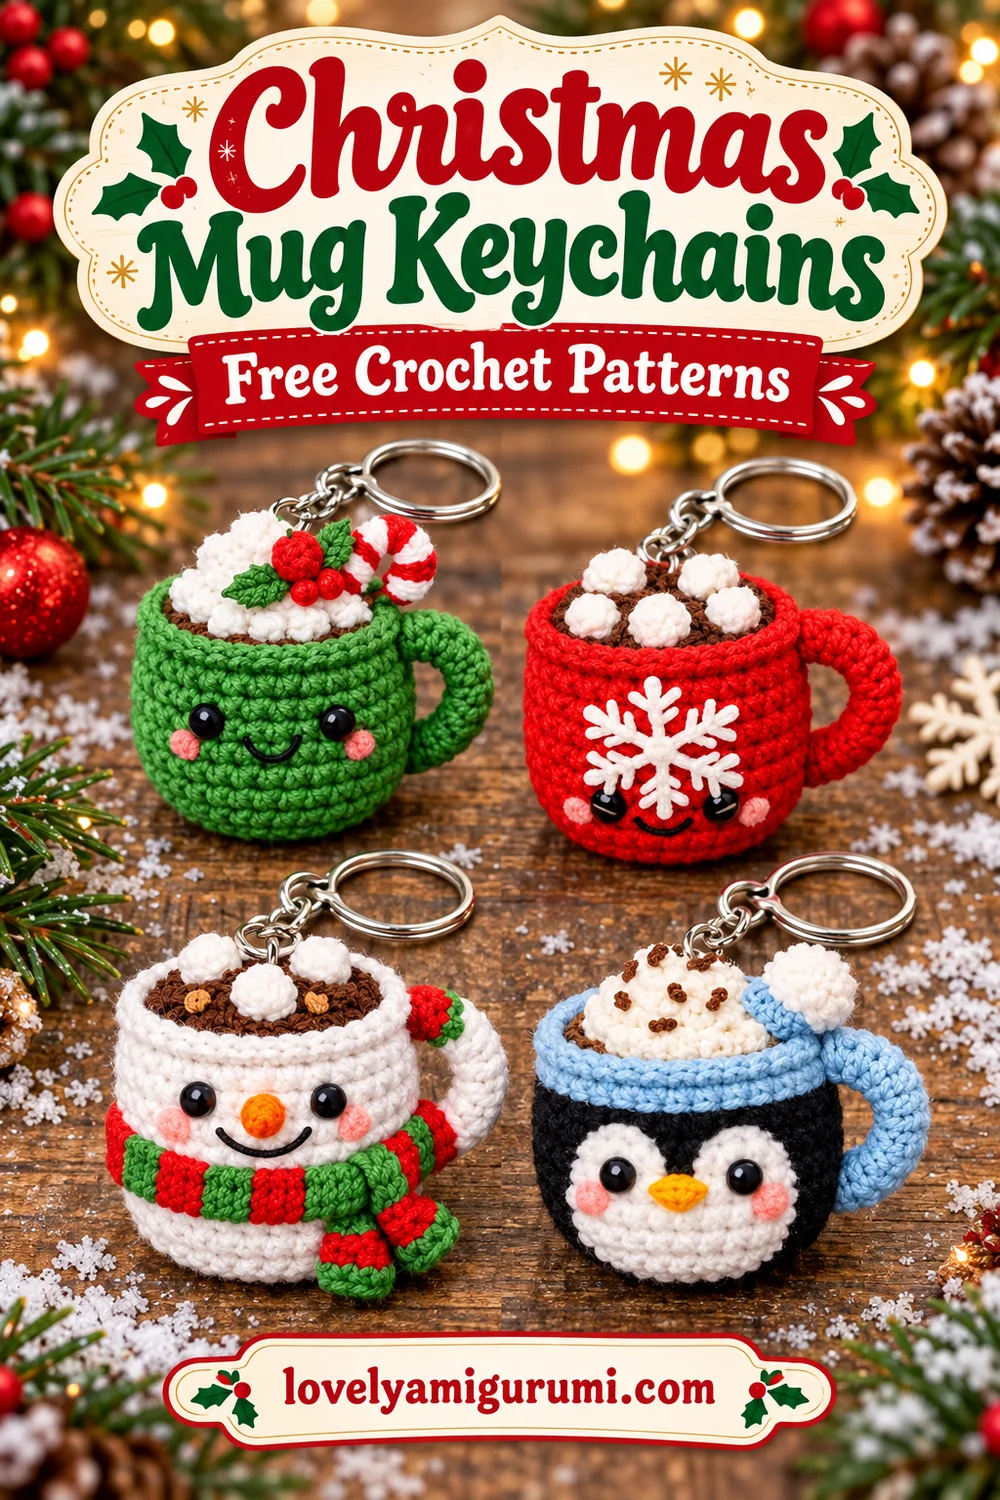
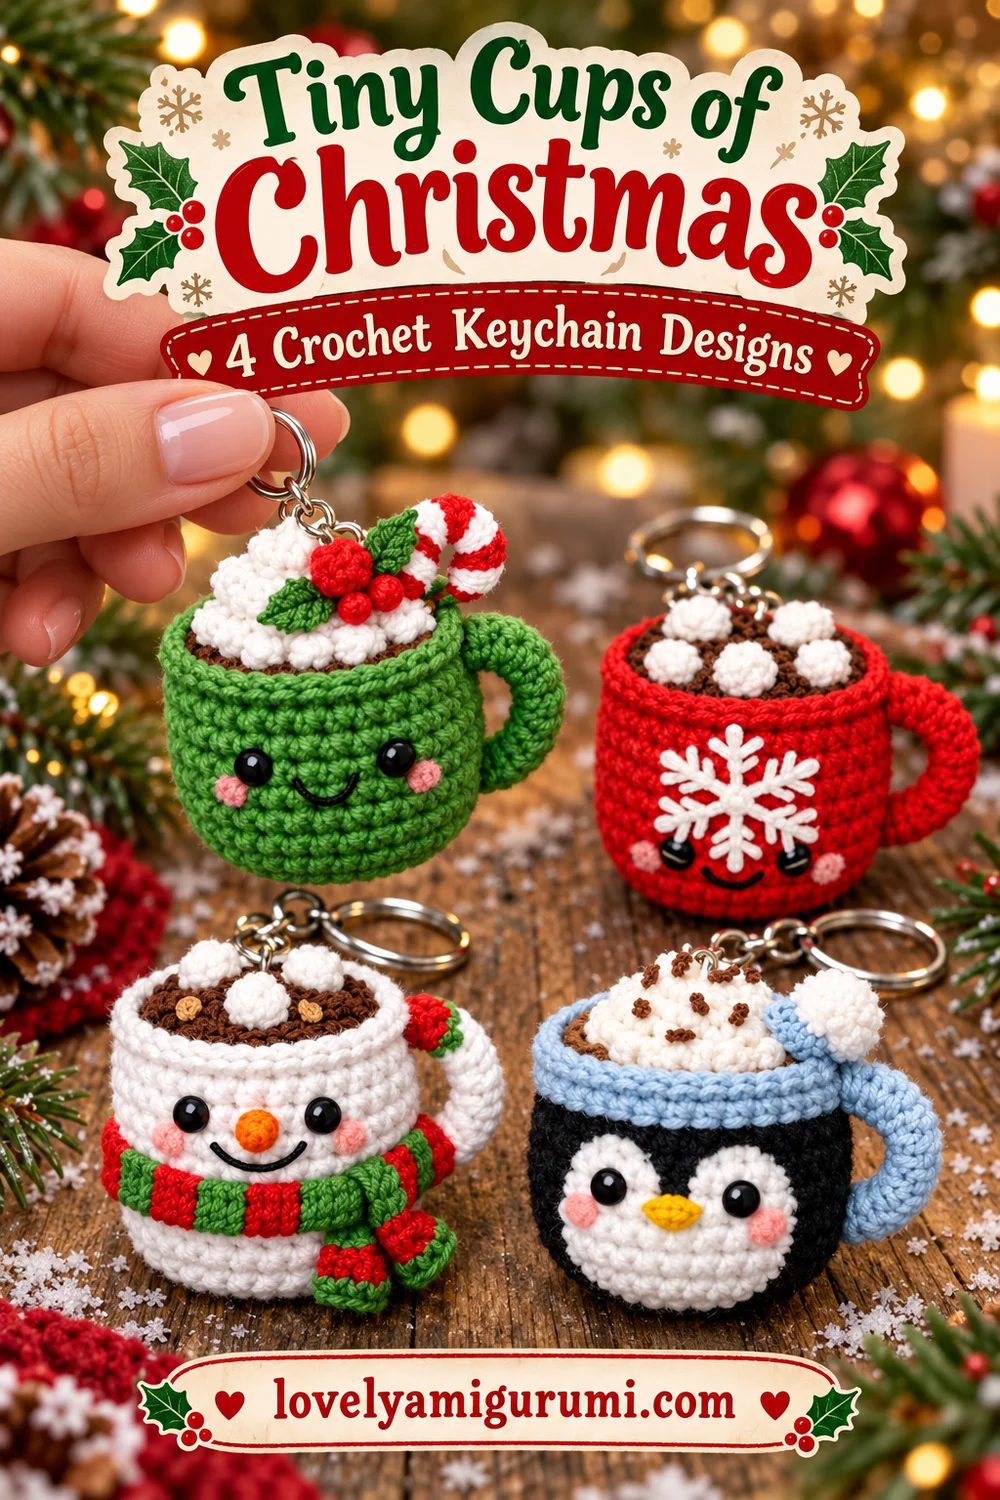
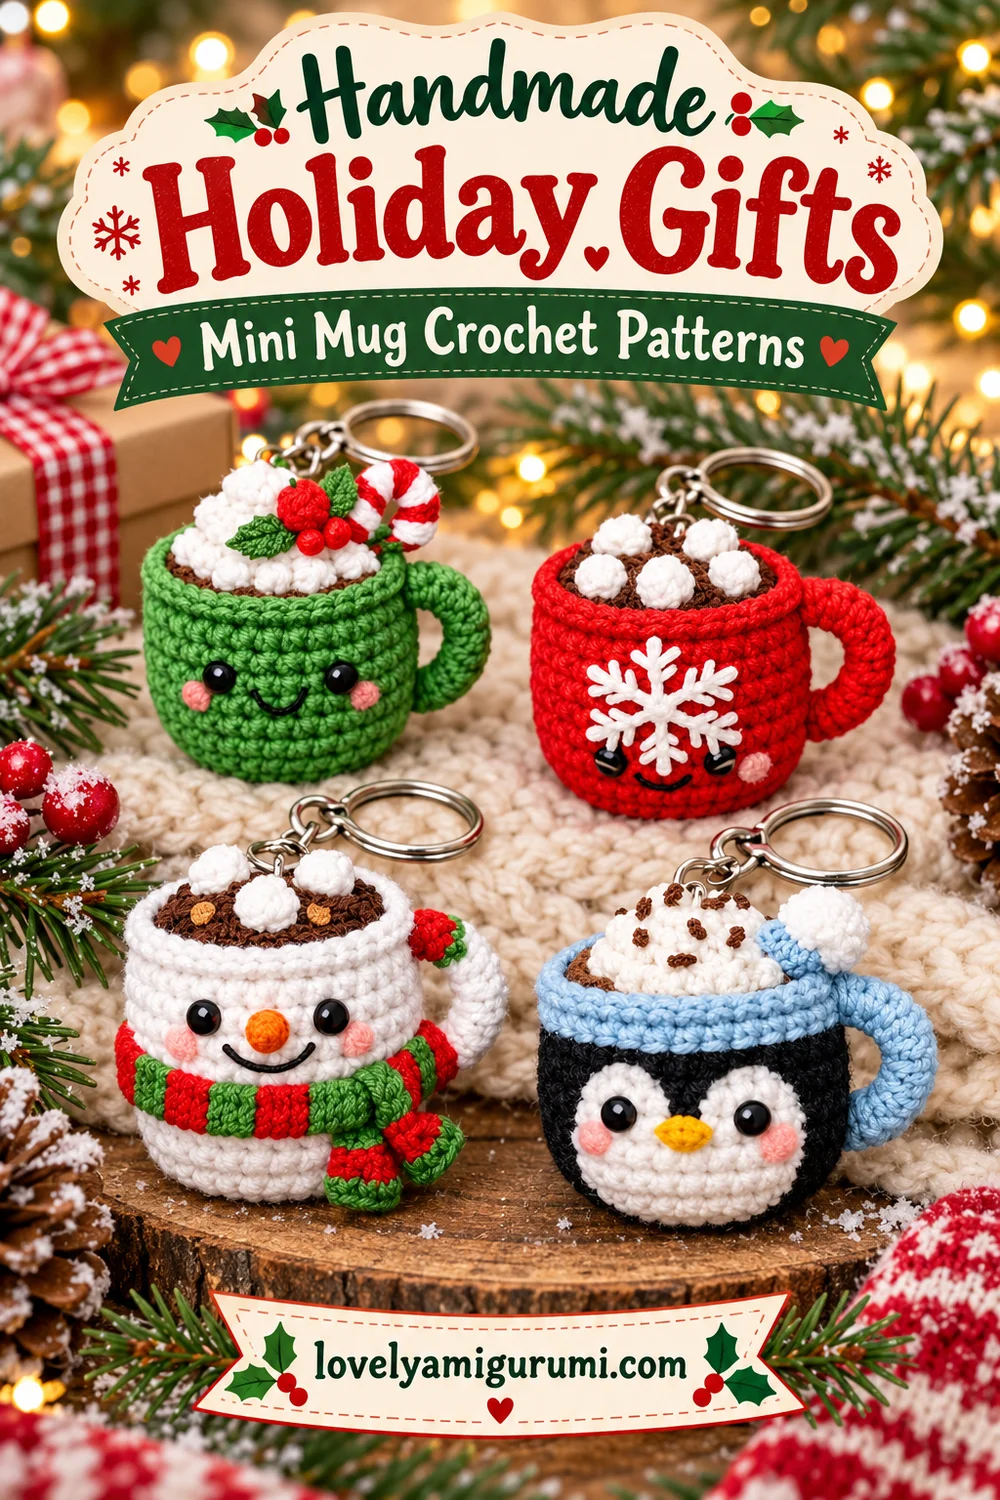
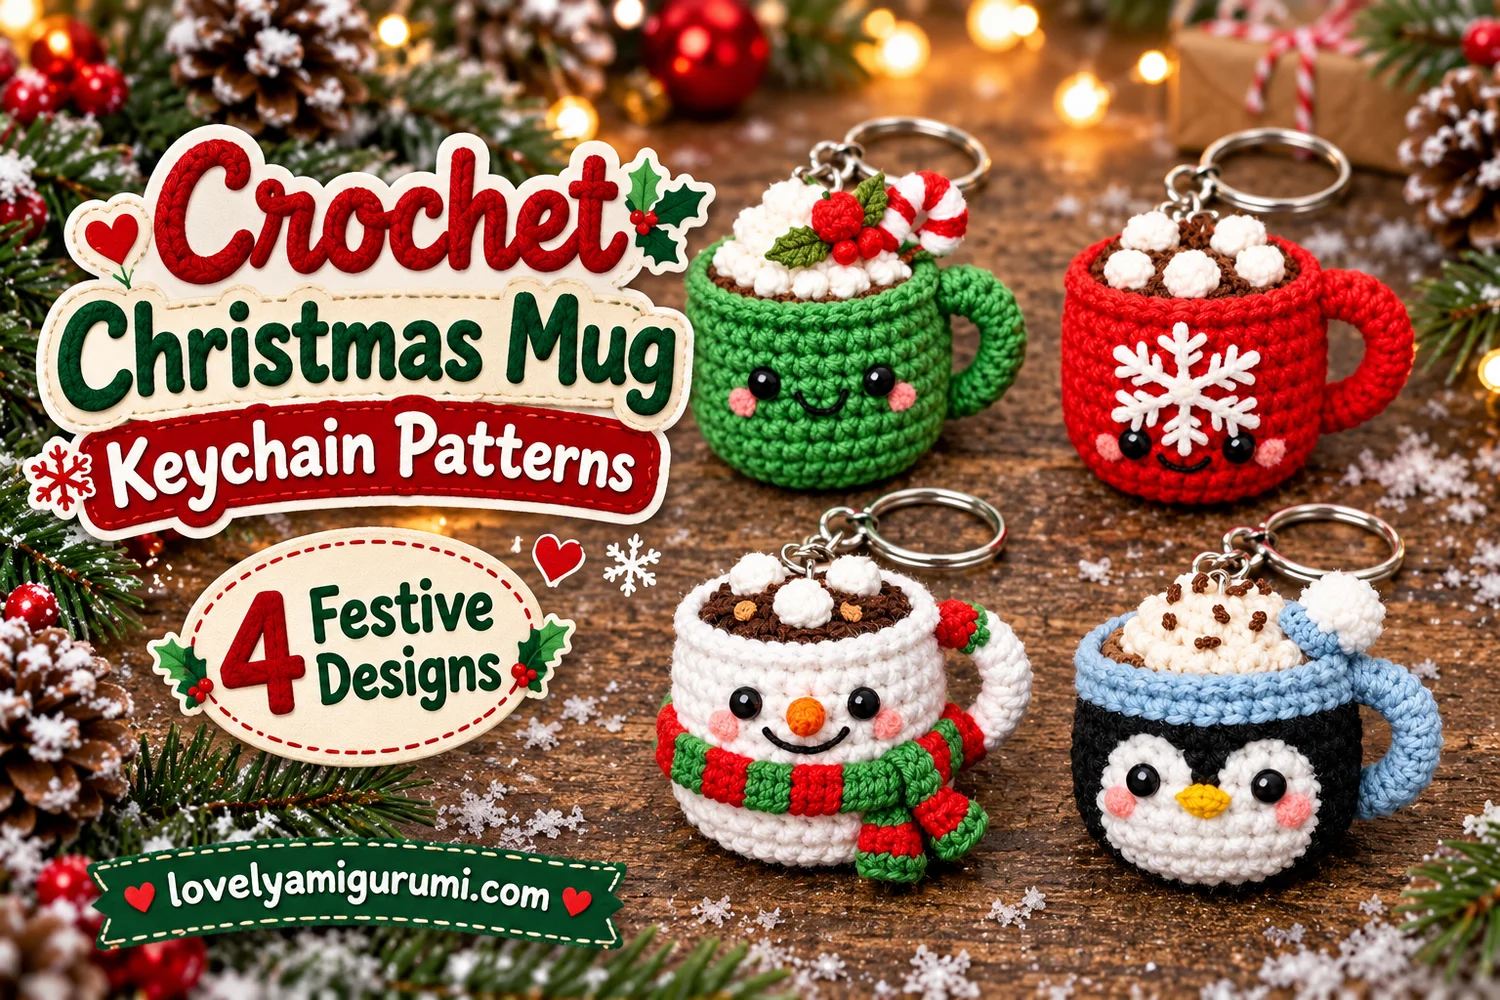
These Christmas Mug Keychain Crochet Patterns share one small stuffed cup shape and turn it into four festive characters: a green holly mug, a red snowflake mug, a white snowman, and a black penguin with pale blue trim. Each has its own cocoa topping and a silver keyring.
Follow the common mug instructions first, then choose the matching face, colors, and decorations below. The reference details—curved handles, tiny marshmallows, peppermint candy, striped scarf, and snowy blue penguin trim—make each version distinct.
Pattern Information
- Skill level: Intermediate, mainly because of the small decorations and sewing.
- Terms: US crochet terminology.
- Construction: Stuffed mug body closed with a separate brown cocoa disk; handle, face, and toppings sewn on.
- Estimated size: About 4–5 cm tall before toppings with fine cotton yarn. Size depends on yarn and tension.
- Variations: Green holly, red snowflake, snowman, and penguin.
These are image-inspired adaptations. Stitch counts have been checked, but the patterns have not been physically crocheted or independently tested. The photo tutorials illustrate construction; use the written instructions for exact counts and placement.
Materials for the Christmas Mug Keychain Crochet Patterns
- Fine cotton yarn in green, red, white, brown, black, pale blue, orange, yellow, and pink. Small scraps suit most decorations.
- A 2–2.5 mm hook, or a size that makes firm stitches without gaps.
- Black embroidery yarn for eyes and smiles; white yarn for the snowflake.
- Polyester stuffing.
- Silver keyring, short chain, and connector for each mug.
- Tapestry needle, scissors, marker, and assembly pins.
- Optional two 4–5 mm safety eyes per face instead of embroidery.
Embroidered eyes are the default here. Install optional safety eyes through the finished face pieces and body before stuffing and closing the cup. These are decorative keychains with small parts, not accessories for babies or young children.
Stitches and Abbreviations
| Abbreviation | Meaning |
|---|---|
| MR | magic ring |
| ch | chain |
| sc | single crochet |
| hdc | half double crochet |
| sl st | slip stitch |
| inc | 2 sc in the same stitch |
| dec | single crochet decrease across 2 stitches |
| BLO | back loop only |
| st(s) | stitch(es) |
Work in spiral rounds unless instructed otherwise. Mark the first stitch of each round. Counts in brackets are the finished totals. Repeat the instructions in parentheses the stated number of times. Keep sewing tails approximately 15–20 cm long.
Choose Your Colors
| Version | Body | Rim and handle | Main decorations |
|---|---|---|---|
| Holly mug | Green | Green | White cream, holly, berries, peppermint ring |
| Snowflake mug | Red | Red | White snowflake and 5 marshmallows |
| Snowman mug | White | White | Orange nose, striped scarf, 3 marshmallows |
| Penguin mug | Black | Pale blue | White face, yellow beak, cream, blue hat |
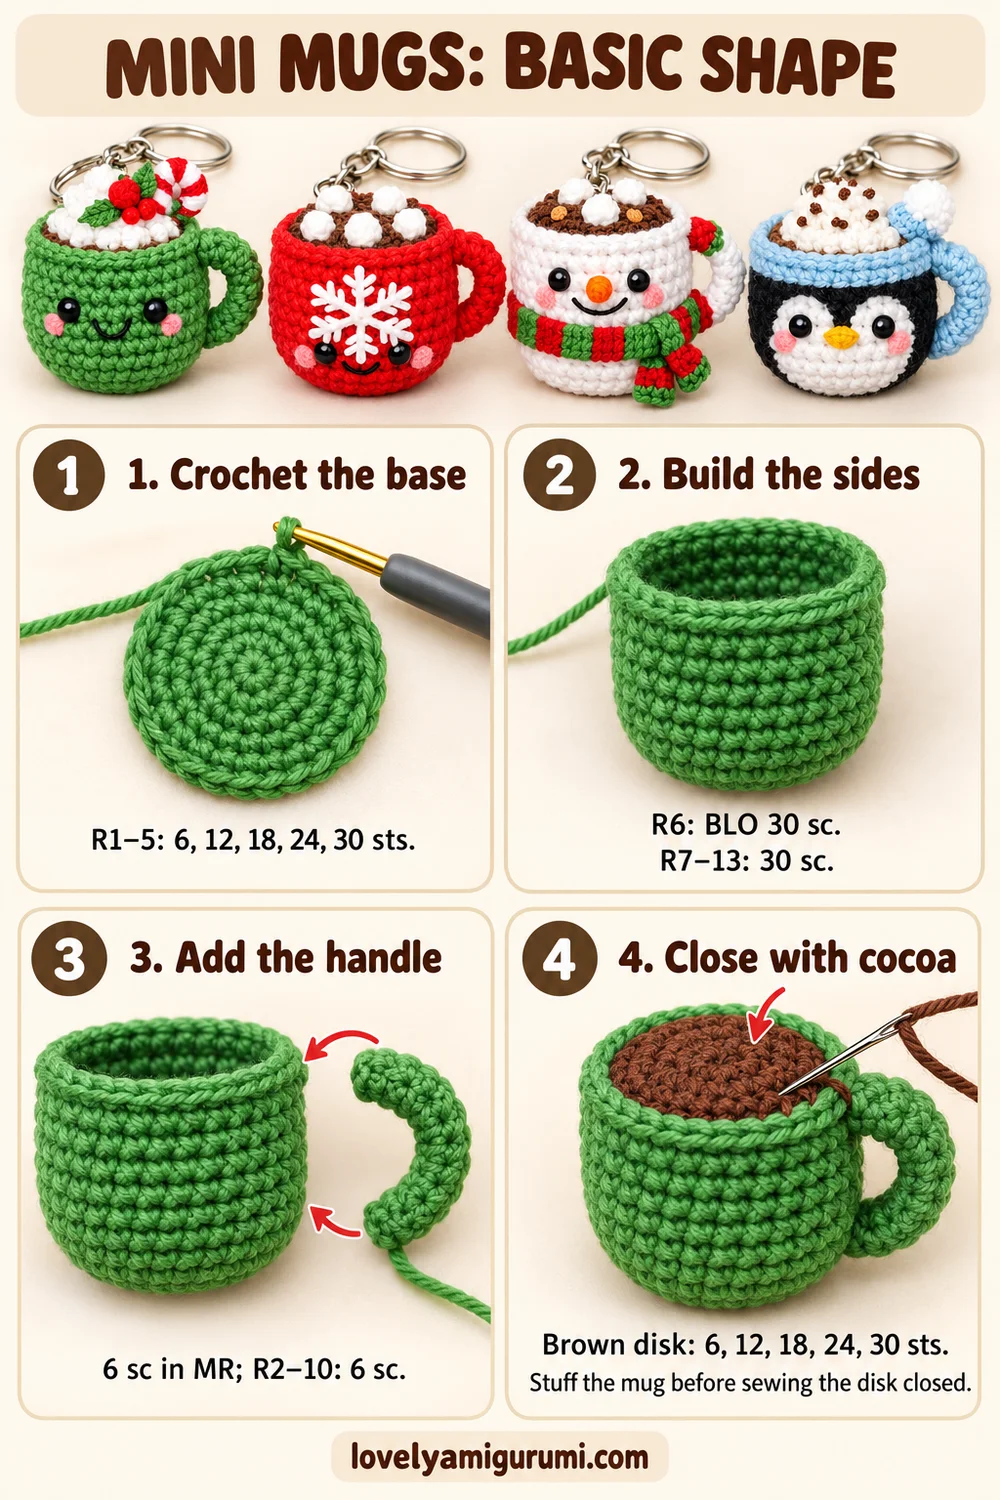
Basic Mug Body — All Four Versions
Use the body color from the table. Begin at the bottom:
- R1: 6 sc in MR. [6]
- R2: Inc × 6. [12]
- R3: (1 sc, inc) × 6. [18]
- R4: (2 sc, inc) × 6. [24]
- R5: (3 sc, inc) × 6. [30]
- R6: BLO sc around. [30]
- R7–13: 30 sc each round. [30]
For the penguin only, change to pale blue at the end of R12 so R13 forms a blue band. Keep the original body color throughout for the other versions.
R14: Sl st loosely in each stitch around. [30 sl st] Join to the first slip stitch, fasten off, and hide the end. Keep this edging relaxed so the opening does not pinch inward.
The front is opposite the round marker. Pin the face details before stuffing. The handle will sit on the viewer’s right. Complete any eyes that need access to the inside now; add embroidered details now or after closing, as convenient.
Curved Handle — Make 1 per Mug
Use green, red, white, or pale blue to match the selected version.
- R1: 6 sc in MR. [6]
- R2–10: 6 sc each round. [6]
Leave the handle unstuffed so it bends easily. Fasten off with a long tail. Flatten the open end and curve the tube into a C. Sew one end near body R12 and the other near R7 on the viewer’s right side. Use several small stitches at each anchor, leaving the central handle opening clear.
Brown Cocoa Disk — Make 1 per Mug
With brown, work the same flat-circle increase sequence as body R1–5: 6, 12, 18, 24, then 30 stitches. Sl st and fasten off with a long sewing tail.
Sew the toppings to this disk while its underside is accessible. Hide and secure their tails underneath. Stuff the mug firmly enough to keep its cup shape without making a round ball. Place the disk just below the rim and sew all 30 edge stitches to the inside of the cup below the slip-stitch edging.
Leave a small gap to add the last stuffing, then finish closing. Keep the brown surface flat or gently domed, with the colored rim visible all around. Do not attach the keyring to a topping alone.
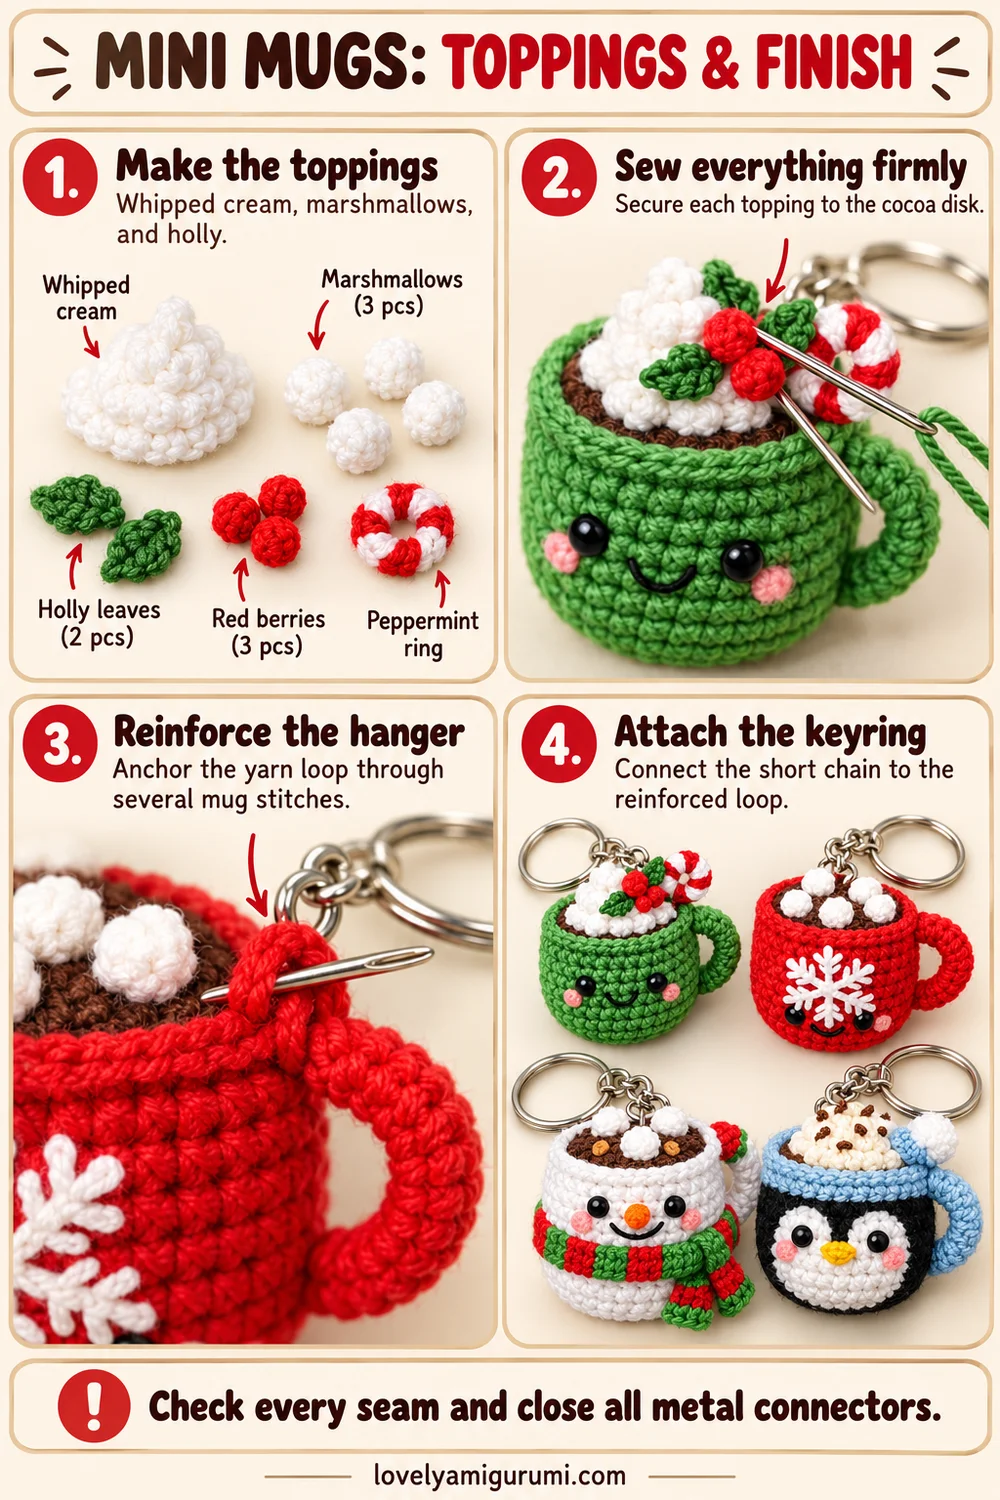
Small White Marshmallows
Make 5 for the red mug and 3 for the snowman mug. With white:
- R1: 6 sc in MR. [6]
- R2–3: 6 sc each round. [6]
Fasten off with a tail. Add a tiny pinch of stuffing if needed, then sew the open edge to the brown disk. Keep the pieces small, rounded, and separated rather than joining them into one cream mound.
White Whipped Cream
Make 1 for the green mug and 1 for the penguin. Begin at the top with white:
- R1: 6 sc in MR. [6]
- R2: 6 sc. [6]
- R3: Inc × 6. [12]
- R4: (1 sc, inc) × 6. [18]
- R5: BLO 18 sc. [18]
Sl st and fasten off with a long tail. Stuff lightly and sew the open base to the cocoa disk. The small top and wider base form a cream mound. For the penguin, add several short brown embroidery stitches over the cream to suggest chocolate sprinkles.
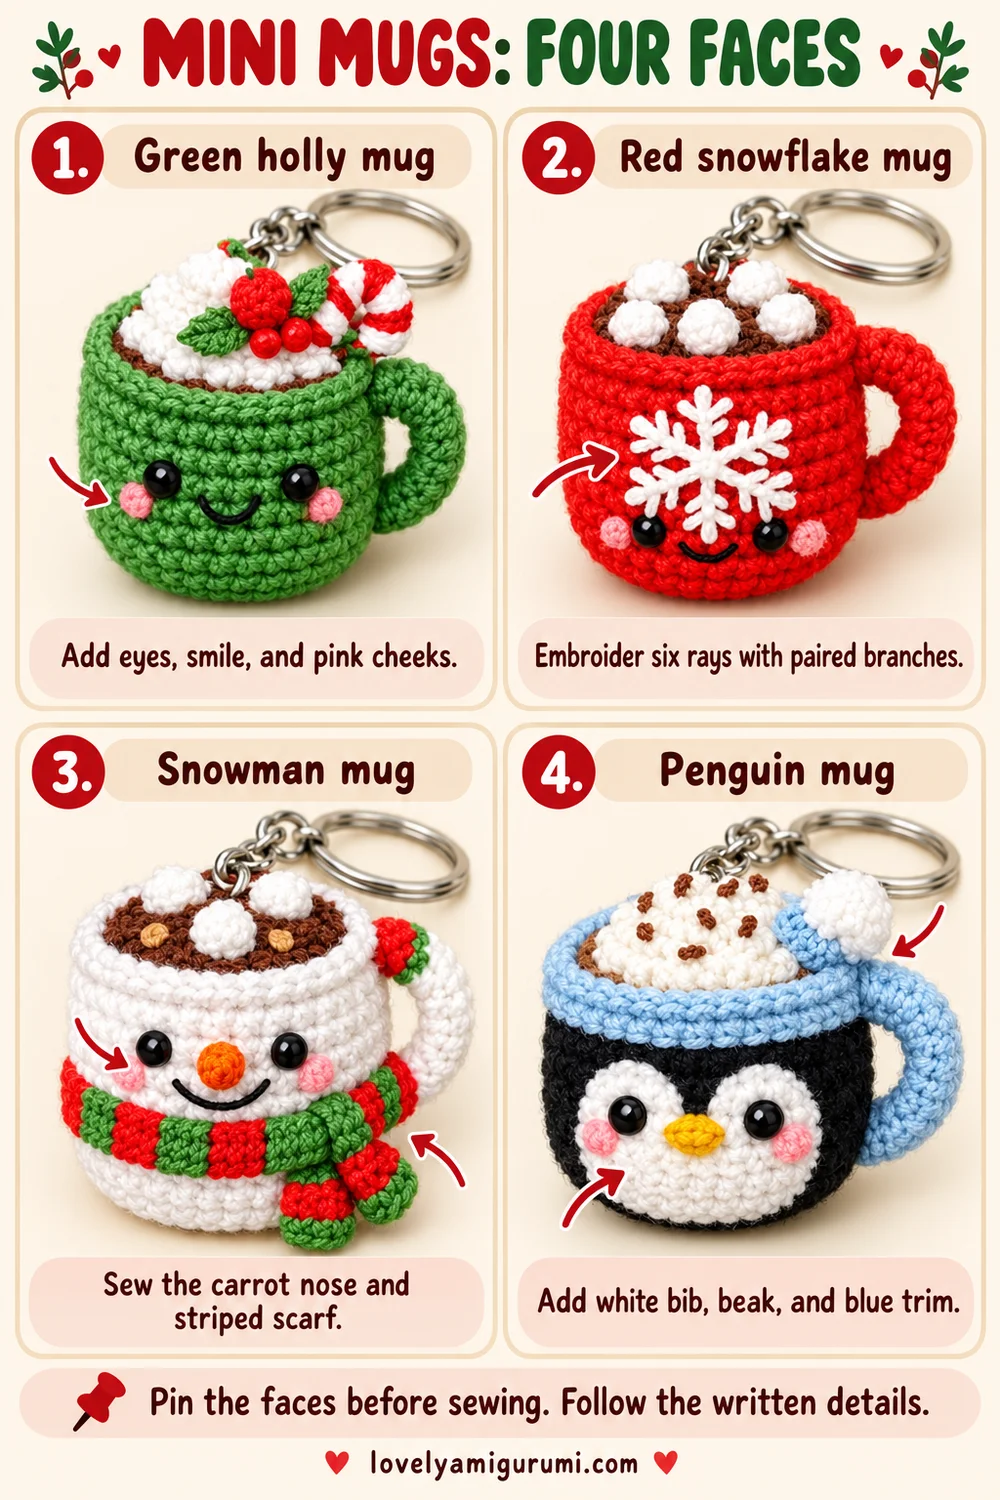
1. Green Holly Mug
Face
Use green for the body and handle. Embroider two small black eyes near R9–10, about 6 stitches apart across the front. Add a shallow U-shaped black smile between and below the eyes. Make small pink satin stitches at the outer lower side of each eye for rosy cheeks.
Holly Leaves — Make 2
With green, ch 5. Starting in the second chain from the hook, work sl st, sc, hdc, then 3 sc in the last chain. Rotate to work along the other side of the foundation: hdc, sc, sl st. [9 stitches] Fasten off with a sewing tail.
Flatten each leaf and pinch its tip slightly. Sew the two leaves at angles over the white cream, leaving their outer tips visible.
Red Berries — Make 3
With red, work 6 sc in MR. Pull the ring closed, fasten off, and run the tail through the six front loops to gather into a tiny berry. Leave unstuffed. Sew the three berries together at the base of the leaves.
Striped Peppermint Ring
With white, ch 12 and sl st into the first chain to make a small ring without twisting. Work 18 sc around the chain ring, alternating 3 white sc and 3 red sc three times. [18] Change color on the last pull-through before each new group and carry the unused yarn inside the stitches.
Join, fasten off, and weave in the ends. Keep the central opening visible. Sew the lower edge of the candy behind the cream so the upper part stands upright. Secure it at two points so it cannot flop loose.
2. Red Snowflake Mug
Use red for the body and handle. Add 5 white marshmallows to the brown cocoa. Place them around the top with small gaps of brown showing between.
Raised White Snowflake
Mark a central point on the upper front of the red body. With white yarn, embroider six straight rays at approximately 60-degree spacing, each about 0.8–1 cm long. Use two nearby strands or a short row of chain stitches for a raised line.
Near the outer end of each ray, add two short diagonal stitches pointing outward, one on each side. Repeat a second, smaller pair nearer the center if space allows. Keep exactly six main rays and do not carry long white strands across the exposed surface.
Add two tiny black eyes near the lower sides of the snowflake and a small black smile below its center. Place pink cheeks toward the lower outer sides. Keep the white snowflake large and central, as in the reference.
3. Snowman Mug
Use white for the body and handle. Add 3 marshmallows to the brown cocoa; small yellow embroidery dots on the cocoa can suggest cookie crumbs.
Carrot Nose
With orange, work 4 sc in MR. [4] R2: 4 sc. [4] R3: (1 sc, inc) × 2. [6] Fasten off with a tail. Add a tiny amount of stuffing if needed, then sew the open base at the front center, around R9. Keep the narrow end pointing outward.
Embroider black eyes on either side of the nose and a curved black smile below it. Add two pink cheeks. Pin the face above the scarf position so the smile remains visible.
Red and Green Scarf
Ch 49. Starting in the second chain from the hook, sc across. [48] Work another row of 48 sc, beginning with ch 1 and turning; the turning chain does not count as a stitch.
Alternate red and green every 4 stitches on both rows. On the return row, use the color directly below each stitch to maintain the same blocks. Carry the unused strand neatly along the back or secure separate short strands as needed.
Wrap the strip around the lower half of the mug, just below the smile. Cross the ends near the viewer’s right and tack them in place. Sew the scarf discreetly at the back and sides. If your yarn makes the strip too short, add multiples of 8 foundation stitches to preserve equal red and green blocks.
For the tiny holly detail near the handle, make one green leaf and one red berry using the green mug instructions and sew them at the upper handle anchor.
4. Penguin Mug
Use black for the cup, pale blue for body R13–14 and the handle, and brown for the cocoa. Add white whipped cream with brown sprinkles.
White Face Bib
Upper lobes — make 2: With white, work 6 sc in MR, then 6 inc [12], then (1 sc, inc) × 6 [18]. Sl st and fasten off with a long tail. Keep the circles flat.
Lower oval: Ch 7 with white. Starting in the second chain from the hook, 5 sc, 3 sc in the last chain; rotate and work 4 sc along the other side, then 2 sc in the final chain. [14]
Oval R2: Inc, 4 sc, inc in each of the next 3 stitches, 4 sc, inc in each of the last 2 stitches. [20] Sl st and fasten off with a sewing tail.
Pin the oval horizontally over the lower front. Place the two circles side by side just above it, overlapping their lower edges over the oval. Together these pieces form the white face and bib. Sew around the outer edges, then tack any loose overlap flat with white stitches.
Embroider one black eye on each upper white circle. Add a small yellow triangle between them for the beak and pink cheeks near the outer lower sides. Keep a visible black border above and beside the white bib.
Tiny Blue Hat
With pale blue: R1, 6 sc in MR [6]; R2, (1 sc, inc) × 3 [9]; R3, 9 sc [9]. Sl st and fasten off with a tail. Leave unstuffed.
For a white crocheted pom-pom, make 6 sc in MR, work one round of 6 sc, then gather the final loops closed. Sew it to the blue hat tip. Attach the hat at the viewer’s upper right near the handle and rim, without covering the face.
Reinforce the Keyring Attachment
Use doubled yarn matching the mug rim to make a small loop at the upper back. Anchor through several body stitches below the rim, passing through the area at least three times. Spread the stitches over a short section rather than pulling on one stitch.
Bring the loop above the cocoa near the rear edge, keeping it just large enough for a connector. Secure the ends inside the body before the last part of the cocoa disk is sewn down. Attach the short silver chain and keyring, close the connector fully, and give the loop a gentle pull.
The mug body should carry the weight. Keep the toppings, handles, and cream clear of the attachment so they remain decorative details.
Finishing Checklist
- Check that each mug sits flat and its stuffing stays beneath the cocoa disk.
- Secure both handle ends with several stitches.
- Make sure every face is centered and visible below the rim.
- Sew all small toppings firmly; hide loose ends.
- Check the reinforced loop and close all metal connectors.
Tips and Troubleshooting
The cocoa disk does not fit
Check that both the body and disk have 30 stitches. Use the same yarn weight and hook. Sew to the inside wall below the rim rather than stretching the disk over the outside edging.
The mug looks too round
Use less stuffing and keep the base flat. The back-loop round should make a clear bend between base and sides.
The face looks crowded
Pin the facial pieces first. On the red mug, reserve the upper front for the snowflake; on the snowman, keep the scarf beneath the smile.
The small details are difficult
Use embroidered eyes and cheeks. Make the mug and cocoa first, then add the decorative pieces one at a time under good lighting.
FAQ
Are these usable cups?
No. They are stuffed yarn decorations made to look like mugs.
Can I make only one version?
Yes. Work one body, handle, and cocoa disk, then follow the matching decoration section.
Can these become tree ornaments?
Yes. Replace the metal keyring with a hanging cord attached to the reinforced loop.
More Free Christmas Crochet Patterns
- Christmas Hot Cocoa Mug Crochet Pattern
- Christmas Buddy Keychain Crochet Pattern
- Snowflake Keychain Crochet Pattern
Save These Patterns
Save these Christmas Mug Keychain Crochet Patterns for your holiday gift-making list. Happy crocheting from Lovely Amigurumi!
Christmas Mug Visual Tutorials and Pinterest Gallery
These three visual tutorial guides and three Pinterest images are grouped together at the end for easy reference.