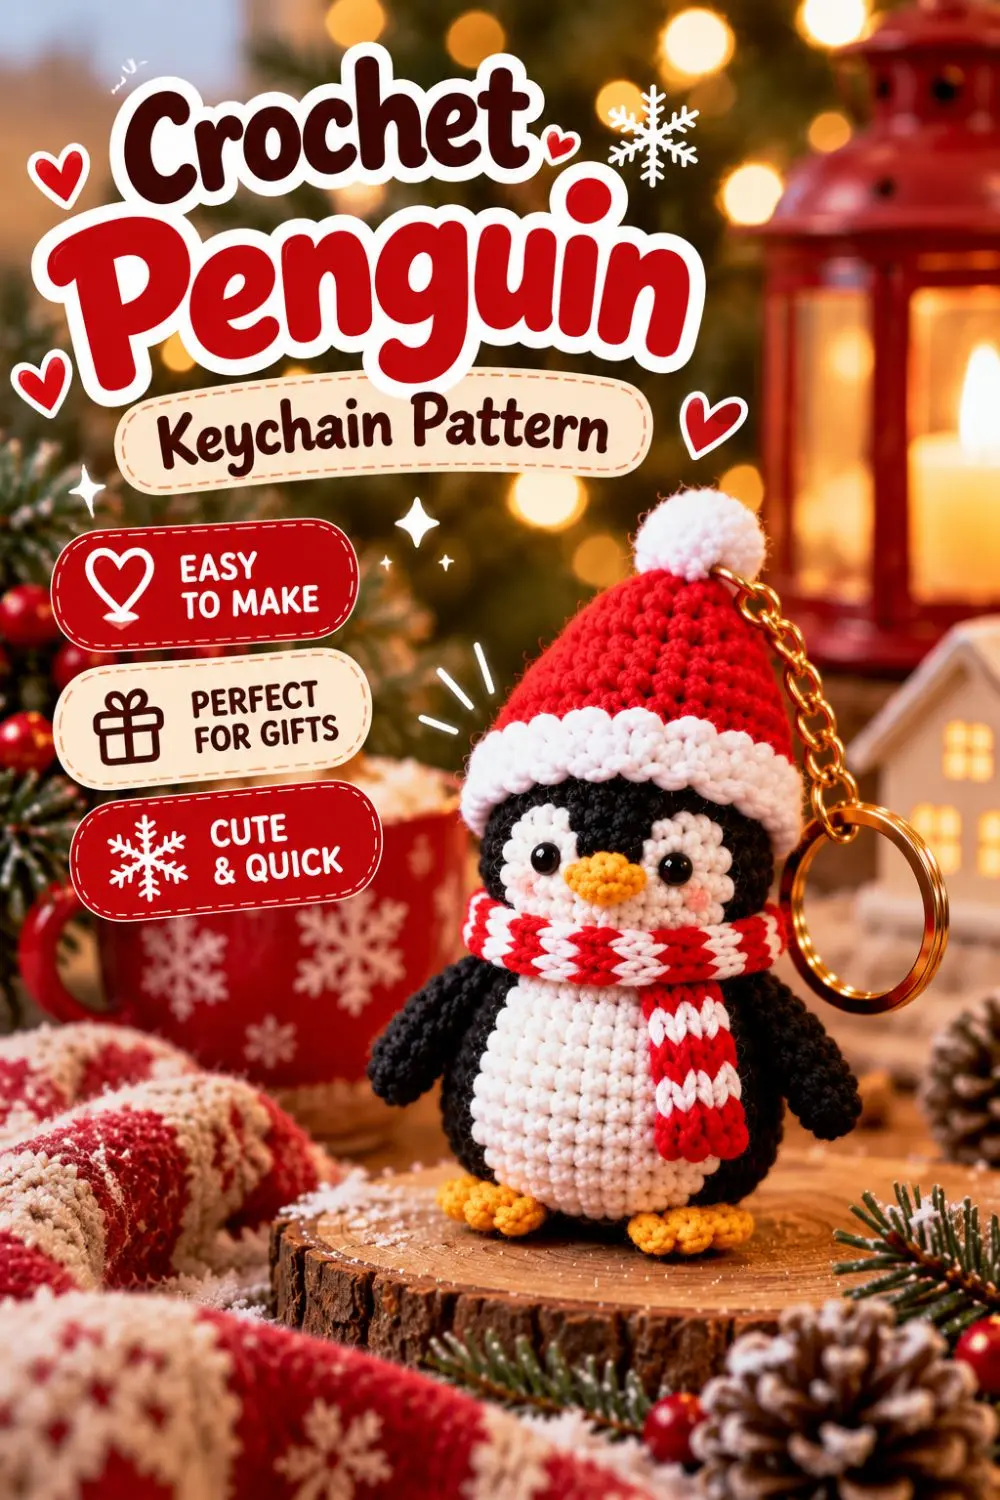
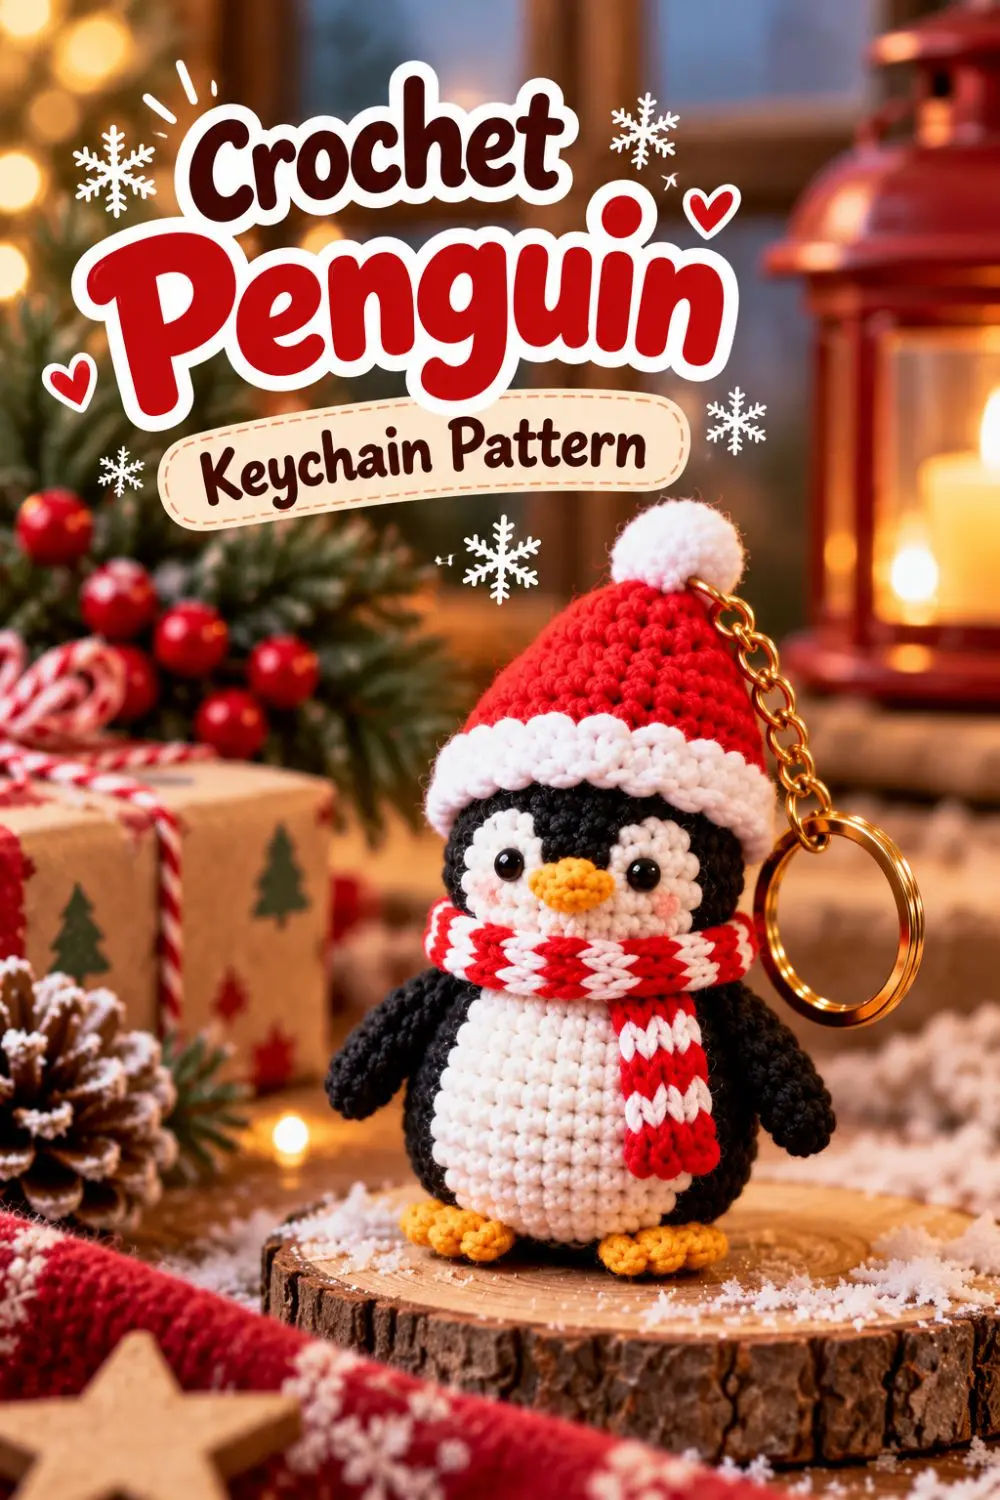
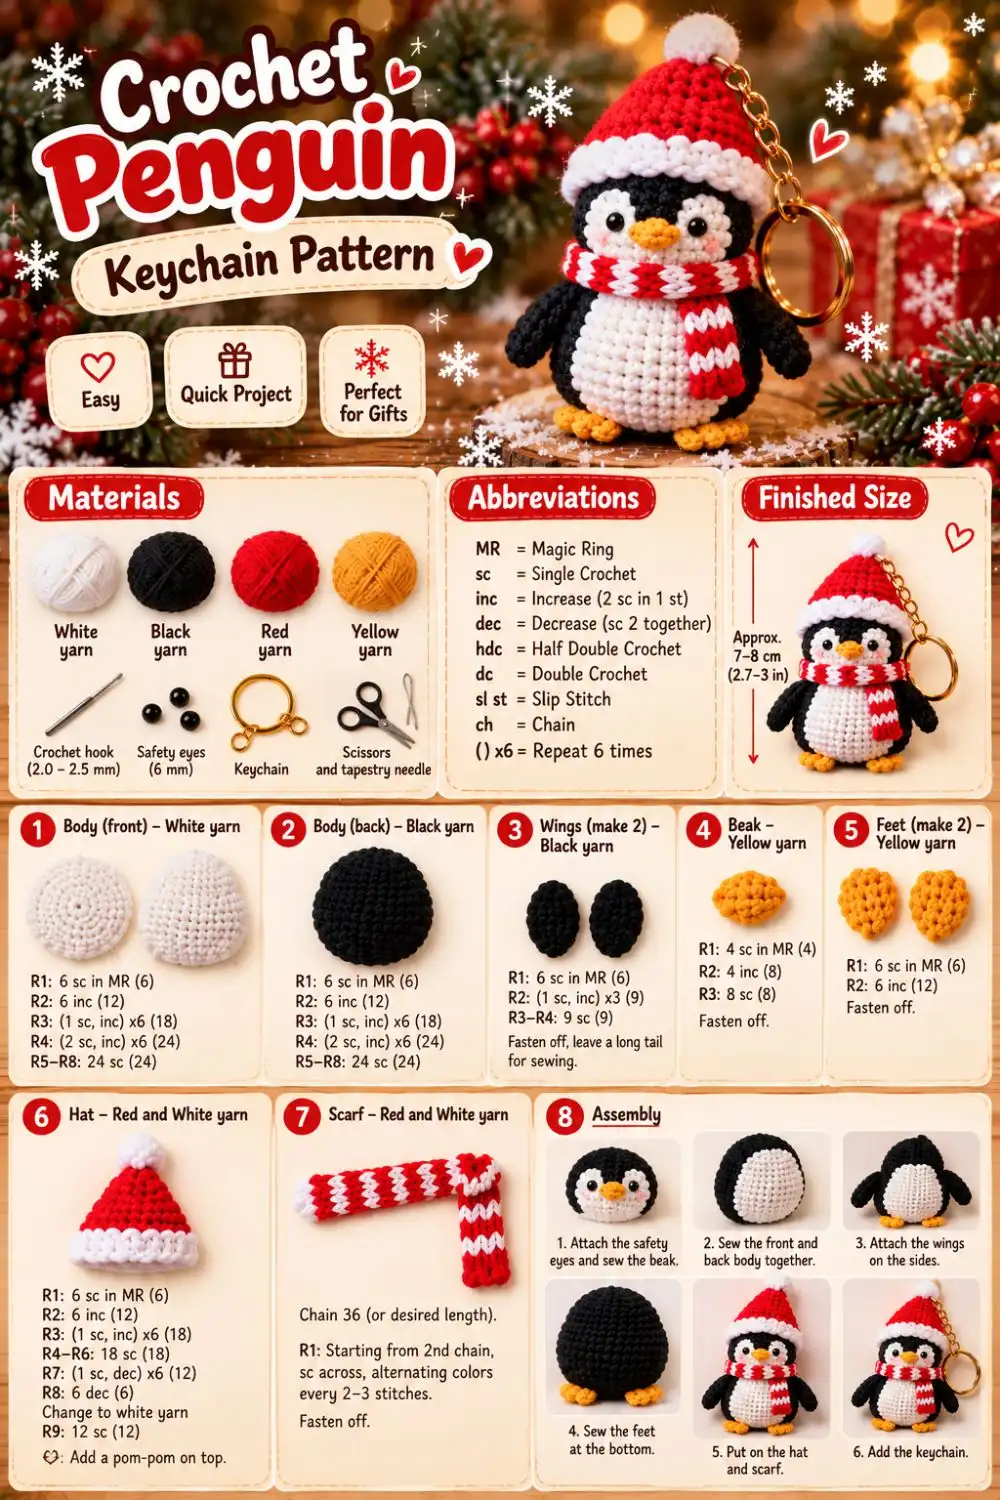
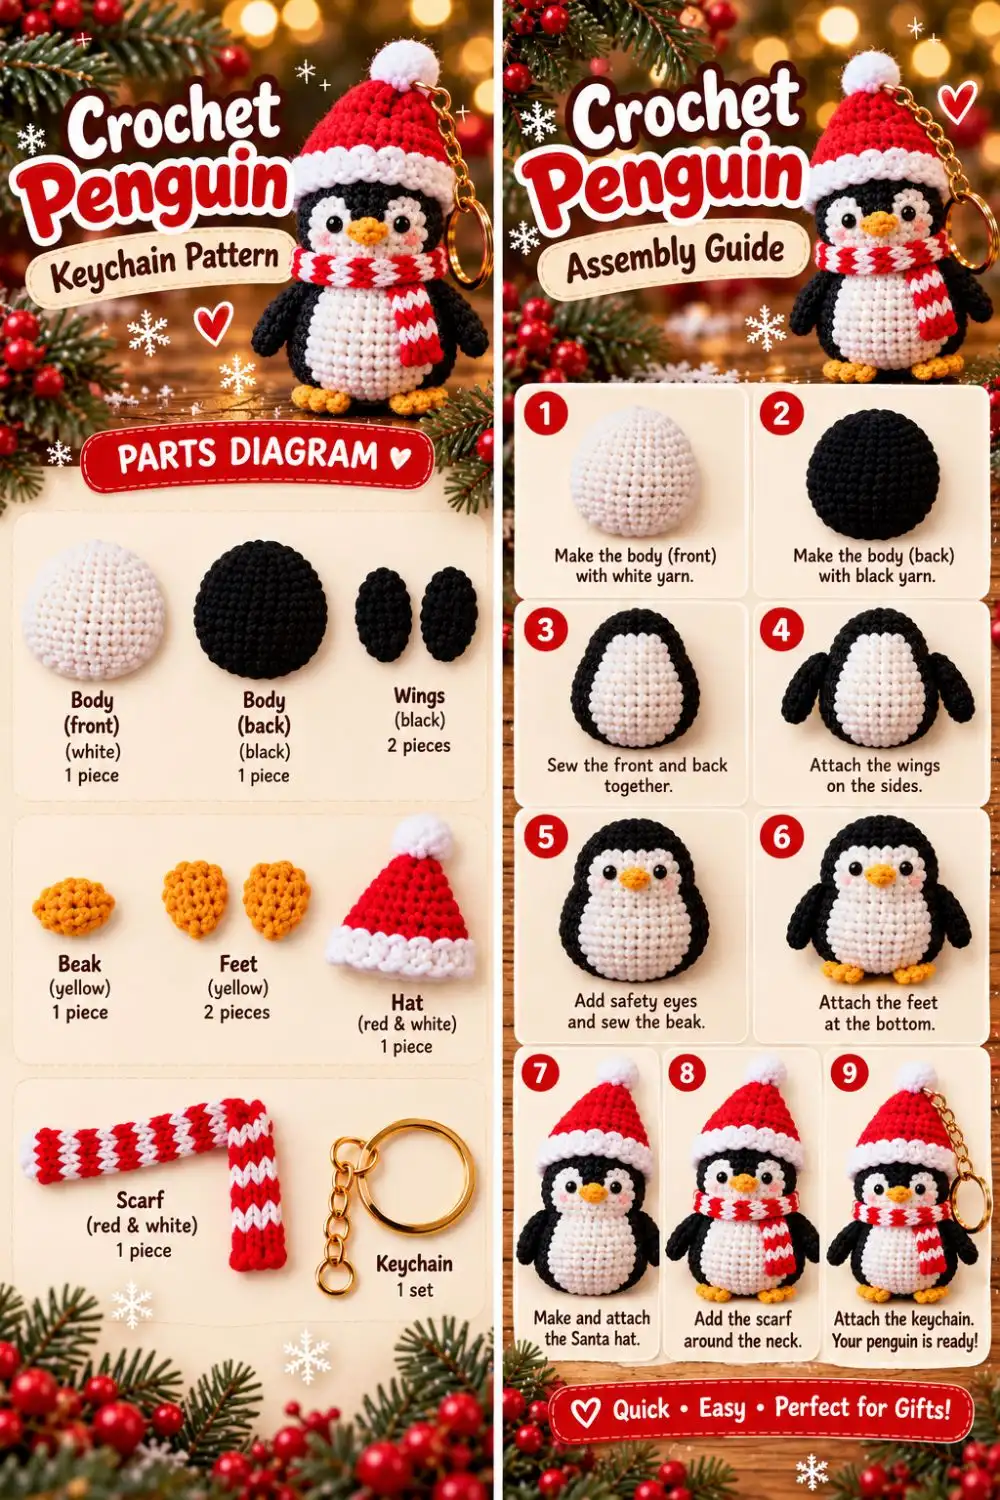
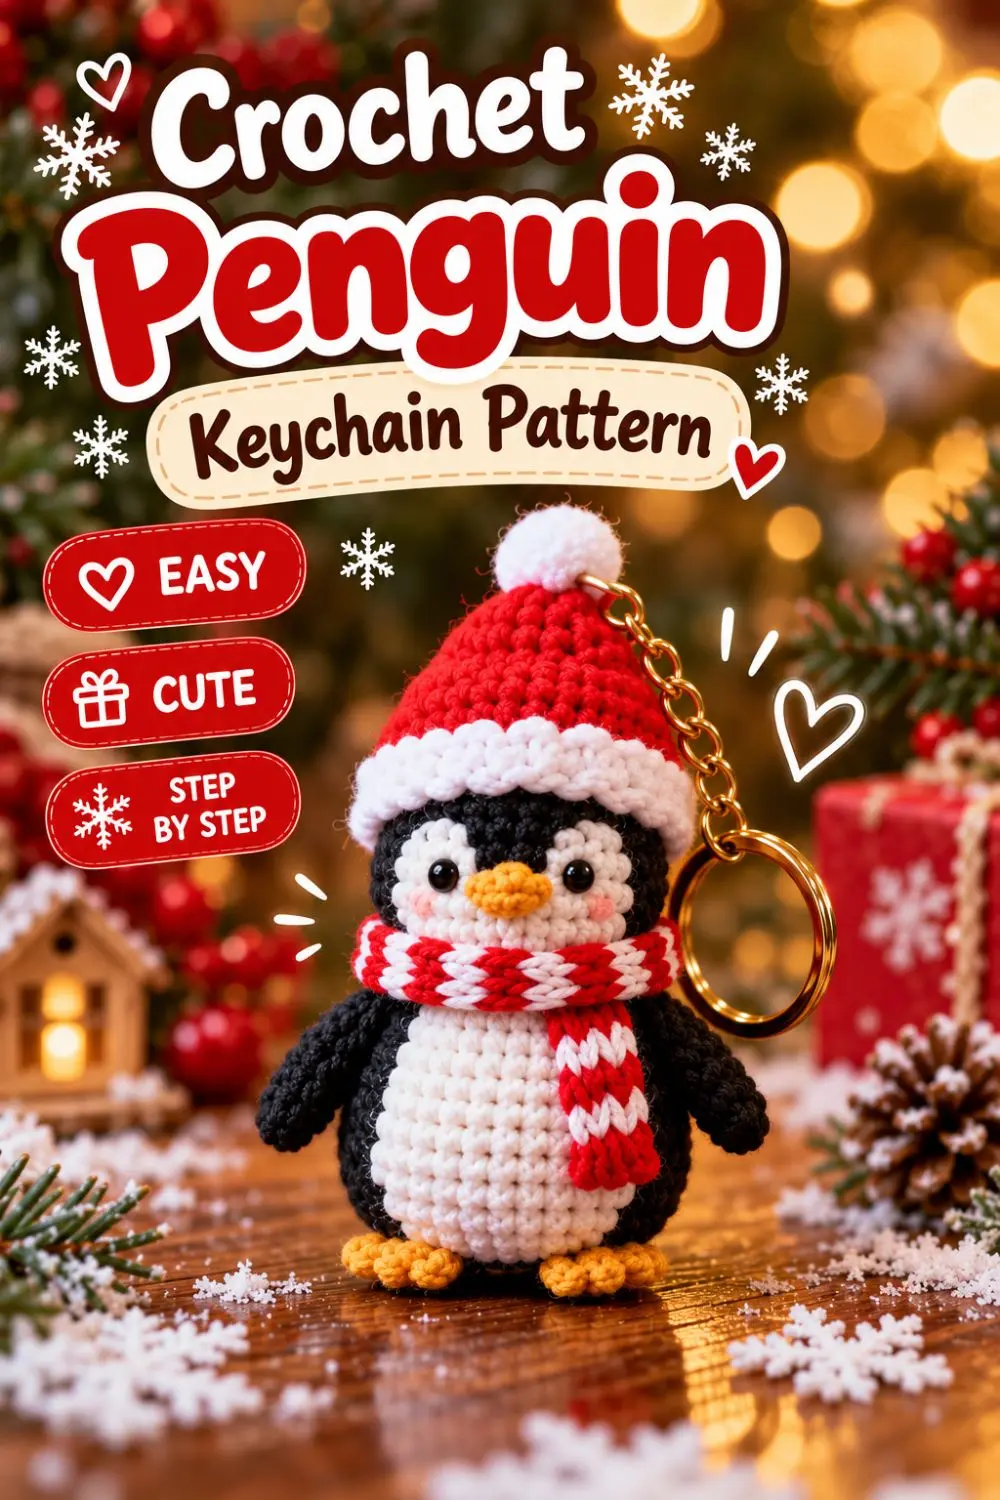
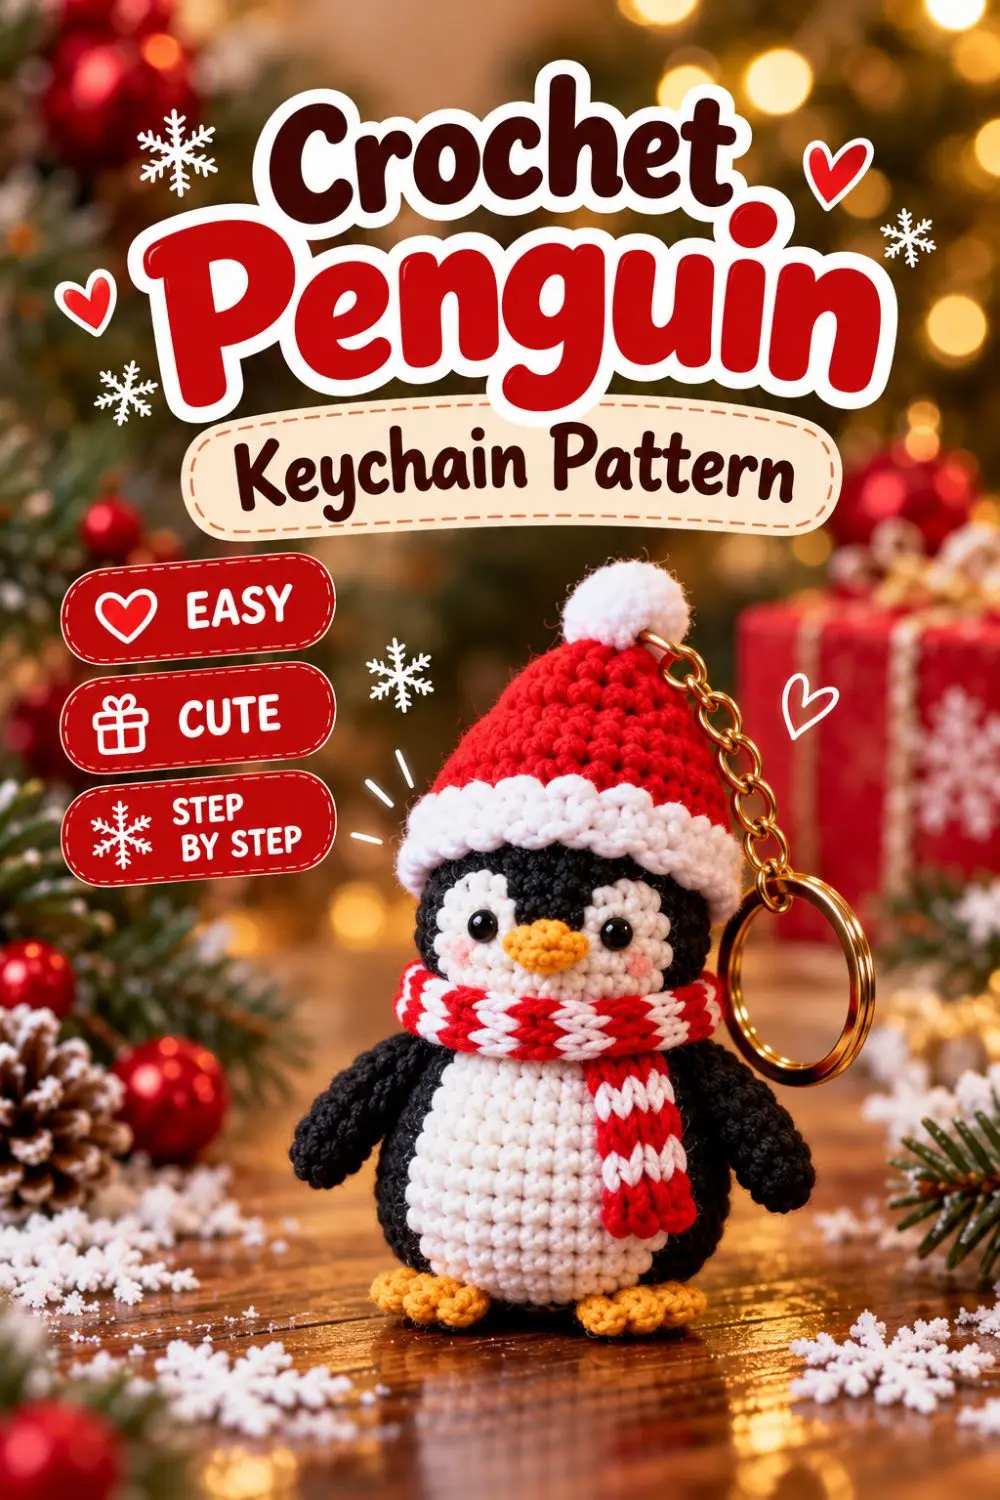
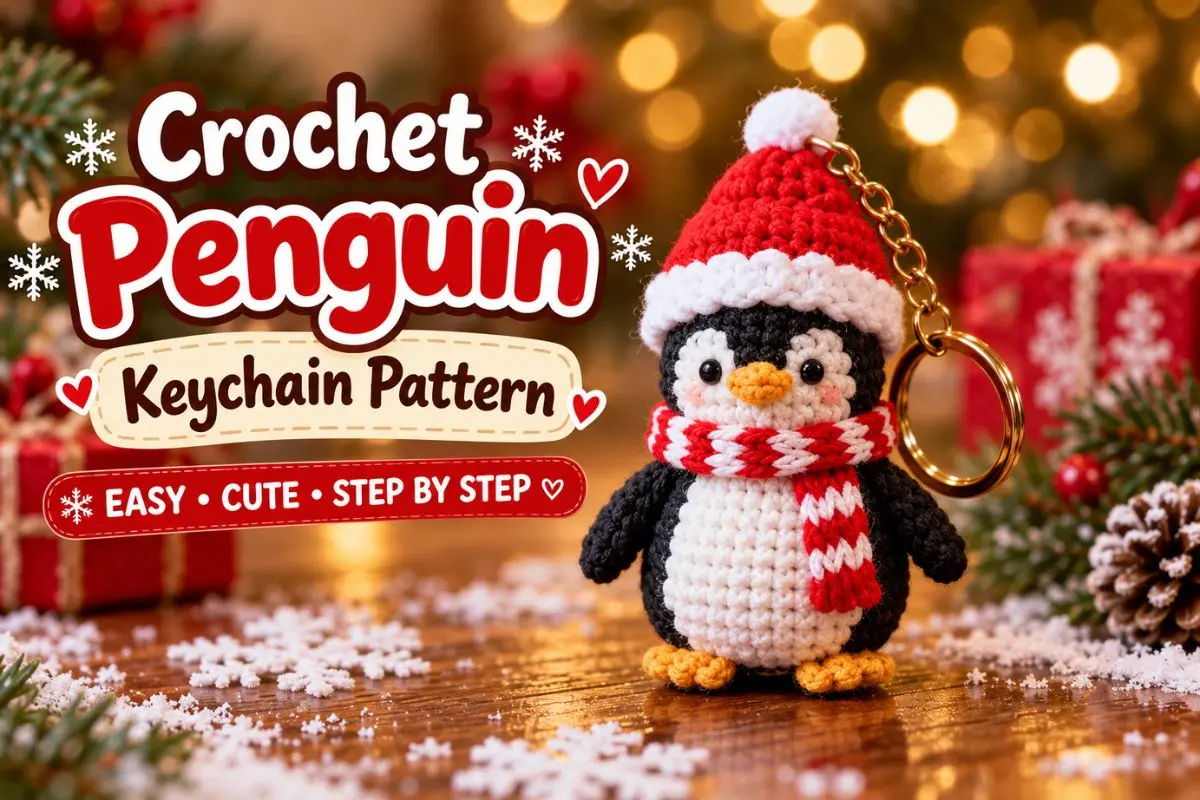
This Christmas penguin keychain crochet pattern brings together a round black-and-white penguin, a tiny Santa hat and a red-and-white scarf. The yellow beak and little feet give the penguin a cheerful expression, while the keychain attachment turns it into a festive bag charm.
The design is made from a stuffed black body and head, with separate white patches sewn onto the front. Work the small accessories separately, then arrange everything before sewing. Below you will find the materials, stitch counts and finishing instructions in US crochet terminology.
Pattern Information
- Skill level: Confident beginner, with experience sewing small amigurumi pieces.
- Terminology: US crochet terms.
- Construction: Separate head and body, sewn patches, unstuffed wings and feet.
- Suggested yarn: Sport-weight cotton in matching weights.
- Estimated size: Around 9–12 cm tall including the hat; yarn and tension can change this substantially.
Pattern note: This is an original, untested adaptation based on the main reference image supplied for this project. Stitch counts have been checked, but finished dimensions and an exact photographic match have not been verified with a crocheted sample. The photos illustrate the intended appearance.
Materials
- Sport-weight cotton yarn in black, white, red and yellow or golden orange.
- A small amount of pink yarn for embroidered cheeks.
- A 2.0–2.5 mm crochet hook, adjusted to make firm fabric without gaps.
- Polyester fiberfill.
- Two 6 mm safety eyes, or black thread for embroidered eyes.
- Yarn needle, scissors, stitch marker and sewing pins.
- Keychain ring with a short chain and closed attachment ring.
Use the same yarn weight for all crocheted parts. Softer or thicker yarn can change the proportions, particularly the hat fit and the size of the face patches. Start with a small amount of each color; exact yardage has not been measured.
Abbreviations
- MR: Magic ring.
- ch: Chain.
- sc: Single crochet.
- hdc: Half double crochet.
- sl st: Slip stitch.
- inc: Work 2 sc in the same stitch.
- dec: Decrease 2 stitches into 1 single crochet.
- st / sts: Stitch / stitches.
Brackets show the sequence to repeat. Numbers in parentheses show the completed stitch count. For an invisible decrease on stuffed parts, insert the hook through the front loops of the next two stitches, yarn over and pull through both front loops, then yarn over and pull through the two remaining loops.
Before You Start
Work the body, head, wings, feet, beak and hat in continuous spiral rounds unless a join is specified. Do not join or turn these rounds. Place a marker in the first stitch and move it each round.
The belly and scarf are worked in rows. Chain 1 and turn before each new row; this turning chain does not count as a stitch. Leave long tails on pieces that need sewing. Stuff gradually and keep the fabric firm without stretching the stitches open.
Christmas Penguin Keychain Crochet Pattern Instructions
Body — Black Yarn
Round 1: 6 sc in a MR. (6)
Round 2: Inc in each st. (12)
Round 3: [Sc, inc] 6 times. (18)
Round 4: [2 sc, inc] 6 times. (24)
Round 5: [3 sc, inc] 6 times. (30)
Round 6: [4 sc, inc] 6 times. (36)
Rounds 7–12: Sc in each st. (36 each round)
Round 13: [4 sc, dec] 6 times. (30)
Round 14: [3 sc, dec] 6 times. (24)
Round 15: [2 sc, dec] 6 times. (18)
Round 16: [Sc, dec] 6 times. (12)
Stuff the body. Fasten off with a long tail, leaving the 12-stitch neck opening unclosed. This opening will be sewn to the underside of the head.
Head — Black Yarn
Round 1: 6 sc in a MR. (6)
Round 2: Inc in each st. (12)
Round 3: [Sc, inc] 6 times. (18)
Round 4: [2 sc, inc] 6 times. (24)
Round 5: [3 sc, inc] 6 times. (30)
Rounds 6–10: Sc in each st. (30 each round)
Round 11: [3 sc, dec] 6 times. (24)
Round 12: [2 sc, dec] 6 times. (18)
Pause here to position the white face patches and eyes, as described below. Install safety-eye backings while the head is still open. Add stuffing after the eyes are secured.
Round 13: [Sc, dec] 6 times. (12)
Round 14: Dec 6 times. (6)
Fasten off. Thread the tail through the front loops of the final six stitches and pull closed. Weave in the tail.
White Face Patches — Make 2
Round 1: 6 sc in a MR. (6)
Round 2: Inc in each st. (12)
Sl st in the next stitch and fasten off with a sewing tail. Keep the patches flat and unstuffed. Pin them side by side on the front of the head, centered across Rounds 7–10, with their inner edges touching. Each eye sits near the middle of a patch, approximately five head stitches apart.
If using safety eyes, pass each stem through both the patch and the head, then fit its backing inside the open head. Sew down the patch edges without covering the eyes. If using embroidered eyes, finish stuffing and closing the head, then embroider them through the attached patches.
White Belly Patch
Row 1: Ch 7. Starting in the second chain from the hook, sc across. (6)
Row 2: Ch 1, turn. Inc, 4 sc, inc. (8)
Row 3: Ch 1, turn. Inc, 6 sc, inc. (10)
Rows 4–9: Ch 1, turn. Sc across. (10 each row)
Row 10: Ch 1, turn. Dec, 6 sc, dec. (8)
Row 11: Ch 1, turn. Dec, 4 sc, dec. (6)
Row 12: Ch 1, turn. Dec, 2 sc, dec. (4)
Fasten off with a long tail. The six-stitch starting edge forms the lower belly and the four-stitch final edge points toward the neck. Pin the patch to the body and sew around its perimeter with small stitches. Keep a black border visible on both sides. Do not stuff the patch.
Wings — Make 2 in Black
Round 1: 6 sc in a MR. (6)
Round 2: [Sc, inc] 3 times. (9)
Rounds 3–6: Sc in each st. (9 each round)
Round 7: [Sc, dec] 3 times. (6)
Leave unstuffed. Flatten the opening and sc through both layers three times to close. Fasten off with a long sewing tail. The rounded starting end forms the wing tip; sew the closed edge near the upper side of the body.
Beak — Yellow Yarn
Round 1: 4 sc in a MR. (4)
Round 2: Inc in each st. (8)
Round 3: Sc in each st. (8)
Fasten off with a sewing tail. Flatten the small cup into an oval and sew its open edge to the face between and just below the eyes. No stuffing is needed.
Feet — Make 2 in Yellow
Round 1: 6 sc in a MR. (6)
Round 2: [Sc, inc] 3 times. (9)
Rounds 3–4: Sc in each st. (9 each round)
Round 5: [Sc, dec] 3 times. (6)
Leave unstuffed, flatten and close with three sc through both layers. Fasten off with a tail. Sew the closed edges under the front of the body so the rounded ends project forward, with a small gap between the feet.
Santa Hat — Red Yarn
Round 1: 6 sc in a MR. (6)
Round 2: Sc around. (6)
Round 3: [Sc, inc] 3 times. (9)
Round 4: Sc around. (9)
Round 5: [2 sc, inc] 3 times. (12)
Round 6: [3 sc, inc] 3 times. (15)
Round 7: [4 sc, inc] 3 times. (18)
Round 8: [5 sc, inc] 3 times. (21)
Round 9: [6 sc, inc] 3 times. (24)
Round 10: [7 sc, inc] 3 times. (27)
Round 11: [8 sc, inc] 3 times. (30)
Round 12: Sc around. (30)
Change to white on the final pull-through of the last stitch. Rounds 13–14: Sc around in white. (30 each round) Sl st in the next stitch and fasten off with a long tail. Turn the white band outward once to make a folded brim. Test the hat on the head before sewing; it should sit above the eyes without being stretched tightly.
Fluffy White Pom-Pom
Wrap white yarn around a small piece of cardboard approximately 2 cm wide, about 40–50 times. Slide the loops off carefully and tie them tightly through the middle with a strong length of white yarn. Tie a second securing knot. Cut the loops on both sides and trim the strands gradually into a round pom-pom, approximately 1–1.5 cm across.
Keep the two central tying tails long. Thread them through the hat tip, tie securely inside and stitch through the center of the pom-pom and hat fabric several times. Check for loose strands and trim them. The fluffy white pom-pom follows the finish shown in the main reference image.
Striped Scarf
Start in red. Row 1: Ch 5; sc in the second chain and each remaining chain. (4)
Row 2: Ch 1, turn. Sc across. (4)
Change to white. Work two rows of 4 sc, chaining 1 and turning for each row. Continue alternating two red rows and two white rows until you have approximately 54 rows, or a strip long enough to wrap once around the neck with two short hanging ends. End with a red stripe if desired.
Complete the final pull-through of the stitch before a color change with the next color. Cut and securely weave in the ends, or carry the resting yarn neatly up one edge without pulling it tight. Fasten off. This version creates simple horizontal stripes; the stitch texture may differ from the scarf in the reference.
Assemble Your Penguin Keychain
- Join the head and body. Center the body opening under the head. Sew the 12 neck stitches to a matching circle on the head underside, around its Round 13. Go around the seam twice for a firm join, checking that the face points toward the belly.
- Attach the wings and feet. Pin the wings symmetrically near Body Rounds 12–14, angled downward. Sew the feet underneath the front edge of the body.
- Finish the face. Attach the beak. Embroider two or three short pink stitches beneath the outer edge of each eye for cheeks.
- Secure the hat. Pin it above the face and stitch the brim to the head at several points. Keep the top slightly relaxed.
- Add the scarf. Wrap it around the neck with one end longer than the other. Tack the crossing and back of the scarf to the body so it stays in place.
- Add the keychain. Make a small loop at the crown using doubled black yarn. Pass the needle through several head stitches and repeat the anchoring stitches. Bring the loop through the hat fabric beside the pom-pom and secure the chain to it with a closed ring. The load should be carried by the head, rather than by the pom-pom or hat brim.
Weave in every remaining tail and gently tug the seams and attachment loop to check their security. This is a decorative accessory with small parts and metal hardware, intended for adults rather than as a baby toy.
Troubleshooting
The stuffing shows through the black stitches
Use a smaller hook or reduce the amount of stuffing. The body should feel firm but the stitches should not stretch apart. Check that each round has the stated stitch count before continuing.
The face looks uneven
Pin both white patches before sewing. Check eye spacing from the front, then compare the height of each eye. Attach safety-eye backings only after the positioning looks balanced.
The hat does not fit
Try it on before finishing the white brim. If it is too tight or loose despite correct counts, remake the hat using a slightly larger or smaller hook. Different yarn brands can produce noticeably different fabric even within the same labeled weight.
The scarf covers the face
Keep it below the beak and tack it to the neck. If necessary, remake it three stitches wide instead of four, keeping the same two-row stripe sequence.
Frequently Asked Questions
Is this Christmas penguin keychain crochet pattern suitable for beginners?
Confident beginners can work it if they are comfortable with magic rings, increases, decreases and sewing. The small black stitches and facial placement require patience and good lighting.
Can I make it without keychain hardware?
Yes. Omit the metal ring and chain for a small display decoration, or use a longer anchored yarn loop to hang it on a Christmas tree.
Can I use thicker yarn?
Yes, with an appropriately smaller-than-label hook for firm amigurumi fabric. The penguin will be larger, and its hat and scarf fit should be checked during assembly.
Will my penguin look exactly like the photos?
The reference guides the colors and festive styling. This written adaptation uses separate white face patches, a sewn belly and a fluffy white pom-pom. It has not been sample-tested, so exact proportions and appearance may vary.
More Small Crochet Projects
For another accessory, try the Crochet Amigurumi Bag Keychain Pattern. For a flat animal-themed project, explore the Flat Bee Appliqué Crochet Pattern.
Save This Festive Penguin
Save this Christmas penguin keychain crochet pattern to Pinterest for your holiday project list. When sharing your finished penguin, mention lovelyamigurumi and include your yarn, hook size and finished measurements to help other crocheters compare results.
Penguin Reference Gallery
Explore all six reference images for this festive penguin project.