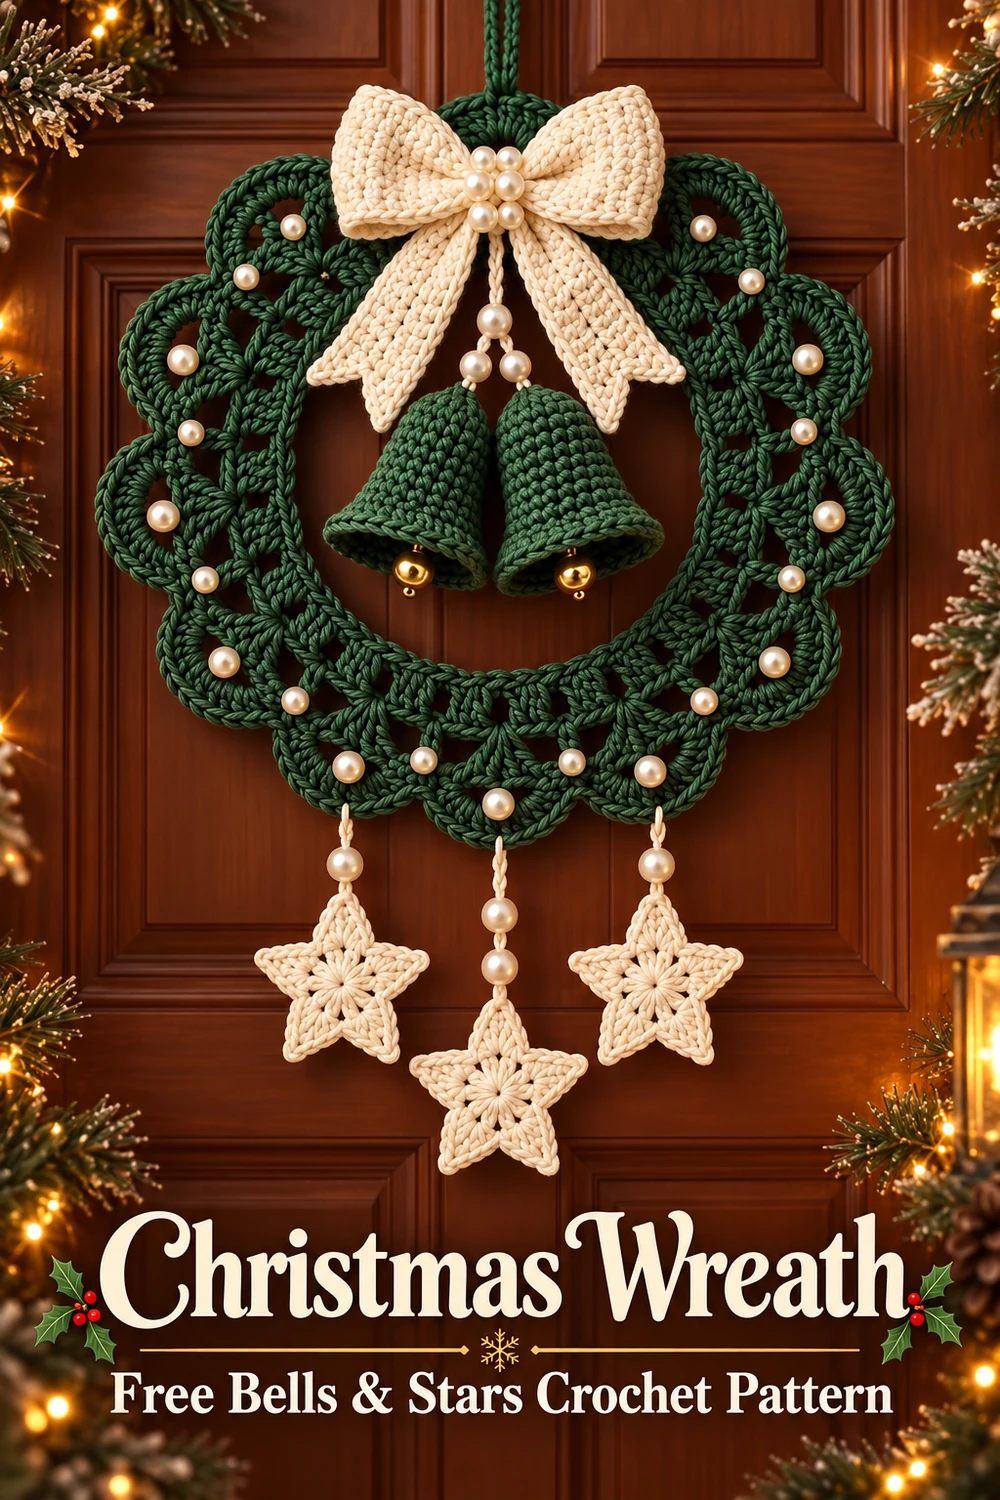
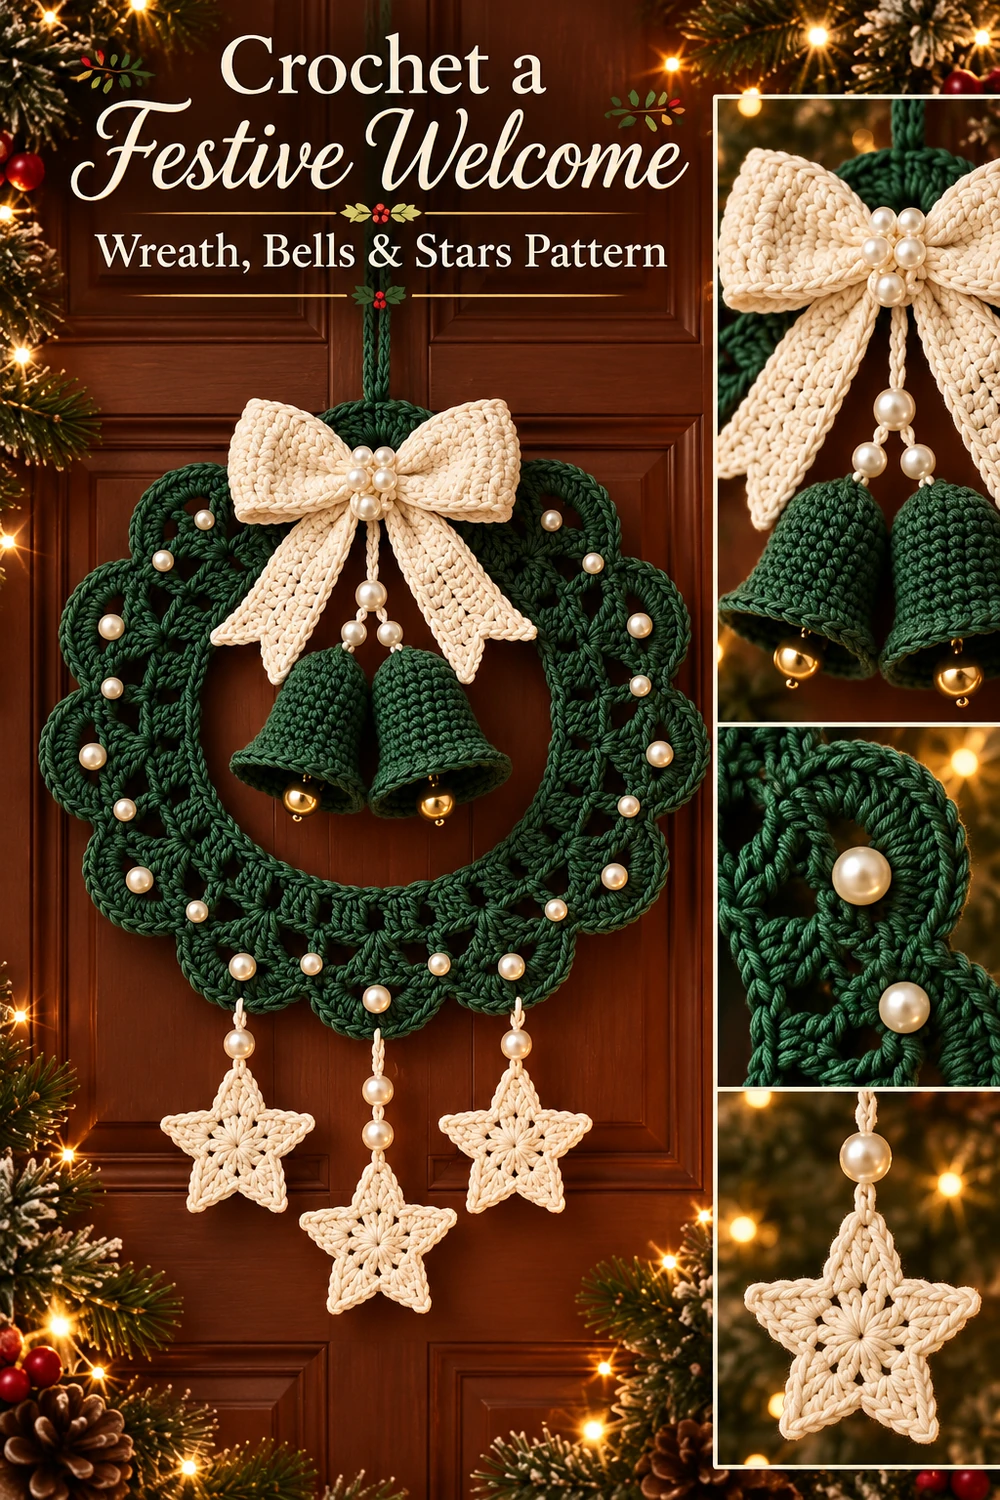
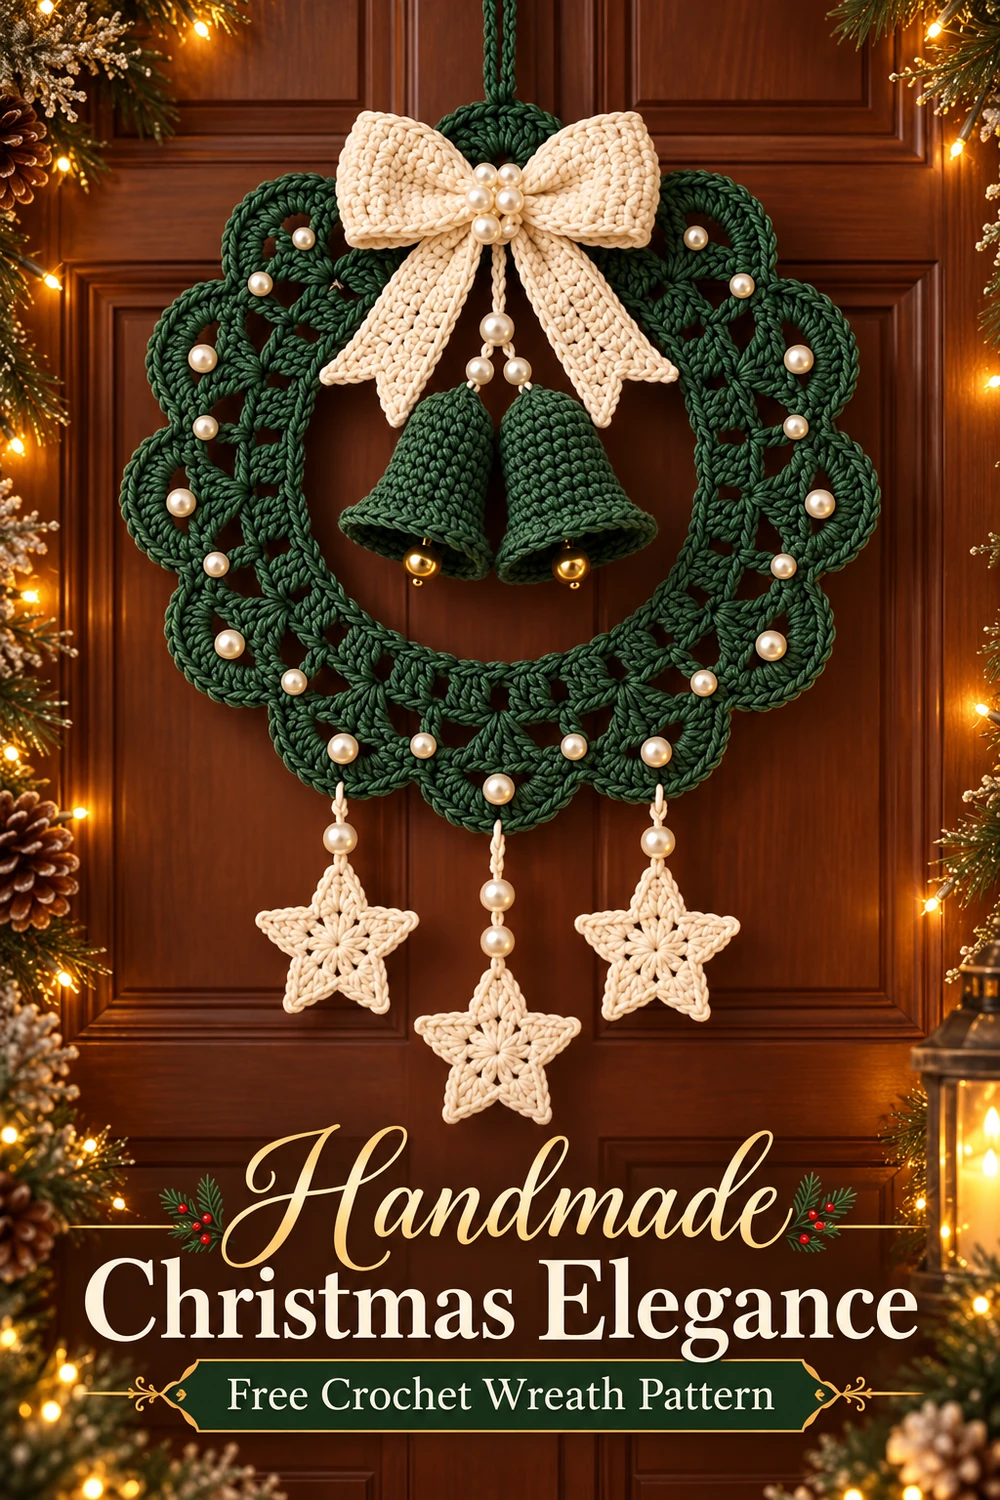
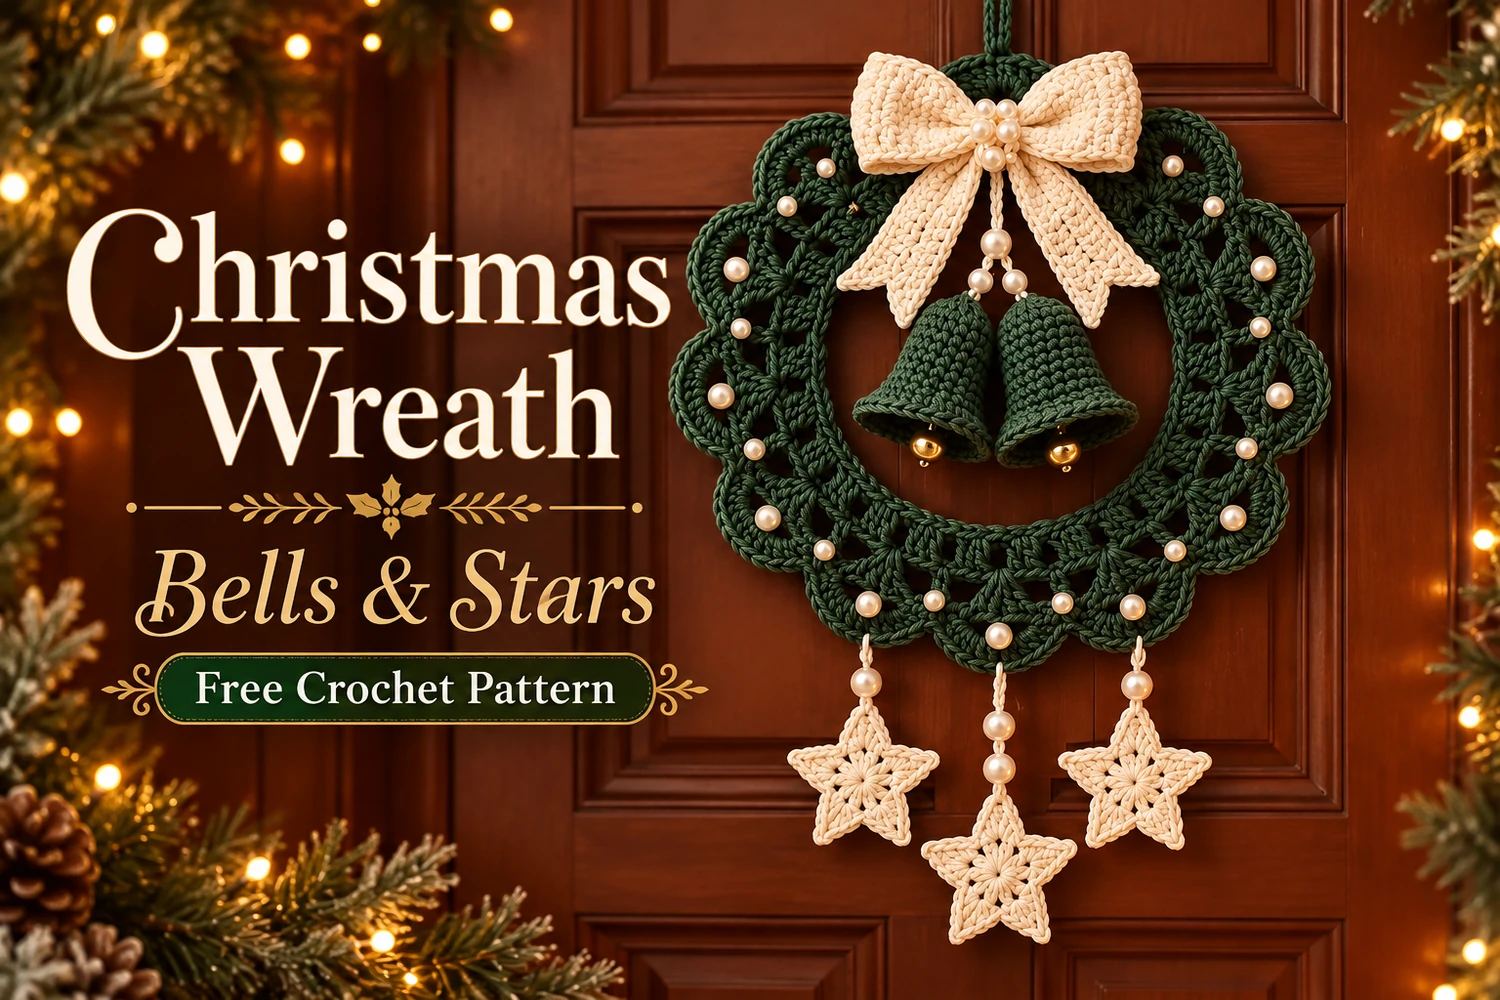
This Christmas Wreath with Bells and Stars Crochet Pattern creates a dark green lace wreath with ivory pearls, a large cream bow, two green bells, and three five-point stars. The middle star hangs lower than the side stars, recreating the balanced arrangement in the reference.
Crochet the wreath around a support hoop, make the decorations separately, and attach the hanging cords directly to the covered hoop. The bow covers the upper attachments while the open center frames the two bells.
Pattern Information
- Skill level: intermediate; lace repeats, small motifs, and secure assembly.
- Terminology: US crochet terms.
- Approximate finished diameter: 17–21 cm around a 12 cm support hoop; total height with pendants about 30–38 cm. Tension affects the size.
- Construction: supported circular lace base, separate bow, two hollow crochet bells, and three flat stars.
This is an image-inspired adaptation. The repeat totals have been reviewed, but the pattern has not been physically crocheted or independently tested. Use the written instructions for stitch placement; photos illustrate the intended design.
Materials
- DK cotton: approximately 70–90 g forest green and 35–50 g ivory.
- 3 mm hook; a slightly smaller hook for the bells if needed.
- A smooth 12 cm craft hoop, fully covered by the crochet foundation.
- Approximately 25–35 sew-on ivory pearl beads in a few sizes.
- Two small gold craft bells for the clappers.
- Strong matching cord or doubled cotton for the hanging loop and pendants.
- Tapestry needle, fine sewing needle, strong thread, scissors, and pins.
Keep the bells and pearls lightweight. The support hoop carries the ornament weight. This is a hanging decoration with small parts and long cords; display it away from young children and pets.
Abbreviations and Notes
- ch: chain; sl st: slip stitch.
- sc: single crochet; hdc: half double crochet; dc: double crochet; tr: treble crochet.
- inc: 2 sc in one stitch; dec: sc2tog over the next 2 stitches.
- BLO: back loop only; MR: magic ring.
- A shell is 7 separate dc worked into one chain space.
The wreath uses joined rounds without turning. Starting ch 3 counts as a dc in wreath R2. Starting ch 1 and joins do not count. The bells use continuous rounds with a marker. Bow and tail pieces use turned rows; their turning chains do not count.
Christmas Wreath with Bells and Stars Crochet Pattern
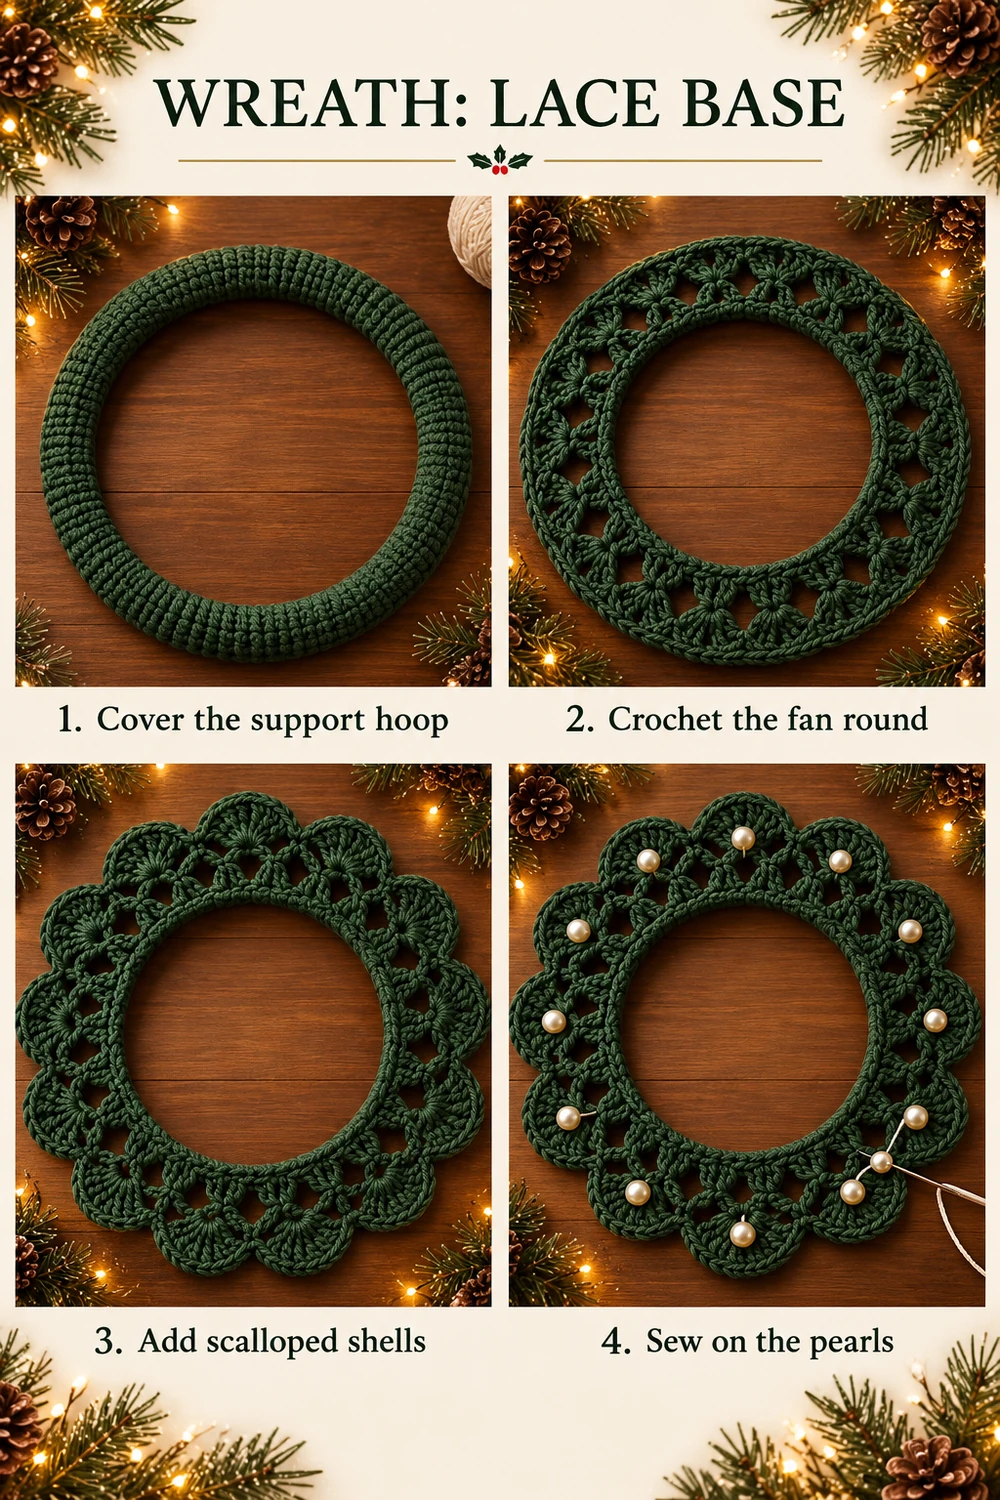
1. Cover the Hoop — Round 1
Join green yarn around the craft hoop and work 96 sc directly around it, enclosing the hoop inside every stitch. Slide the stitches evenly around the circumference so the hoop is covered without crowding. Join to the first sc. [96 sc] Mark this join as the top of the wreath.
The following lace repeats require exactly 96 foundation stitches. Check that they fit your hoop before continuing. If they are too crowded or too widely spaced, adjust the hook or hoop size rather than changing the repeat count at random.
2. Fan Round — Round 2
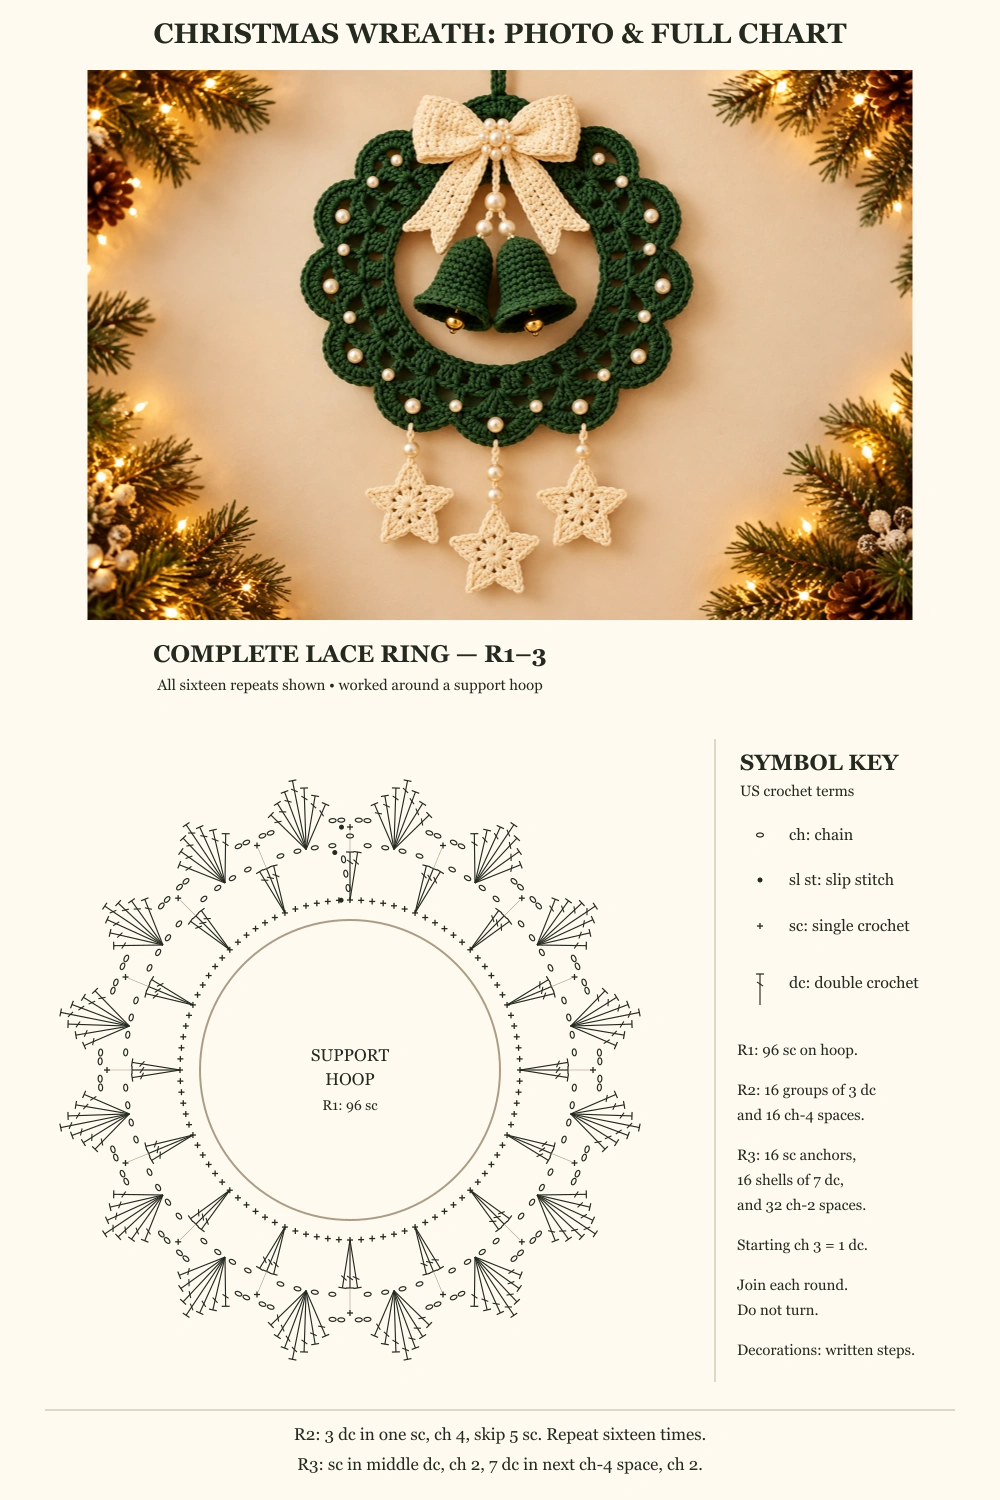
Ch 3, then 2 dc in the same first sc; ch 4, skip the next 5 sc. Repeat (3 dc in the next sc, ch 4, skip 5 sc) fifteen more times. Join to the top of the starting ch 3. [16 groups of 3 dc; 16 ch-4 spaces] Each repeat uses six foundation stitches, so all 96 are accounted for.
3. Scalloped Shells — Round 3
Sl st into the next dc, which is the middle dc of the first group. Ch 1 and sc into that same middle dc. Ch 2, work 7 dc into the next ch-4 space, ch 2. Repeat around: sc into the middle dc of the next group, ch 2, 7 dc in the next ch-4 space, ch 2. Skip the first and third dc of every group. Join to the first sc and fasten off. [16 sc anchors, 16 shells containing 112 dc, and 32 ch-2 spaces]
Shape the lace evenly around the hoop. If needed, lightly dampen only the cotton and pin the shells into a circle while drying. Do not stretch the inner hoop or force the shell tips outward. There is no additional crochet border.
4. Sew the Wreath Pearls
Place one pearl near the center of each of the sixteen outer shells. Alternate small and larger beads if desired. Sew through each bead and the dense center of its shell at least three times with strong thread. Secure the thread on the back and conceal travel stitches within the crochet.
Add a few smaller pearls at selected inner fan anchors to follow the reference. Keep the spacing balanced and leave the top area clear for the large bow. Do not attach a heavy bead only to a loose chain arch.
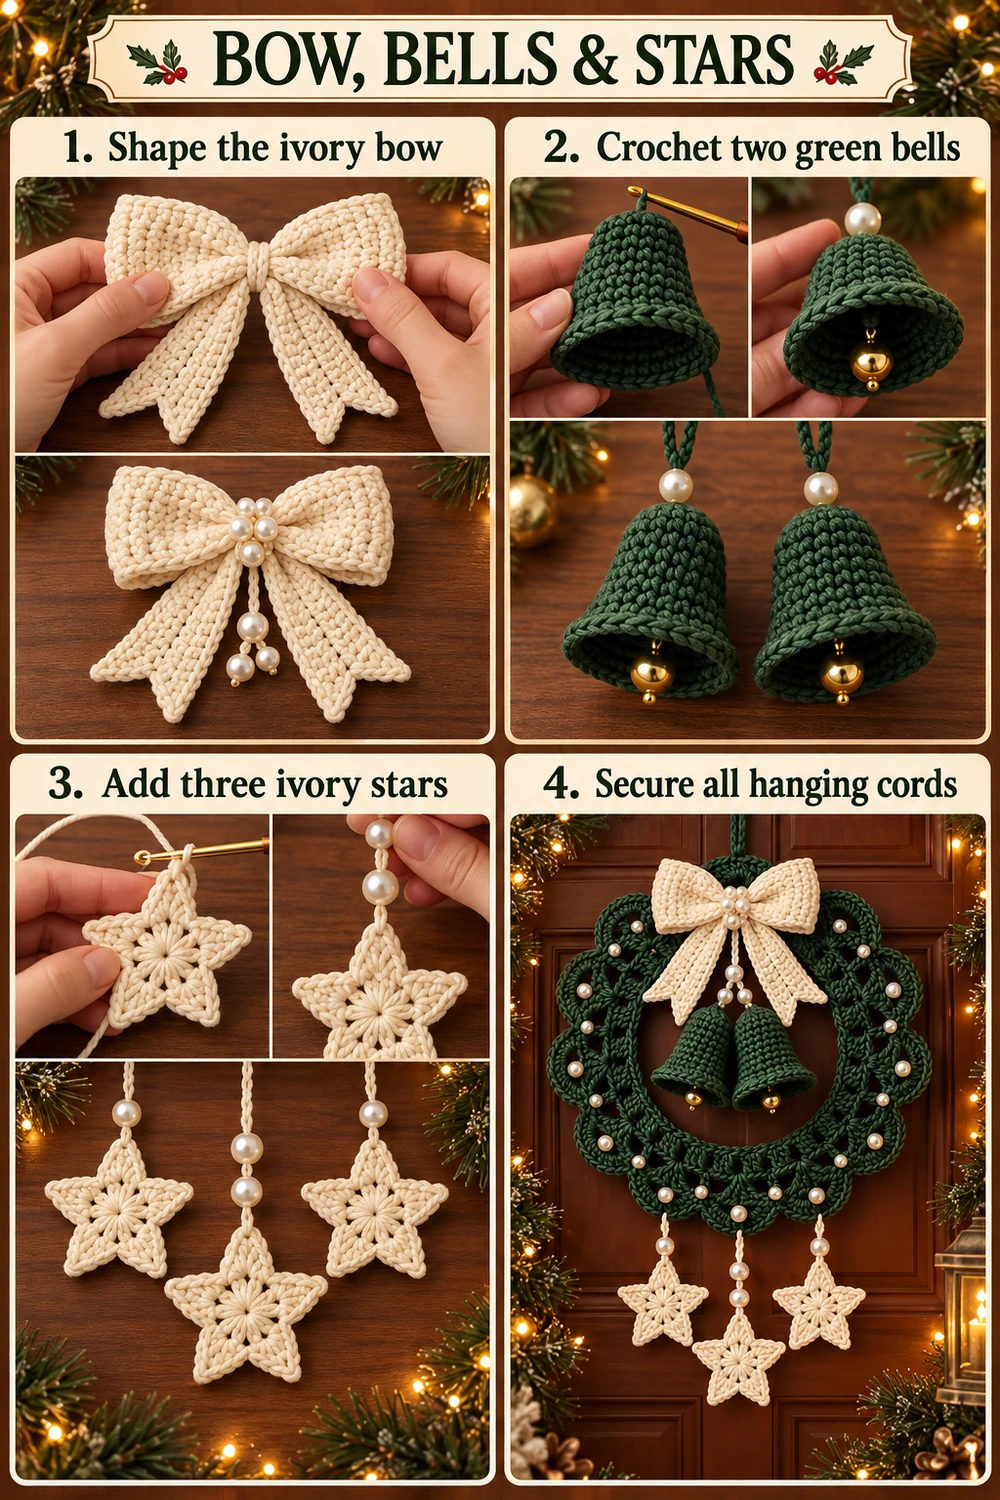
5. Two Hollow Green Bells
- R1: 6 sc in MR. [6]
- R2: inc × 6. [12]
- R3: (sc, inc) × 6. [18]
- R4–7: 18 sc each round. [18]
- R8: (2 sc, inc) × 6. [24]
- R9: (3 sc, inc) × 6. [30]
- R10: 30 sc BLO. [30]
Sl st in the next stitch, fasten off, and weave in the lower tail. Leave the bell opening unclosed and unstuffed. Flare the lower rim gently with your fingers. Make two identical bells.
For each clapper, secure a gold craft bell to a short strong doubled thread. Pass the thread through the center of the crochet bell crown and anchor it through several nearby stitches. Adjust the length so the gold bell just peeks below the green rim. Knot and sew the attachment securely at the crown; hide it beneath the upper hanging cord.
6. Large Ivory Bow
Loop Band
Ch 41 in ivory. Row 1: hdc in the third chain and each remaining chain [39 hdc]. Rows 2–6: ch 2, turn, 39 hdc. Fasten off with a long tail. The two skipped chains in row 1 do not count as a stitch.
Lay the band flat and fold both short ends to the center back. Sew those ends together, creating a flattened loop. Pinch the middle into two bow loops and hold it with a few strong sewing passes. The full band width folds in half to form the bow width.
Two Pointed Tails
For each tail, ch 8. Row 1: hdc in the third chain and each remaining chain [6]. Continue in rows of 6 hdc, turning with ch 2. Make one tail 10 hdc rows long and the other 12 hdc rows long. For the next row, ch 1, turn, dec, 2 sc, dec [4]. Final row: ch 1, turn, dec twice [2]. Fasten off. Sew the wide ends behind the bow center and angle the tails downward and apart.
Center Wrap and Pearls
Ch 7, then sc in the second chain and across [6]. Work two more rows of 6 sc, turning with ch 1. Wrap this short strip around the pinched bow center and sew the ends at the back. Sew a small cluster of ivory pearls over the front wrap, catching the dense wrap stitches with multiple thread passes.
7. Three Five-Point Ivory Stars
Use ivory and work joined rounds without turning.
- R1: 10 hdc in MR; close and join. [10 hdc]
- R2: repeat five times: sl st in next stitch; in the next stitch work (hdc, dc, tr, ch 2, tr, dc, hdc). Join to the first worked valley sl st. [5 valley sl st, 10 hdc, 10 dc, 10 tr, five ch-2 tips]
- R3: ch 1; sc into each of the 35 worked stitches of R2, including its five valley slip stitches. In each ch-2 tip space work (sc, ch 2, sc). Skip the extra round-joining slip stitch. Join and fasten off. [45 sc; five ch-2 tips]
Weave in the ends and lightly block the five points. Make three stars. The stars are flat and do not need stuffing. The full base chart below belongs to the wreath ring; follow these separate star instructions for the pendants.
8. Hanging Cords and Assembly
Attach a strong green hanging loop directly around the covered support hoop at twelve o’clock. Sew it through several dense foundation stitches and use multiple passes. The loop must carry the hoop itself, not only a lace shell.
Suspend the two green bells from cream cords attached to the covered hoop under the bow position. Add an ivory pearl above each bell if desired. Set the two bell crowns at similar heights and angle their openings slightly outward. Secure the cords at their crowns and at the hoop. The large bow will hide the upper joins.
Sew the bow center firmly to the covered hoop at the top. Use at least three separated attachment points so it cannot rotate. Let its tails frame the bell cords without covering both bells.
Attach the three stars to the covered hoop near five, six, and seven o’clock. Use cream cords approximately 4–6 cm long for the two side stars and 8–10 cm for the center star, measured between wreath and star after attachment. Place one pearl on each side cord and two on the longer center cord. Anchor both ends through dense crochet and the support hoop area rather than the outer lace alone.
Lay the wreath flat and adjust the cord lengths before fastening permanently. The center star should hang below both side stars. Check every bead, clapper, and suspension join with a gentle tug over a soft surface. Conceal the remaining tails on the back.
Photo and Full Crochet Chart
The third instructional image below places the finished wreath photograph above a complete connected chart of all three wreath rounds, with the full sixteen-repeat circle and an English legend. The foundation is worked around the support hoop, which is shown as an open ring. Bow, bells, and five-point stars follow their separate written directions above.
Finishing Tips
- Keep all sixteen shells evenly distributed before sewing beads.
- Use lightweight pearls so the lace retains its shape.
- Sew the loop and pendants to the covered support hoop, not a single chain arch.
- Do not stuff the hollow crochet bells.
- Keep the two side star cords equal in length.
- Spot-clean carefully and protect metal clappers and beads from prolonged soaking.
Frequently Asked Questions
Can I leave out the metal bells?
Yes. Use a small gold-colored yarn ball as the clapper or leave the hollow bells plain. The two green crochet bells remain the same.
Can I omit the pearls?
Yes. The crochet structure and hanging arrangement do not depend on them. Sew the bow center neatly and use plain cream cords for the pendants.
Can I make it without the support hoop?
This version is designed around a hoop. It supports the weight of the bow, beads, and pendants. Omitting it can distort the circular lace.
More Free Christmas Crochet Patterns
- Christmas Bell Ornament Crochet Pattern
- Embroidered Christmas Star Crochet Pattern
- Granny Reindeer Ornament Crochet Pattern
Save This Pattern
Save this Christmas Wreath with Bells and Stars Crochet Pattern for an elegant green-and-ivory holiday decoration. Happy crocheting from Lovely Amigurumi!
Photo Tutorials, Full Wreath Chart, and Pinterest Gallery
The two photo tutorials and finished-wreath photo with its complete base chart come first, followed by three Pinterest images. All six images are grouped here at the end.