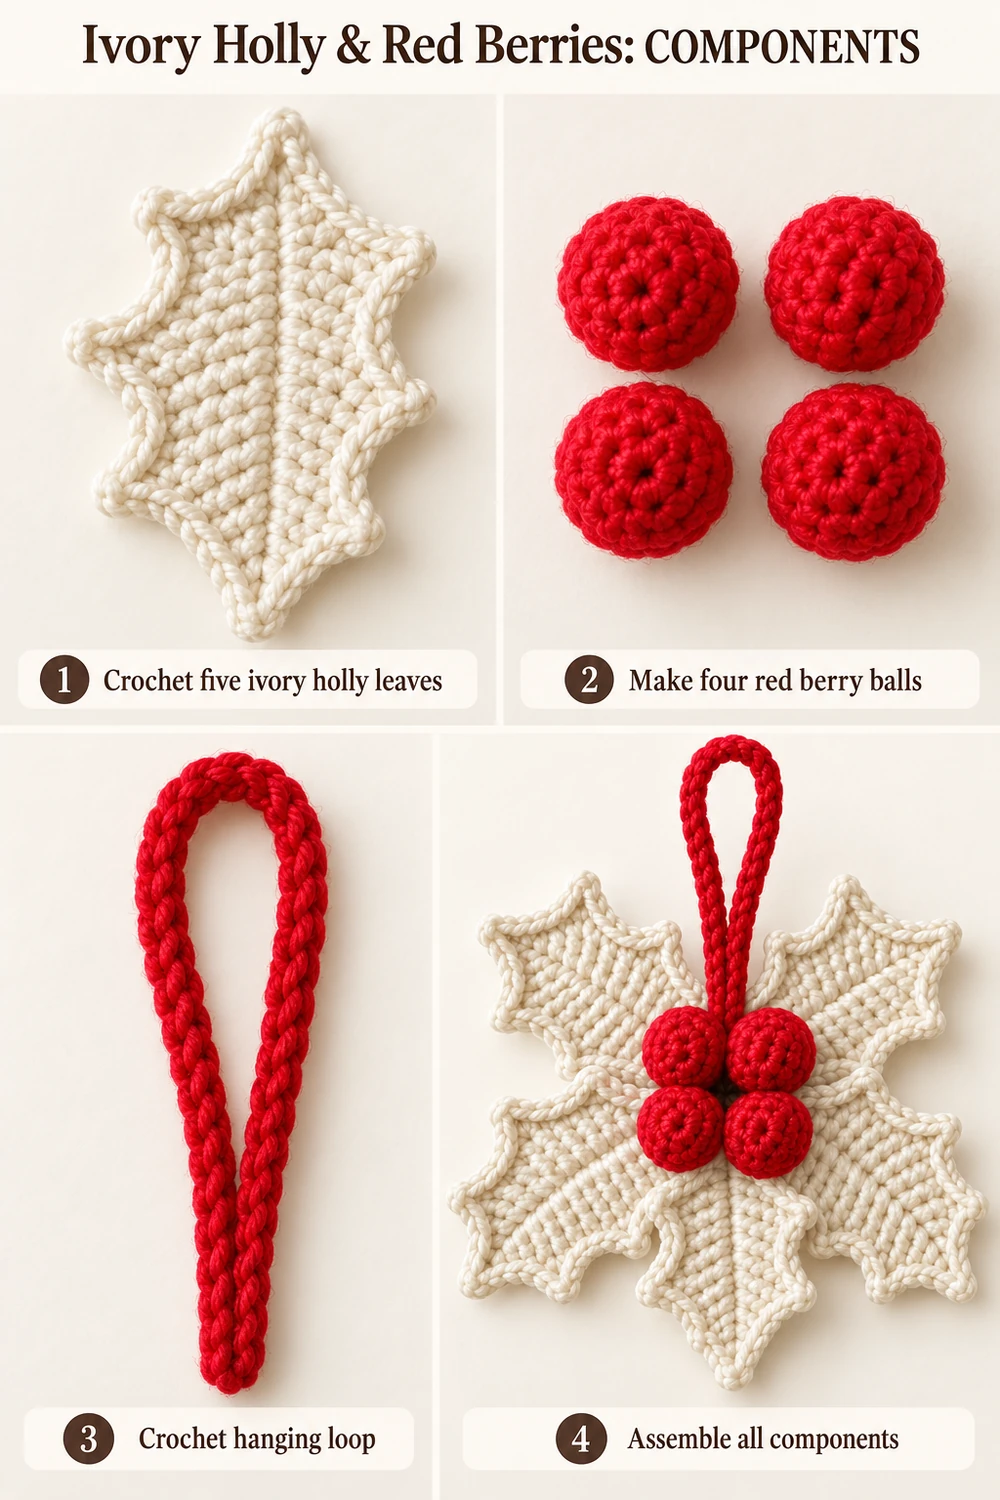
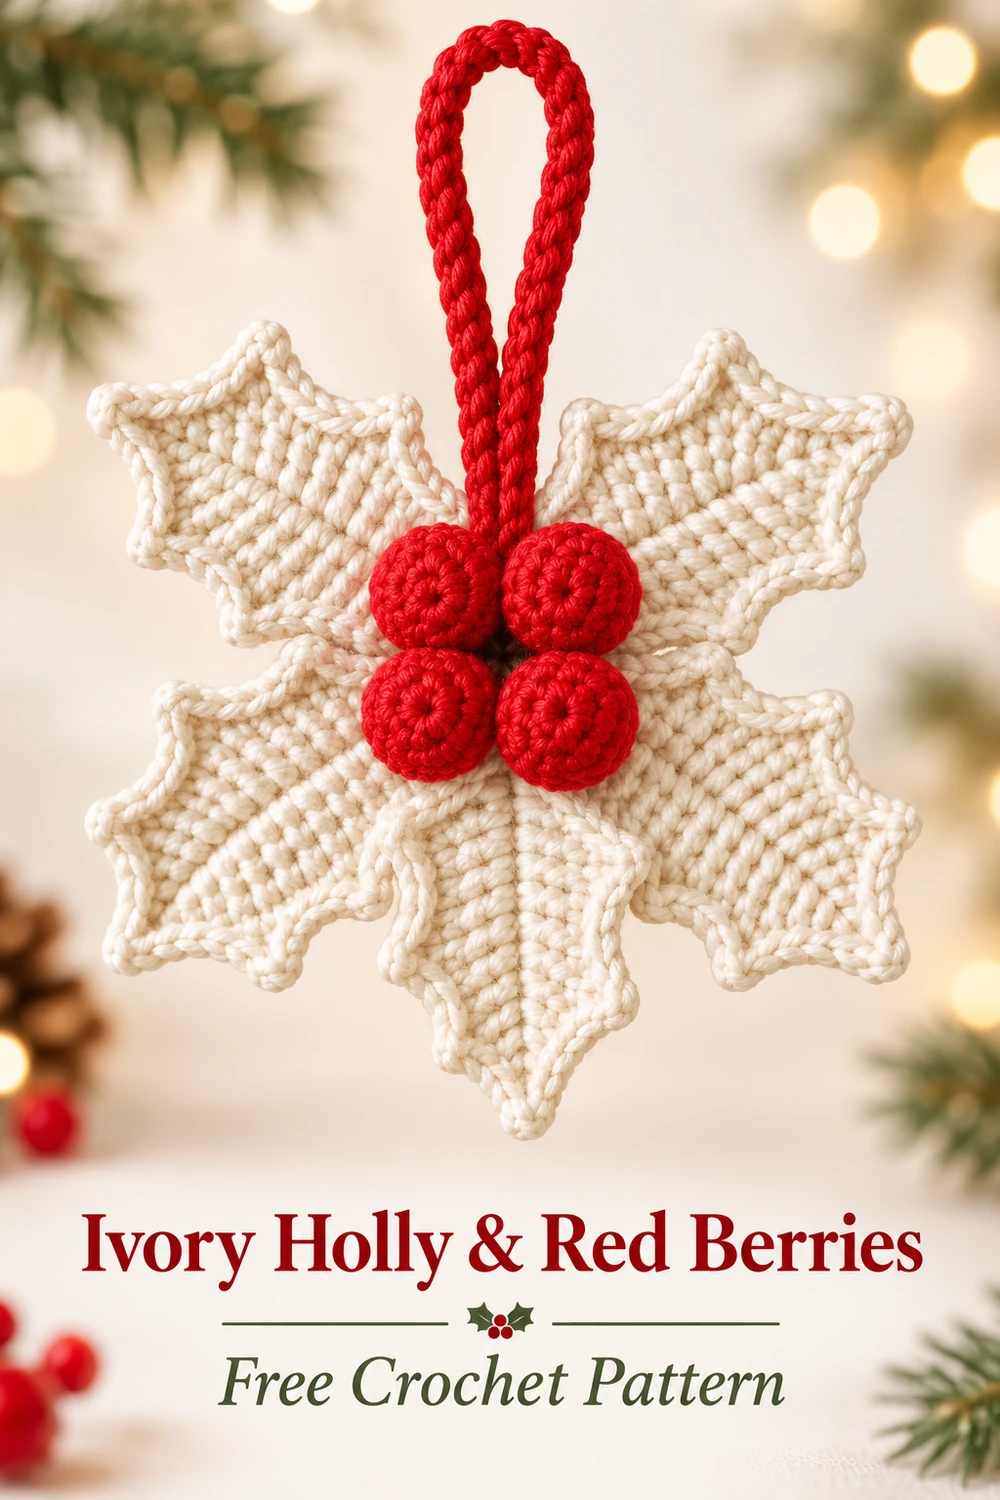
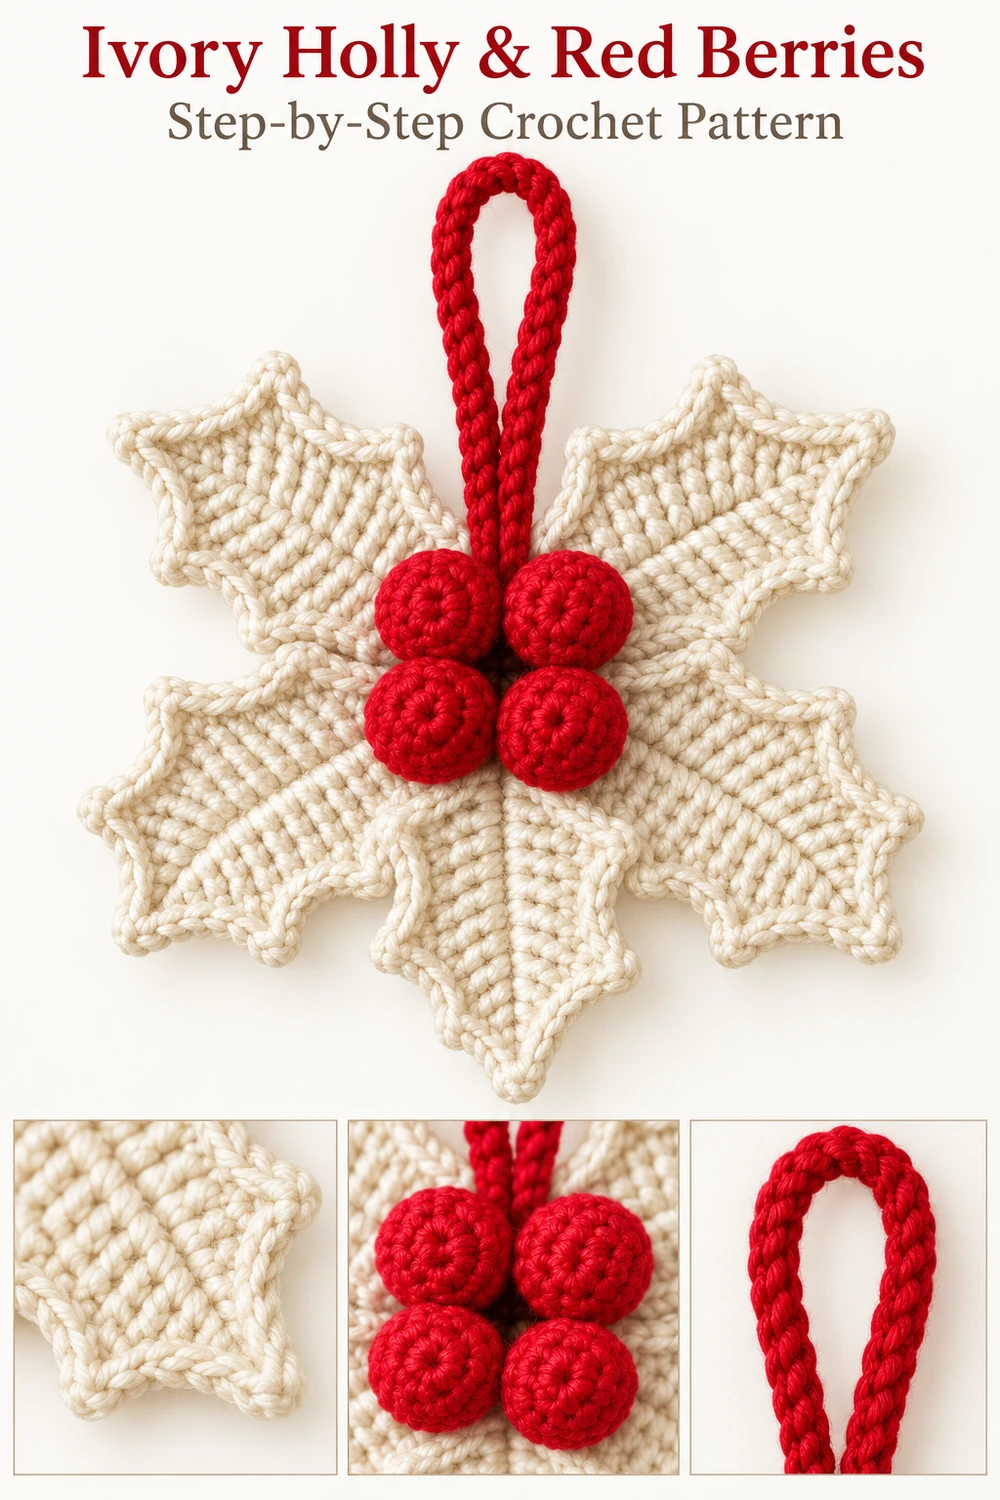
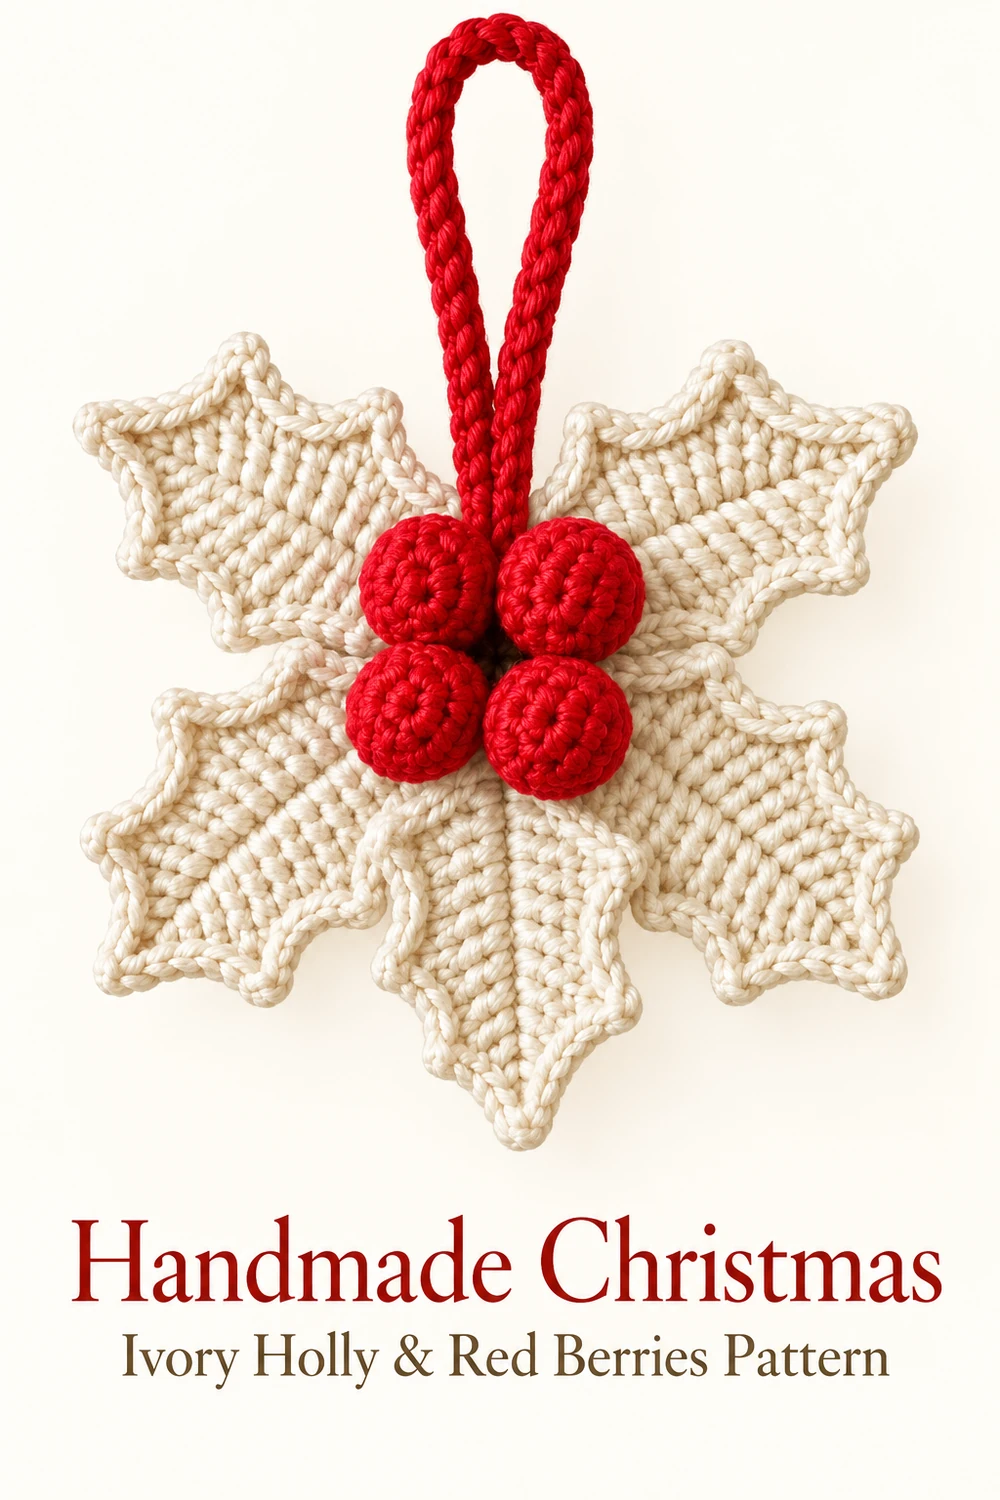
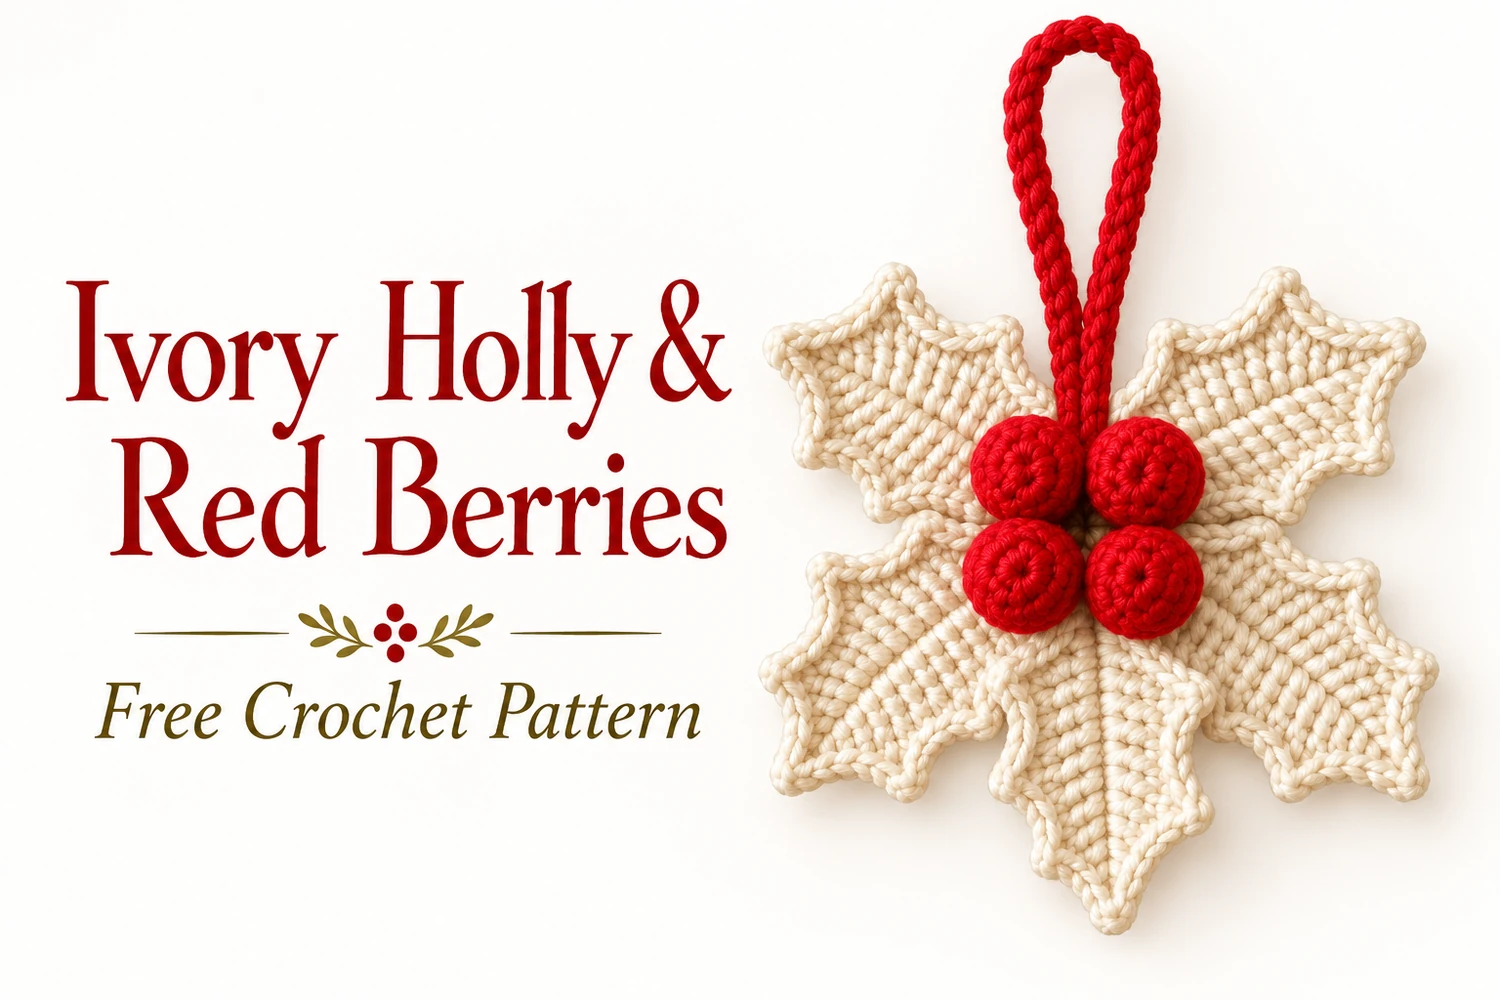
This Ivory Holly Berry Ornament Crochet Pattern makes a five-leaf ivory rosette with four round red berries and a red hanging loop. Serrated leaf edges and raised central veins follow the distinctive look of the reference.
Make five flat holly leaves, arrange them around a small backing disc, and sew the berries in a two-by-two cluster over their joined bases. The leaf tips stay free so the ornament has a natural layered shape.
Pattern Information
- Skill level: intermediate, including edging and small-piece sewing.
- Estimated diameter: 12–15 cm in DK cotton with a 2.5–3 mm hook. Actual size depends on tension.
- Construction: five unstuffed leaves, four lightly stuffed berries, one backing disc, and a reinforced loop.
This is an image-inspired adaptation in US crochet terms. Stitch and repeat counts have been reviewed, but the design has not been physically crocheted or independently tested. Follow the written instructions for exact construction; the photographs illustrate the intended appearance.
Materials
- DK cotton: approximately 30–40 g ivory and 10–15 g red.
- 2.5–3 mm crochet hook.
- A small amount of polyester stuffing for the berries.
- Tapestry needle, scissors, pins, stitch markers.
Stitches and Abbreviations
- ch: chain; sl st: slip stitch; MR: magic ring.
- sc: single crochet; hdc: half double crochet; dc: double crochet; tr: treble crochet.
- inc: 2 sc in the same stitch; dec: sc2tog over the next 2 stitches.
- BLO/FLO: back/front loop only.
- Picot: ch 3, sl st into the first of those three chains.
- Counts in brackets exclude turning chains and joining slip stitches.
Ivory Holly Berry Ornament Crochet Pattern
1. Ivory Leaf — Make Five
Ch 13. The twelve working foundation chains form the center line. Work around both sides of the chain without turning.
- R1, first side: from the second chain, work sc, hdc, dc, dc, tr, tr, tr, dc, dc, hdc, sc into the next eleven chains.
- In the final chain work (sc, ch 2, sc) for the leaf tip.
- Return along the unused loops of the opposite side of the foundation: sc, hdc, dc, dc, tr, tr, tr, dc, dc, hdc, sc. Join to the first sc. [24 worked stitches; one ch-2 tip]
The two tall-stitch sections widen the middle of the leaf. The starting end is the base; the ch-2 space at the other end is the tip.
2. Serrated Border
Ch 1. Along the first twelve worked stitches of R1: sc in the next 2 stitches, picot; sc in the next 3, picot; sc in the next 3, picot; sc in the next 4. In the ch-2 tip space work (sc, picot, sc). Down the second side: sc in the next 4 stitches, picot; sc in the next 3, picot; sc in the next 3, picot; sc in the final 2. Join to the first sc.
R2 has 26 sc and seven picots: three along each side plus one at the tip. Each picot is an extra edging detail; do not count its slip stitch as another body stitch. Fasten off with a long tail at the leaf base.
3. Raised Center Vein
With ivory, use surface slip stitches along the original foundation chain from the base toward the tip. Keep the working yarn behind the leaf and pull each loop through the next foundation position. Stop before the tip edging. Fasten off and weave in the vein ends without pulling the leaf inward. A line of small chain-embroidery stitches is an alternative.
4. Small Ivory Backing Disc
Work continuous rounds: R1, 6 sc in MR [6]; R2, inc × 6 [12]; R3, (sc, inc) × 6 [18]. Sl st in the next stitch and fasten off. Leave a sewing tail. This disc supports the leaf bases and hanging loop behind the berry cluster.
5. Four Red Berries
Work each berry in continuous rounds with red: R1, 6 sc in MR [6]; R2, inc × 6 [12]; R3, 12 sc [12]. Add a tiny tuft of stuffing. R4, dec × 6 [6]. Fasten off, thread the tail through the six front loops, and gather closed. Keep a tail for sewing. Make four similar berries; do not overstuff them until stitch holes open.
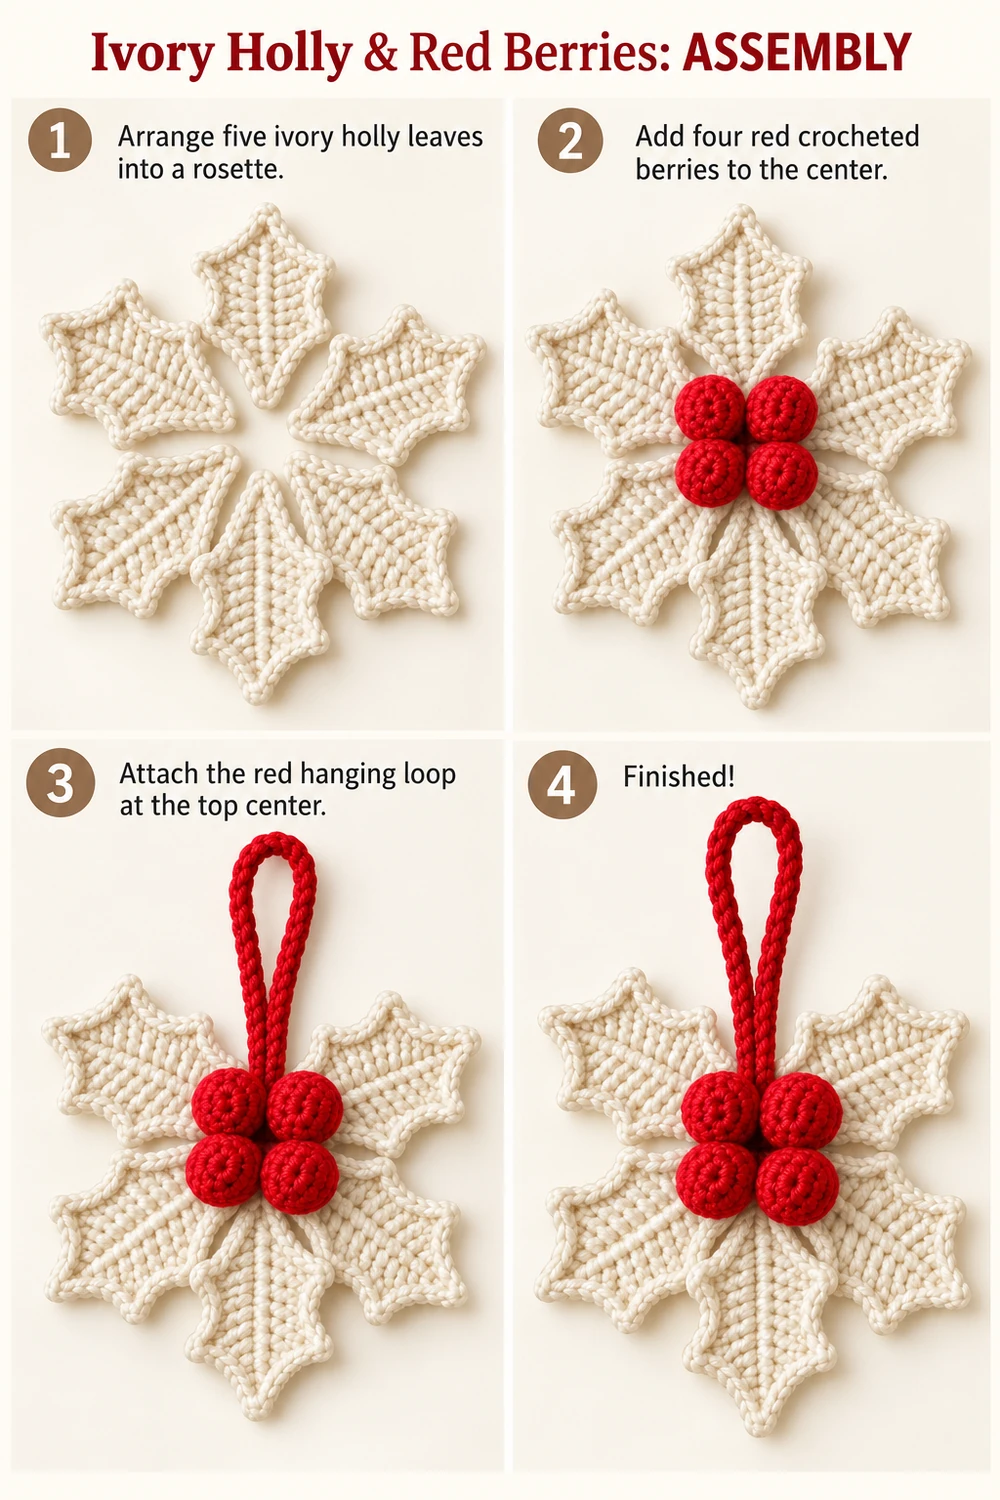
6. Arrange the Five Leaves
Lay the backing disc flat. Place five leaf bases over it with their tips pointing outward. Rotate the rosette so one leaf points straight down, two point toward the lower sides, and two spread across the upper sides, leaving a small opening for the red cord at the top. Pin before sewing.
Overlap only the bottom 1–1.5 cm of each leaf. Sew the bases to the disc and to neighboring bases through dense stitches. Leave the serrated sides and tips free. The disc must be hidden when viewed from the front.
7. Red Hanging Loop and Berry Cluster
Ch 35 in red, or adjust to your preferred loop length. Fasten off with two long tails. Fold the chain and sew both ends securely to the backing disc, catching several stitches and making at least four passes. Bring the loop out through the upper gap between leaves.
Pin the four berries over the leaf bases in a compact two-by-two cluster. Sew each berry through its gathered base and the disc below, taking several passes. Add a few hidden stitches between adjacent berry bases so the cluster does not separate. Keep the red loop attachment beneath the upper berries.
Finishing and Care
Lightly damp-block the leaves before final assembly if they curl. Pin the picots gently and allow them to dry fully. Do not flatten the stuffed berries. Check the loop and berry seams with a gentle tug, then weave in all tails. This is a hanging decoration with small sewn parts and a long loop; display it out of reach of young children and pets.
Frequently Asked Questions
Can I use green leaves?
Yes, although ivory leaves with red berries match the supplied reference. Keep the stitch counts unchanged.
Can I leave out the stuffing?
The leaves and disc stay unstuffed. The berries need only a tiny amount for their round shape; reduce it if you prefer a softer cluster.
How do I stop the leaves from twisting?
Keep the center vein relaxed, block before assembly, and sew each base across its width rather than at a single point.
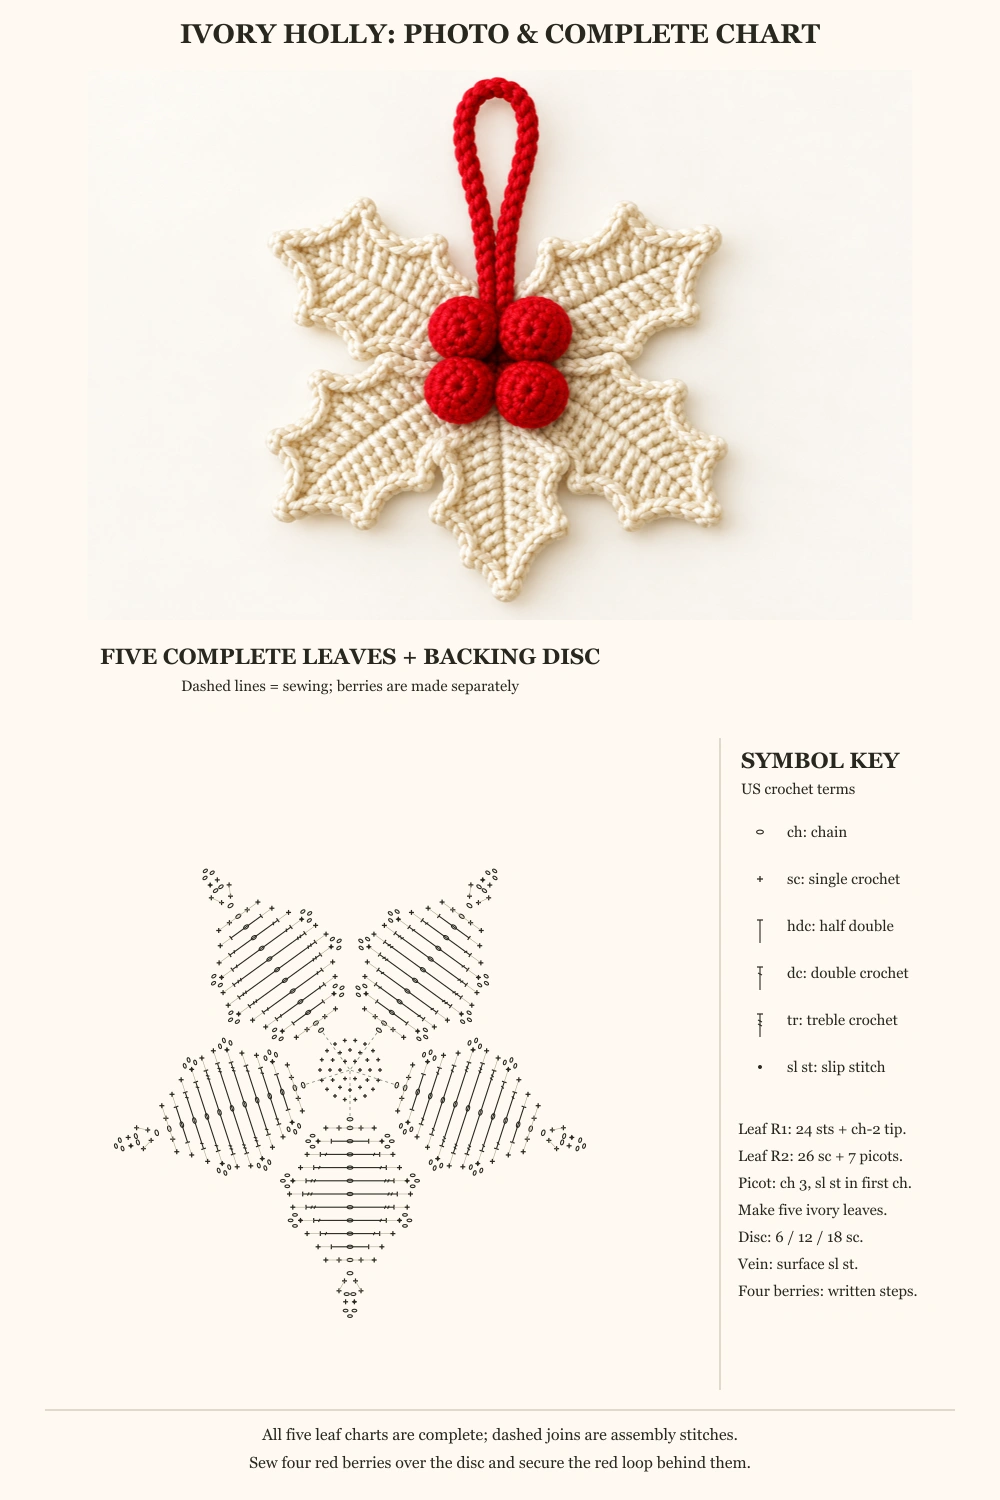
Photo and Complete Crochet Chart
The chart shows all five complete leaf bases and their serrated borders in the rosette arrangement. The dotted assembly lines indicate sewing, not crochet stitches. The berry and backing-disc instructions are given separately above. The English legend identifies the mixed-height stitches and picots.
More Free Christmas Crochet Patterns
- Granny Reindeer Ornament Crochet Pattern
- Embroidered Christmas Star Crochet Pattern
- Simple Christmas Tree Garland Crochet Pattern
Save This Pattern
Save this Ivory Holly Berry Ornament Crochet Pattern for a handmade holiday project. Happy crocheting from Lovely Amigurumi!
Photo Tutorials, Crochet Chart, and Pinterest Gallery
The two photo tutorials and finished-project photo above its complete crochet chart come first, followed by three Pinterest images. All six images are grouped here at the end.