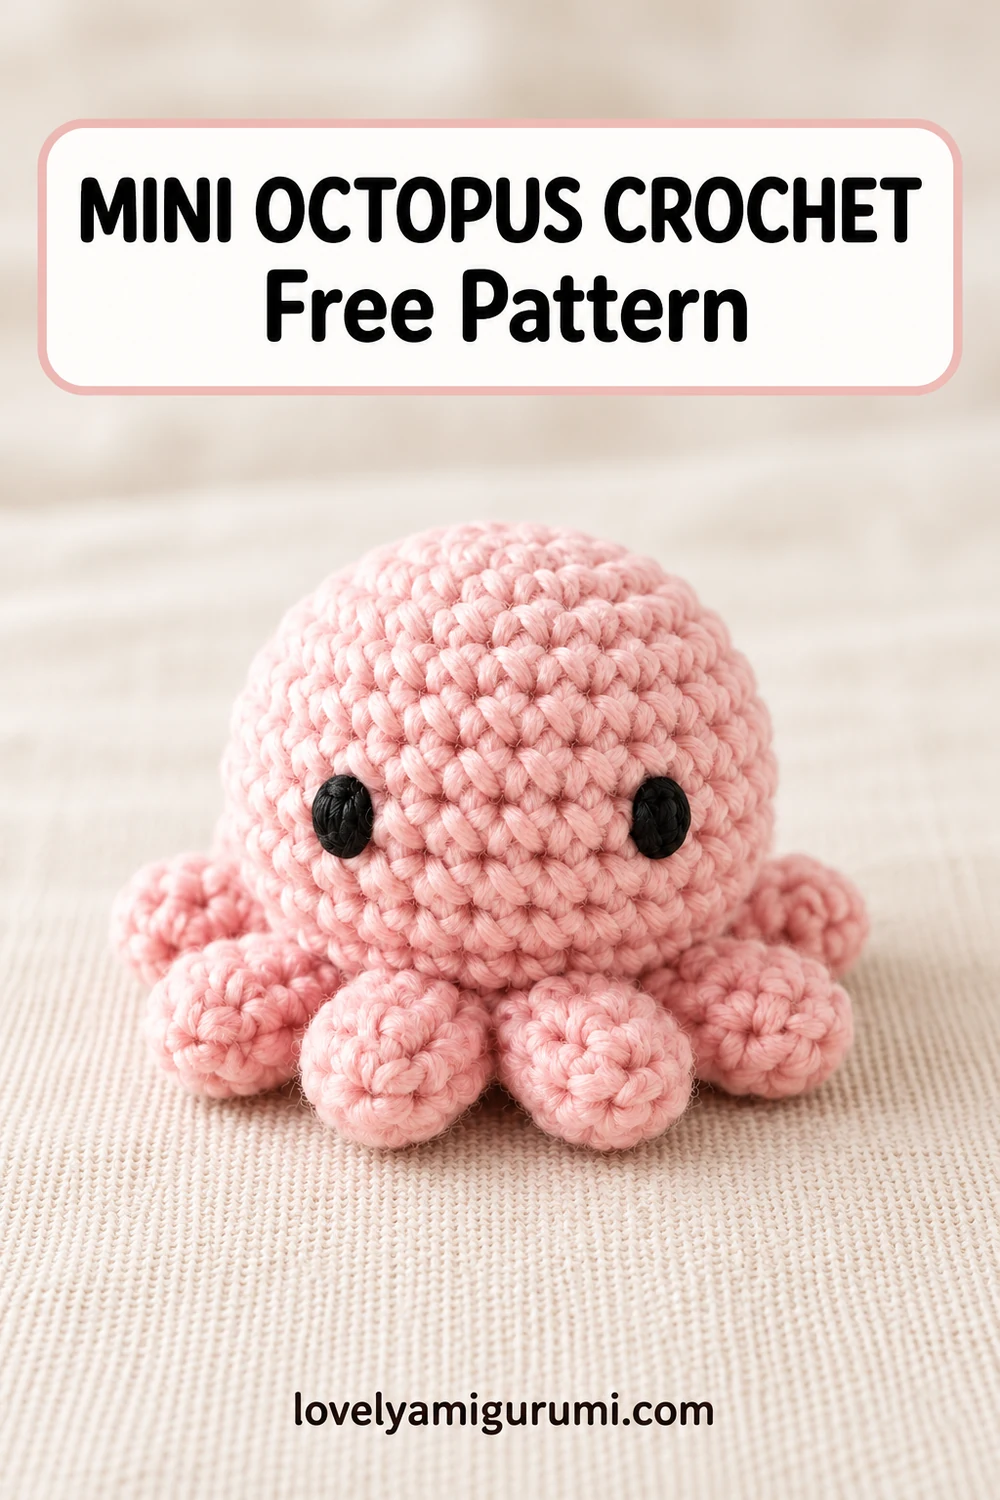
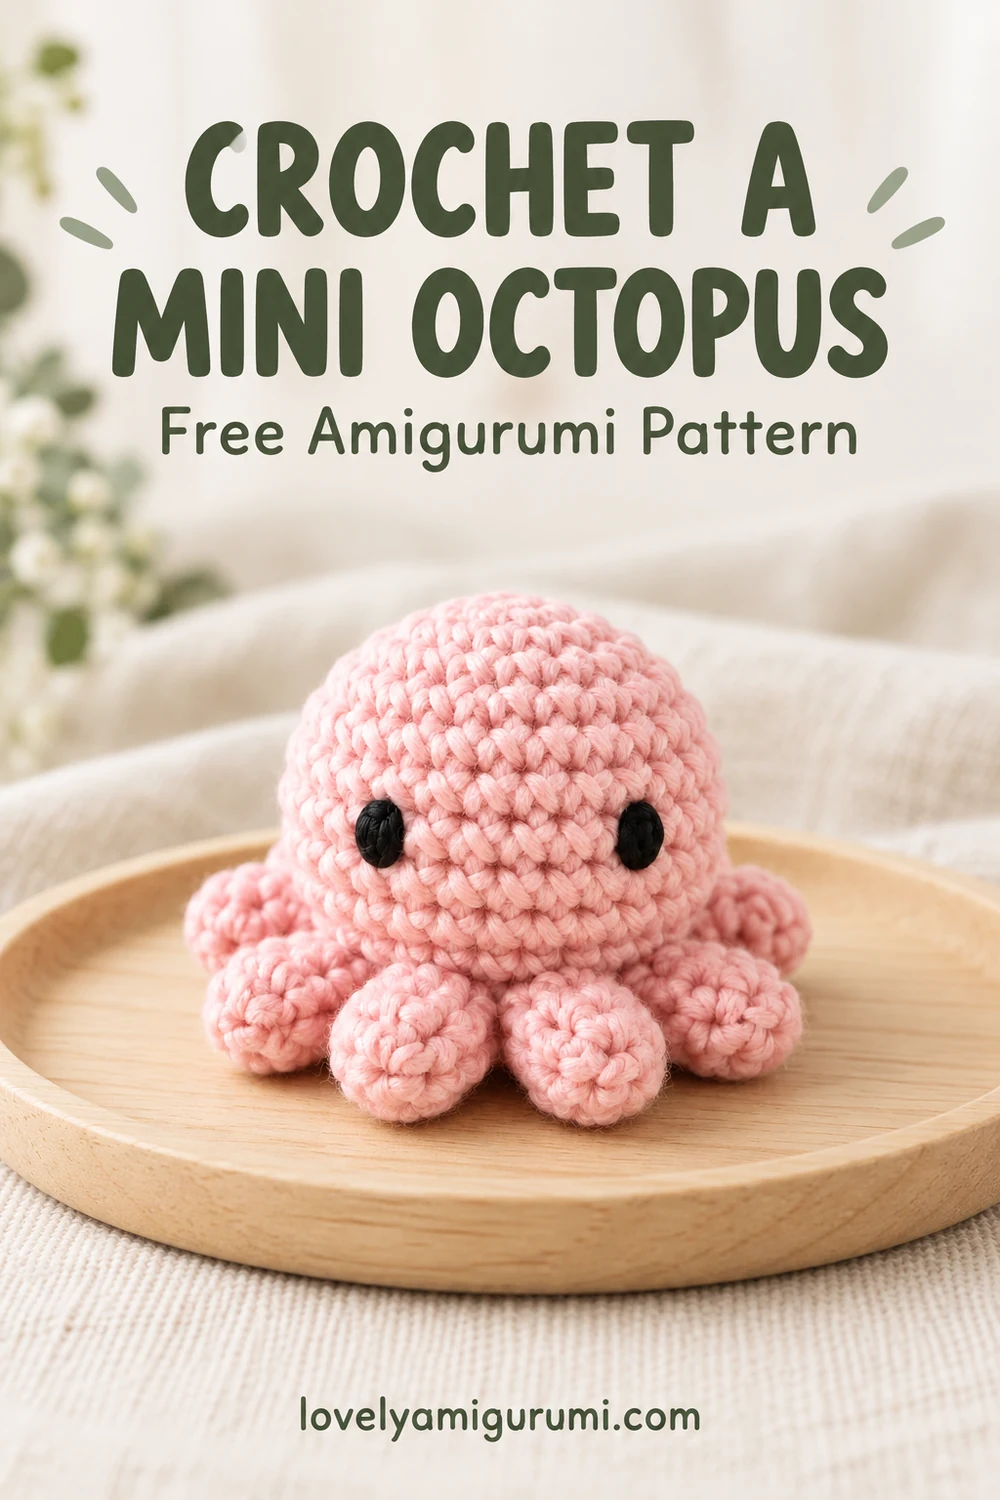
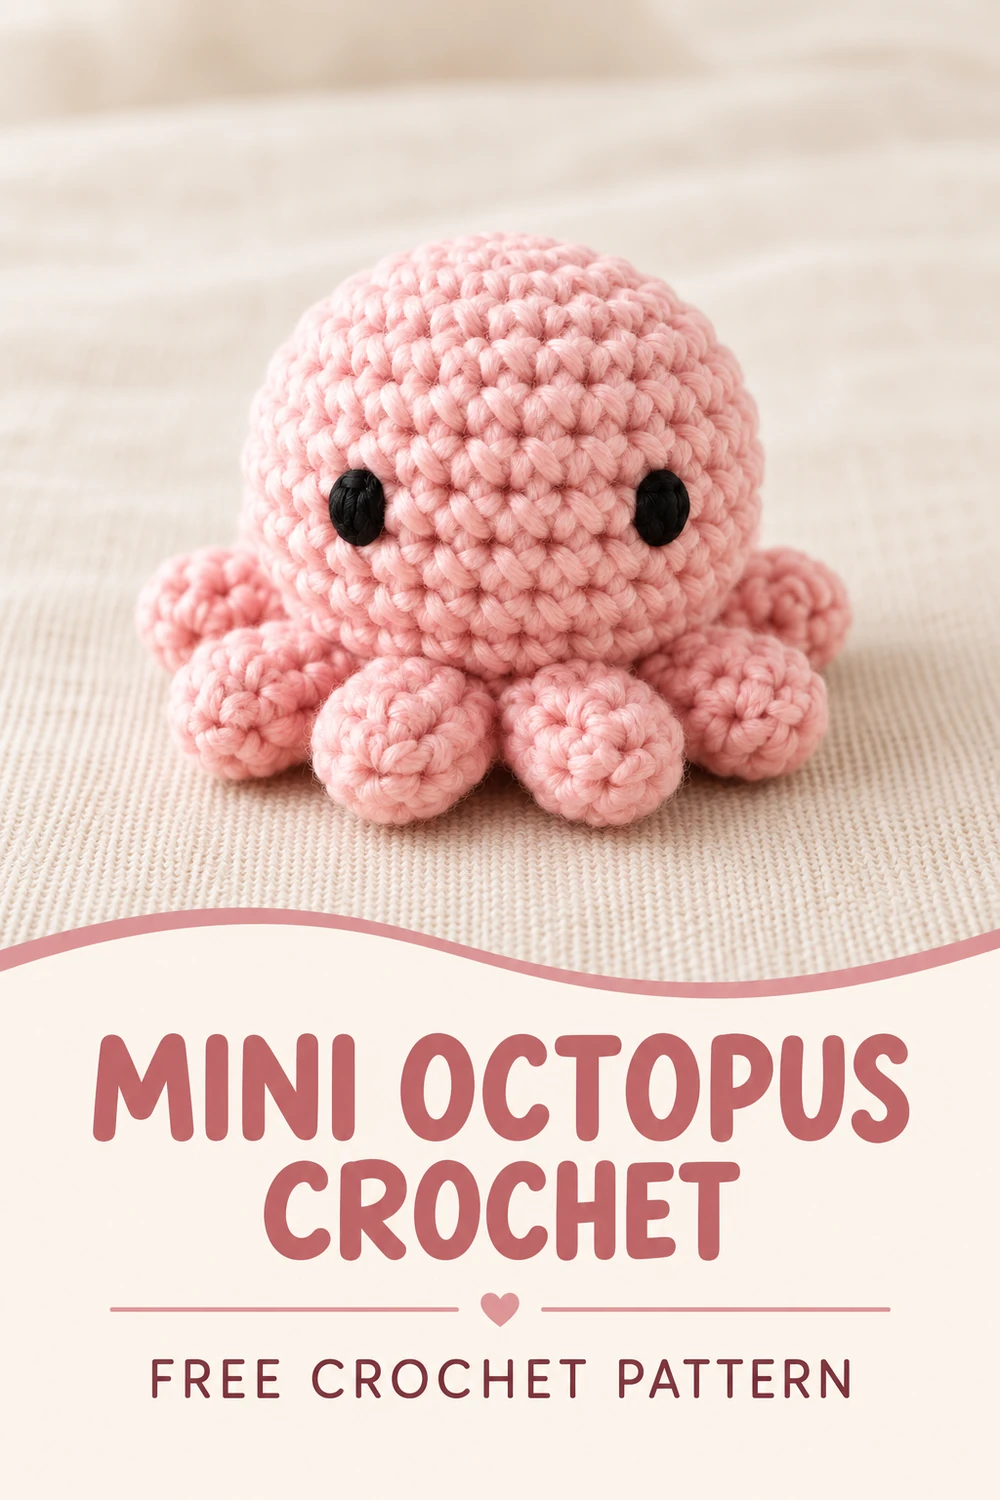
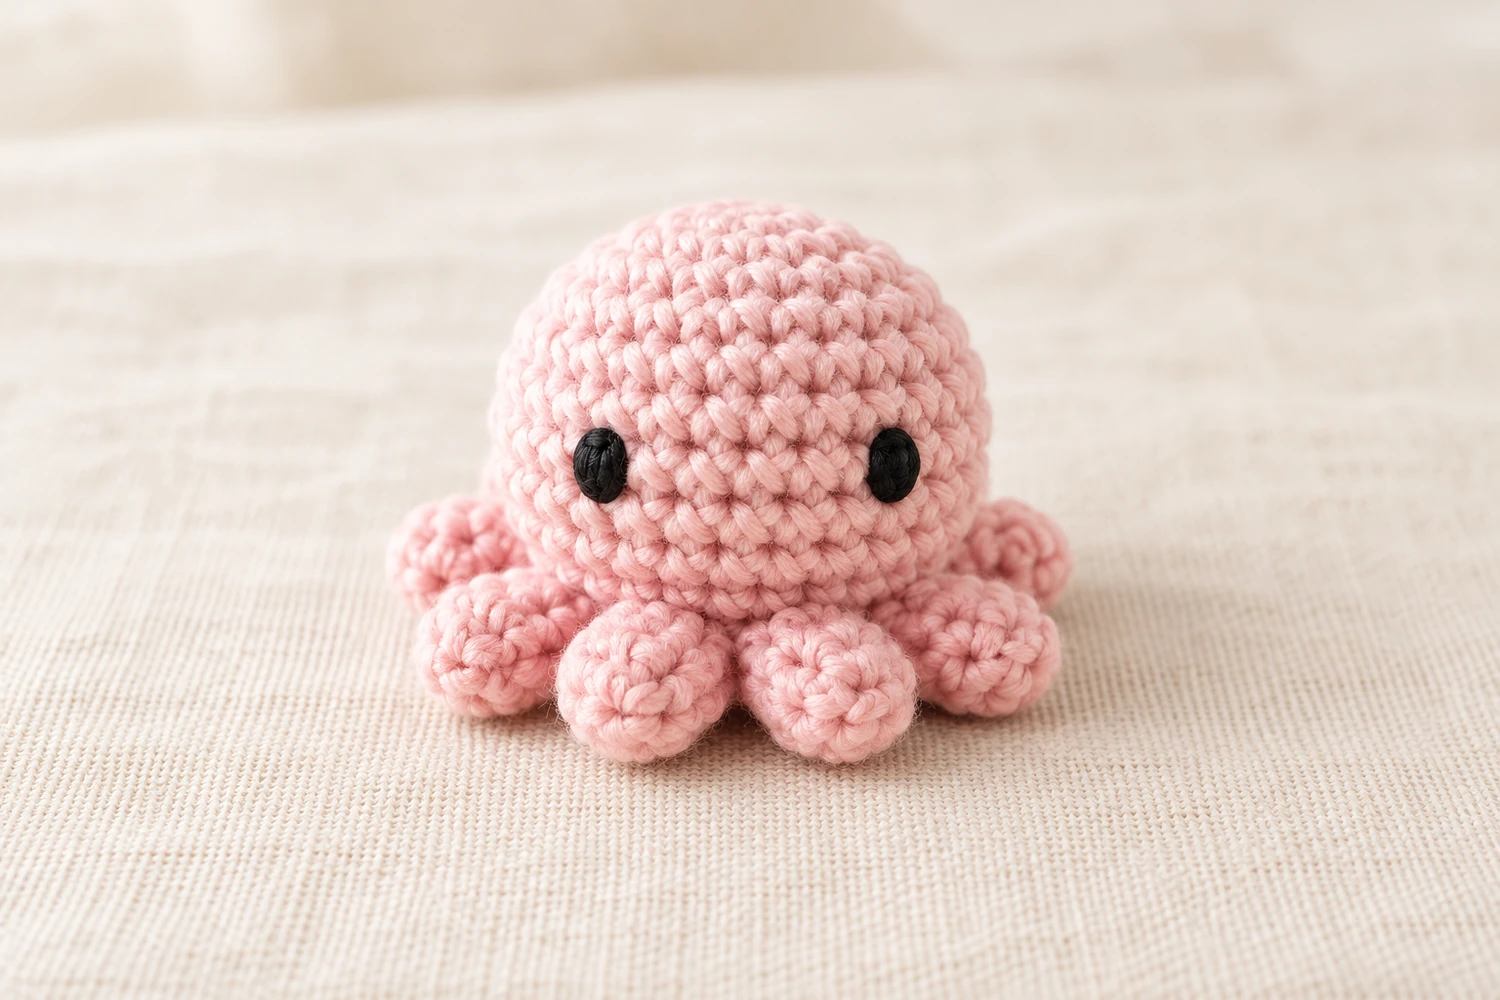
I love the contrast between a simple round head and a little ring of curled arms. This mini octopus crochet pattern uses one body and eight short arms worked into reserved loops, so there are no separate limbs to sew on. Pink keeps the look soft, but a single leftover color works just as well.
Count the reserved loops before starting the arms. Each arm uses two neighboring loops, which makes the spacing predictable: sixteen loops become eight arms. That small checkpoint saves having to squeeze an extra arm into the last gap.
Materials for the Mini Octopus Crochet Pattern
Pink DK cotton yarn or another smooth yarn; black embroidery thread; a 2.5–3.0 mm hook as a starting point for regular cotton; a little fiberfill; tapestry needle; stitch marker; scissors. Use the yarn label as a guide, then choose a hook that makes firm stitches without gaps.
Before You Begin
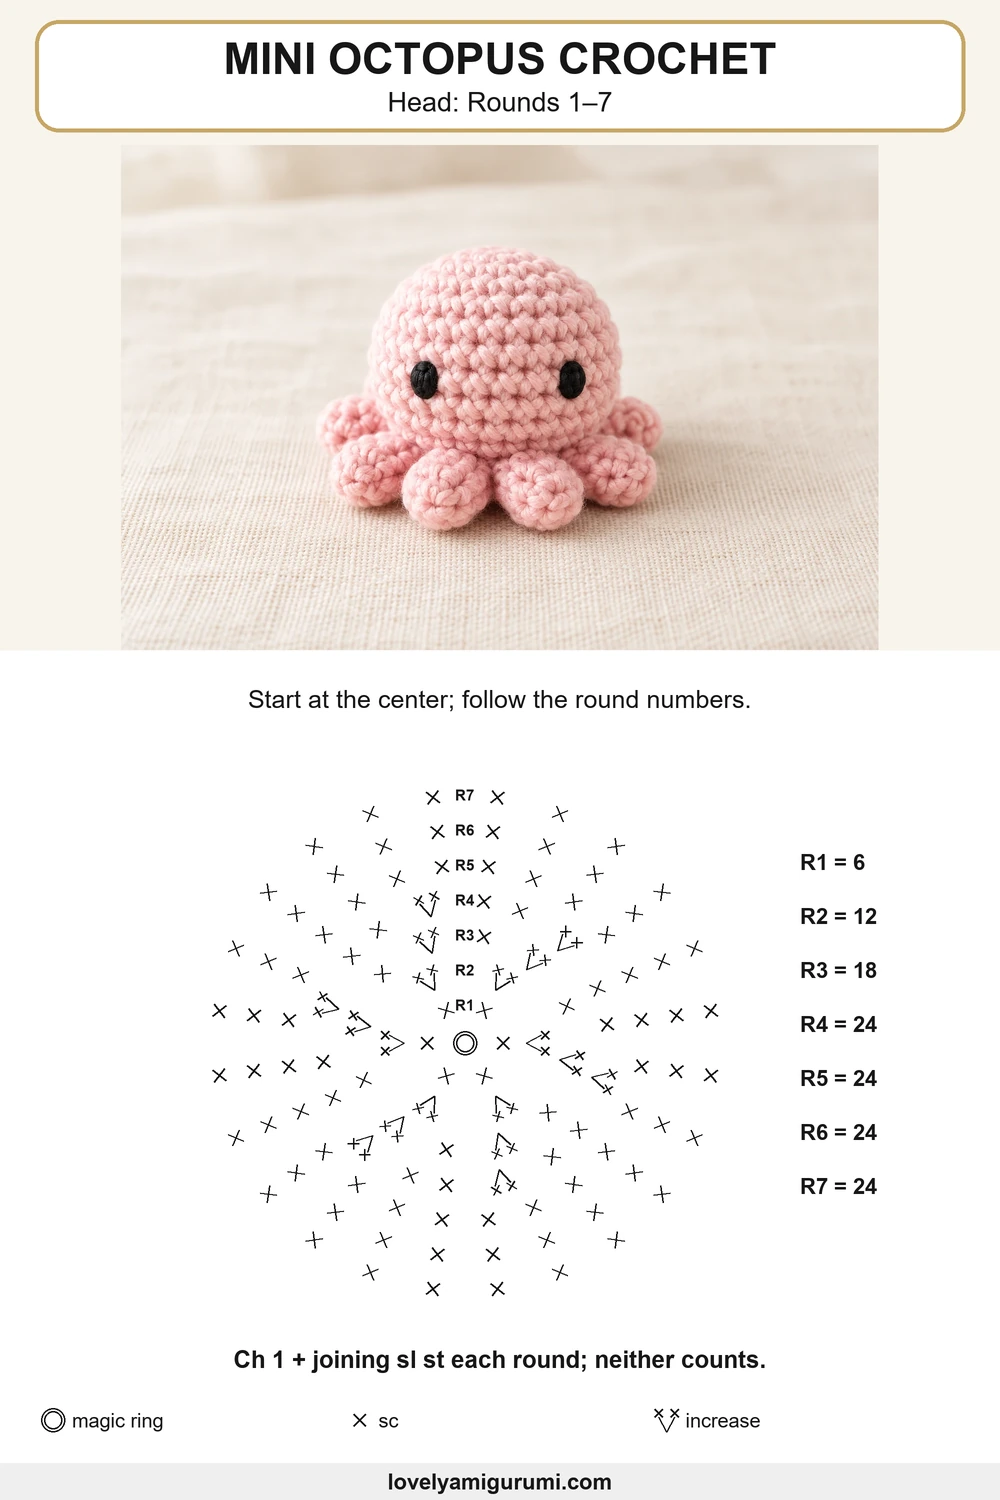
Work this version in joined rounds. At the start of each body round, ch 1; it does not count as a stitch. At the end, sl st into the first sc. Crochet the first stitch of the next round into that same first sc, not into the joining sl st. Keep the first sc marked. The arms are added to reserved front loops after closing the body.
Skill level: confident beginner. Choose your yarn and hook together; no fixed size applies to every yarn.
Stitches and Abbreviations
- MR: magic ring
- ch: chain
- sc: single crochet
- inc: 2 sc in one stitch
- dec: single crochet decrease over two stitches; use an invisible decrease through front loops unless back loops are specified
- sl st: slip stitch
- BLO / FLO: back / front loop only
- st(s): stitch(es)
A repeat such as (2 sc, inc) × 6 means work one sc in each of the next two stitches, then 2 sc in the next stitch; repeat that group six times.
Mini Octopus Crochet Pattern: Rounded Body
Use pink yarn. The body begins at the top of the head.
| Round | Instructions | Stitches |
|---|---|---|
| 1 | 6 sc in MR; join | 6 |
| 2 | inc × 6; join | 12 |
| 3 | (sc, inc) × 6; join | 18 |
| 4 | (2 sc, inc) × 6; join | 24 |
| 5–7 | sc in each st; join each round; 3 rounds | 24 each |
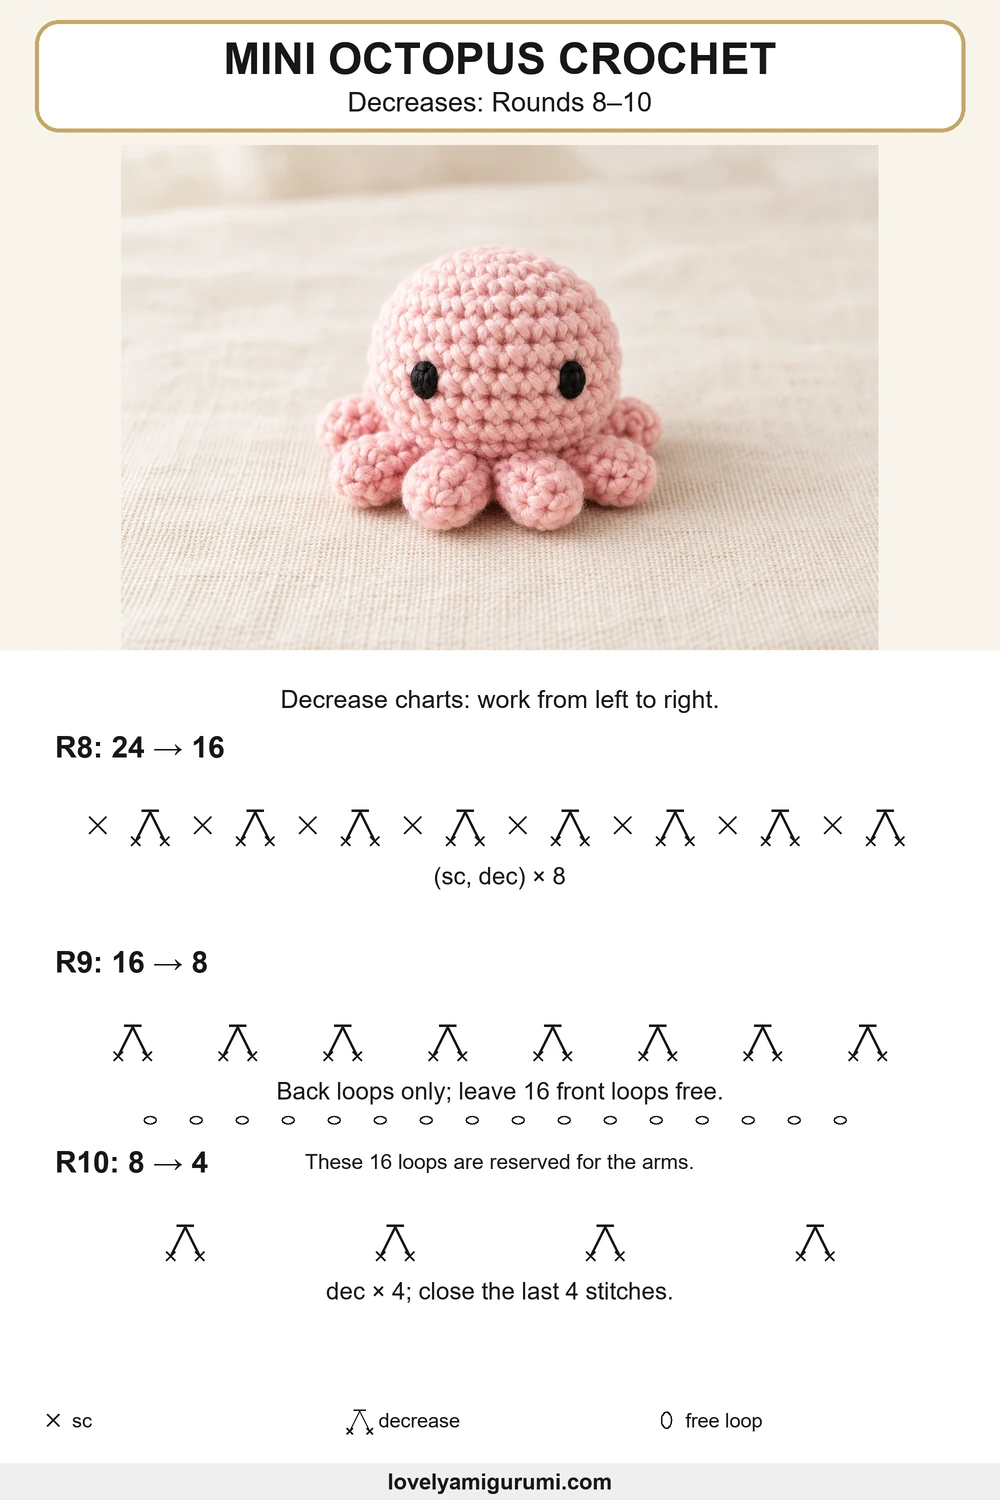
| 8 | (sc, dec) × 8; join | 16 |
| 9 | BLO dec × 8; join | 8 |
| 10 | dec × 4; join | 4 |
Remember the ch 1 before every round, including Rounds 9 and 10. Neither that chain nor the joining slip stitch belongs in the total.
Add the eyes and stuffing
After Round 7, embroider two small black oval eyes across Round 5, leaving about 3 visible stitches between them. Use a few short overlapping stitches for each eye, secure the thread inside and keep the front yarn relaxed so it does not dent the head. This mini octopus crochet pattern has no mouth in the main version.
Work Round 8, then stuff the head lightly. Distribute the filling into the dome, leaving enough flexibility to work the remaining decreases.
Leave 16 front loops for the arms
For Round 9, insert the hook through the back loop of each of the next two stitches for every decrease. Work all 8 decreases this way. You are consuming 16 stitches and making 8 stitches, while leaving the 16 front loops of Round 8 unused around the outer edge.
Check that the loop ring is still visible. Add any final small bit of filling before Round 10. After its 4 decreases, fasten off with a tail, thread it through the front loops of the last 4 stitches and draw the bottom closed. Bury the tail.
Mini Octopus Crochet Pattern: Eight Curly Arms
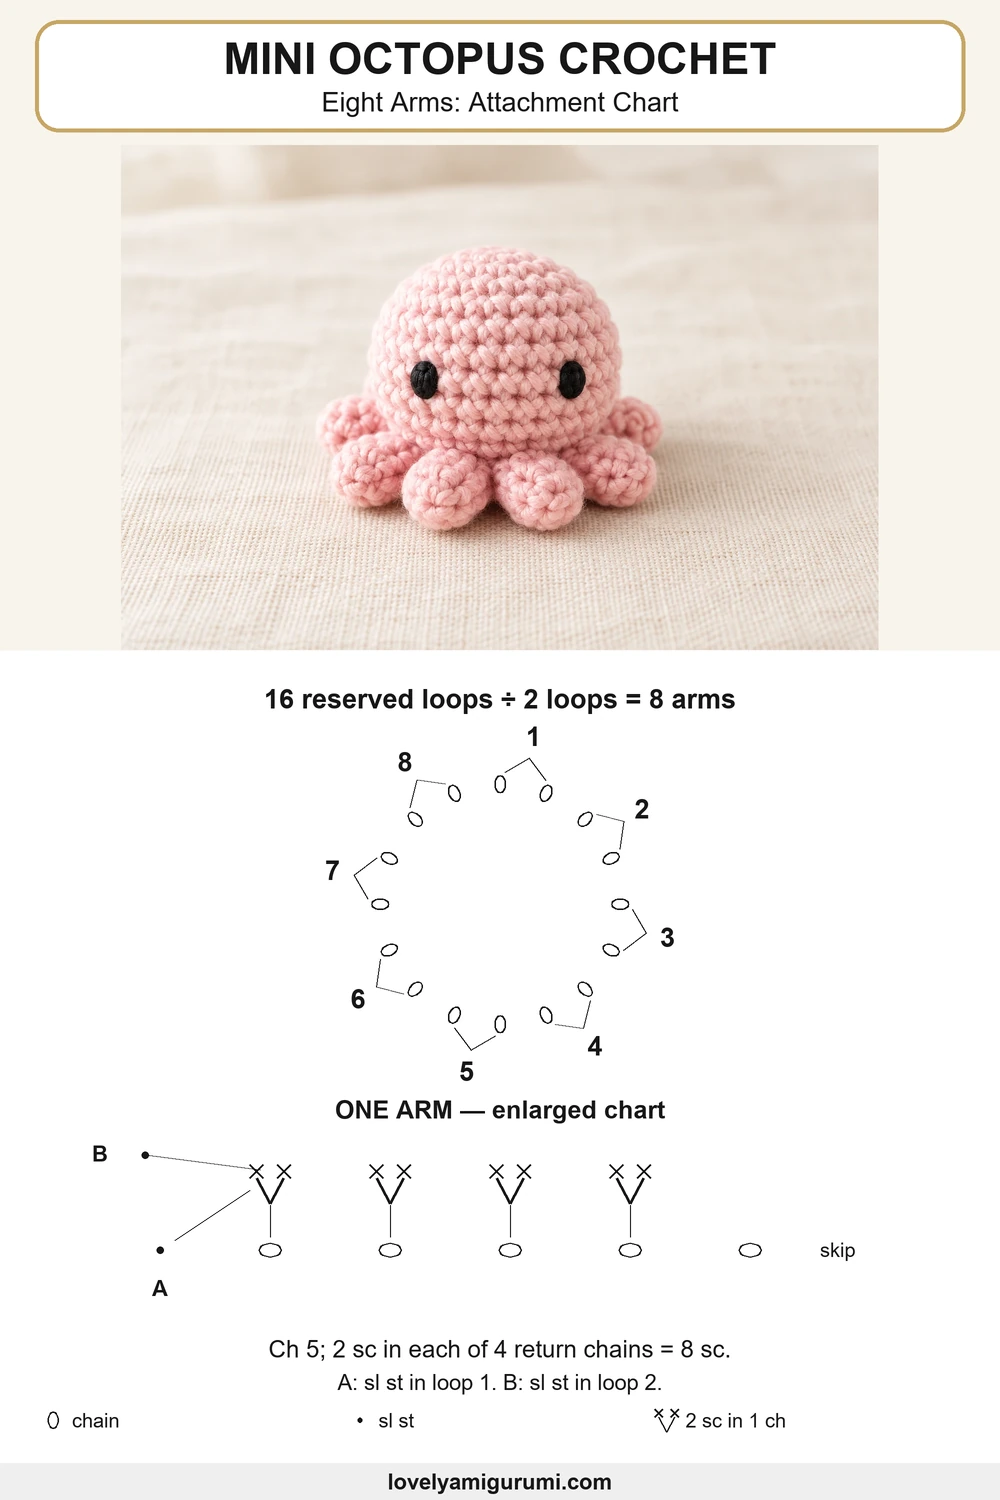
Hold the closed body with the underside toward you. Find the 16 unused front loops from Round 8. Mark the first loop and count around once before joining pink yarn.
Each arm uses two consecutive reserved loops:
- Join or sl st into the first loop of the pair.
- Ch 5.
- Starting in the second chain from the hook, work 2 sc in each of the four remaining chains (8 sc along the chain).
- Sl st into the second reserved loop of the pair to anchor the arm.
- Sl st into the next unused loop and begin the next arm.
Repeat for 8 arms, using all 16 loops exactly once as attachment positions. After the eighth arm, sl st into the starting loop, fasten off and weave in both tails. The final joining sl st does not create another arm.
The two single crochets in each chain add fabric to one side of the chain, encouraging a curl. Gently coil each arm outward with your fingers. Do not force every curl into the same direction; keep the attachment bases evenly spaced.
Finish the Mini Octopus Crochet Pattern
Count eight arm bases rather than only the tips visible from the front. Turn the octopus over to check the bottom closure and the reserved-loop attachments. It should sit with the arms spreading around the head.
For an optional bag charm, make a separate doubled-yarn ch-6 loop and sew both ends into several stitches at the top of the head. Attach the ring to that reinforced loop. Keep hardware away from the arms so they can curl freely.
Practical Tips for the Mini Octopus Crochet Pattern
I have too many stitches at the join
Do not work into the ch 1 or joining sl st. Keep the first sc marked and count actual single crochet stitches before joining.
There is room for only seven arms
Check the pair count. Each arm starts in one front loop and finishes in the next; do not skip an extra loop between arms.
The head has stuffing gaps
Use a smaller hook for the same yarn and add less filling. Tightening the last closure cannot fix loose fabric throughout the body.
Arms do not curl
Work two sc in each of the four return-chain positions, not one. Keep the foundation chain relaxed enough to receive both stitches.
Mini Octopus Crochet Pattern: Frequently Asked Questions
How many arms does this mini octopus crochet pattern make?
Eight. Round 9 leaves sixteen front loops and each arm uses a pair of loops.
Is the body worked in a spiral?
No. This version uses joined rounds, with an uncounted ch 1 and a joining sl st each round.
Can I use plush yarn?
Yes, but the small loop ring can be harder to see in chenille. Smooth yarn is easier for learning this construction, and yarn thickness changes the finished size.
Do I have to sew the arms on?
No. They are crocheted directly into the reserved front loops. Only the optional hanging loop needs sewing.
This small project is intended as a decorative item or accessory. Embroidered eyes avoid loose eye pieces; adding embroidery does not by itself make a finished item suitable for babies. Keep keychain hardware and small parts away from young children.
How to Read the Three Crochet Charts
The first chart shows the head from the magic ring through Round 7. The second shows the three decrease rounds, including the back-loop round that leaves the arm loops free. The third shows the sixteen-loop attachment ring and an enlarged chart for one arm. Each chart has its own symbol key; read it together with the instructions above. Circular charts show stitch placement, not the finished three-dimensional shape.
More Small Crochet Projects
Try Mini Apple Amigurumi Crochet Pattern or Mini Turtle Pocket Amigurumi.
Save this mini octopus crochet pattern for your next small crochet session. You can share your finished piece and tag @lovelys.amigurumi; I would love to see your color choices.