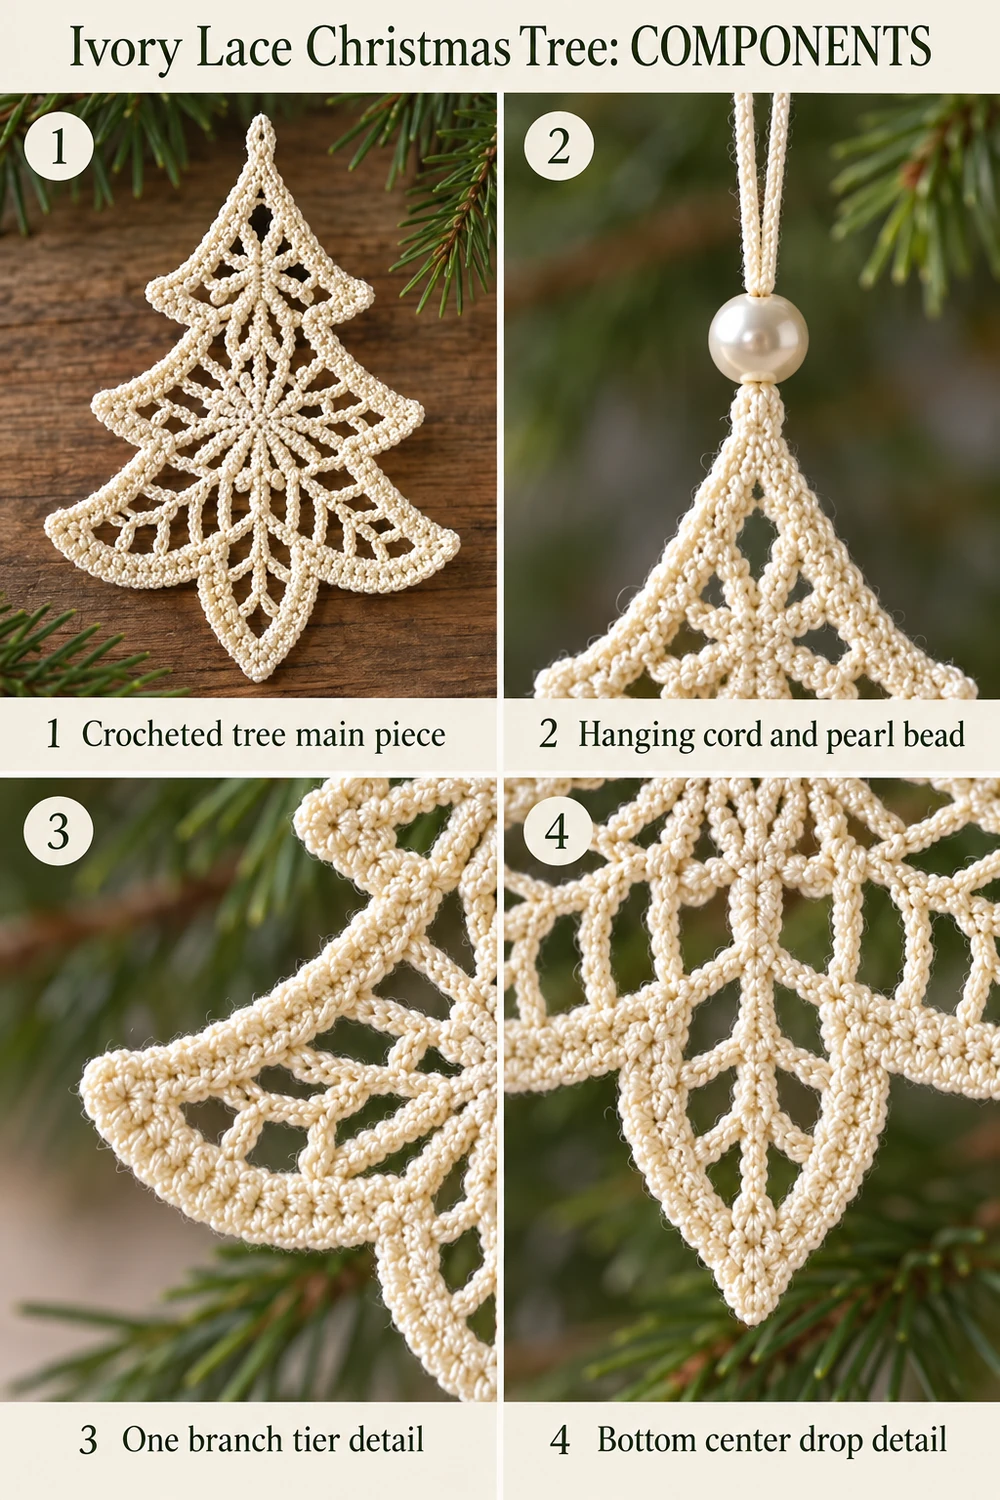
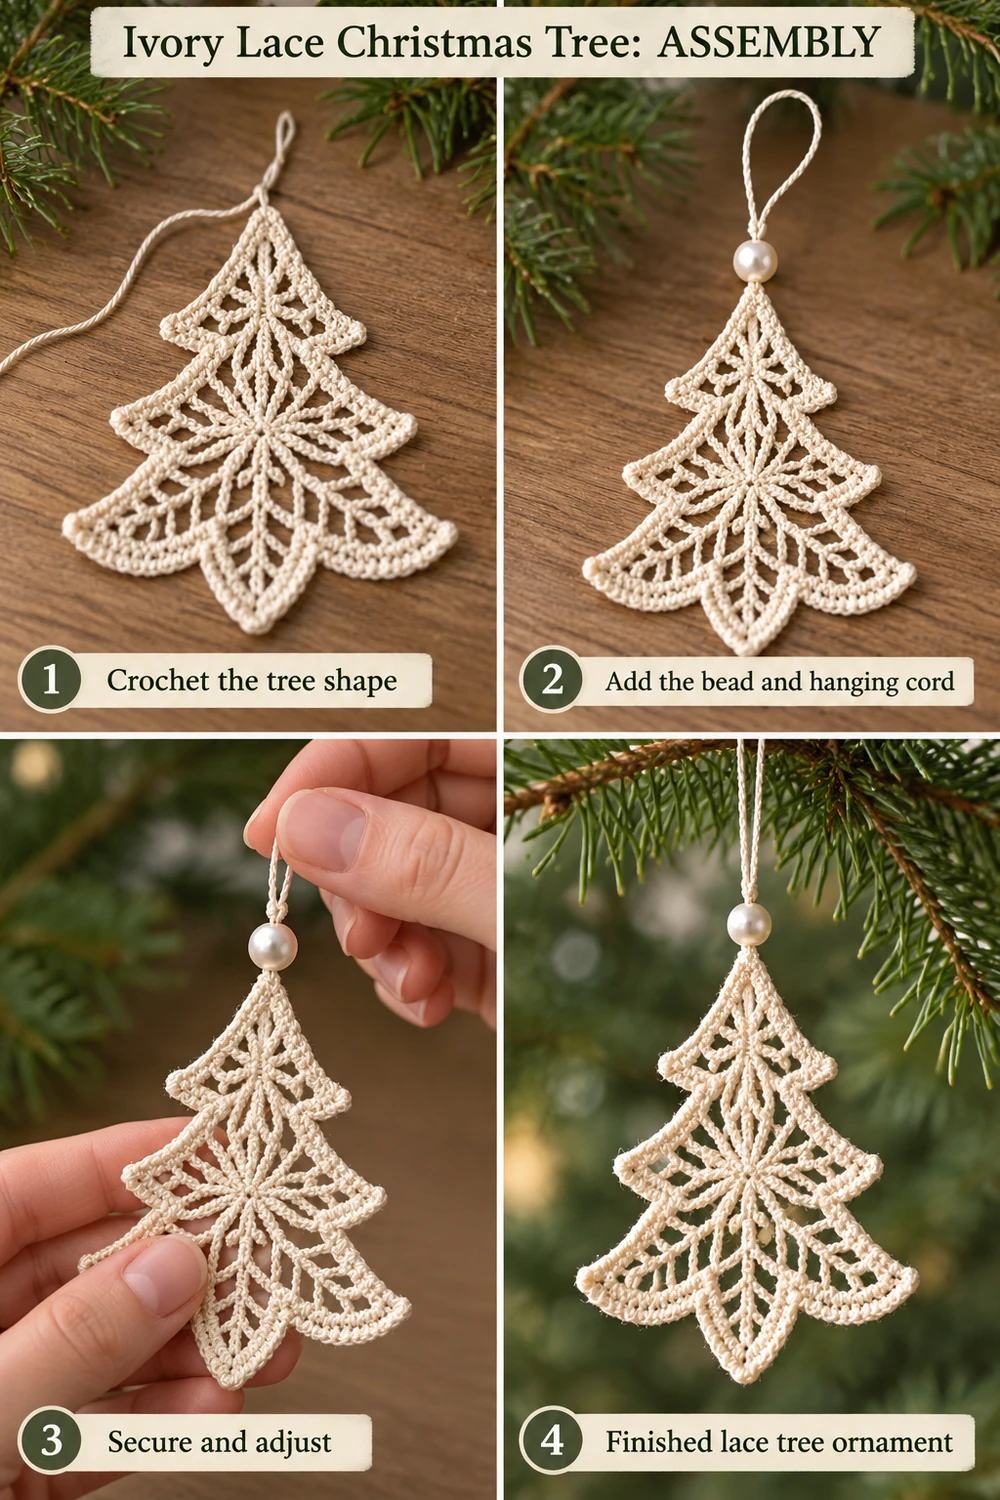
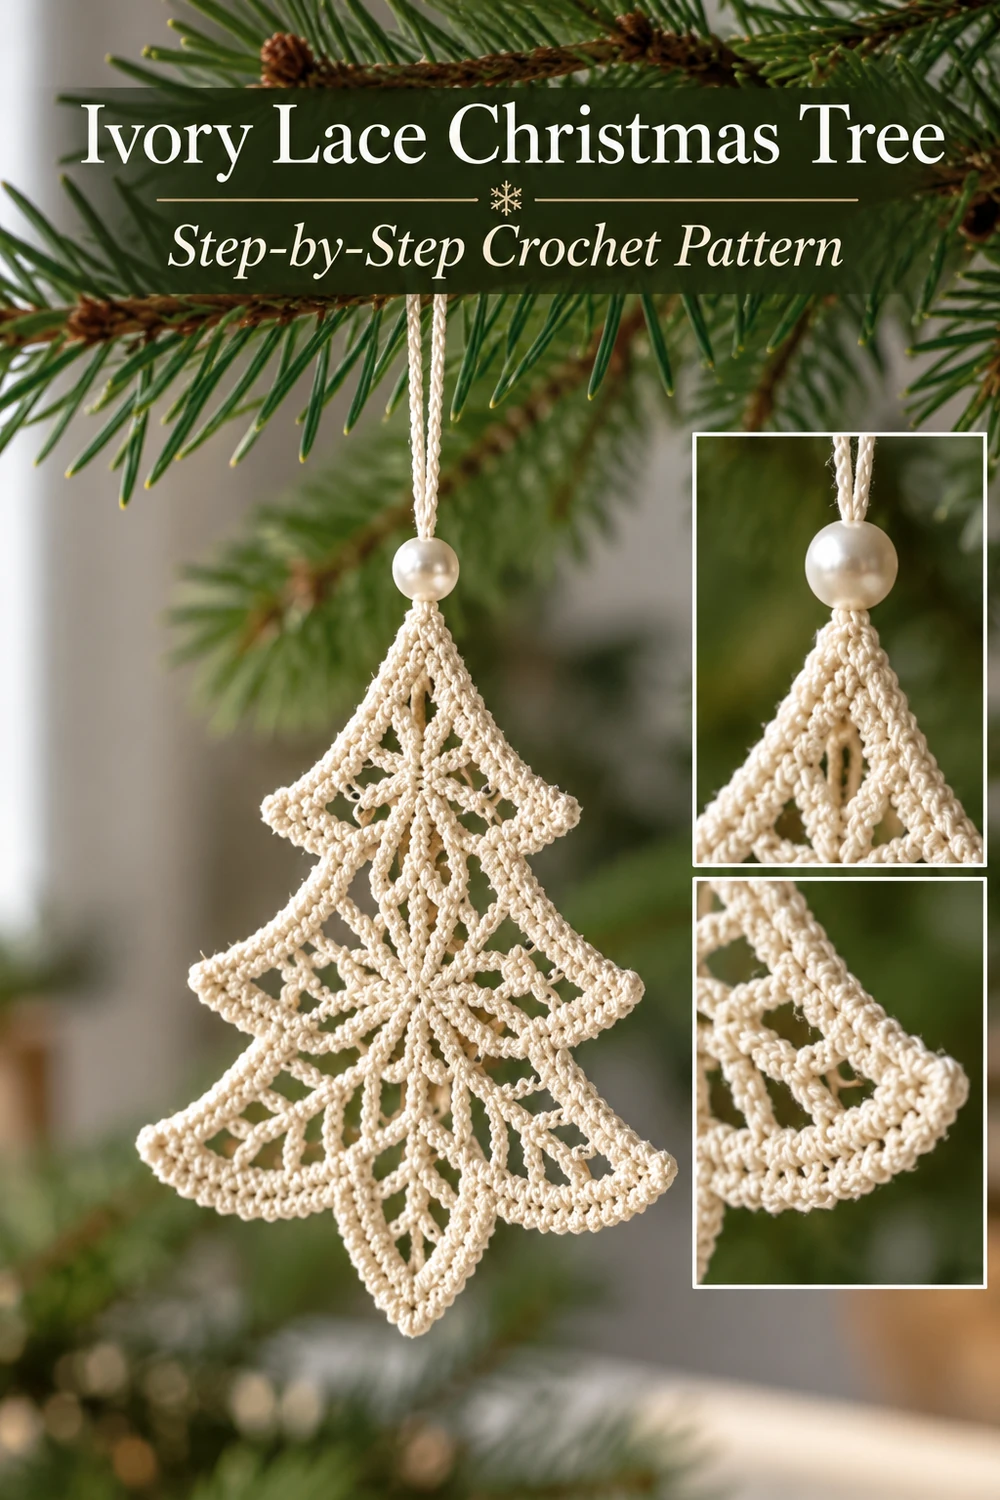
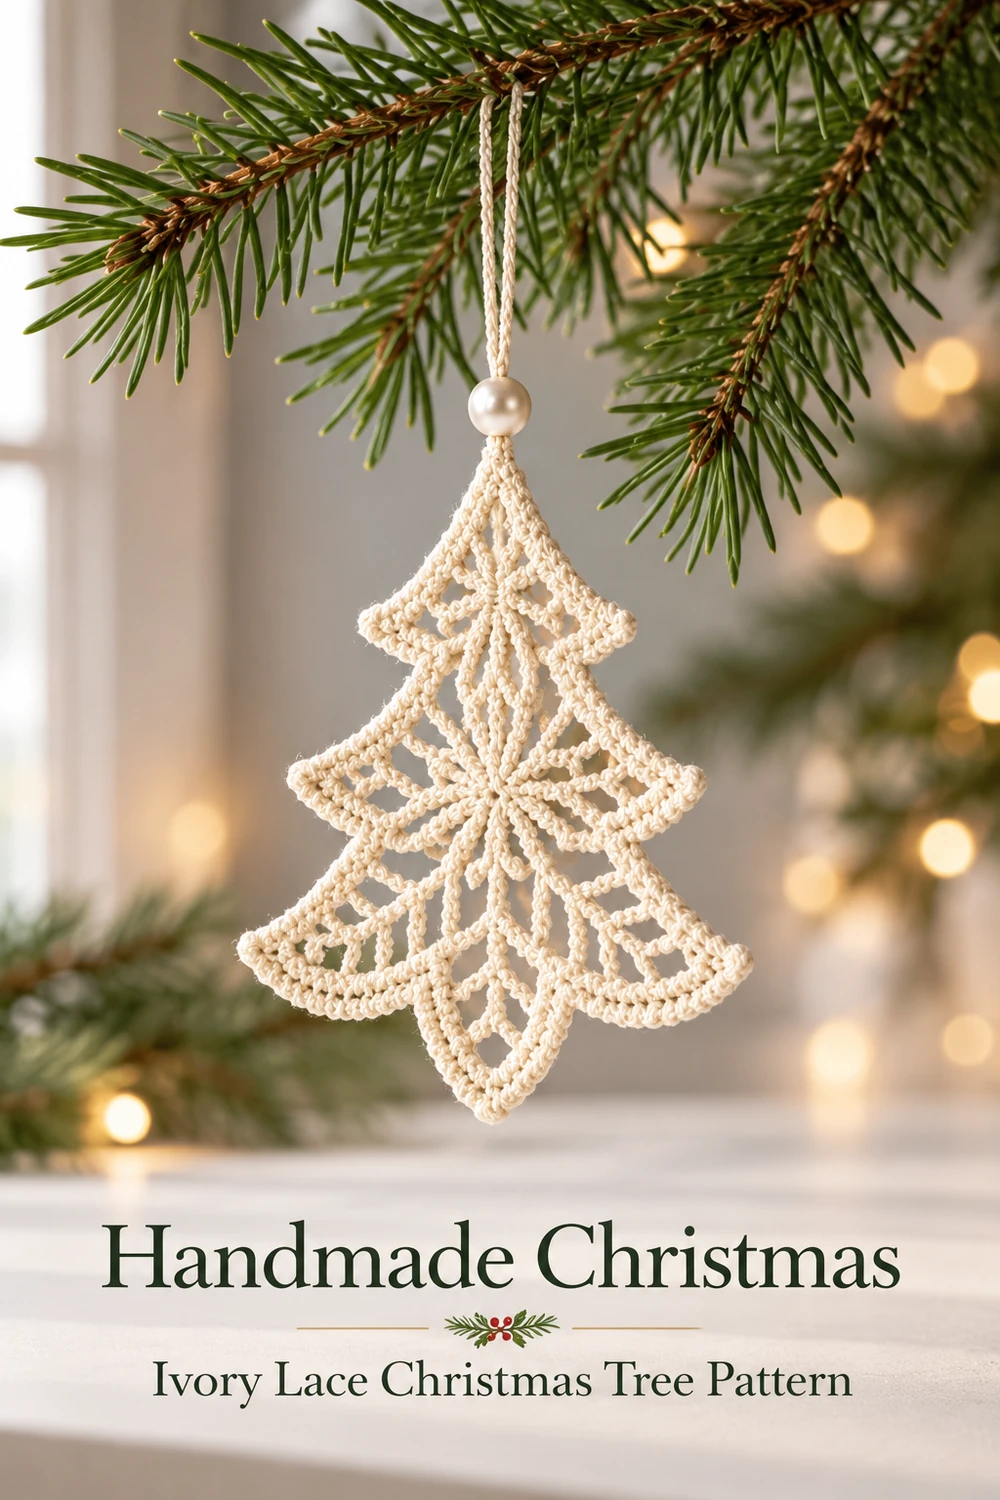
This Ivory Lace Christmas Tree Crochet Pattern makes a delicate flat hanging tree with three pairs of openwork branches, an elongated center drop, and one pearl above the tip. Fine ivory cotton and gentle blocking create the light, airy look of the reference.
This adaptation uses seven pointed lace motifs sewn to a slim central spine. Three mirrored pairs widen toward the bottom, and a smaller motif forms the long lower-center drop. Keep the branch tips free so the silhouette stays open and graceful.

Pattern Information
- Skill level: intermediate; small lace motifs and precise assembly.
- Estimated height: 14–18 cm excluding the cord with fine cotton and a 1.75–2 mm hook. Tension affects size.
- Construction: seven flat pointed motifs and a central crochet spine.
- Colors: ivory throughout, with one optional pearl on the hanging cord.
This is an image-inspired adaptation in US crochet terms. Stitch and repeat counts have been reviewed, but the design has not been physically crocheted or independently tested. Follow the written instructions for exact construction; the photographs illustrate the intended appearance.
Materials
- Fine ivory cotton thread or light sport cotton, approximately 20–30 g.
- 1.75–2 mm hook matched to the thread.
- Ivory hanging cord, one optional pearl with a suitable hole.
- Tapestry needle, fine sewing needle, scissors, blocking mat, rustproof pins.
- Optional fabric stiffener suitable for the chosen yarn.
Stitches and Abbreviations
- ch: chain; sl st: slip stitch; MR: magic ring.
- sc: single crochet; hdc: half double crochet; dc: double crochet; tr: treble crochet.
- inc: 2 sc in the same stitch; dec: sc2tog over the next 2 stitches.
- BLO/FLO: back/front loop only.
- Picot: ch 3, sl st into the first of those three chains.
- Counts in brackets exclude turning chains and joining slip stitches.
Work each motif in joined rounds without turning. Starting ch 3 counts as a dc. Ch 1 and joining slip stitches do not count. All first-round groups go into the foundation ring, not into separate chain stitches.
Ivory Lace Christmas Tree Crochet Pattern
1. Pointed Lace Motif — Three Sizes
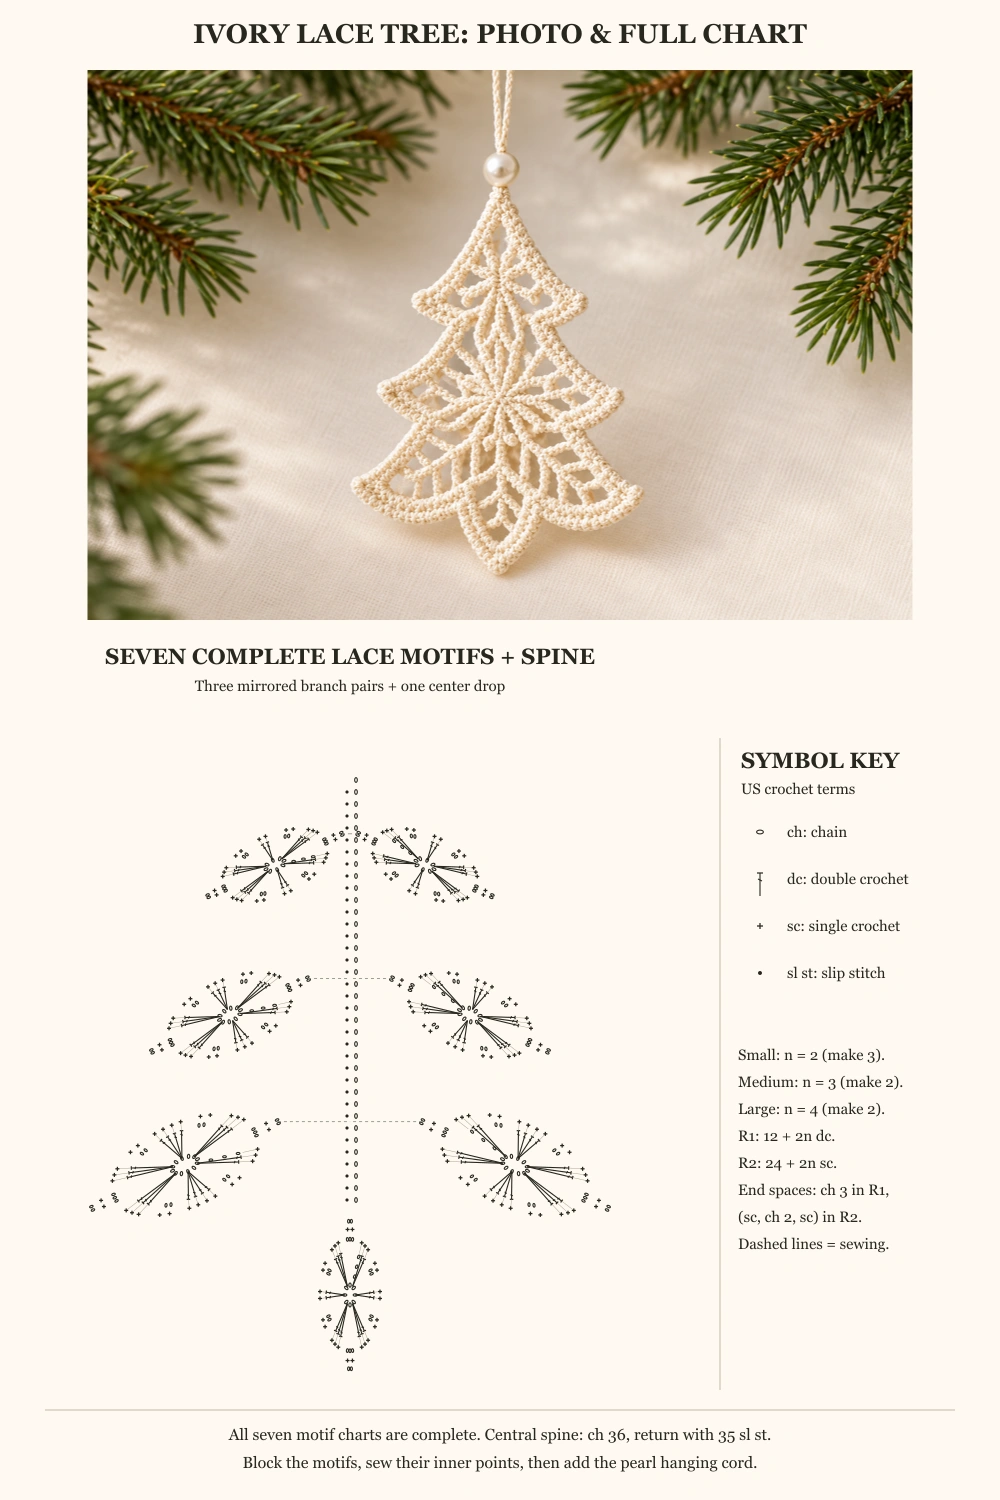
Use the following values: small motif, foundation ch 8 and side group of 2 dc; medium, ch 10 and side group of 3 dc; large, ch 12 and side group of 4 dc. Join the foundation chain into a ring without twisting. In the instructions below, n is the size of that side group.
R1: ch 3, 2 dc in ring, ch 2, n dc in ring, ch 2, (3 dc, ch 3, 3 dc) in ring, ch 2, n dc in ring, ch 2, 3 dc in ring, ch 3. Join to the top of the starting ch 3. The small, medium, and large versions have 16, 18, and 20 dc respectively, four ch-2 side spaces, and two ch-3 end spaces.
R2: ch 1. Sc into each dc of R1. Put 2 sc into each ch-2 side space. In each ch-3 end space work (sc, ch 2, sc) for a pointed end. Join to the first sc and fasten off with a sewing tail. R2 has 28, 30, or 32 sc for the small, medium, or large motif, plus two ch-2 pointed tips.
Gently elongate the two opposite pointed ends while blocking. The side groups spread around the open center, forming an airy pointed leaf rather than a stuffed branch. Make three small motifs, two medium motifs, and two large motifs.
2. Central Spine
Ch 36 in ivory. Starting in the second chain, sl st into each remaining chain [35 sl st]. Fasten off with long tails. This forms a slender support spine, not a stuffed stem. Lightly straighten it without stretching it to a rigid cord.
3. Block Before Assembly
Dampen the seven motifs, pin their two end points into elongated shapes, and open the small side spaces gently. Keep both members of each pair the same size. Let all pieces dry fully before sewing. The third small motif will become the bottom drop.
For a firmer ornament, test fabric stiffener on a thread sample and follow its label. Use only enough to hold the lace shape. Keep the pearl and hanging cord clear of liquid treatments until the crochet has dried.
4. Arrange the Three Branch Pairs
Lay the spine vertically with its top at the future hanging point. Pin one small motif on each side near the upper quarter of the spine. Their inner points meet the spine; their outer points slope outward and downward. Place the medium pair about 3 cm lower and the large pair another 3 cm lower, adjusting to your actual motif size.
Angle each pair symmetrically to form three descending branch tiers. The larger lower pair should spread widest. Leave open spaces between the tiers, as in the reference. Pin the remaining small motif vertically below the spine, with its lower point extending beyond the bottom branches to form the elongated center drop.
5. Sew the Lace Tree
Sew each inner motif point to the spine with several small passes through dense border stitches. Add one additional hidden tack between each branch border and a nearby spine position so the motif cannot rotate, while leaving its outer end free. Sew the upper point of the center-drop motif to the lower spine.
Join the inner edges of neighboring motifs only where they naturally touch. Keep the open centers and side spaces unobstructed. Weave all tails through dense sc edging on the back rather than crossing a hole with a visible strand. Check the whole silhouette flat before removing the pins.
6. Pearl and Hanging Cord
Fold approximately 25–30 cm of fine ivory cord into a loop. Pass both ends through the pearl, if using one, and secure them to several dense stitches at the top of the spine. Sew at least four passes in different directions. Let the pearl rest just above the crochet apex. Keep the loop attachment on the spine, not on a single open chain arch.
Omit the pearl if you prefer a fully yarn-based decoration. This is a delicate hanging ornament with a long cord and an optional small bead; display it away from young children and pets. Check the attachment with a gentle tug before hanging.
Finishing Tips and Questions
Is this one continuous triangle?
No. This image-inspired version combines seven pointed lace motifs on a central spine. That construction lets you adjust the tier spacing and the long bottom drop.
How do I stop it from twisting?
Block the motifs before sewing, add the second hidden tack on each branch, and check that the hanging loop is centered over the spine.
Can I use thicker yarn?
Yes, with a suitable larger hook, but the finished ornament will be larger and less delicate. Make one sample motif before deciding the spine length.
Spot-clean gently, reshape while damp, and dry flat. Protect the pearl from soaking. Store the ornament flat between layers of tissue so the open branches keep their shape.
Photo and Complete Crochet Chart
The complete assembly chart shows all seven lace motifs, their crochet rounds, the central spine, and the sewing connections. Dotted lines mark assembly stitches, not crochet chains. The English legend identifies the dc groups, chains, and sc edging. The three motif sizes follow the written n values above.
More Free Christmas Crochet Patterns
- Granny Reindeer Ornament Crochet Pattern
- Embroidered Christmas Star Crochet Pattern
- Simple Christmas Tree Garland Crochet Pattern
Save This Pattern
Save this Ivory Lace Christmas Tree Crochet Pattern for a handmade holiday project. Happy crocheting from Lovely Amigurumi!
Photo Tutorials, Crochet Chart, and Pinterest Gallery
The two photo tutorials and finished-project photo above its complete crochet chart come first, followed by three Pinterest images. All six images are grouped here at the end.