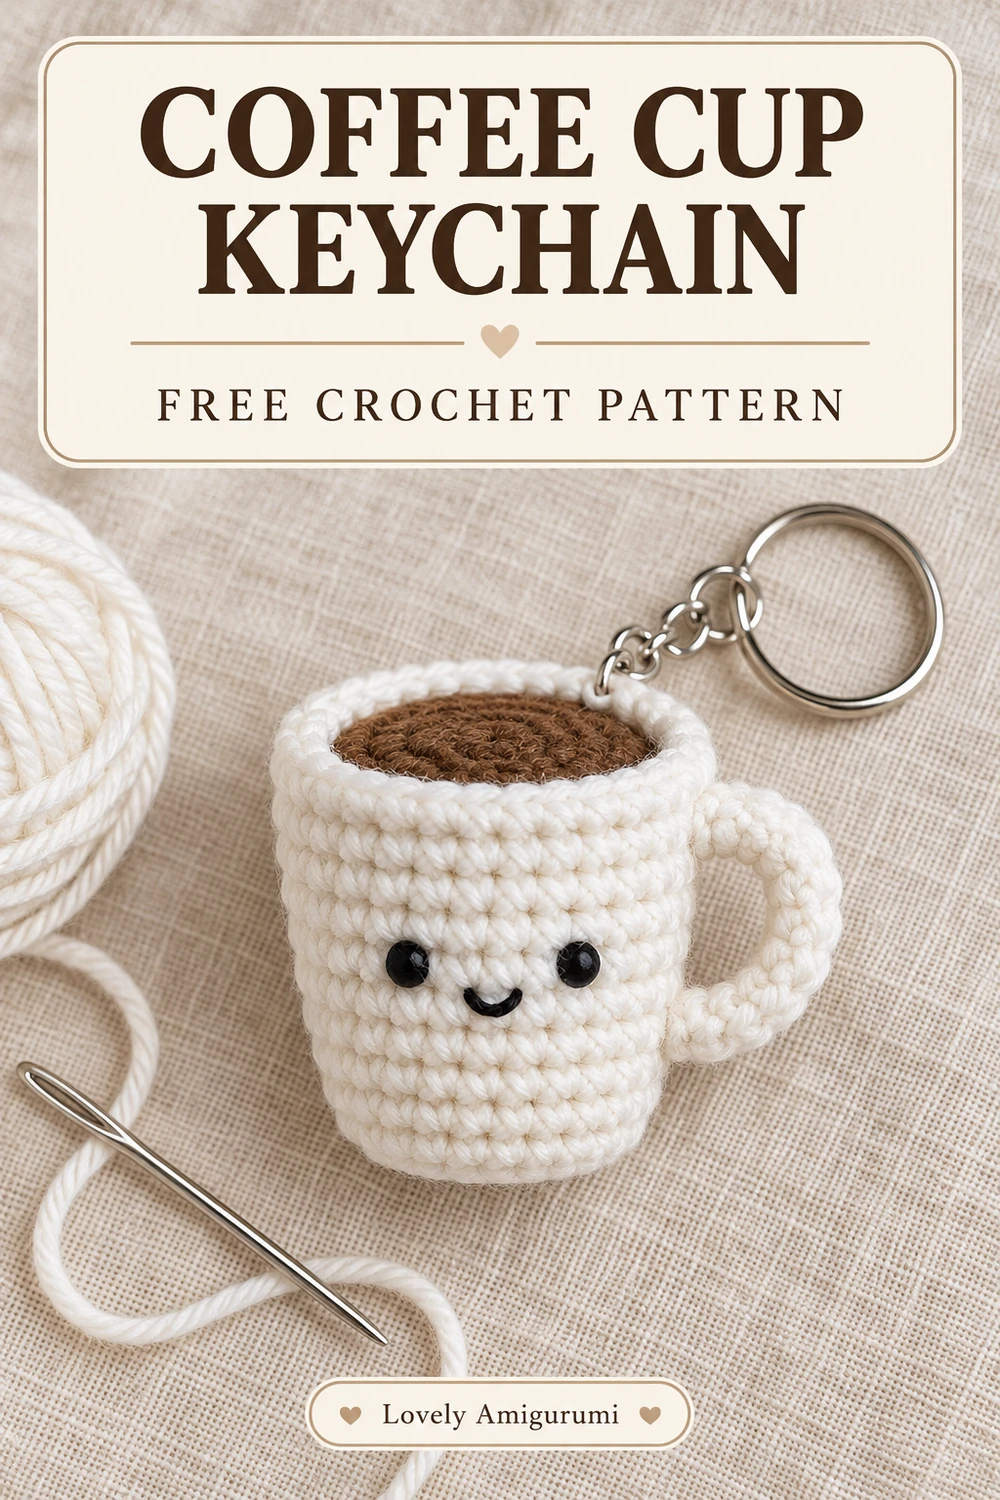
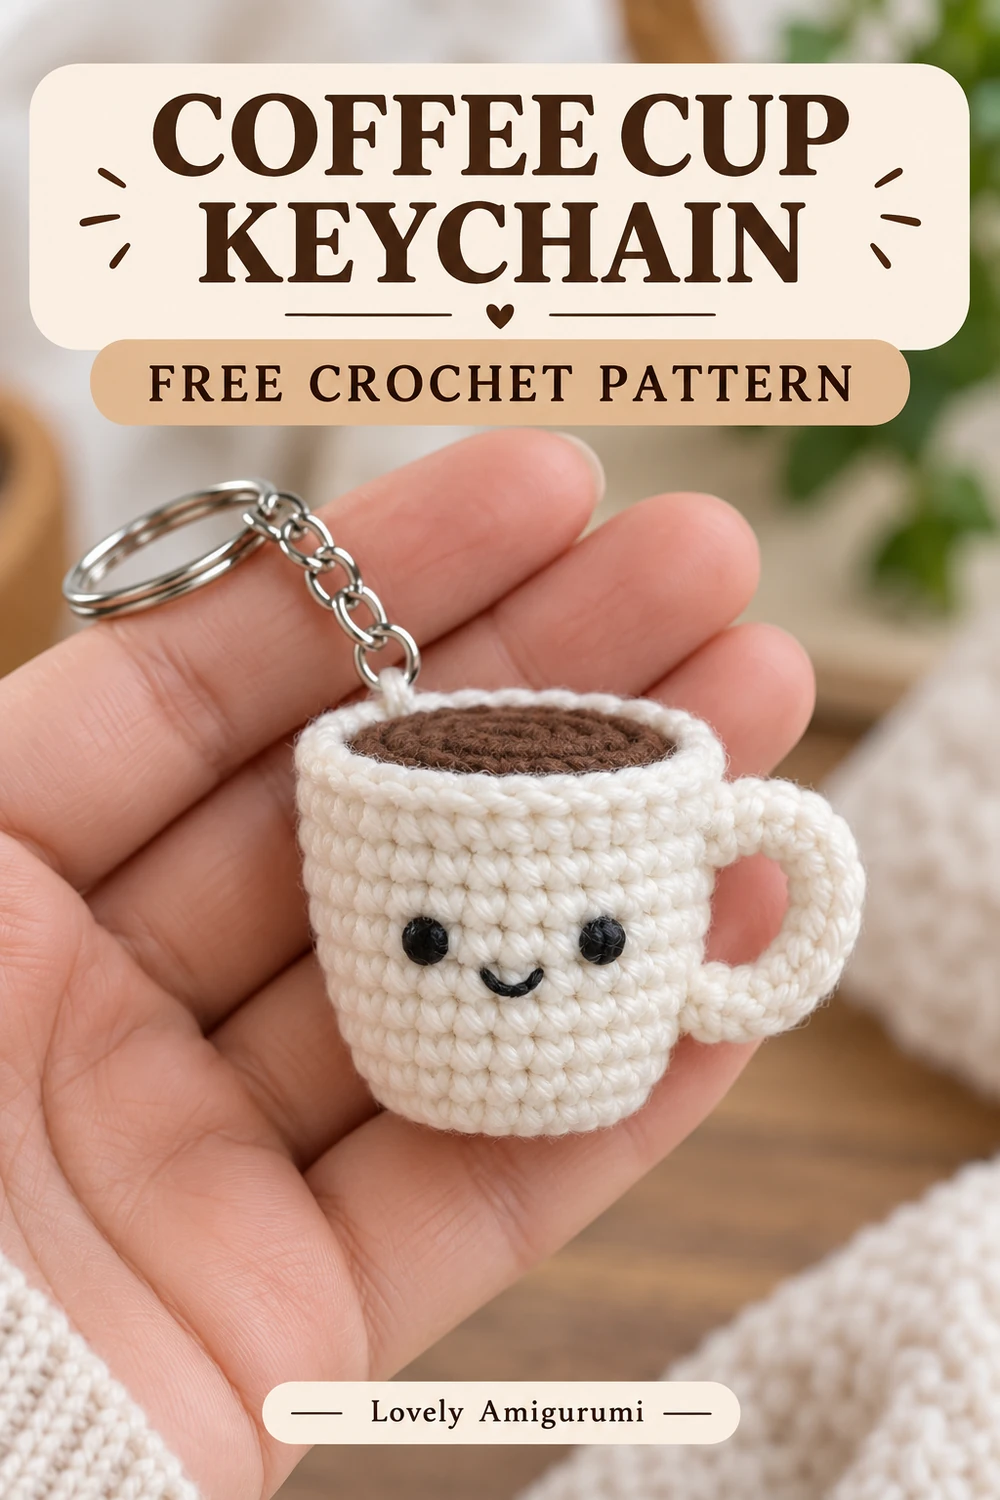
This coffee cup keychain amigurumi brings together a white mug, a brown coffee top and a little smiling face. I like the contrast between the two yarn colors: the coffee stays easy to recognize even when the charm is hanging from a busy set of keys.
The handle is the detail that makes this miniature look like a cup. Both ends belong on the same side, leaving a small open space between the handle and the body. A flat coffee disk and light stuffing help the mug keep its shape without turning into a round ball.
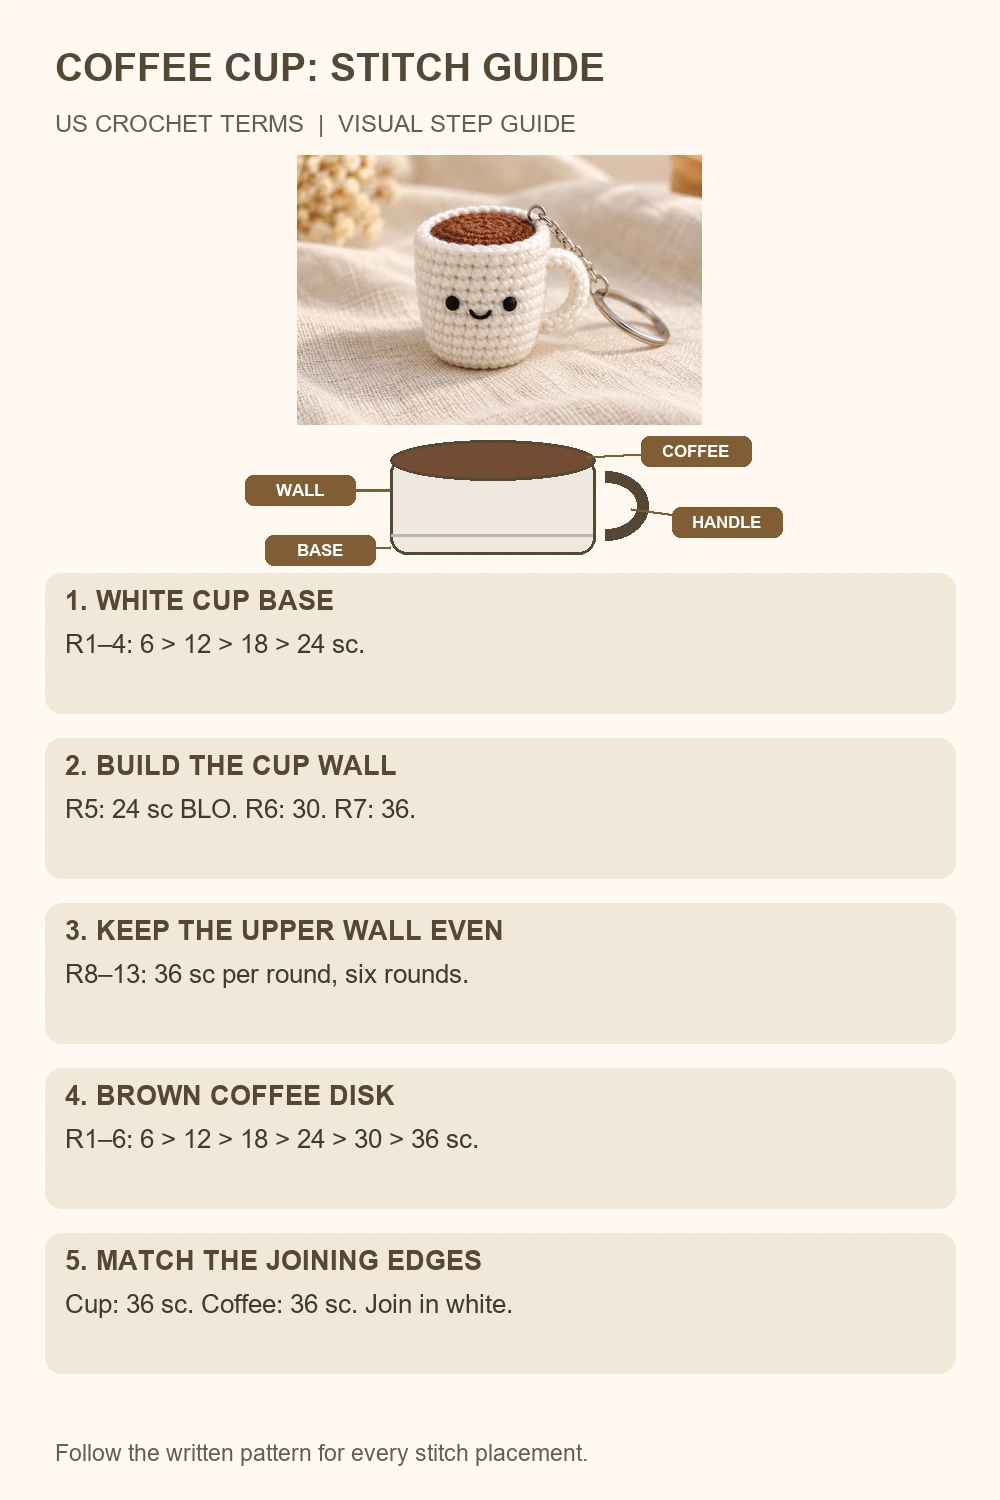
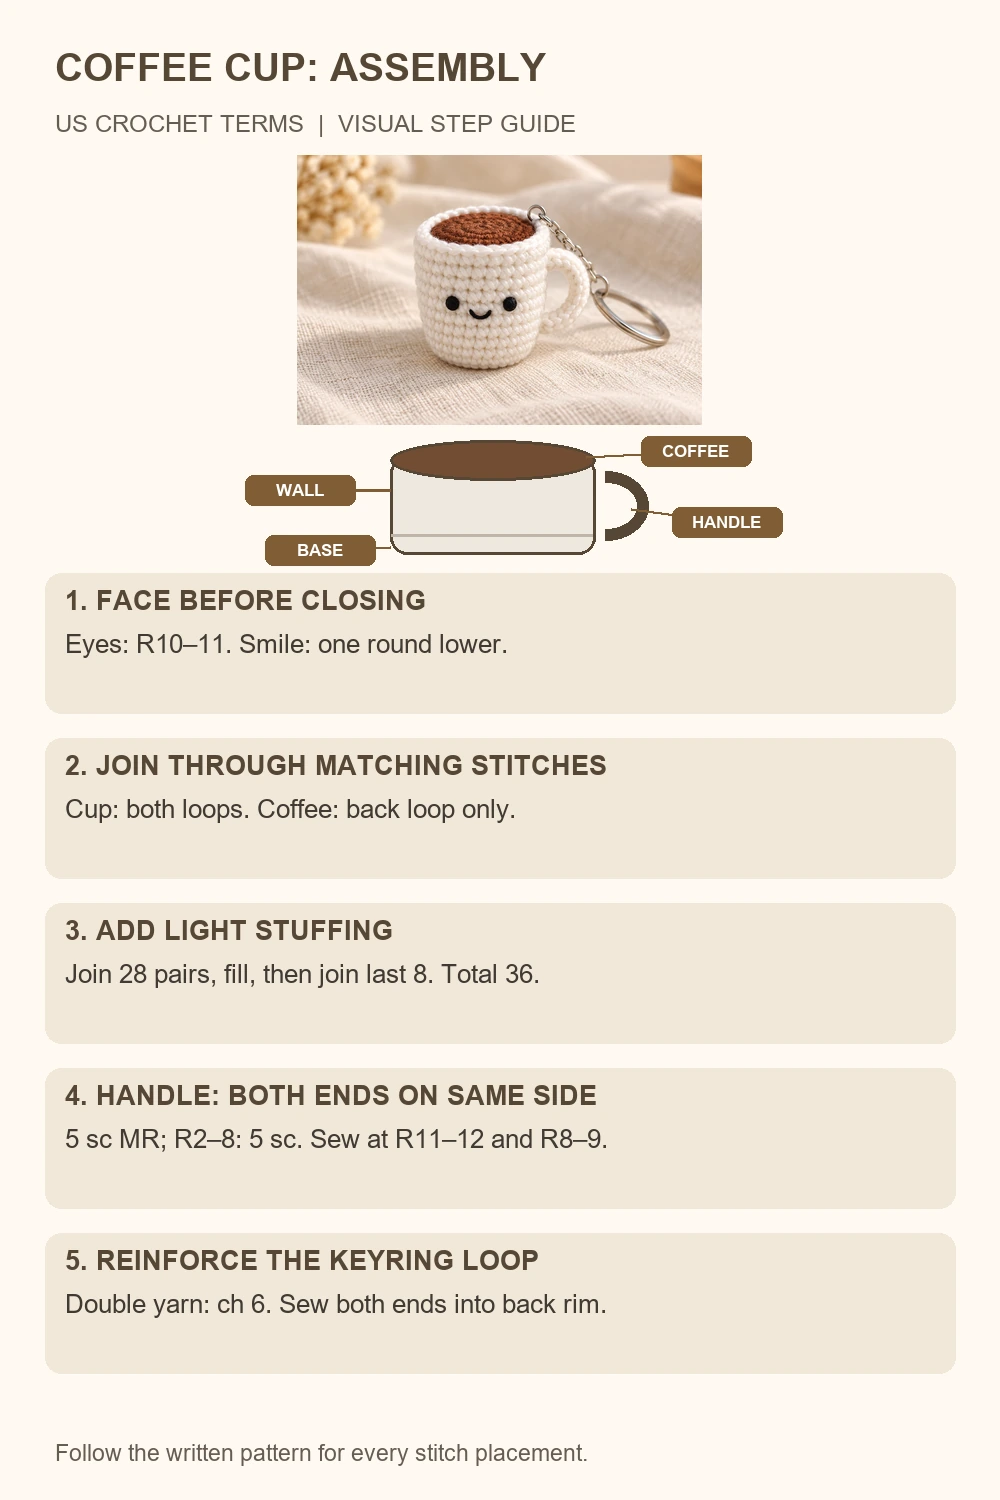
Below you will find the complete pattern in US crochet terminology, with numbered rounds, joining instructions and two diagrams at the end.

Coffee Cup Keychain Amigurumi: Project Details
- Skill level: confident beginner familiar with single crochet and sewing small parts.
- Construction: cup worked from the base upward, separate coffee disk and tubular handle.
- Finished size: depends on yarn, hook and tension; measure your finished charm.
- Colors: white or cream cup, brown coffee and black embroidery.
Materials for Your Coffee Cup Keychain Amigurumi
- Sport or light DK cotton yarn in white and brown.
- Black embroidery thread or a fine strand of black yarn.
- A crochet hook that produces firm stitches with your yarn; approximately 2–2.5 mm is a starting point for fine cotton.
- A small amount of fiberfill.
- Stitch marker, tapestry needle and scissors.
- A keyring or clasp with a short chain.
Use the same yarn weight and hook for the cup and coffee disk so their joining edges stay close in size. If your stitches leave gaps, try a smaller hook before starting again. Choose your hook by the fabric it makes rather than by a fixed finished measurement.
Abbreviations — US Crochet Terminology
- MR: magic ring
- ch: chain
- sc: single crochet
- inc: increase — 2 sc in one stitch
- sl st: slip stitch
- BLO: back loop only
- st(s): stitch(es)
Pattern Notes
Work the cup, coffee disk and handle in continuous rounds. Do not join or turn unless instructed. Mark the first stitch of each round and move the marker upward as you work. Numbers in parentheses show the completed stitch count.
Repeat the instructions inside brackets the stated number of times. Work under both loops except for the cup’s BLO round and the coffee joining round. A finishing slip stitch and a starting chain do not add to the round’s count.
For this coffee cup keychain amigurumi, keep stuffing light near the base. Too much filling can push the coffee top into a dome and make the cup lose its upright shape.
Coffee Cup Keychain Amigurumi: White Cup Body
Rounds 1–4 — Flat Base
- Round 1: 6 sc in MR. (6)
- Round 2: inc in every stitch. (12)
- Round 3: [sc, inc] 6 times. (18)
- Round 4: [2 sc, inc] 6 times. (24)
Pull the starting ring closed and secure its tail on the inside. These gradual increases form the base; do not double every stitch in Round 3.
Rounds 5–13 — Side Wall
- Round 5: sc in BLO around. (24)
- Round 6: [3 sc, inc] 6 times, working under both loops again. (30)
- Round 7: [4 sc, inc] 6 times. (36)
- Rounds 8–13: sc in every stitch for six rounds. (36 per round)
The unused front loops of Round 5 mark the transition from the base to the wall. Keep the right side of the fabric facing outward. Leave the white working yarn attached after Round 13 and set the cup aside.
Brown Coffee Top — 36 Stitches
Use brown yarn and the same hook as the cup.
- Round 1: 6 sc in MR. (6)
- Round 2: inc around. (12)
- Round 3: [sc, inc] 6 times. (18)
- Round 4: [2 sc, inc] 6 times. (24)
- Round 5: [3 sc, inc] 6 times. (30)
- Round 6: [4 sc, inc] 6 times. (36)
Sl st into the next stitch, fasten off and secure the ends on the back. The coffee top should lie as a small disk. Count only its 36 sc when joining; the finishing slip stitch is not an extra stitch.
Add the Face Before Closing
Choose the front of the cup, keeping the round marker toward the back. Embroider two small black eyes between cup Rounds 10 and 11, with approximately six stitches between their centers. Use short overlapping stitches rather than bulky knots.
Add a shallow curved smile between the eyes, one round lower. Secure the thread tails inside the cup. I prefer a simple embroidered face on this coffee cup keychain amigurumi because the tiny details leave room for the handle and coffee rim to stand out.
Join the Cup and Coffee
Add light stuffing to the cup, keeping its base flat. Place the brown disk over the opening, with its right side facing upward. Align the 36 stitches of the cup with the 36 sc around the disk.
Round 14: using the attached white yarn, insert the hook through both loops of the next cup stitch and the back loop of the matching brown stitch. Sc through this pair. Repeat for 28 pairs. Add any remaining stuffing through the gap, then join the final eight pairs. (36 joining sc)
The unused brown front loops stay visible inside the white rim. Sl st to the first joining sc, fasten off and weave the white tail into the back of the cup. Do not include the coffee disk’s finishing slip stitch in the join.
Before closing the final stitches of your coffee cup keychain amigurumi, check that the face is centered and the coffee disk rests evenly. Redistribute the stuffing if one side looks higher.
Crochet the Handle
With white yarn, leave a starting tail for sewing.
- Round 1: 5 sc in MR. (5)
- Rounds 2–8: sc around for seven rounds. (5 per round)
Fasten off with a long tail. Keep the narrow tube unstuffed so it bends easily. Flatten its open end slightly and weave the finishing tail through the five edge stitches without pulling them into a tight ball.
Attach Both Ends to the Same Side
With the face toward you, position the handle on the right side of the cup. Pin its upper end around cup Rounds 11–12 and its lower end around Rounds 8–9. Bend the tube into a C shape and leave a visible gap between the handle and the cup.
Sew each end through several body stitches, taking more than one pass. Secure both tails and bury them inside the body. Both handle ends must attach to this same side; placing them on opposite sides would make a strap across the cup.
Finish Your Coffee Cup Keychain Amigurumi
For the attachment loop, hold white yarn double and ch 6. Fasten off with two long tails. Sew both ends of this short chain into firm rim stitches toward the back of the cup, close together to form a small loop. Reinforce the attachment across several stitches beneath the rim.
Connect the metal chain or clasp through the yarn loop. Check the handle and loop with a gentle pull, then shape the base and coffee top with your fingers. This coffee cup keychain amigurumi is a decorative accessory with small metal parts; keep it out of reach of babies and small children.
Coffee Cup Keychain Amigurumi: Troubleshooting
- Coffee top will not fit: both edges need 36 sc. Check yarn weight, hook and tension, and exclude the disk’s finishing slip stitch.
- Base is rounded: reduce stuffing near the bottom and reshape along the BLO ridge.
- Handle lies flat against the wall: bring the two attachment points slightly closer together so the tube bows outward.
- Stuffing shows: use less filling or restart with a smaller hook for a denser fabric.
Frequently Asked Questions
Can I make the cup in another color?
Yes. Cream, pink or blue cups keep the same stitch counts. Use a coffee color that contrasts with the rim.
Can I leave off the face?
Yes. The brown top and side handle still make the cup recognizable. Omit the embroidery before joining the disk.
Does this coffee cup keychain amigurumi need a saucer?
No. This pattern makes a mug with a coffee top and one handle. The flat base is part of the cup itself.
Can I change the yarn weight?
Yes, with a suitable hook. Use matching weights for the cup and disk, and expect the finished size to change.
How should I clean it?
Follow the yarn label and consider the metal hardware. Spot cleaning is convenient for a small keychain; let the filling dry fully before using it again.
More Small Crochet Projects
Try the mini penguin amigurumi keychain for another embroidered charm, or make a colorful set of summer fruit crochet keychains. For a table accessory, visit the heart coaster crochet pattern.
Save this coffee cup keychain amigurumi pattern for your next small cotton-yarn project. The four Pins and two diagrams below show the cup pieces and the joining sequence.
Pinterest Pins and Crochet Diagrams