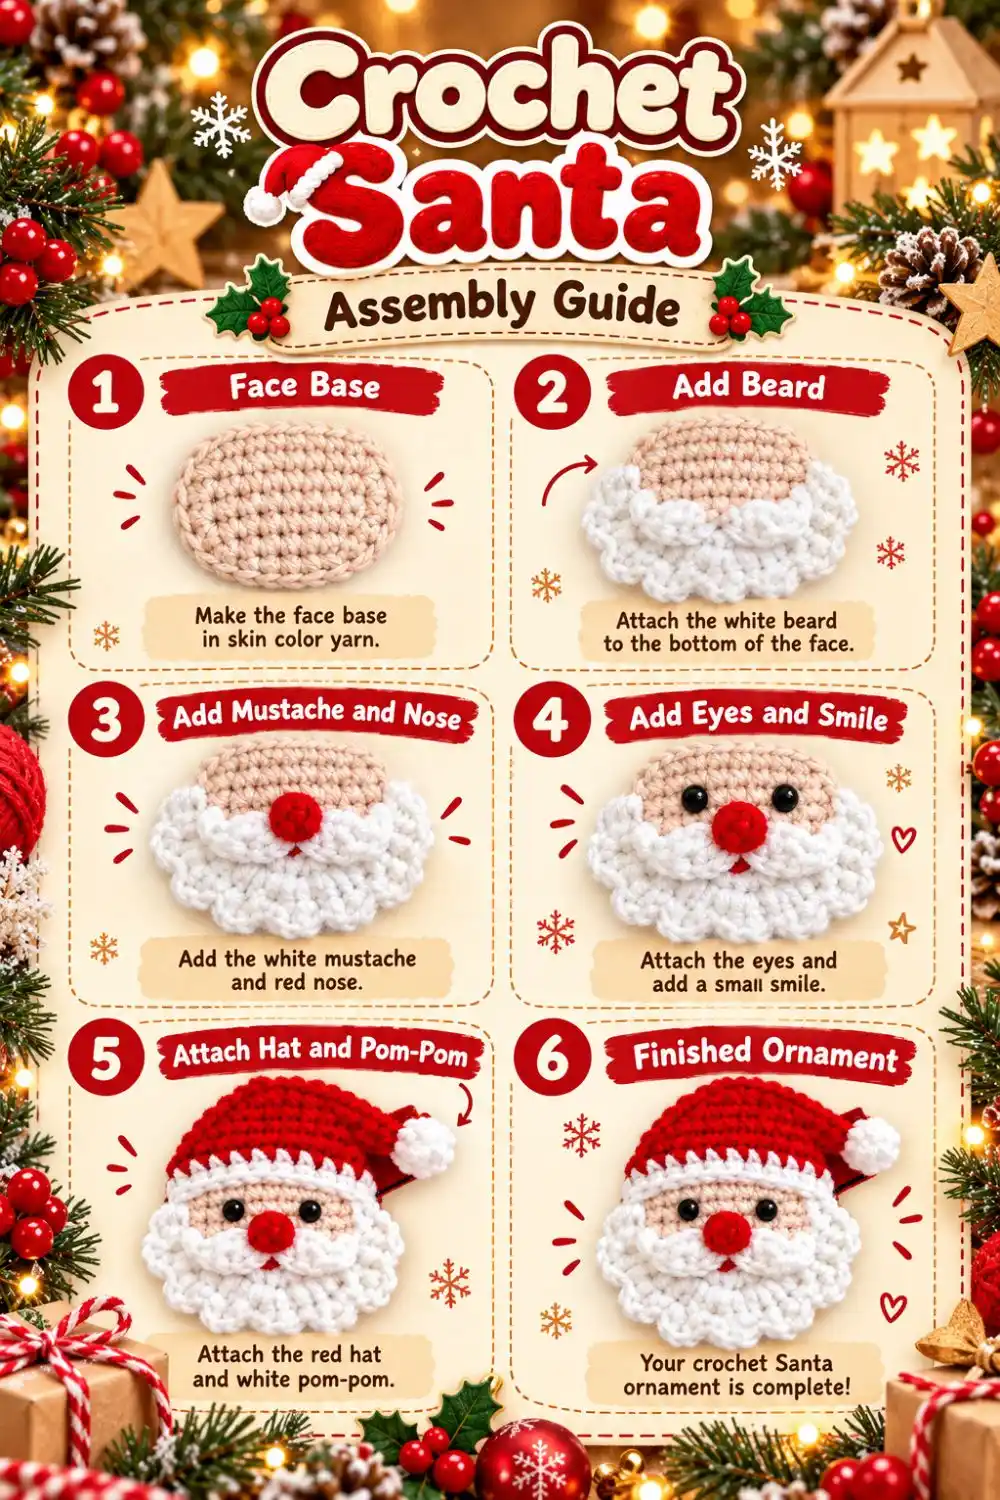
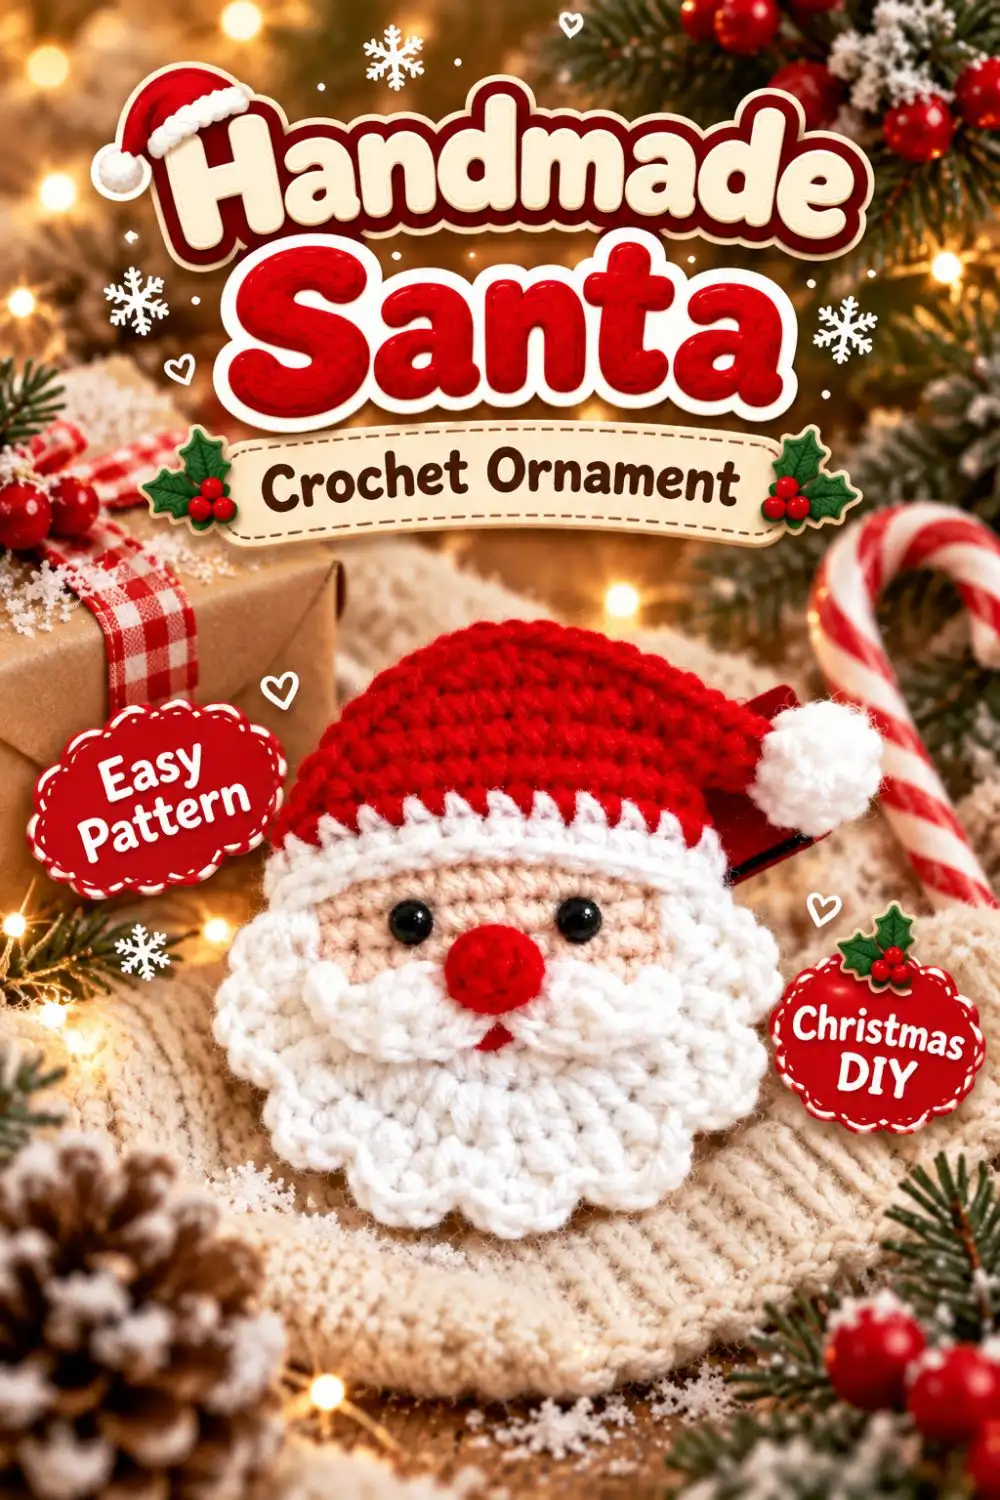
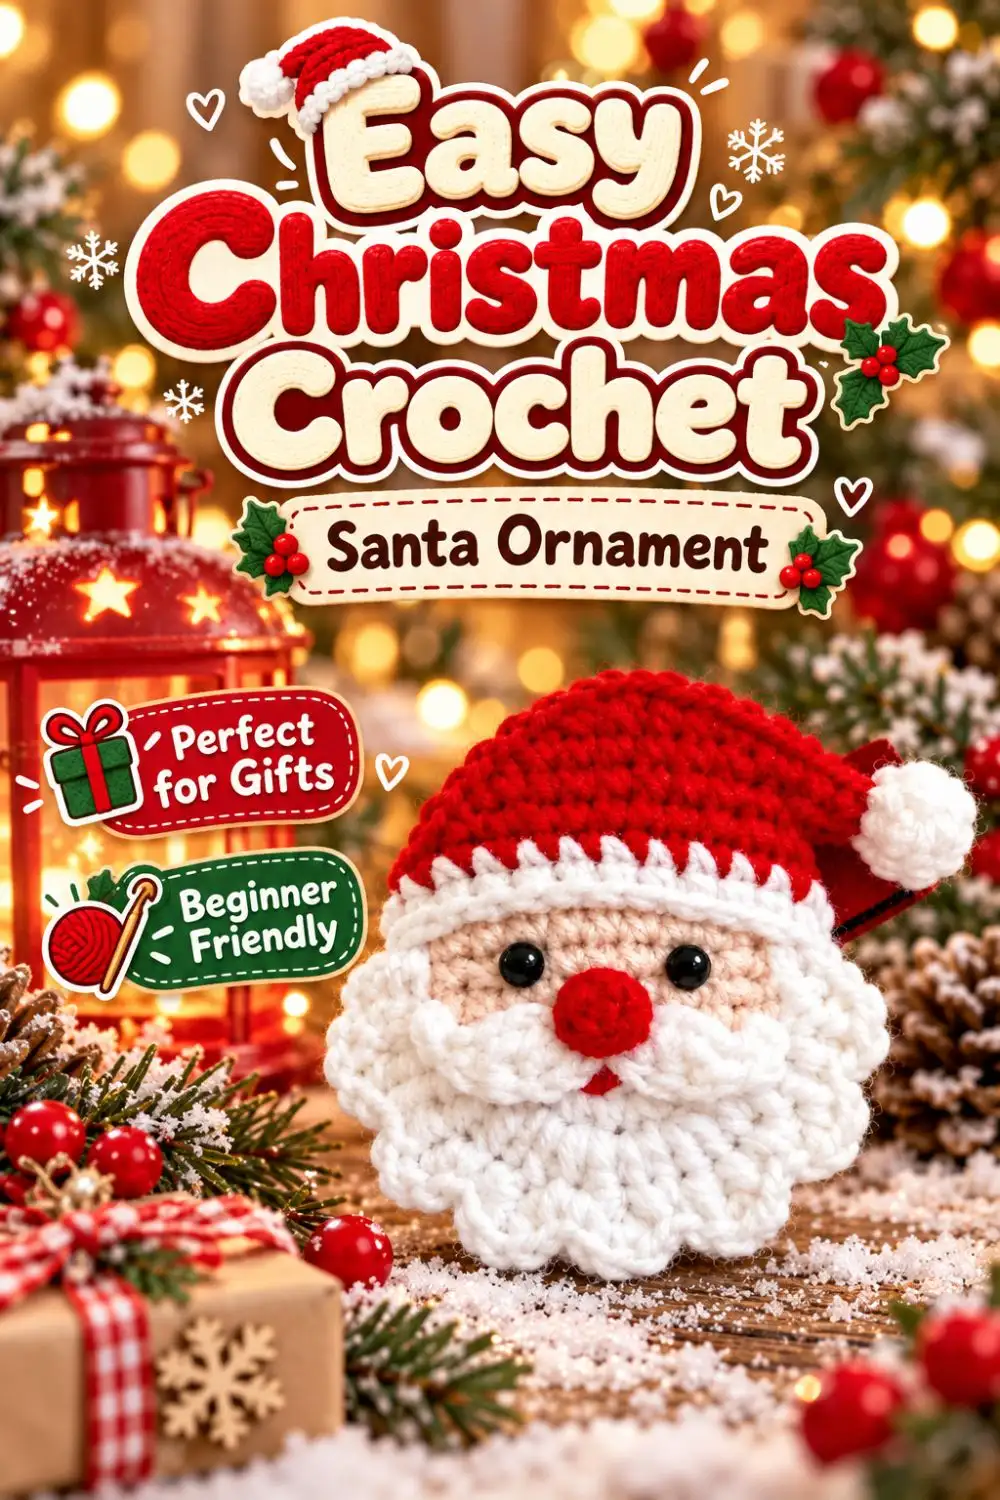
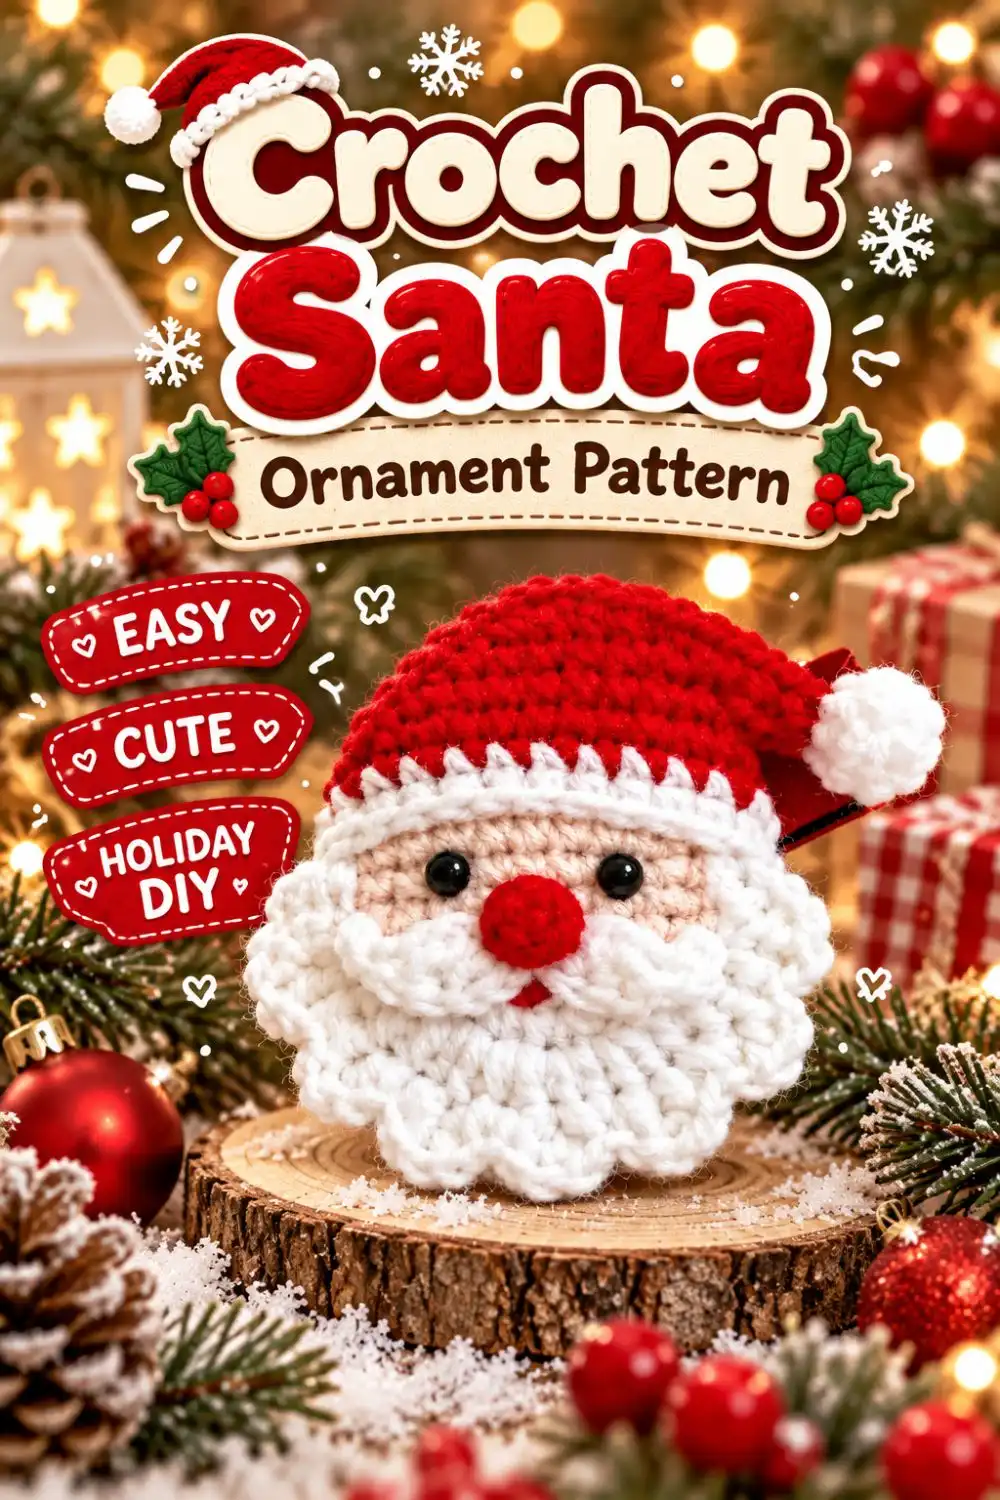
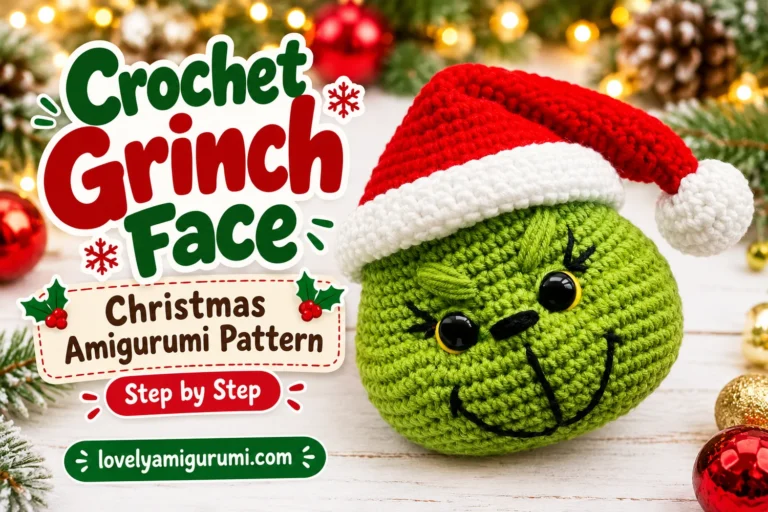
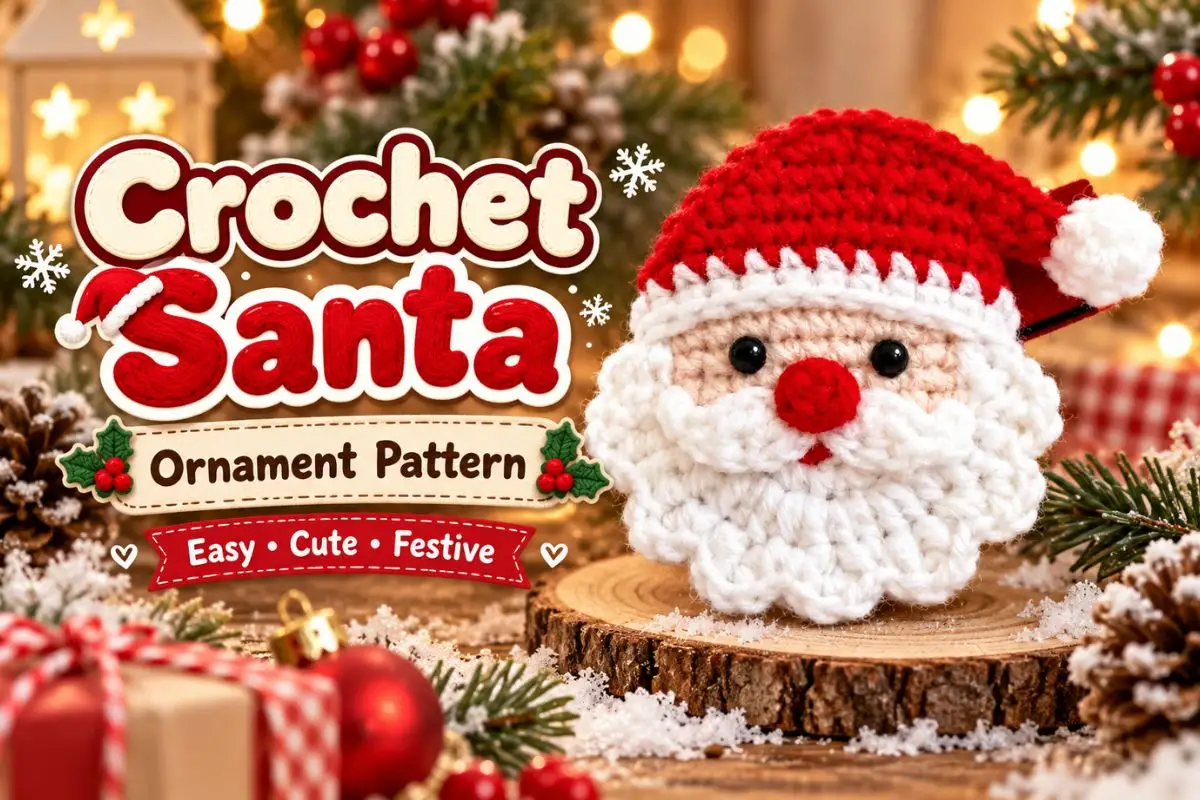
This Santa ornament crochet pattern is inspired by a cheerful Christmas face with a bright red nose, a soft white moustache and a textured, scalloped beard. The red hat bends to one side, finishing with a fluffy white pom-pom that gives the ornament its festive silhouette.
The ornament is built around a circular face with a matching backing. The beard, moustache and hat are made separately and sewn on, so you can arrange the expression before securing the pieces. Add a hanging loop at the back to display your Santa on a Christmas tree or use it as a handmade gift topper.
Pattern Information
- Skill level: Confident beginner to intermediate.
- Terminology: US crochet terms.
- Construction: Two flat face circles, a lightly padded nose and separate decorative pieces.
- Main techniques: Working in rounds and rows, increases, decreases, bobbles and sewing.
- Estimated size: Approximately 10–14 cm tall with sport or DK yarn; the final size depends on yarn, hook and tension.
Pattern note: This written design follows the main reference image supplied for this project. It is an untested adaptation: stitch counts have been checked, but finished measurements and an exact photographic match have not been verified with a crocheted sample.
Materials
- Matching-weight cotton or acrylic yarn in peach or light beige, white and Christmas red.
- A small amount of black yarn or embroidery thread for eyes, or two 6–8 mm safety eyes.
- A crochet hook that gives a firm but flexible fabric; 2.5–3.0 mm is a starting range for sport or light DK yarn.
- A little polyester fiberfill for the nose and optional light face padding.
- Yarn needle, scissors, stitch marker and pins.
- Small cardboard strip for the pom-pom.
- Strong yarn or decorative cord for the hanging loop.
Use the same yarn weight for the face, beard and hat to keep their proportions similar. Exact yardage has not been measured. Choose a yarn whose strands hold together well, especially for the small moustache pieces and bobbles.
Abbreviations and Special Stitches
- MR: Magic ring.
- ch: Chain.
- sc: Single crochet.
- hdc: Half double crochet.
- dc: Double crochet.
- sl st: Slip stitch.
- inc: Work 2 sc in the same stitch.
- dec: Single crochet 2 stitches together.
- st / sts: Stitch / stitches.
- BO: Five-double-crochet bobble, counted as one stitch.
Numbers in parentheses show the finished stitch count. Brackets show a sequence to repeat.
Five-Double-Crochet Bobble
Yarn over, insert the hook into the indicated stitch, yarn over and pull up a loop, then yarn over and pull through two loops. Leave the remaining loops on the hook. Repeat this partial double crochet four more times in the same stitch. You will have six loops on the hook. Yarn over and pull through all six loops. Do not add a closing chain in this pattern. The completed bobble counts as one stitch.
Single Crochet Decrease
Insert the hook into the next stitch and pull up a loop. Insert it into the following stitch and pull up another loop. Yarn over and pull through all three loops. For the nose, you may use an invisible decrease through the front loops instead.
Before You Start
The face circles are worked in joined rounds. Chain 1 at the beginning and join with a slip stitch to the first single crochet at the end. Neither the chain nor the joining slip stitch counts as a stitch. Do not turn these rounds.
The beard and hat are worked back and forth. Beginning chains do not count as stitches. The nose is worked in a continuous spiral with a stitch marker. Leave long sewing tails on decorative pieces and keep the face and beard mostly flat.
Santa Ornament Crochet Pattern Instructions
Face — Make 1 in Peach
Round 1: Make a MR, ch 1 and work 6 sc into the ring. Tighten and join. (6)
Round 2: Ch 1, inc in each st. Join. (12)
Round 3: Ch 1, [sc, inc] 6 times. Join. (18)
Round 4: Ch 1, [2 sc, inc] 6 times. Join. (24)
Round 5: Ch 1, [3 sc, inc] 6 times. Join. (30)
Round 6: Ch 1, [4 sc, inc] 6 times. Join. (36)
Round 7: Ch 1, [5 sc, inc] 6 times. Join. (42)
Fasten off and weave in the starting tail. Keep the circle flat. Do not add plain rounds around the edge, as these can make it cup.
Backing — Make 1 in Peach
Repeat Face Rounds 1–7. (42) Fasten off with a long tail for joining. This backing covers the reverse of the eye attachments and the decorative sewing stitches. Set it aside until the front is assembled.
Textured White Beard
Work a semicircle in white. The straight edge will sit across the lower face; the curved edge forms the bottom of the beard.
Row 1: Make a MR, ch 2 and work 6 dc into the ring. Tighten the ring, but do not join. (6)
Row 2: Ch 2, turn. Work 2 dc in each st. (12)
Row 3: Ch 2, turn. [Dc in next st; dc and BO in the following st] 6 times. (18)
Row 4: Ch 2, turn. [Dc in next 2 sts, 2 dc in next st] 6 times. (24)
Push each bobble toward the side you want to show. Mark that side as the front before sewing. The bobbles add raised texture without filling the entire beard with heavy stitches.
Row 5 — Scalloped edge: Ch 1, turn. [Sl st in next st, skip 1 st, 5 dc in next st, skip 1 st] 6 times. This uses all 24 stitches and makes six shells. After the final skipped stitch, anchor with a sl st into the previous row’s turning chain at the corner. The anchoring slip stitch does not add another shell.
Fasten off with a long tail. Gently shape the semicircle, keeping the straight upper edge horizontal and the shells pointing down. Leave it unstuffed.
White Moustache — Make 2 Lobes
Each lobe is a small oval worked around a starting chain.
Round 1: Ch 7. Starting in the second chain from the hook, sc in the next chain, hdc in the next, dc in the next 2 chains, hdc in the next, and 3 sc in the last chain. Rotate to work along the other side of the chain. Hdc in the next chain, dc in the next 2 chains, hdc in the next, then 2 sc in the final chain, which also holds the first sc. Join to the first sc. (14)
Fasten off with a sewing tail. Do not stuff. The end with three single crochets is rounded; the opposite end will sit under the nose. Arrange one lobe on each side, angled slightly downward and outward.
Round Red Nose
Work in continuous rounds using red.
Round 1: 6 sc in a MR. (6)
Round 2: Inc in each st. (12)
Round 3: Sc in each st. (12)
Round 4: Dec 6 times. (6)
Add a small amount of stuffing before completing the final decreases. Fasten off, thread the tail through the front loops of the final six stitches and pull closed. Leave enough tail to sew the nose onto the face.
Red Hat
Start at the broad lower edge. Work in red, chaining 1 and turning before every row after Row 1.
Row 1: Ch 17. Sc from the second chain across. (16)
Row 2: Inc in first st, 14 sc, inc in last st. (18)
Row 3: Sc across. (18)
Row 4: Dec, 14 sc, dec. (16)
Row 5: Sc across. (16)
Row 6: Dec, 12 sc, dec. (14)
Row 7: Sc across. (14)
Row 8: Dec, 10 sc, dec. (12)
Row 9: Dec, 8 sc, dec. (10)
Row 10: Dec, 6 sc, dec. (8)
Row 11: Dec, 4 sc, dec. (6)
Row 12: Dec, 2 sc, dec. (4)
Row 13: Dec twice. (2)
Row 14: Dec once. (1)
Fasten off with a long tail. This flat hat widens slightly above the brim before narrowing to the tip. Bend the upper section toward Santa’s right as viewed from the front, following the main image. Pin the fold before sewing it in place.
White Hat Brim
Row 1: Ch 17. Sc from the second chain across. (16)
Row 2: Ch 1, turn. Hdc across. (16)
Row 3: Ch 1, turn. Sc across. (16)
Fasten off with a long tail. Place the strip over the red hat’s starting edge and stitch it on. Use relaxed sewing stitches so the brim stays softly rounded rather than pulling the hat into a tight curve.
Fluffy White Pom-Pom
Wrap white yarn around a cardboard strip approximately 2.5 cm wide about 50–60 times. Slide the loops off and tie tightly through the center with a strong strand of white yarn. Tie a second securing knot. Cut the loops on both sides and trim gradually to form a fluffy ball approximately 2 cm across.
Keep the two tying tails long. Use them to attach the pom-pom to the bent hat tip. Sew through the pom-pom’s central tie and the hat several times to secure it.
Assembly and Face Placement
- Arrange the face. Lay the peach circle flat, with the round join toward the top where the hat will cover it. Pin all decorative pieces before attaching eyes.
- Position the eyes. Place them on the upper half of the visible face, approximately five or six face stitches apart. Keep space between them for the large red nose. If using safety eyes, fit their backings before adding the rear circle. For embroidered eyes, make two small black circles with compact stitches.
- Attach the beard. Place its straight edge across the lower third of the face. Let the curved, scalloped portion extend below the peach circle. Sew along the straight edge and the overlapping upper sides, leaving the shells free.
- Add the mouth. Embroider a small red triangle or short red V at the center of the beard’s upper edge, below the nose. It should remain visible between the moustache lobes.
- Sew the moustache. Put the inner ends together above the mouth and angle the rounded ends outward. Sew the upper and inner edges securely, leaving a little lift along the lower edges.
- Attach the nose. Center it between the eyes so it overlaps the inner moustache ends. Stitch around the back of the nose without flattening its rounded front.
- Attach the hat. Set the white brim just above the eyes, covering the upper arc of the face. Sew the overlapping lower hat fabric and brim to the face. Bend the tip to the right and tack the fold at the back.
- Join the backing. Align the two peach circles, with their wrong sides together. Whipstitch all 42 edge stitches, matching one front stitch to one backing stitch. Add only a thin layer of optional padding before closing the last few stitches.
- Add the hanging loop. Pass a length of strong yarn through several backing stitches near the top center, behind the hat brim. Make a loop long enough for your tree branch, tie it securely and weave the tails into the backing.
Check the balance by holding the ornament from its loop before finishing. Adjust the loop position if the pom-pom makes Santa tilt too far to one side. Weave in every remaining end and gently check the sewn attachments.
Finishing Tips
The face should remain gently rounded and mostly flat. Excess stuffing can push the beard outward and hide the mouth. Shape the beard by hand and spread the shells evenly around the bottom.
If the yarn label permits blocking, lightly dampen the beard before assembly, shape it on a towel and let it dry fully. Avoid soaking the completed ornament or its pom-pom. This decoration includes small attached parts and is intended for display rather than as a baby toy.
Troubleshooting
My face circle curls
Check all seven round counts and make sure the starting chain or joining slip stitch has not been counted as an extra stitch. Missing increases can make a circle cup. If the counts are correct but the fabric is too tight, try a slightly larger hook.
The beard bobbles point backward
Push them toward the chosen front side before attaching the beard. Keep that side facing forward throughout assembly. The sewing stitches should catch the beard base rather than compressing the bobbles.
The hat is too wide
Pin the hat and brim to the face before sewing. A little overhang at the sides matches the reference. If the difference is large, remake both hat and brim with a smaller hook, preserving the stitch counts.
The mouth disappears under the moustache
Move the moustache lobes slightly upward and angle their outer ends outward. Keep their inner ends beneath the nose, leaving a narrow gap below for the red mouth.
Frequently Asked Questions
Is this Santa ornament crochet pattern beginner-friendly?
It suits confident beginners who can increase, decrease and sew small pieces. Practice the bobble stitch on a swatch before starting the beard if it is new to you.
Can I embroider the eyes?
Yes. Embroidered eyes work well on this mostly flat decoration and avoid bulky plastic backings. Position them before attaching the hat and nose so the expression remains easy to adjust.
Can I make a larger Santa?
Use thicker yarn and a matching hook for all pieces. Keep the stitch counts the same, then check the hat and beard proportions during assembly. The estimated dimensions will change.
Will it match the photograph exactly?
The main image defines the colors, round red nose, white moustache, textured beard, bent hat and fluffy pom-pom. Yarn and tension affect the finished shape, and this written adaptation has not been sample-tested for an exact match.
More Christmas Crochet Ideas
Pair Santa with the Christmas Penguin Keychain Crochet Pattern for a coordinated holiday project. For another small accessory, explore the Crochet Amigurumi Bag Keychain Pattern.
Save Your Santa Project
Save this Santa ornament crochet pattern to Pinterest for your Christmas crafting list. When you share your finished decoration, mention lovelyamigurumi and include your yarn, hook size and final measurements.
Santa Ornament Reference Gallery
These six supplied images are visual references for the project. Use the written instructions above for stitch counts and construction.