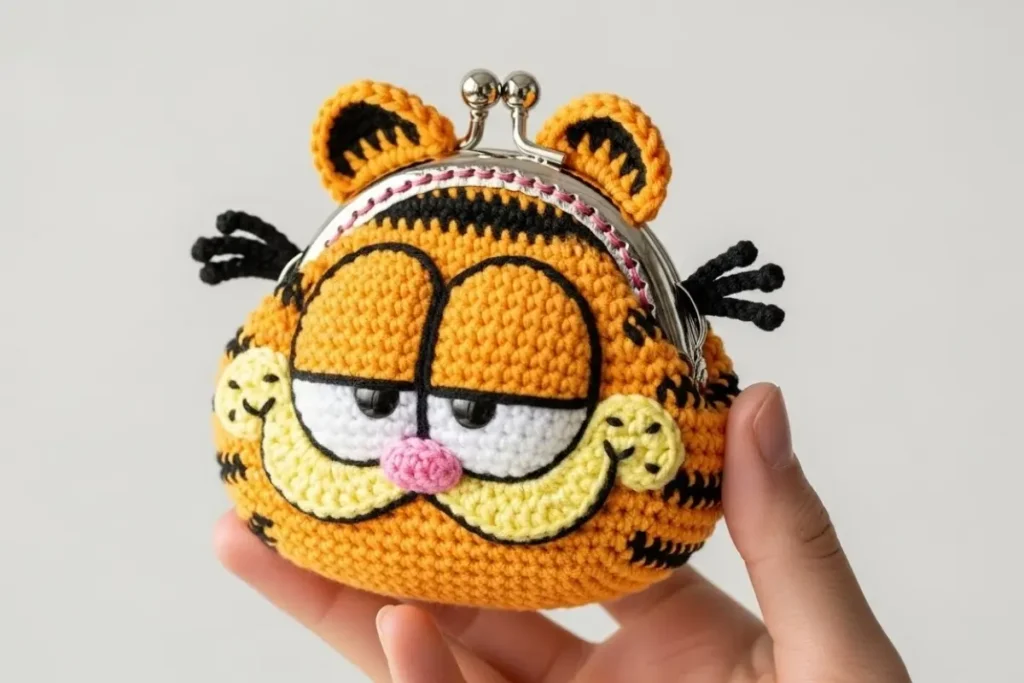
I’ve made this Garfield Keychain Crochet Pattern more times than I can count — for my own bags, as quick gifts, and especially as a reliable seller at small craft fairs. Every time, people stop because they instantly recognize that sleepy, slightly grumpy face. It’s one of those projects that connects emotionally before you even explain what it is.
What I love most about this pattern is how practical it is. It works beautifully as a keychain, a tiny coin purse, or a bag charm, and the size fits a 5 cm metal clasp frame perfectly without forcing or stretching the stitches. Because it uses fingering-weight yarn and small pieces, it’s also ideal for yarn scraps and quick makes. I usually finish one in about an hour when my tension is relaxed and consistent.
I tested this pattern with a 2.0 mm hook to keep the fabric tight enough for a neat finish around the clasp, and that small detail makes a big difference in how professional the final piece looks. Even though it’s beginner-friendly, the end result feels polished and intentional — the kind of project that looks harder than it actually is.
🧶 Garfield Keychain Crochet Pattern (US Terms)
Materials
-
Fingering-weight yarn (Category 1):
-
Orange (main color)
-
White (eyes)
-
Yellow (cheeks/muzzle)
-
Pink (nose)
-
-
Crochet hook 2.0 mm
-
5 cm metal clasp frame
-
Yarn needle (thin enough to pass through the clasp holes)
-
Stuffing (a small amount)
-
Stitch markers
-
Scissors
-
Pins (for positioning)
🔤 Abbreviations (US Terms)
MR — Magic ring
sc — Single crochet
inc — Increase (2 sc in same stitch)
dec — Invisible decrease
sl st — Slip stitch
ch — Chain
st(s) — Stitch(es)
🟠 HEAD / COIN PURSE BASE — Orange
Round 1:
6 sc in MR (6)
Round 2:
inc around (6 inc = 12)
Round 3:
1 sc, inc repeat around (18)
Round 4:
2 sc, inc repeat around (24)
Round 5:
3 sc, inc repeat around (30)
Round 6:
4 sc, inc repeat around (36)
Rounds 7–18:
36 sc each round
Round 19 (Decrease Round):
4 sc, dec repeat around (30)
Fasten off, leaving a long tail for sewing the piece to the metal frame.
🟠 EARS (Make 2) — Orange
Round 1:
6 sc in MR (6)
Round 2:
1 sc, inc repeat around (9)
Round 3:
2 sc, inc repeat around (12)
Round 4:
12 sc
Finish with a sl st.
Leave a tail for sewing.
⚪ EYES (Make 2) — White + Orange
Round 1 (White):
6 sc in MR (6)
Round 2:
1 sc, inc repeat around (9)
Round 3:
Change to orange using invisible color change:
Work 5 orange stitches (following the live method: pull up loop in white, close stitch with orange).
(You will have a small orange “eyelid”.)
Round 4:
9 sc in orange
Round 5:
1 sc, dec repeat until you have 3 dec and 3 sc total (shape becomes oval)
Finish, leave tail for sewing.
💛 CHEEKS / MUZZLE FRONT (Make 2) — Yellow
Round 1:
6 sc in MR
Do not close with sl st.
Turn.
Row 2:
ch 1, 2 sc, inc, 2 sc, inc
Leave tail for sewing.
💛 SIDE CHEEKS (Make 2) — Yellow
6 sc in MR, pull tight.
Do not sl st.
Leave as a half-moon shape.
Leave tail for sewing.
💗 NOSE — Pink
5 sc in MR (5)
Close with sl st to the first stitch.
Leave tail for sewing.
🧵 ASSEMBLY
1️⃣ Attach the base to the metal frame
Insert the crocheted edge inside the frame.
Sew through the clasp holes and the crochet stitches.
Push the crochet upward so the seam stays neat.
Work across both sides.
2️⃣ Lightly stuff the head
Just enough to give Garfield his soft, rounded shape.
3️⃣ Position the facial pieces
Use pins — it makes all the difference.
-
Cheeks (2 yellow): centered vertically, touching in the middle
-
Eyes: just above the yellow muzzle; white outside, orange eyelid centered
-
Side cheeks (half-moons): one on each side of the muzzle
-
Nose: between the eyes and centered over the muzzle
4️⃣ Sew everything carefully
Start with the two yellow muzzle pieces.
Then attach the eyes — orange part with orange yarn, white part with white yarn.
Add the side cheeks.
Sew the tiny pink nose.
5️⃣ Embroider details
Use black yarn or embroidery thread:
-
Outline the upper eyelids for Garfield’s sleepy look
-
Add a small smile under the muzzle
-
Add a tiny vertical line under the nose (optional)
Keep the expression lazy and slightly grumpy — the classic Garfield charm.
6️⃣ Attach the ears
Sew each ear above the eyes at a slight outward angle.
My Experience & Practical Tips
After making several of these Garfields, a few small but important details really stand out:
1. Tension matters more than speed
If your stitches are even slightly loose, the piece won’t sit as cleanly inside the metal clasp. I recommend slowing down during Rounds 7–18 and checking that your fabric feels firm but not stiff. If you tend to crochet loosely, going down half a hook size can help.
2. Stuff less than you think
This is a common beginner mistake. Overstuffing makes the face bulge and can distort the eyes and muzzle placement. I add stuffing gradually, then stop earlier than feels natural — the metal frame already gives structure.
3. Pin everything before sewing
I never skip this step. The cheeks and eyes look symmetrical when held in your hands, but once sewn, small shifts become very noticeable. Pins let you adjust the sleepy expression until it really looks like Garfield.
4. Use matching yarn for facial sewing
When attaching the eyes, I switch yarn colors exactly as noted — orange for the eyelid, white for the eye. It takes a little longer, but the stitches disappear into the fabric instead of standing out.
5. Don’t rush the eyelids
The eyelids are what give Garfield his signature look. I lightly embroider over the upper edge rather than pulling the yarn tight. Too much tension here can accidentally turn “sleepy” into “angry.”
❓ FAQ (Schema-Style)
Q: Is this Garfield keychain crochet pattern beginner-friendly?
Yes! It uses basic stitches and small pieces, making it great for confident beginners and perfect for quick gifts.
Q: Can I use thicker yarn?
You can, but the size will increase and may not fit a 5 cm clasp frame.
Q: Can I sell the finished items?
Absolutely — handmade sellers love this project! Just avoid selling or redistributing the pattern itself.
Q: How long does it take to make?
Most crafters finish it in 1–2 hours.
Q: Does the pattern require special tools?
Only a 5 cm metal clasp frame and basic amigurumi tools.
This Garfield keychain pattern has been thoroughly tested in real use — clipped to keys, tossed into bags, and handled by curious hands at markets. It holds its shape well, fits the clasp securely, and keeps its character even after repeated use. That reliability is exactly why I keep coming back to it when I need a fast, satisfying project.
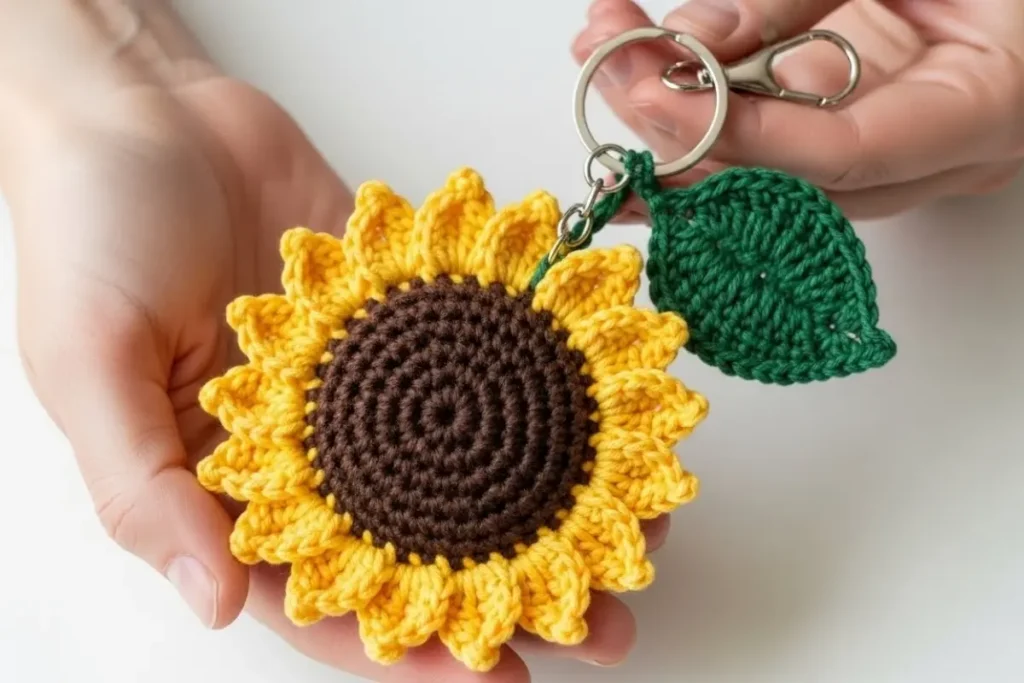
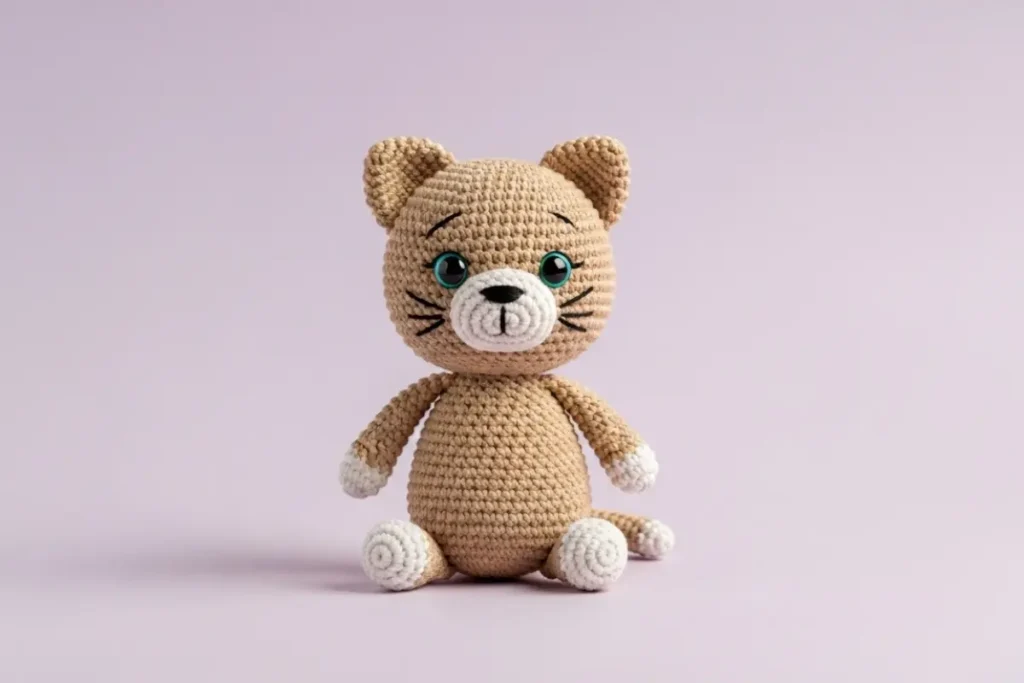
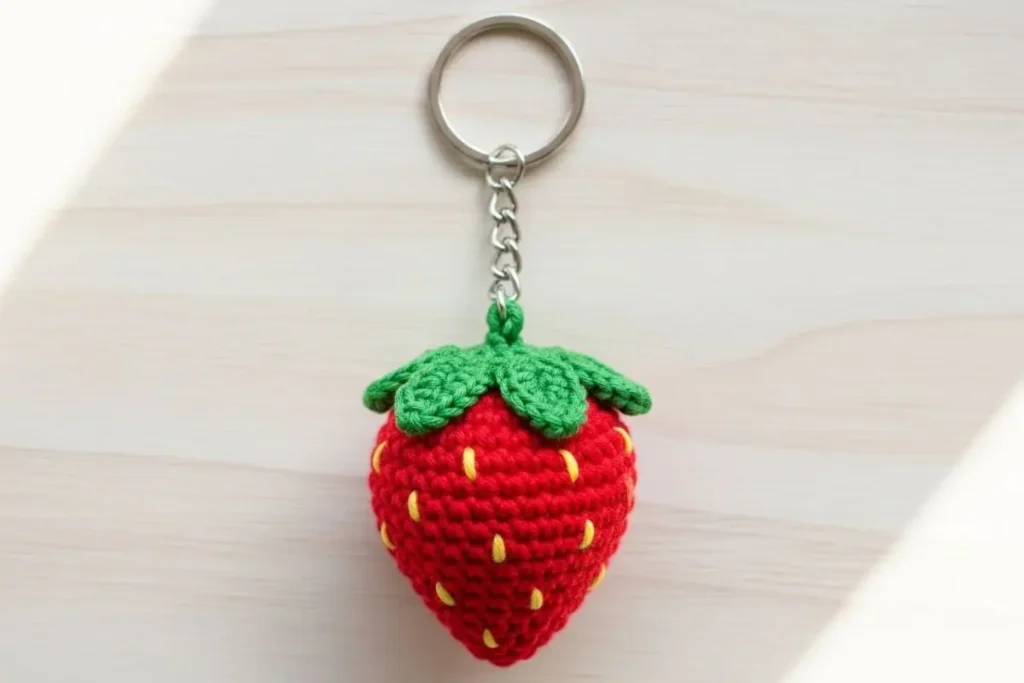
It’s a lovely choice for handmade gifts, themed bundles at fairs, or simply adding a bit of nostalgia to your everyday accessories. If you enjoy small amigurumi with personality, you might also like the Bunny Amigurumi for its soft, gift-friendly style, or the Sunflower Amigurumi Keychain and Sunflower Pot Amigurumi if you’re in the mood for something cheerful and bright — they pair beautifully with this project in a handmade collection.
Every finished Garfield turns out slightly different, and that’s what makes them feel special. Take your time, enjoy the process, and let his lazy little expression come together stitch by stitch.
Happy crocheting 🧶