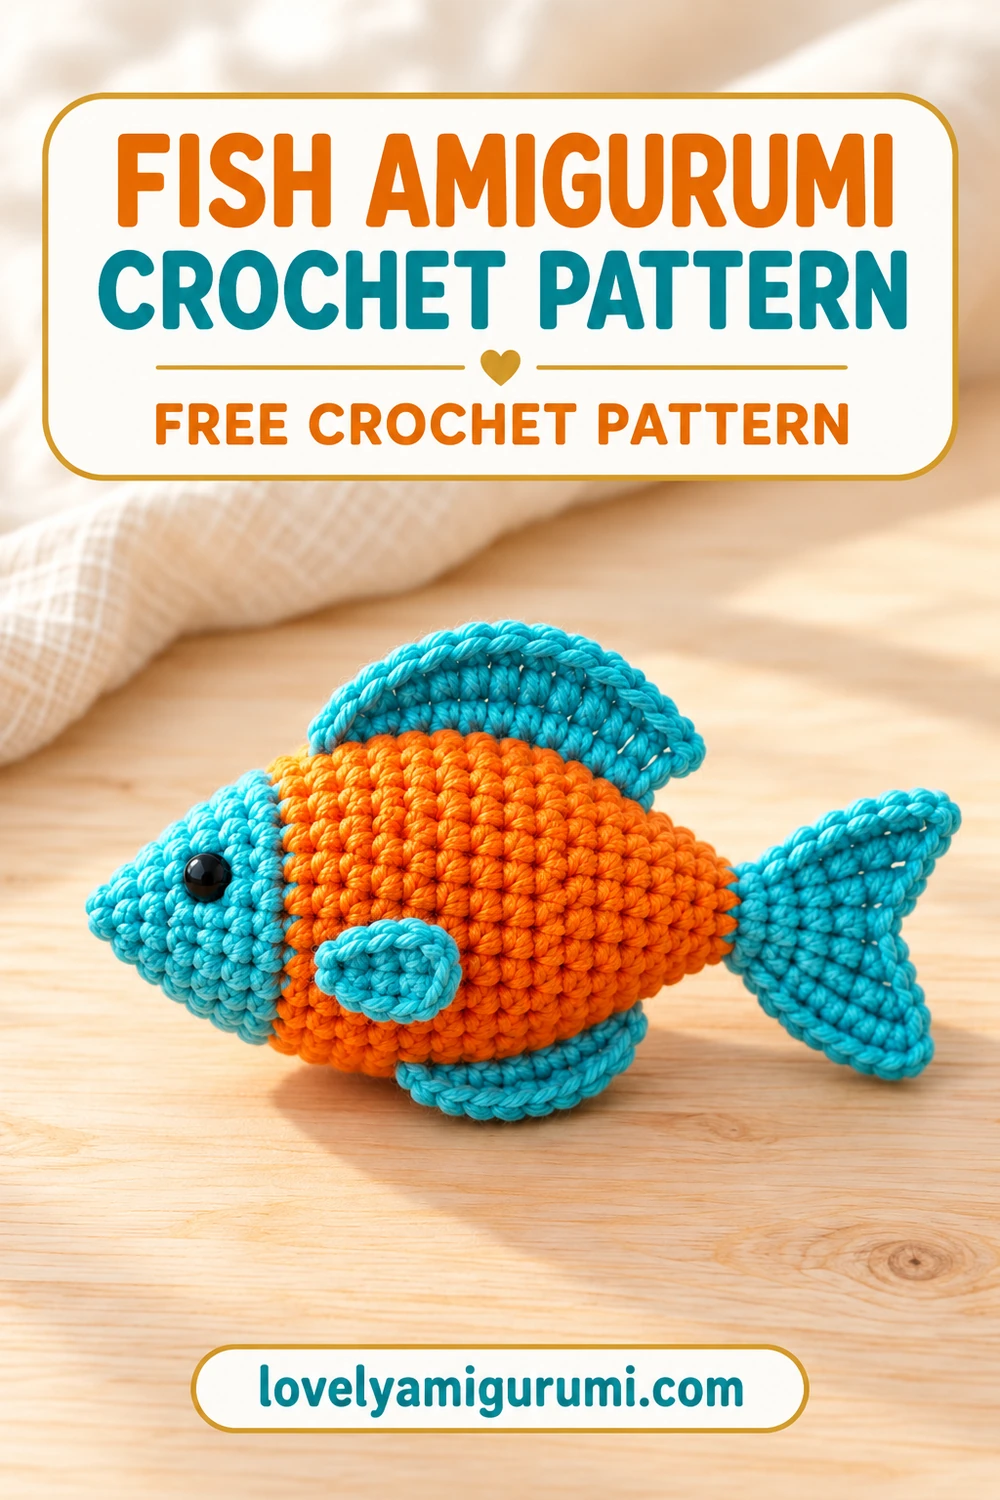
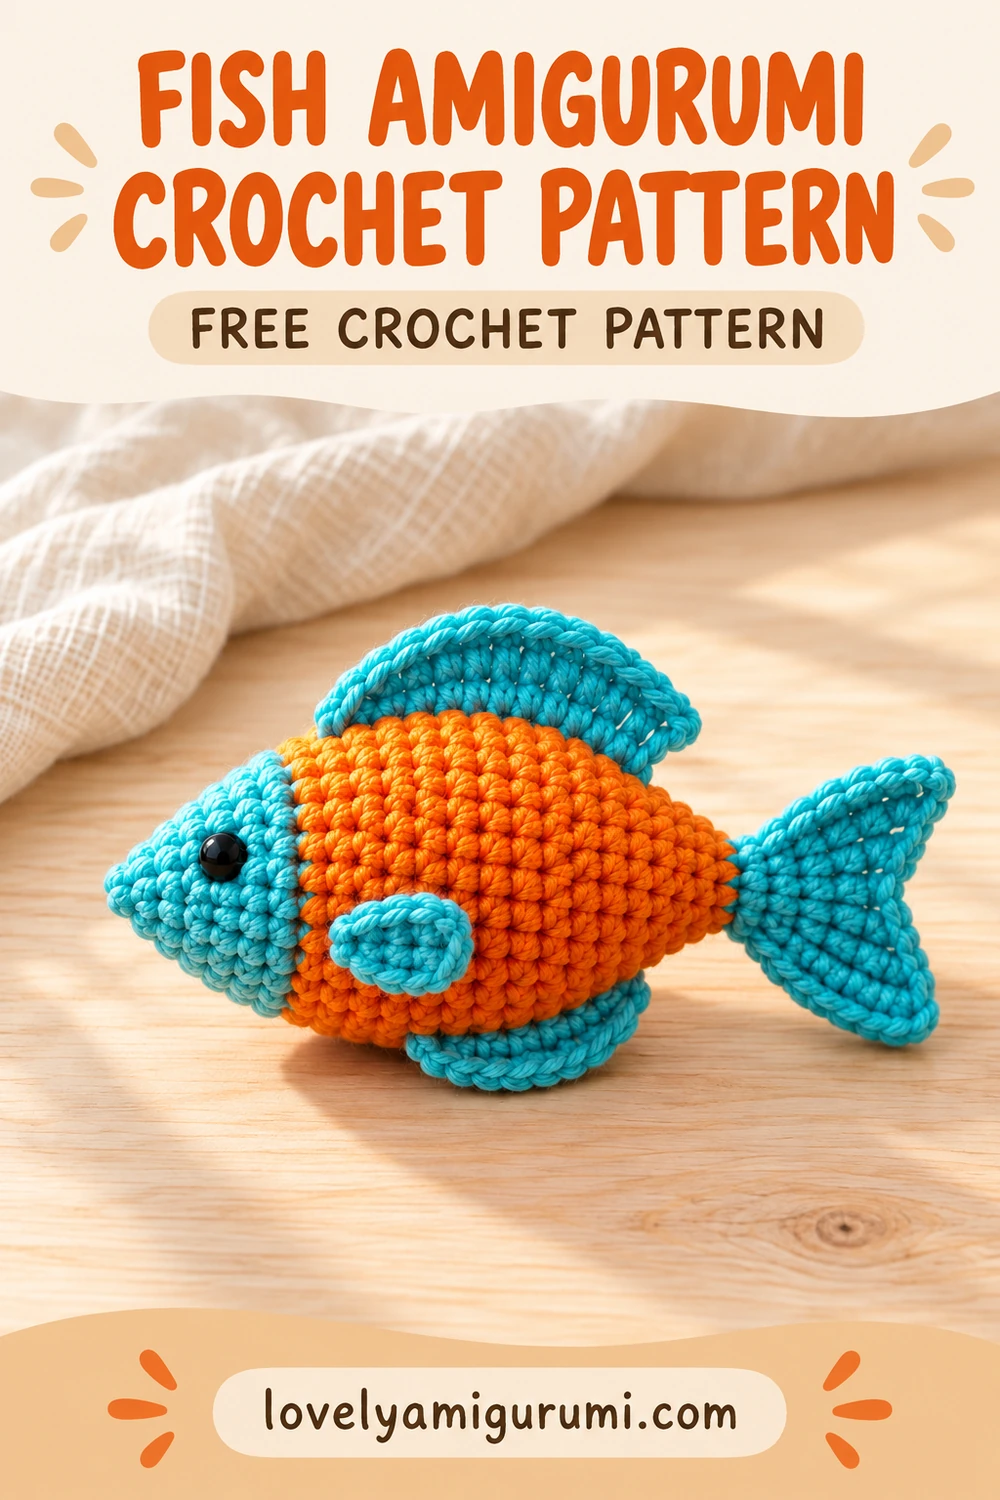
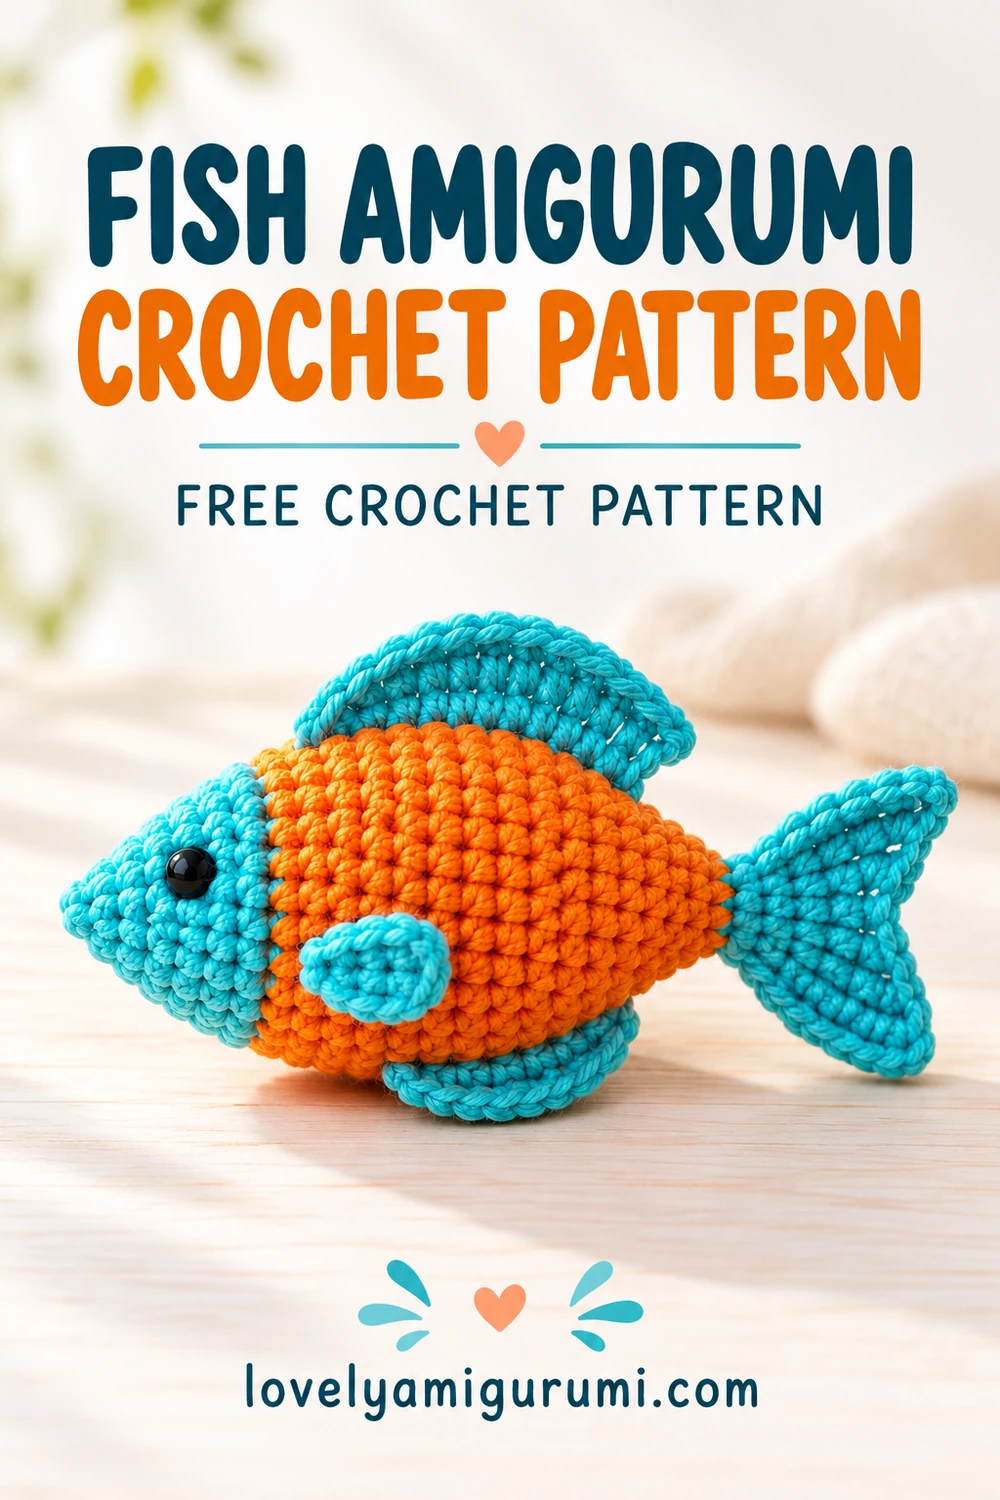
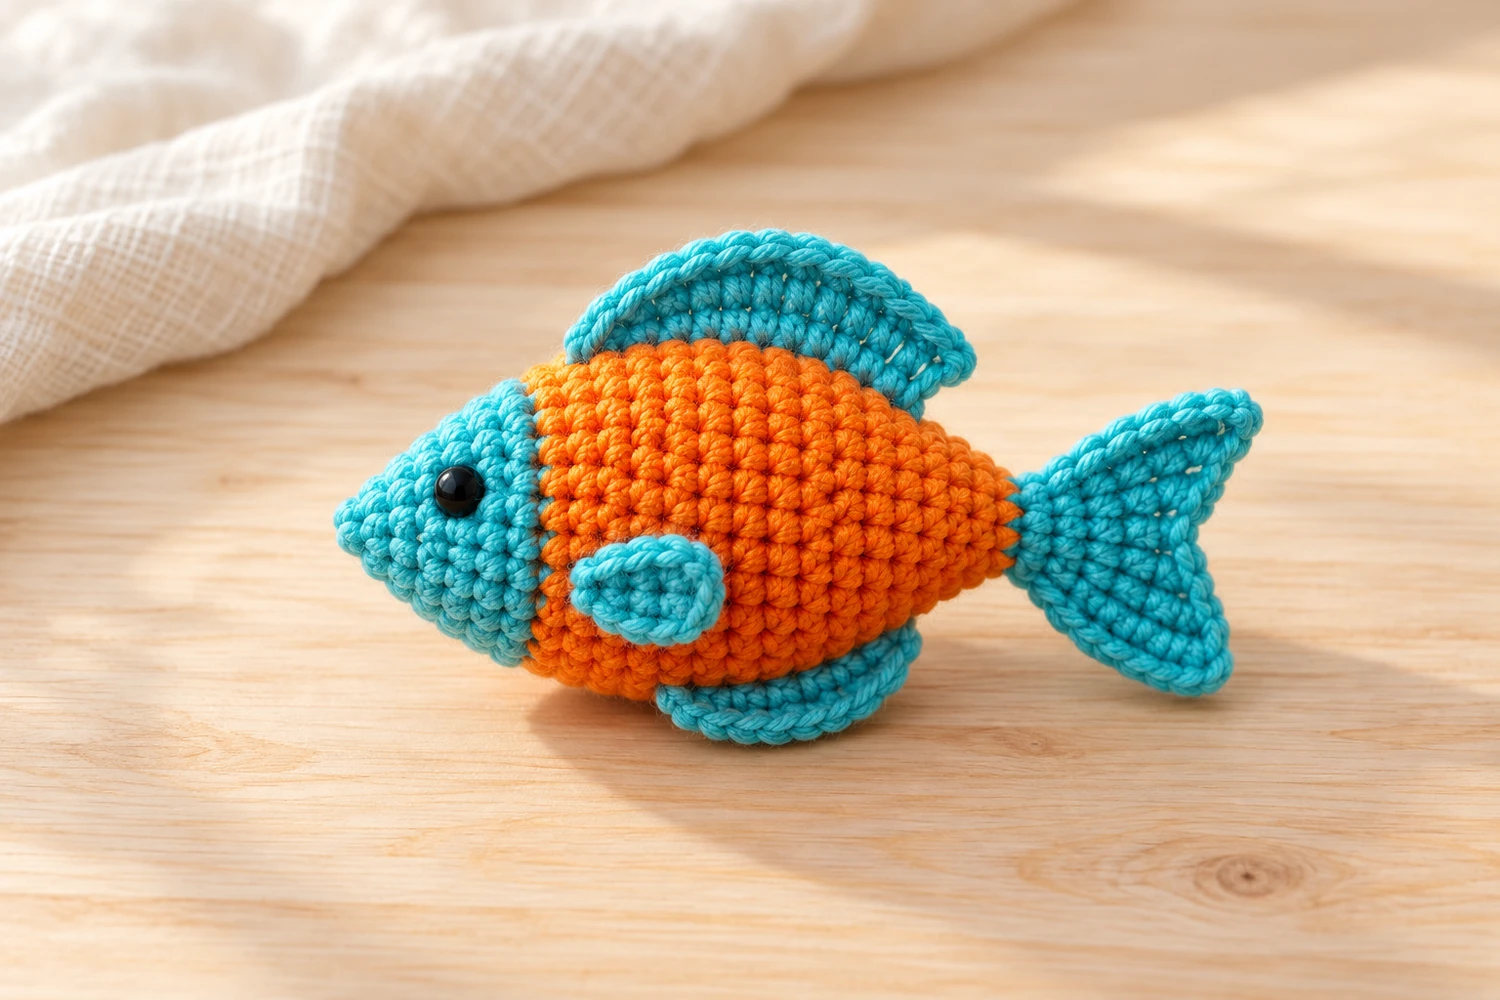
I like a little orange-and-turquoise contrast for an ocean project: the different colors make the head, body and fins easy to see. This Fish Amigurumi Crochet Pattern uses a solid turquoise head and orange body, with a fan tail and small side fins. It is a useful project for practicing both round shaping and stitches attached directly to a finished body.
Work from the nose toward the tail, then add the upper, lower and side fins. The written instructions include the count for every body round and explain how to close all ten tail-opening stitches. Three symbol charts at the end show the head shaping, body decreases and tail construction.
Materials for the Fish Amigurumi Crochet Pattern
- DK cotton yarn in turquoise and orange; optional white thread for a small eye highlight.
- A 2–2.5 mm crochet hook, adjusted for dense stitches.
- Black embroidery thread, or optional 6–8 mm safety eyes for a decorative fish.
- Fiberfill, yarn needle, scissors, stitch marker and pins.
Use the same yarn weight for the two main colors. The exact length depends on yarn and tension; check the fabric rather than aiming for an unverified size. This version has one color change on the body. Stripes are an optional variation, not a required part of the instructions.
Stitches and reading the pattern
MR = magic ring; ch = chain; sc = single crochet; hdc = half double crochet; dc = double crochet; tr = treble crochet; sl st = slip stitch; st(s) = stitch(es); inc = 2 sc in one stitch; dec = single crochet two stitches together. For an invisible decrease, pick up the front loop of each of the next two stitches, yarn over and pull through both front loops, then complete the single crochet. BLO and FLO mean back loops only and front loops only.
The number in parentheses is the stitch count after the round. Repeat only the instructions inside brackets the stated number of times. Unless a section says to turn, work in a continuous spiral without joining; move the marker to the first stitch of each new round. Turning chains do not count as stitches. Work through both loops unless instructed otherwise.
Fish Amigurumi Crochet Pattern: head and body
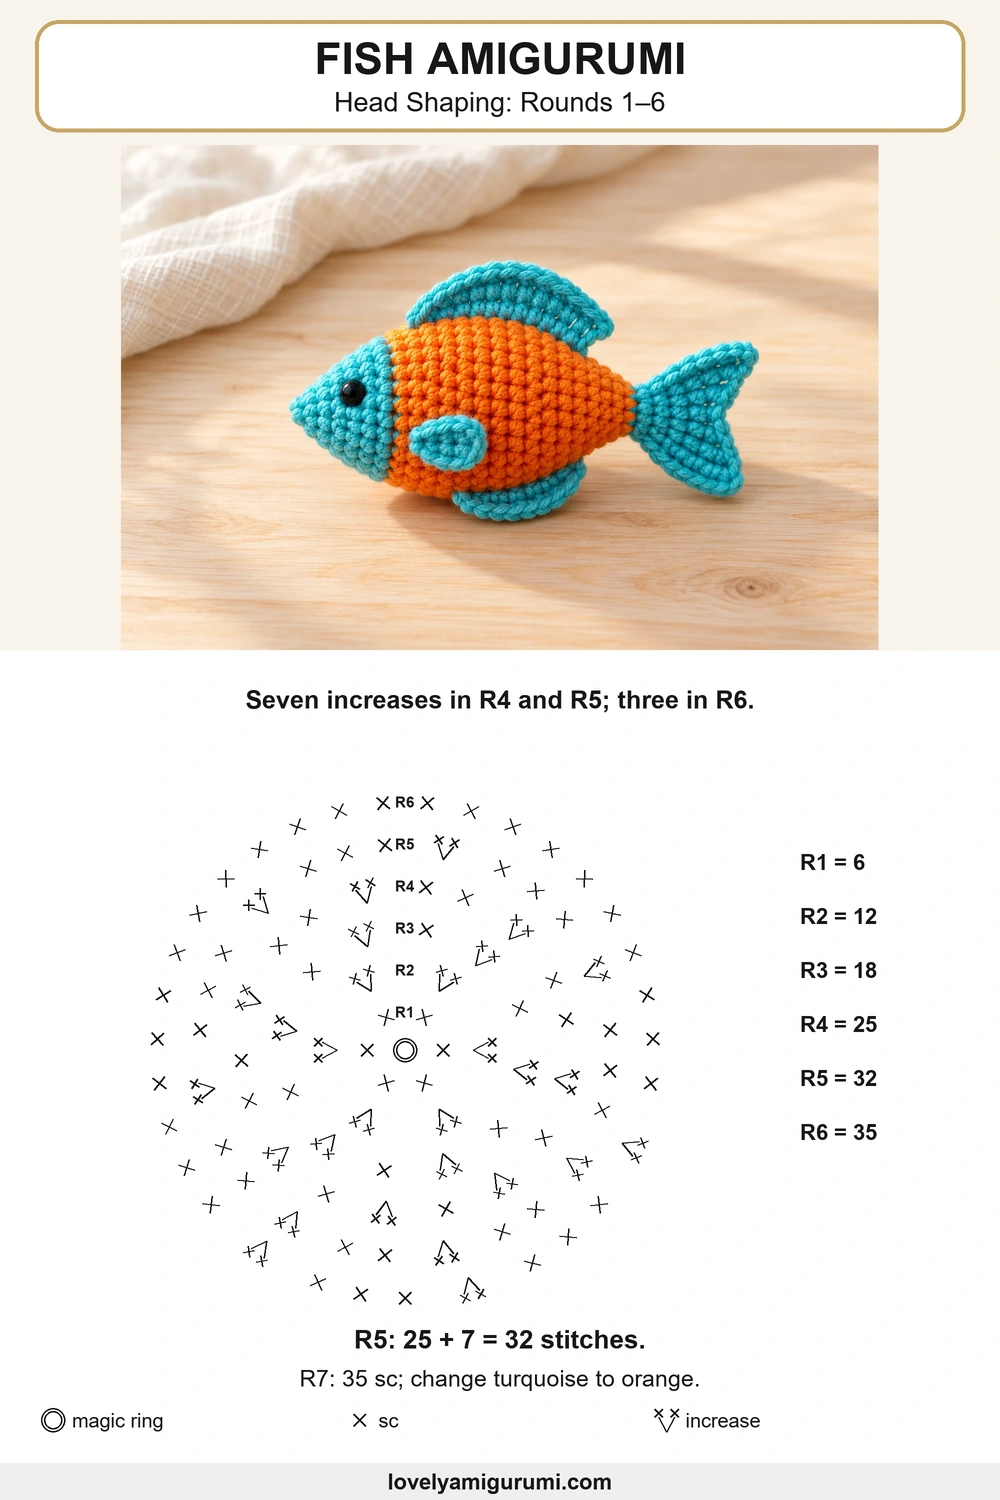
Start in turquoise at the nose. The nonuniform increases in R4–6 make the head broader toward its middle; follow the full sequence rather than replacing it with six evenly spaced increases.
R1: 6 sc in MR. (6)
R2: inc × 6. (12)
R3: [sc, inc] × 6. (18)
R4: [2 sc, inc] × 2, [sc, inc] × 3, [2 sc, inc] × 2. (25)
R5: [inc, 3 sc] × 2, [inc, 2 sc] × 3, [inc, 3 sc] × 2. (32)
R6: 10 sc, [inc, 3 sc] × 3, 10 sc. (35)
R7: 35 sc; change to orange in the last stitch. (35)
R8–14: 35 sc in each round. (35; 7 rounds)
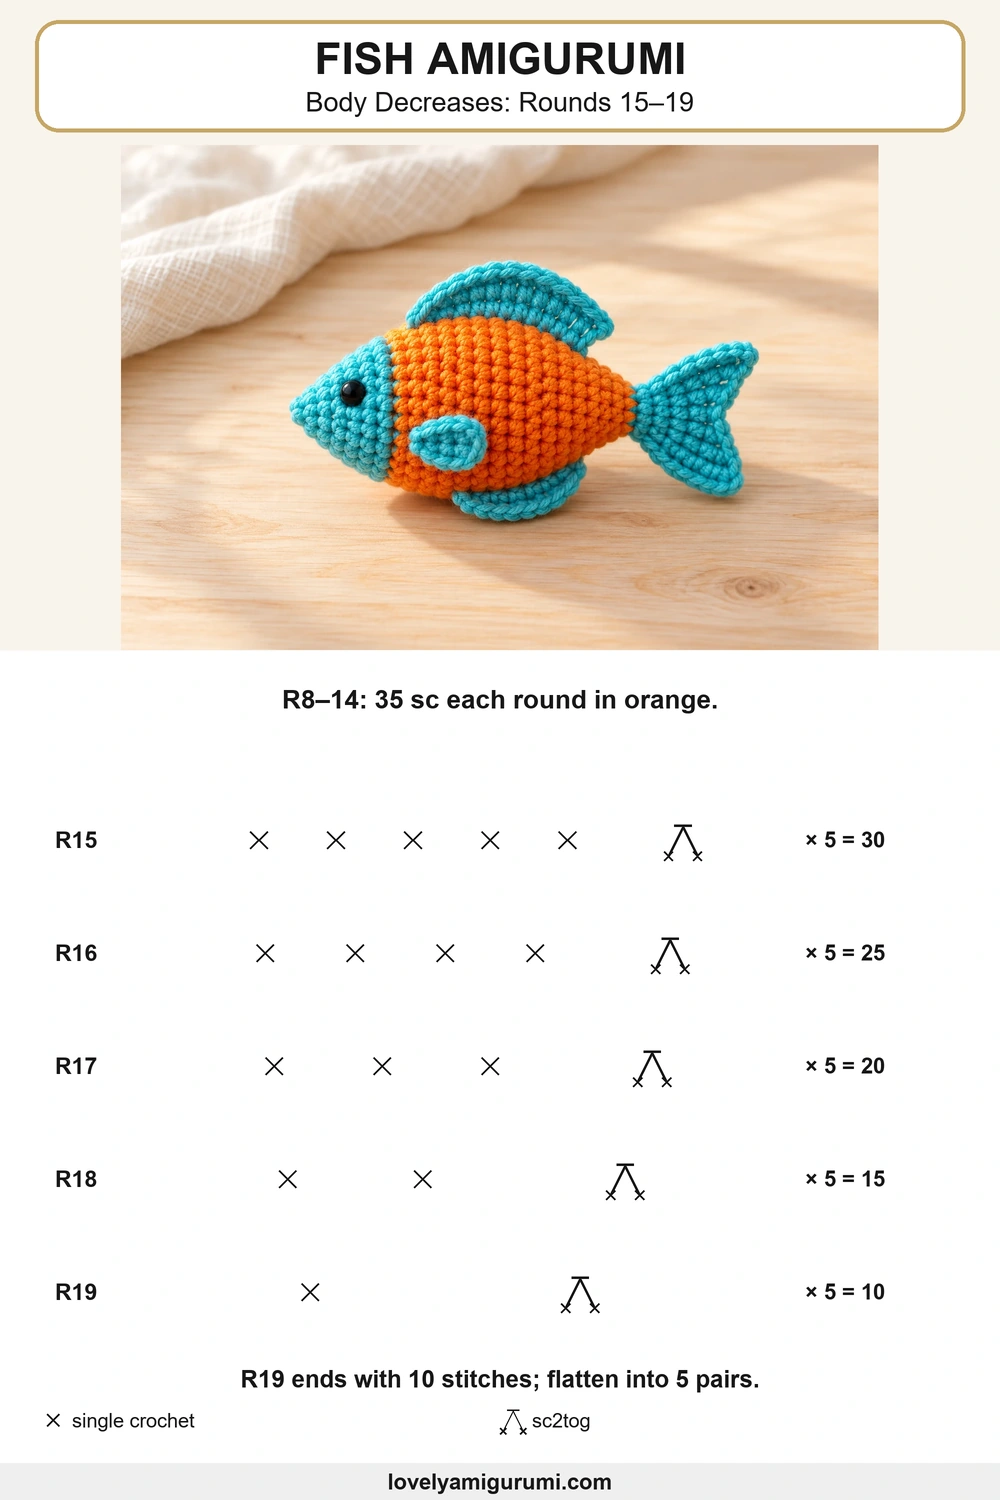
R15: [5 sc, dec] × 5. (30)
If using safety eyes, place one on each side between R5 and R6 before the opening becomes too small. Position them symmetrically, approximately ten stitches apart across the top of the head. The round marker is a reference point; pin the fins before finalizing the top and bottom orientation. Add filling in small pieces, keeping the body rounded without stretching it.
R16: [4 sc, dec] × 5. (25)
R17: [3 sc, dec] × 5. (20)
R18: [2 sc, dec] × 5. (15)
R19: [sc, dec] × 5. (10)
Complete the filling now. Keep the last ten stitches unstuffed enough to flatten. Change to turquoise on the last stitch of R19; do not add a partial extra round.
Close the tail base and crochet the fan
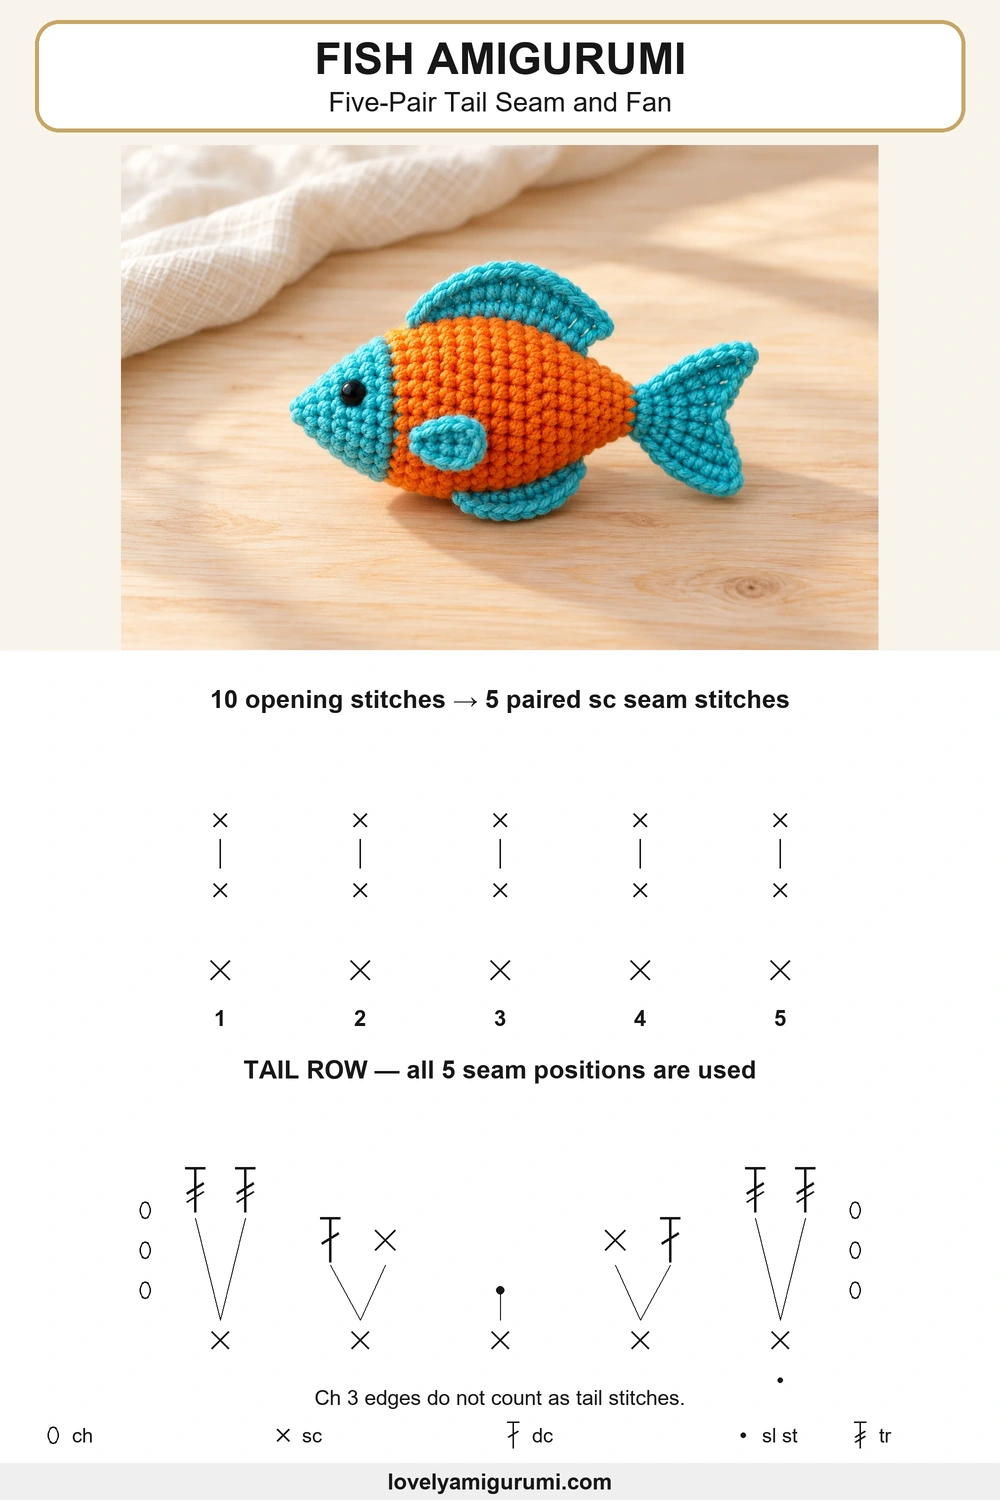
Flatten the ten-stitch opening into five matching pairs. Work one sc through both layers of each pair, making a five-stitch seam. Every stitch of the opening must be included once. The seam should run from the top of the fish to the bottom so the fan stands vertically.
Tail row: ch 3, turn. The chain does not count as a stitch.
In the first seam stitch: 2 tr.
In the second seam stitch: dc, sc.
In the middle seam stitch: sl st.
In the fourth seam stitch: sc, dc.
In the fifth seam stitch: 2 tr, ch 3, sl st in that same stitch.
Fasten off and hide the end. The tall stitches at both ends and the low center slip stitch form two fan lobes. There are nine worked stitches across the five seam positions, plus the two chain-3 edges. Do not crochet across the unpaired body opening.
Upper fin: attach directly to the body
With turquoise yarn, mark a line along the upper center of the orange body from R17 toward R9. Attach to a stitch at R17 with a sl st. Work into the exposed body stitches at the listed rounds; these are surface attachments, not a new body round.
Ch 2; dc into the marked stitch at R16, dc into R15.
Ch 2; sl st into R14.
Ch 3; tr into R13, R12, R11 and R10, one tr at each attachment point.
Ch 3; sl st into R9.
Fasten off and hide the end. Keep the fin centered between the eyes. If it twists, loosen the attachment stitches rather than pulling the body out of shape.
Lower fin
Mark the opposite centerline under the body. Attach turquoise yarn with a sl st at R9. Ch 2; work one dc into each marked stitch at R10, R11 and R12. Ch 2 and sl st into R13. Fasten off. The lower fin is shorter than the upper fin.
Side fins: make 2
In a magic ring, ch 3, work 3 dc, ch 3 and sl st into the ring. Tighten the ring, fasten off and leave a sewing tail. The three dc form one small rounded fan; the chains are edge chains, not extra dc.
Pin one side fin on each side near body R9–10, behind the eyes and clear of the lower fin. Sew the magic-ring edge across two or three body stitches, leaving the curved edge free. Check both fins from above before securing the tails.
Finishing the Fish Amigurumi Crochet Pattern
Embroider the eyes now if you did not use fittings. A small white highlight beside each black eye can make the face clearer, but it is optional. Smooth the tail lobes and check that the side fins point toward the tail. Secure the color-change ends inside the body.
Can I add stripes?
Yes. Change color on any of R8–14 without changing the 35-stitch count. Carry a color only across short changes, and keep carried strands loose enough that they do not flatten the body. The cover shows the solid-body version so the basic construction is easy to follow.
Why does R5 have 32 stitches?
R5 uses all 25 stitches from R4 and adds seven increases: 25 + 7 = 32. R6 then adds three more increases to reach 35. Count each section separately if the result differs.
How do I make the tail stand the right way?
Align the five-pair seam from the upper centerline to the lower centerline. Work the tail row back across that seam. If the seam is sideways, the tail will lie horizontally.
What should I do if the body looks lumpy?
Break the filling into smaller pieces and distribute it toward the nose and sides. Keep a little room near the tail seam; a tightly packed opening is harder to close evenly.
Three charts for this fish
The first chart maps the head rounds R1–6, including the seven increases of R4 and R5. The second shows each body decrease repeat; repeat it five times for the whole round. The third shows all five tail seam positions and the fan above them. Use the written instructions for the surface fins.
More ocean amigurumi
Pair this Fish Amigurumi Crochet Pattern with the jellyfish pattern, the mini octopus or the pocket turtle for an ocean-themed display.
Save the Fish Amigurumi Crochet Pattern and its charts to Pinterest for your next crochet session. I especially like contrasting fins because they show the silhouette clearly in project photos.