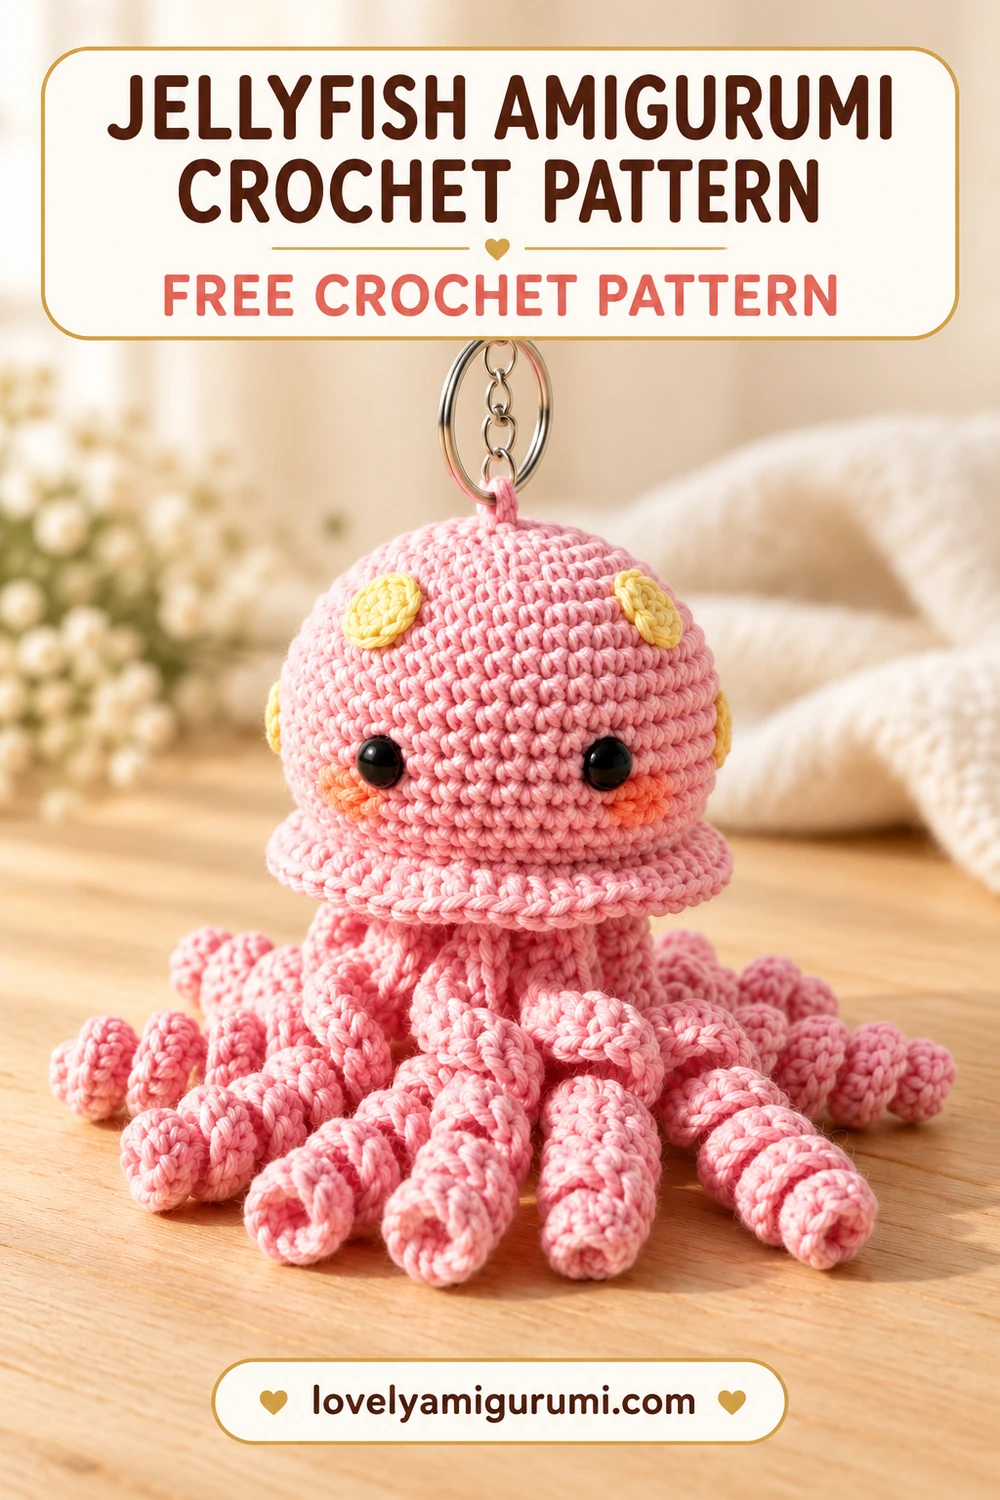
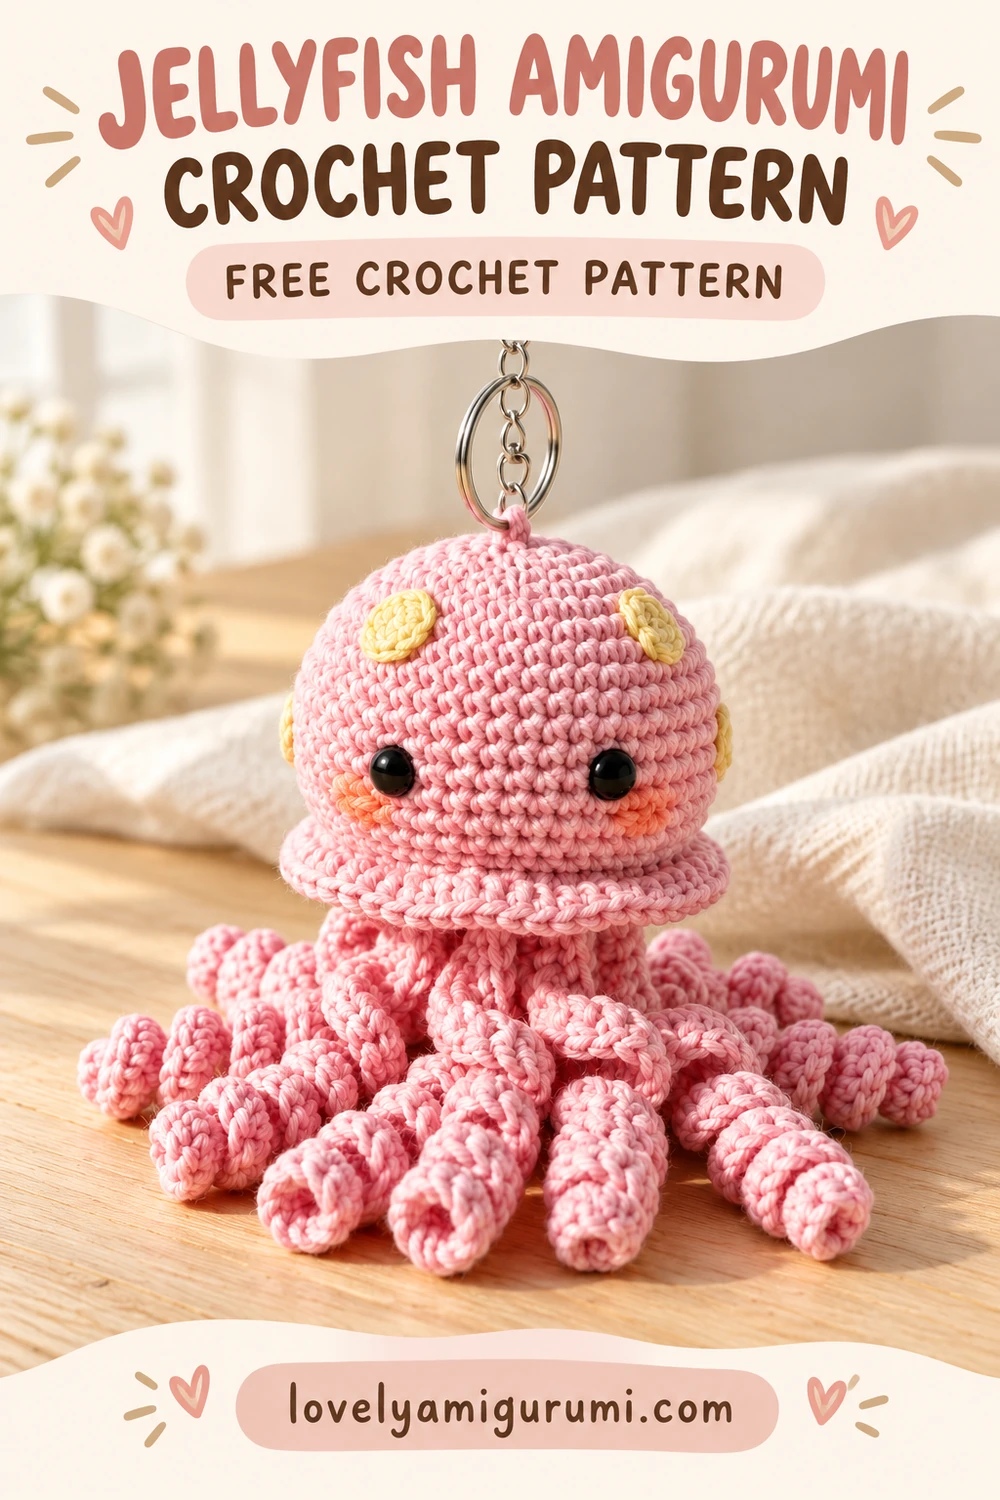
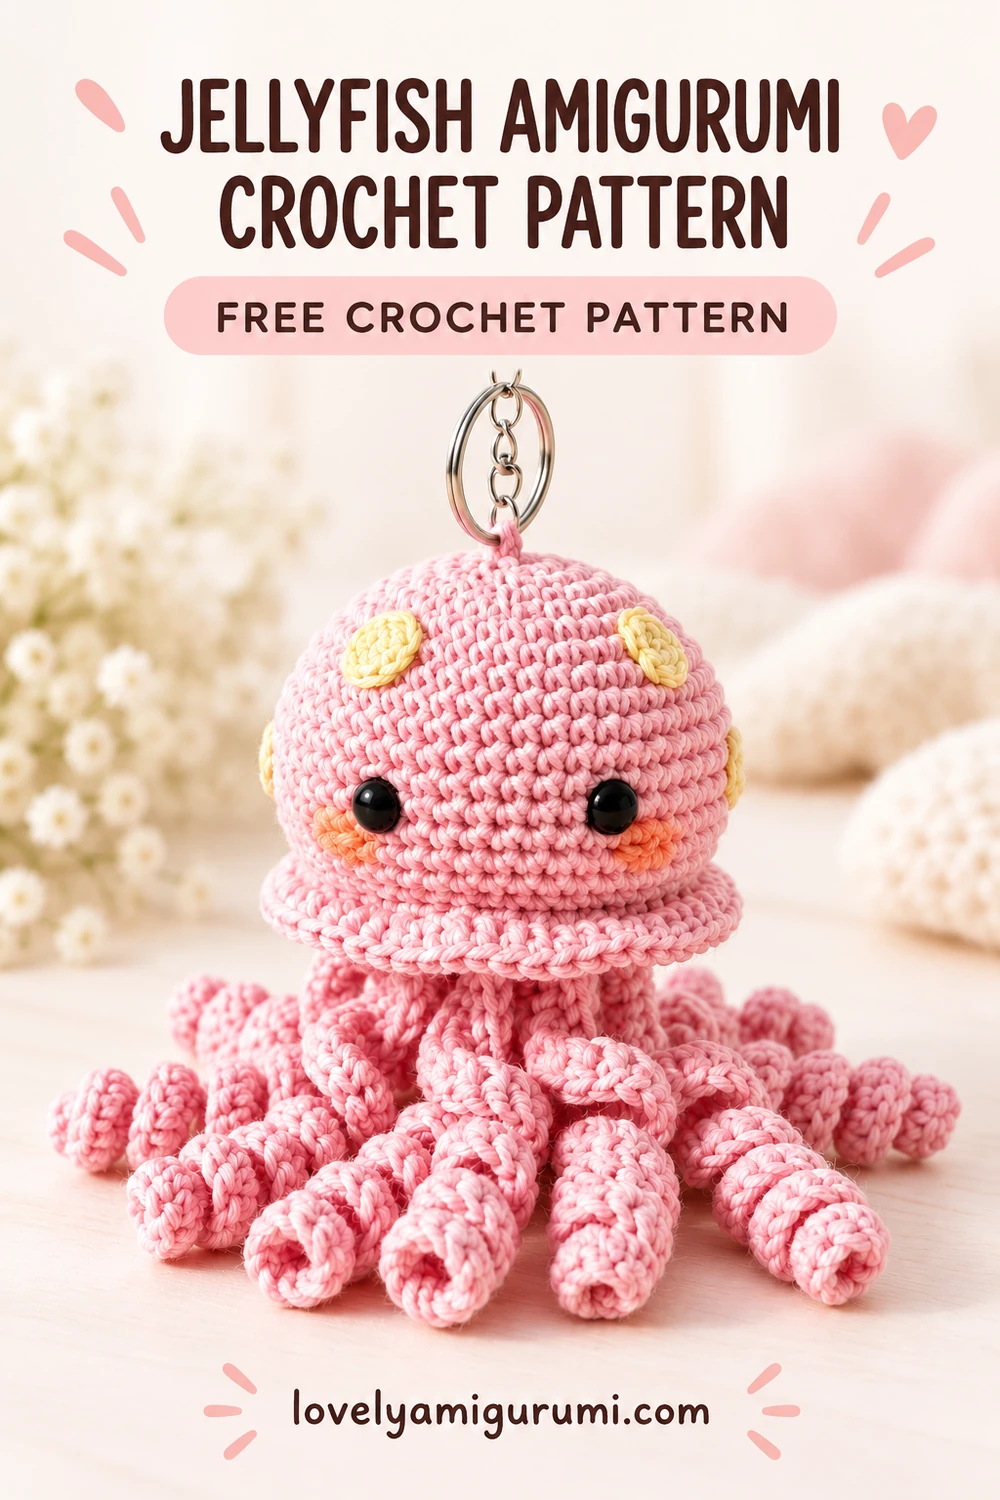
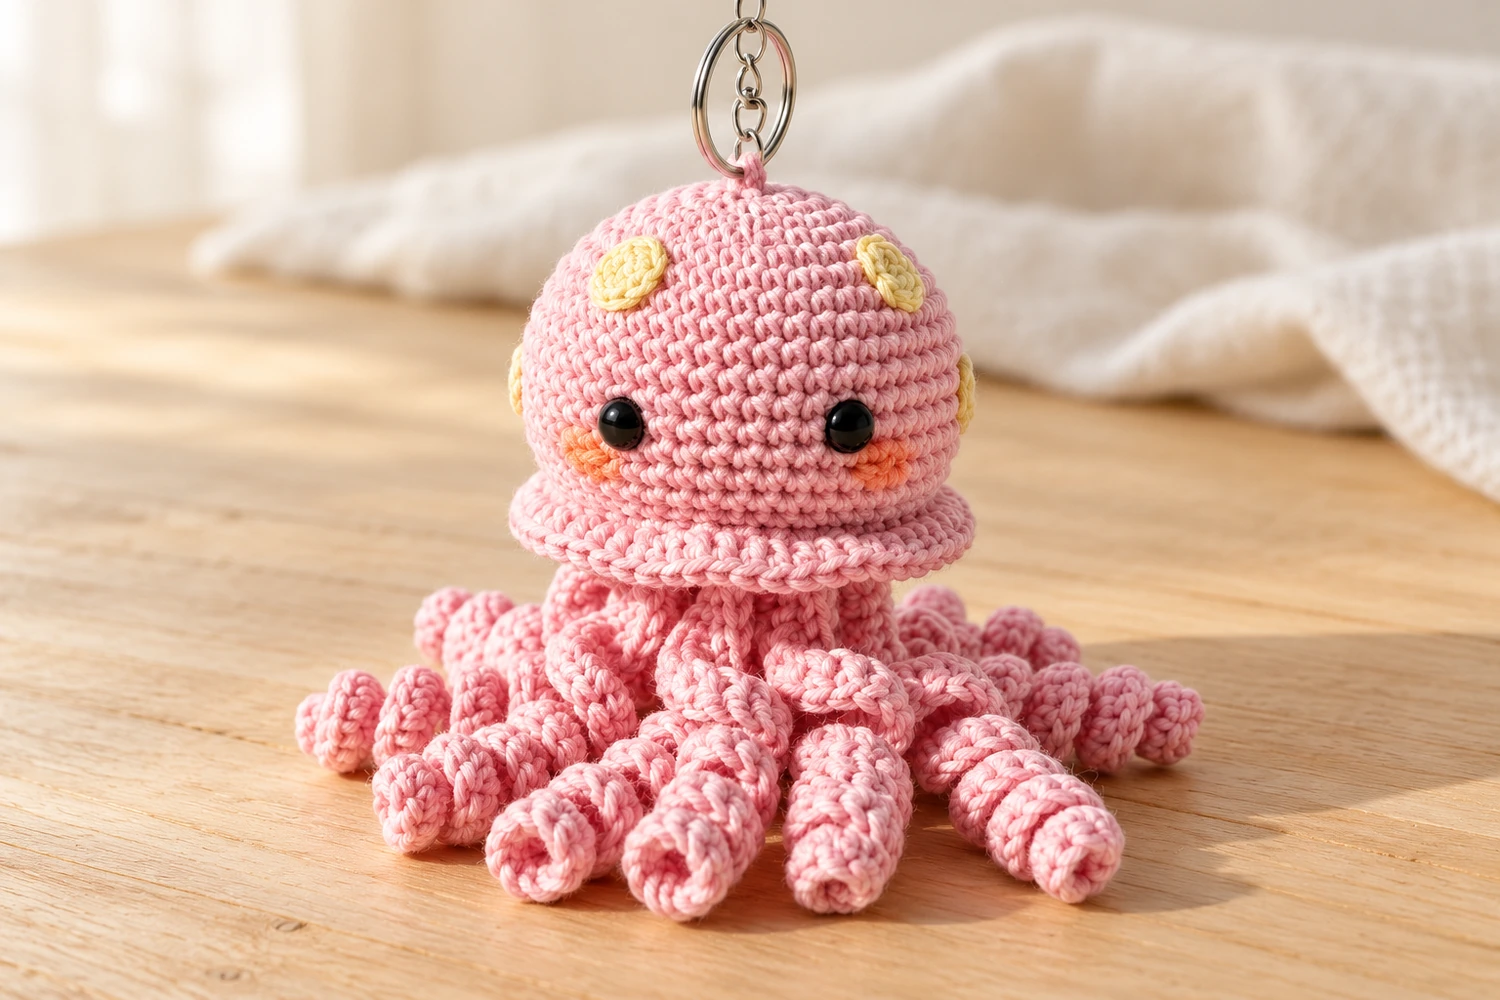
Curly tentacles are the detail I would keep in every color version of this Jellyfish amigurumi crochet pattern. A plain single crochet in each chain makes a straight cord, so the tentacles below use three stitches in each chain to create their spirals. A scalloped rim and little yellow spots finish the pink bell.
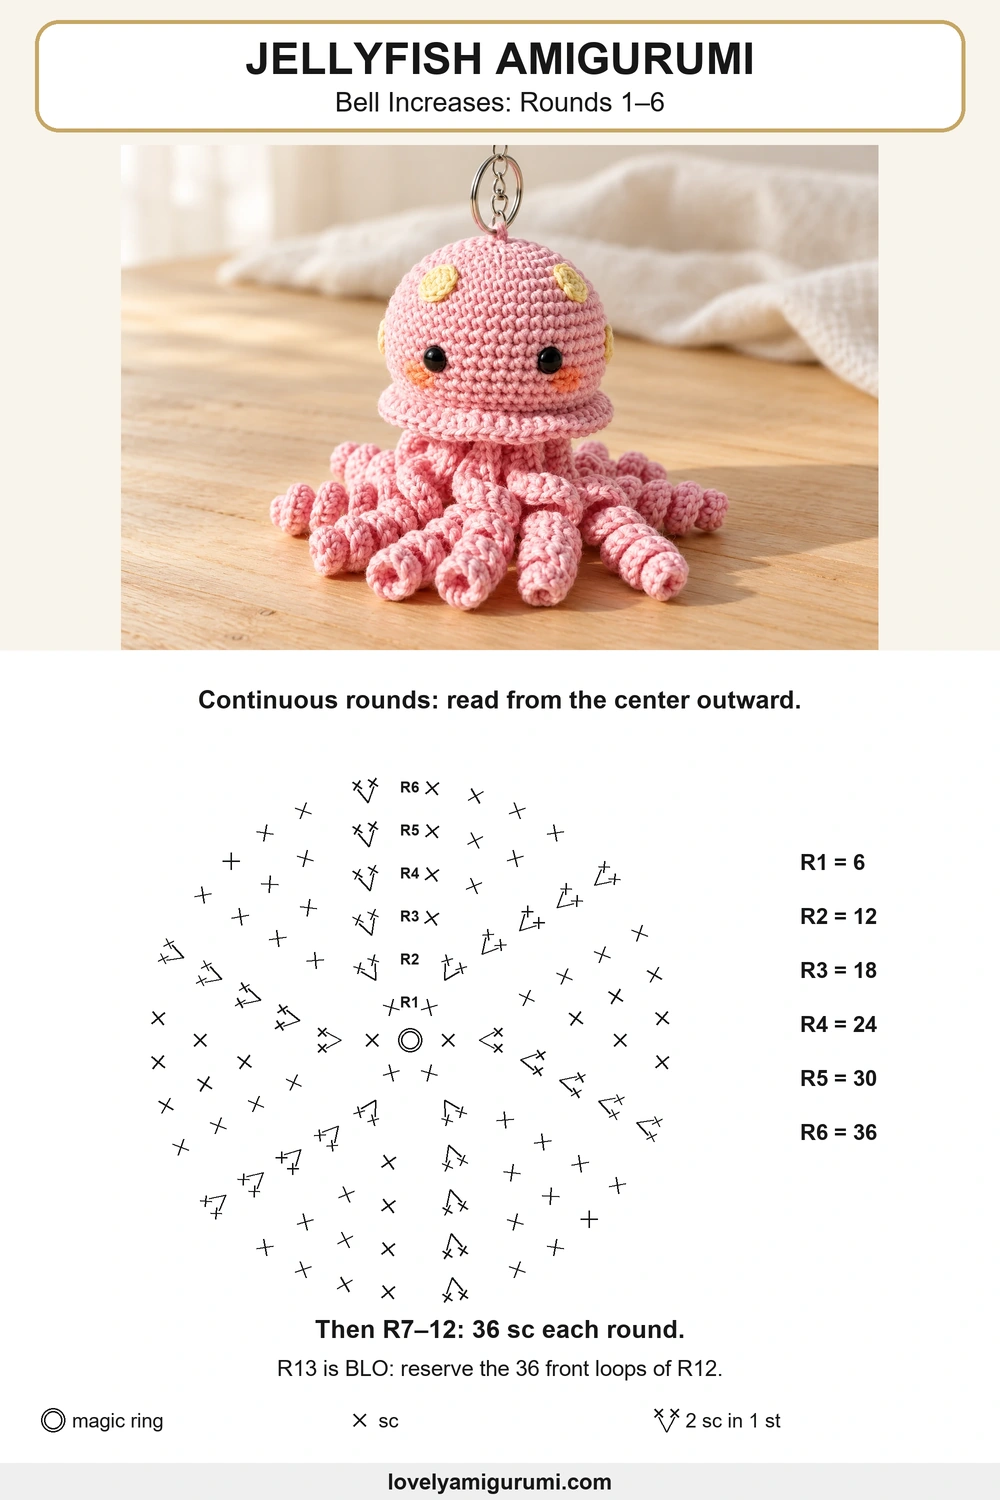
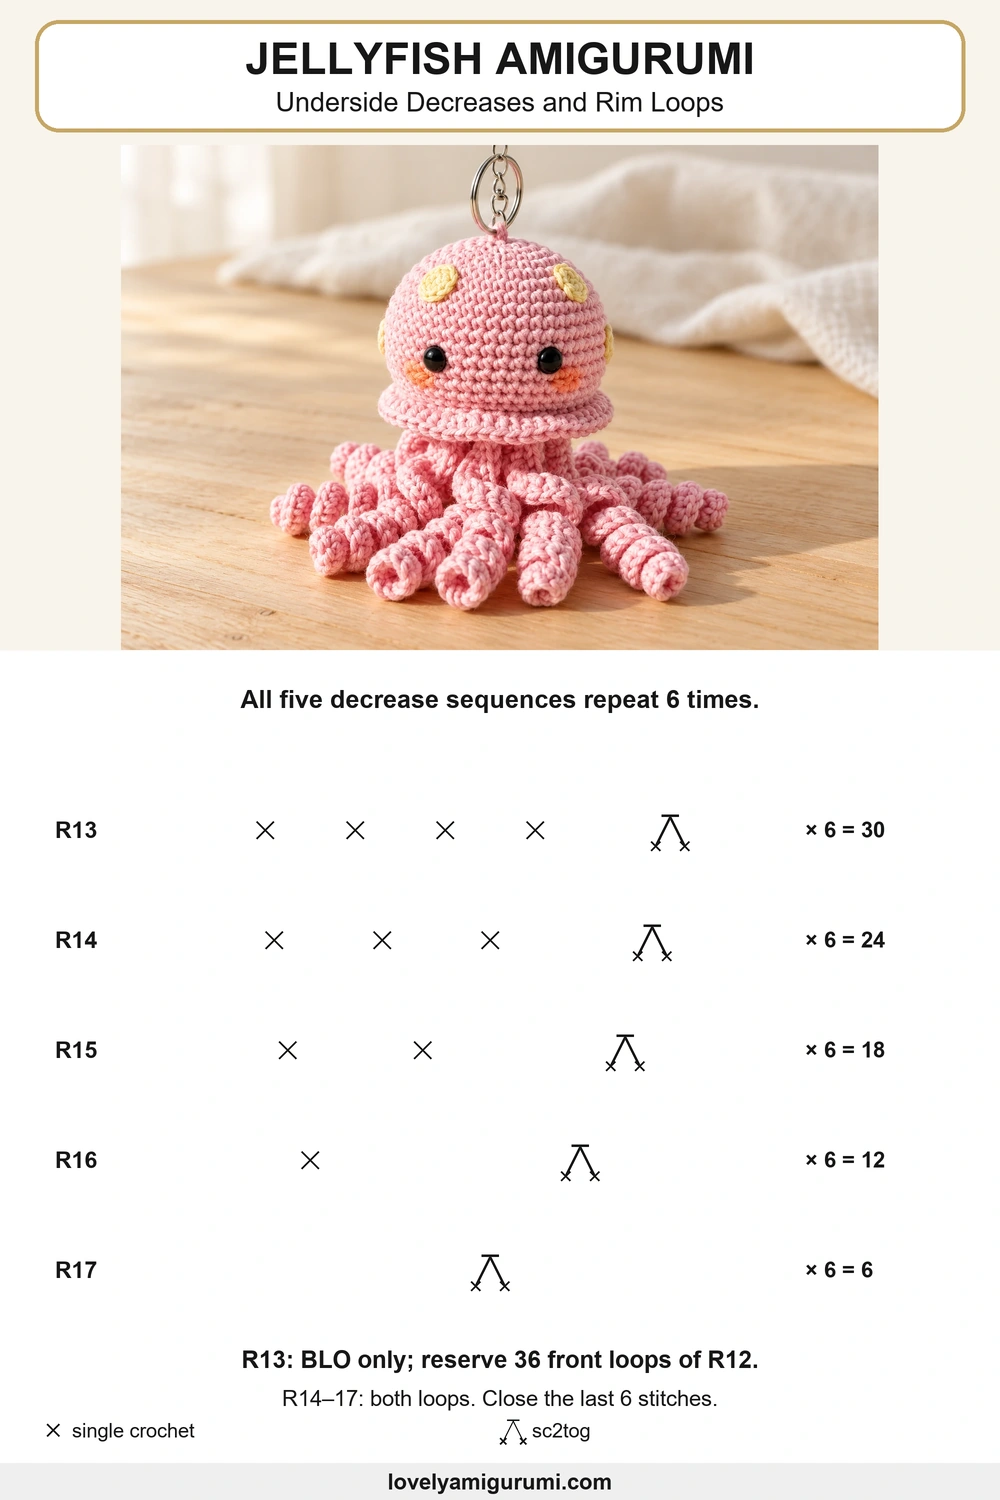
The bell is worked from its top down in continuous rounds. One round reserves front loops for the rim; the lower loops are used to anchor exactly eight tentacles. The charts show the bell increases, lower shaping and tentacle repeat so you can check each part against the instructions.
Materials for the Jellyfish amigurumi crochet pattern
- Pink DK cotton yarn and a small amount of pale yellow yarn for the spots.
- A 2–2.5 mm hook, adjusted to make a dense fabric.
- Black thread for embroidered eyes and peach thread for optional cheeks.
- Filling, marker, yarn needle and scissors.
- Optional split ring or lobster clasp and matching yarn for a reinforced hanging loop.
Use the same pink yarn for the bell, rim and tentacles. A smooth cotton yarn makes the stitches and spirals easier to see. Treat this as a decorative hanging ornament or bag accessory; the long tentacles and optional hardware are not intended as an infant toy.
Stitches and reading the pattern
MR = magic ring; ch = chain; sc = single crochet; hdc = half double crochet; dc = double crochet; tr = treble crochet; sl st = slip stitch; st(s) = stitch(es); inc = 2 sc in one stitch; dec = single crochet two stitches together. For an invisible decrease, pick up the front loop of each of the next two stitches, yarn over and pull through both front loops, then complete the single crochet. BLO and FLO mean back loops only and front loops only.
The number in parentheses is the stitch count after the round. Repeat only the instructions inside brackets the stated number of times. Unless a section says to turn, work in a continuous spiral without joining; move the marker to the first stitch of each new round. Turning chains do not count as stitches. Work through both loops unless instructed otherwise.
Jellyfish amigurumi crochet pattern: bell
R1: 6 sc in MR. (6)
R2: inc × 6. (12)
R3: [sc, inc] × 6. (18)
R4: [2 sc, inc] × 6. (24)
R5: [3 sc, inc] × 6. (30)
R6: [4 sc, inc] × 6. (36)
R7–12: 36 sc in each round. (36; 6 rounds)
R13: in BLO, [4 sc, dec] × 6. (30)
Only R13 is worked in back loops. This leaves the 36 front loops of R12 free around the outside for the scalloped rim. Continue through both loops for the underside rounds; do not consume those reserved outer loops.
R14: [3 sc, dec] × 6. (24)
R15: [2 sc, dec] × 6. (18)
R16: [sc, dec] × 6. (12)
Finish filling the dome.
R17: dec × 6. (6)
Fasten off, thread through the last six front loops and close the underside. The decreases belong underneath the bell, while the reserved rim loops remain on its outside edge. Fill the dome enough to hold its shape, keeping the underside flatter.
Face and yellow spots
Embroider two black oval eyes on the front between R9 and R10, leaving approximately six stitches between them. Add a tiny peach stitch beneath each eye if desired. Keep the face above the reserved rim; placing it on R3–4 would put it close to the top of the dome.
For each yellow spot, ch 4. Work 2 sc in the second ch from the hook, 1 sc in the next ch and 3 sc in the last ch. Rotate to the other side: 1 sc, then 1 sc in the first worked chain. (8 sc.) Sl st to the first sc, fasten off and leave a tail. Make three or four spots and sew them flat around the upper dome, clear of the face.
Scalloped rim: 12 shells
Hold the dome upright and find the 36 unused front loops of R12. Attach pink yarn to any one of these loops. Each shell uses exactly three reserved loops.
In the first loop: sl st.
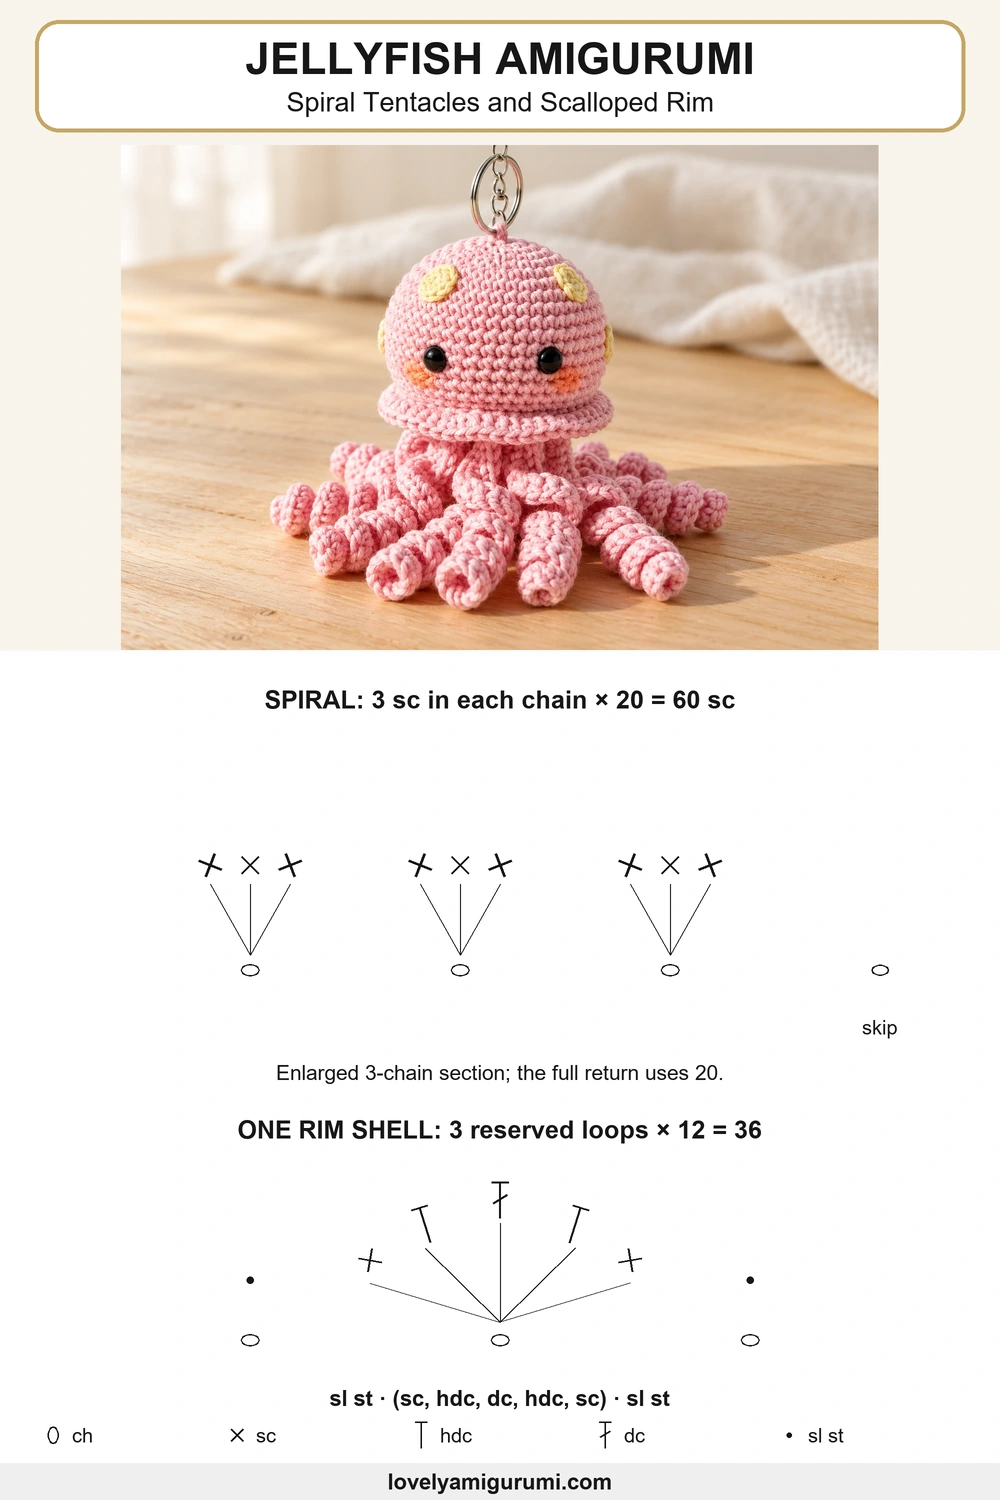
In the next loop: sc, hdc, dc, hdc, sc, all in that same loop.
In the third loop: sl st.
Repeat these three-loop steps 12 times, using all 36 reserved loops.
Join to the first slip stitch, fasten off and weave in the end. The five-stitch shell gives a soft scallop; it is not a popcorn stitch. Keep the slip stitches relaxed so the rim does not pinch the bell.
Eight spiral tentacles
Locate the 24 stitches of underside R14. You will attach the tentacles to stitches 1, 4, 7, 10, 13, 16, 19 and 22 around that round. Mark these eight positions before starting so the tentacles are evenly spaced.
Attach pink yarn with a sl st around one marked underside stitch.
Ch 21.
Starting in the second chain from the hook, work 3 sc in each of the next 20 chains. (60 sc)
Sl st around the same attachment stitch to secure the tentacle base.
Fasten off and hide both ends inside the bell.
Repeat at each of the eight marked positions. Twist each strip gently in the direction it naturally curls; the three stitches in every chain create the spiral. Do not pull the chain tight enough to flatten the strip.
For shorter tentacles, ch 16 and work 3 sc in each of the 15 usable chains, giving 45 sc. Keep all eight the same length for the cover design. If you alternate lengths, use the same attachment positions so the bell remains balanced.
Optional keychain loop
Thread a doubled length of pink yarn through several stitches beside the top magic ring, leaving a small loop above the dome. Secure the ends through multiple nearby stitches and bury them inside. Pass the split ring through that reinforced loop. Avoid relying on a single chain or pulling the hardware directly through one stitch.
Reading the three jellyfish charts
Chart 1 shows the six bell increase rounds. Chart 2 shows the five decrease repeats and where the rim loops are reserved; each decrease sequence repeats six times. Chart 3 enlarges a three-chain section of the spiral and one rim shell. The full tentacle has twenty usable chains, and the shell repeats twelve times around the bell.
Why are my tentacles straight?
Check that you worked three sc into every usable chain, not one. A twenty-stitch single crochet cord is a different construction. The full-length tentacle here contains sixty sc.
Which loops belong to the rim?
They are the 36 front loops of R12, left unused when you work R13 in BLO. The rim is attached to those outer loops; the tentacles attach lower down, around R14 stitches.
Can I leave off the keychain?
Yes. Finish the dome without hardware and use it as a small decorative figure. The eight tentacles and scalloped rim remain the same.
Can I use a thicker yarn?
Yes, with a suitable hook. The resulting bell and spirals will be larger. Keep the fabric dense and use the same yarn for every pink section so the rim and tentacles match.
Final shaping checks
Set the jellyfish down and spread the eight spirals around it. Check that no attachment tail is visible, the rim sits outside the tentacle bases and all yellow spots are sewn flat. If the bell feels pulled inward, loosen the rim joins rather than adding more filling.
More ocean crochet patterns
Pair the Jellyfish amigurumi crochet pattern with the colorful fish, mini octopus or pocket turtle. Each has a different construction to explore.
Save this Jellyfish amigurumi crochet pattern to Pinterest for the bell counts and spiral chart. I recommend photographing it with the tentacles spread out so their curls are easy to see.