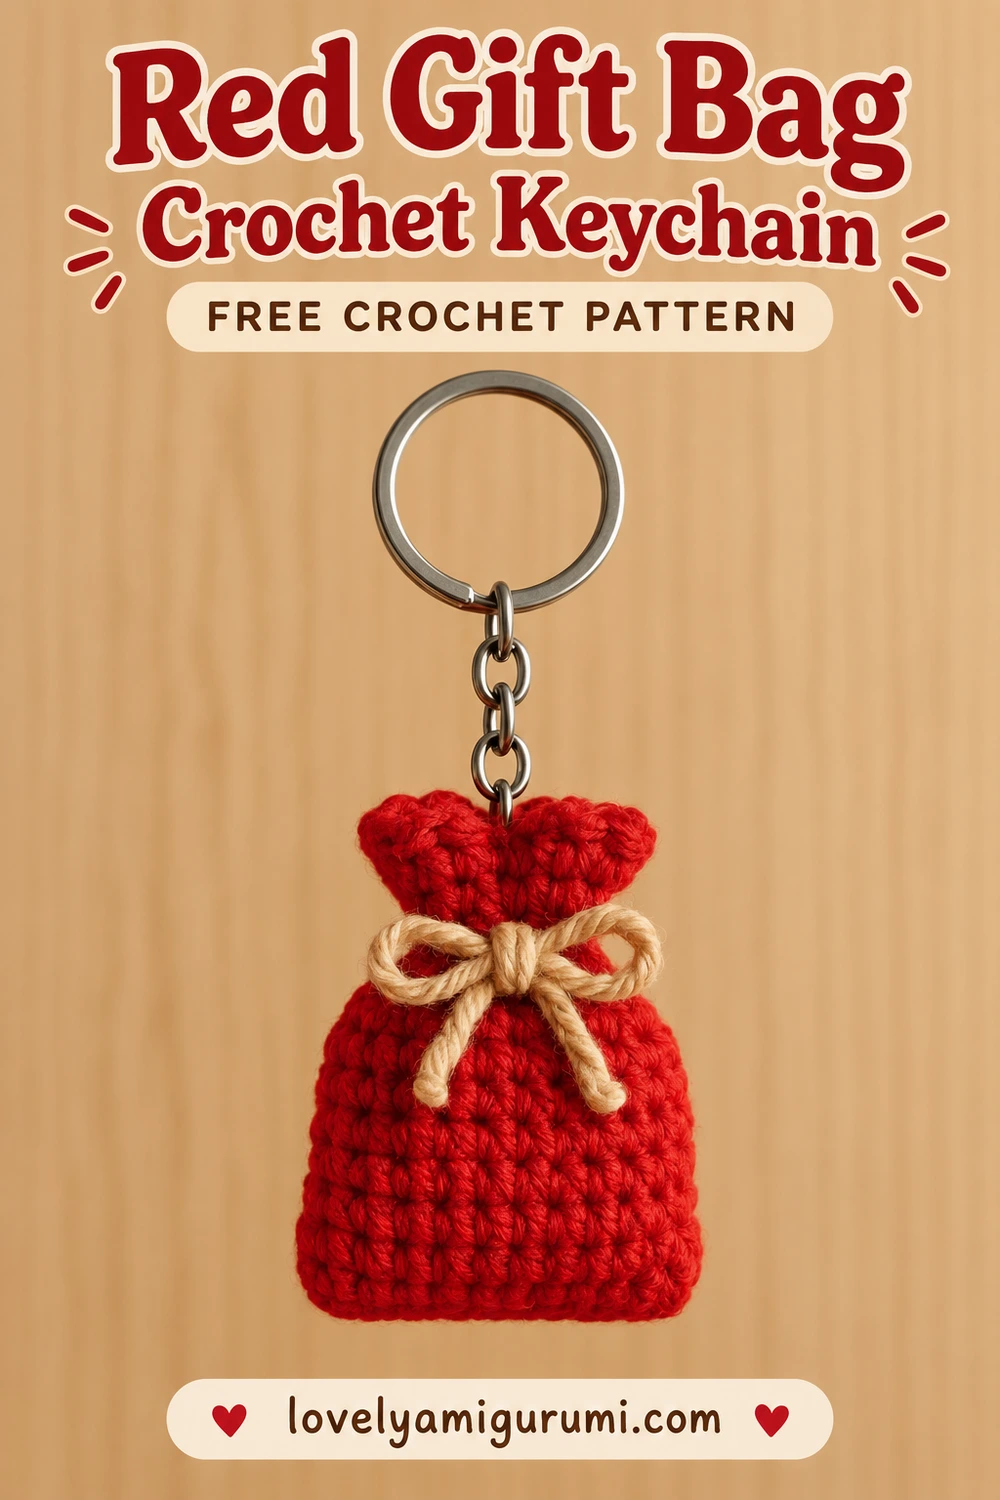
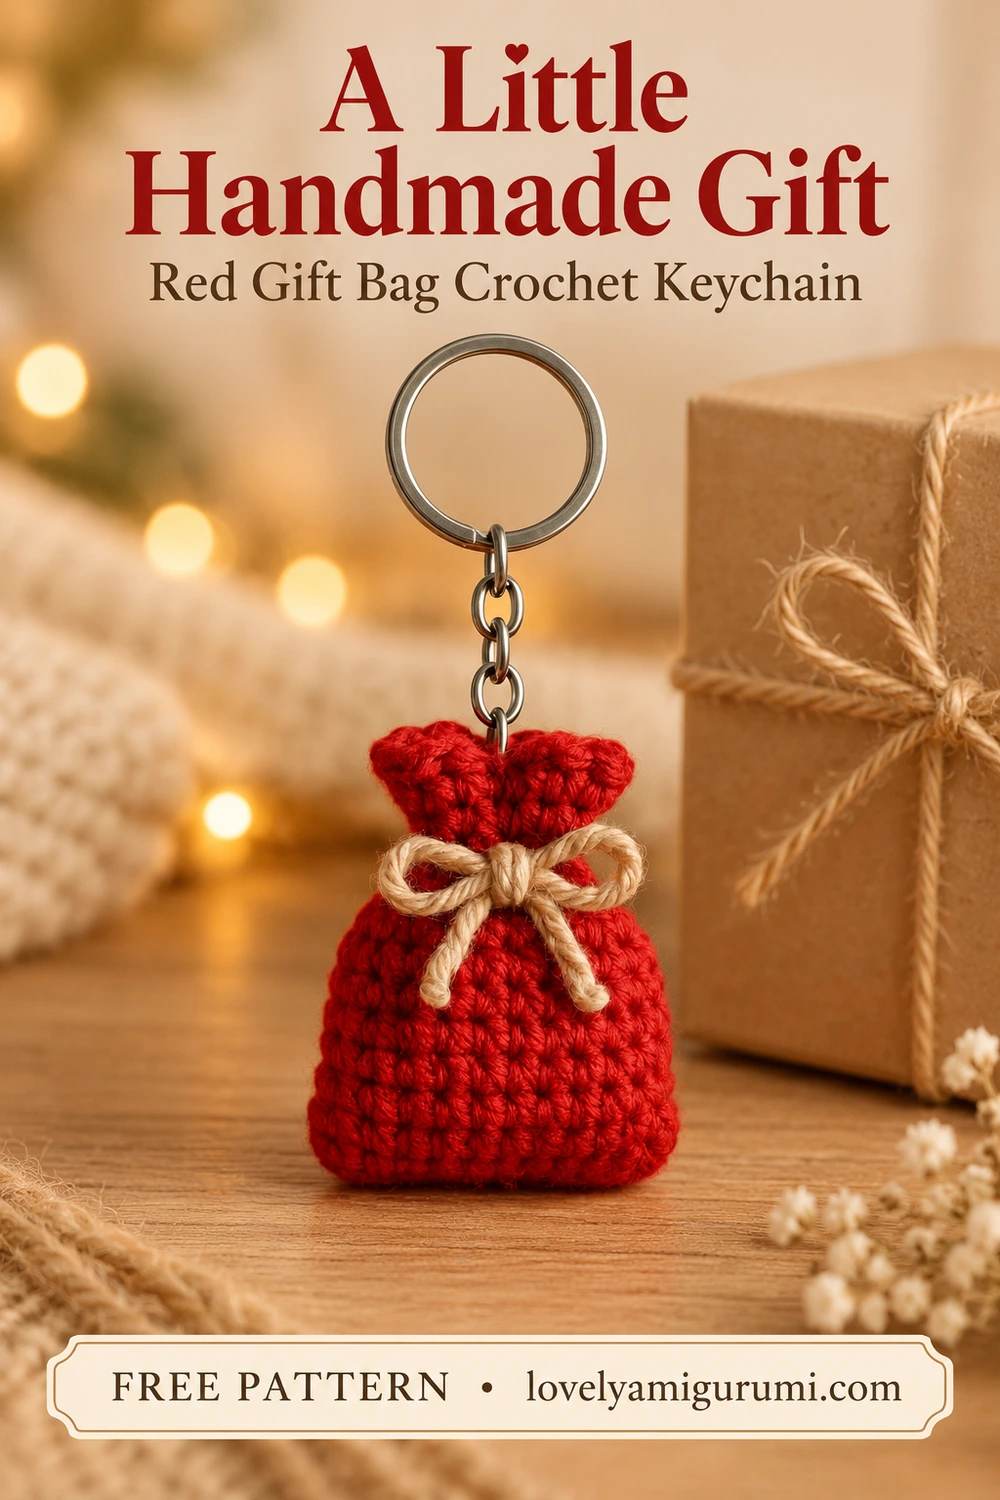
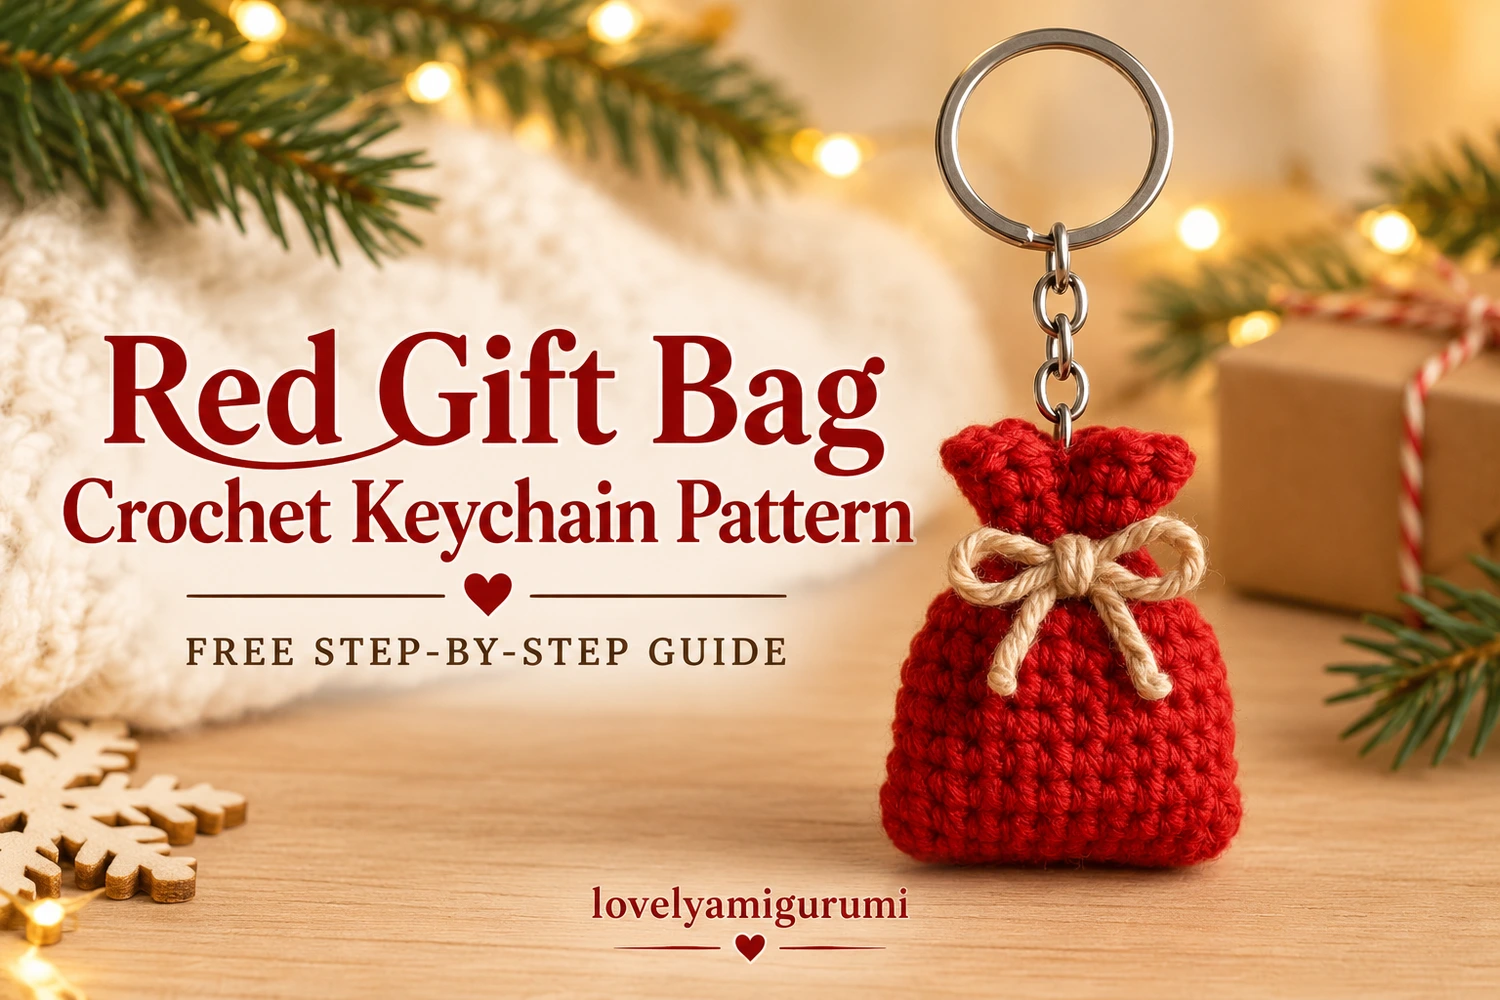
This Red Gift Bag Crochet Keychain Pattern is inspired by the miniature red sack in the reference photo. It has a softly rectangular base, a full red body, a gathered neck, a flared top, and a simple beige bow. A short silver chain finishes the tiny gift bag.
Use it as a festive bag charm, a handmade stocking-stuffer decoration, or a small gift topper. The beige bow and plain red fabric keep the design close to the main reference.
Pattern Information
- Skill level: Confident beginner.
- Terms: US crochet terminology.
- Construction: Bottom-up in continuous rounds, with a lightly stuffed lower body and an unstuffed gathered top.
- Estimated size: Approximately 4–5 cm wide and 6–7 cm tall with fine cotton yarn; these are estimates, not measured sample dimensions.
Pattern note: This is an image-inspired written adaptation. Stitch counts have been checked, but the pattern has not been physically crocheted or independently tested. Dimensions and proportions may vary with yarn and tension.
Materials for the Red Gift Bag Crochet Keychain
- Red fine cotton yarn, approximately 10–15 g as a starting allowance.
- Beige yarn or soft cotton cord, approximately 30–40 cm for the bow.
- A 2–2.5 mm crochet hook as a starting point; adjust to make dense stitches.
- A small amount of fiberfill stuffing.
- Stitch marker, tapestry needle, and scissors.
- Silver keyring with a short chain and a connector ring or clasp.
Stitches and Abbreviations
| Abbreviation | Meaning |
|---|---|
| ch | chain |
| sc | single crochet |
| sl st | slip stitch |
| inc | 2 sc in one stitch |
| dec | Invisible single crochet decrease across the front loops of the next 2 stitches |
| st(s) | stitch(es) |
Numbers in brackets show the completed stitch count. Repeat instructions in parentheses the stated number of times.
Before You Begin
Work in a spiral without joining or turning. Mark the first stitch and move the marker at the start of each round. Keep the right side facing outward. The starting chain makes an oval base that can be flattened into the softly rectangular shape shown in the photo.
The beige cord will pass through five small openings at the neck. Leave the upper rounds unstuffed so they gather into folds rather than a solid ball. The keychain attaches to a reinforced red loop at the back of the gathered neck.
Red Gift Bag Crochet Keychain Pattern
1. Base
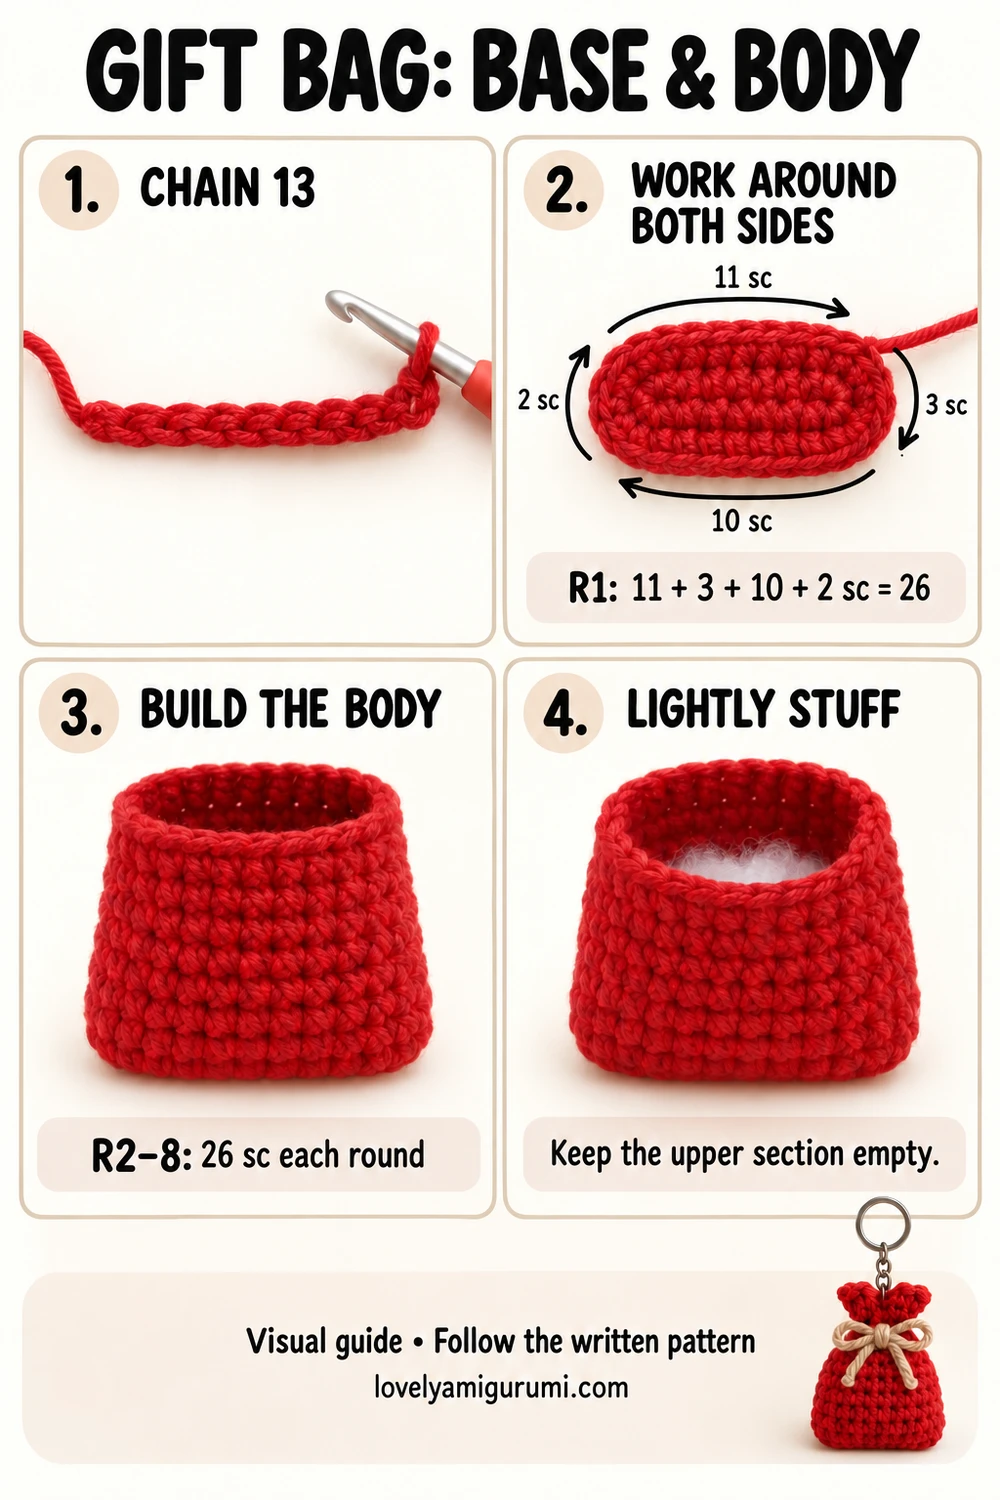
With red, ch 13.
Round 1: Starting in the second chain from the hook, sc in the next 11 chains, then 3 sc in the final chain. Rotate the work and crochet along the unused side of the foundation chain: sc in the next 10 chains, then 2 sc in the same chain that holds the first sc. [26]
The first and last foundation chains each hold 3 sc in total. Do not count the skipped turning chain as a stitch. Place the marker in the first sc.
2. Full Lower Body
Rounds 2–8: Sc in every stitch around. [26 per round; 7 rounds]
Check that both long sides are even. Lightly press the base flat with your fingers. Add a small amount of stuffing after Round 8, keeping the lower body softly full rather than spherical.
3. Narrow the Neck
Round 9: (11 sc, dec) × 2. [24]
Round 10: (4 sc, dec) × 4. [20]
Rounds 11–12: Sc in every stitch. [20 per round]
Keep the filling below the neck. The upper section must remain flexible enough to cinch.
4. Cord Openings
Round 13: (3 sc, ch 1, skip the next stitch) × 5. [15 sc and 5 ch-1 spaces; 20 positions around]
Round 14: Sc in each sc and work 1 sc into each ch-1 space. [20]
The chains replace the skipped stitches; they are not extra increases. Count five openings before proceeding.
5. Flared Top
Round 15: (3 sc, inc) × 5. [25]
Round 16: (4 sc, inc) × 5. [30]
Round 17: Sc in every stitch. [30]
Sl st in the next stitch to smooth the finish; this slip stitch is not part of Round 17’s count. Fasten off and weave the tail through the inside of several red stitches. Leave the opening unsewn until the bow is in place.
Make the Beige Bow
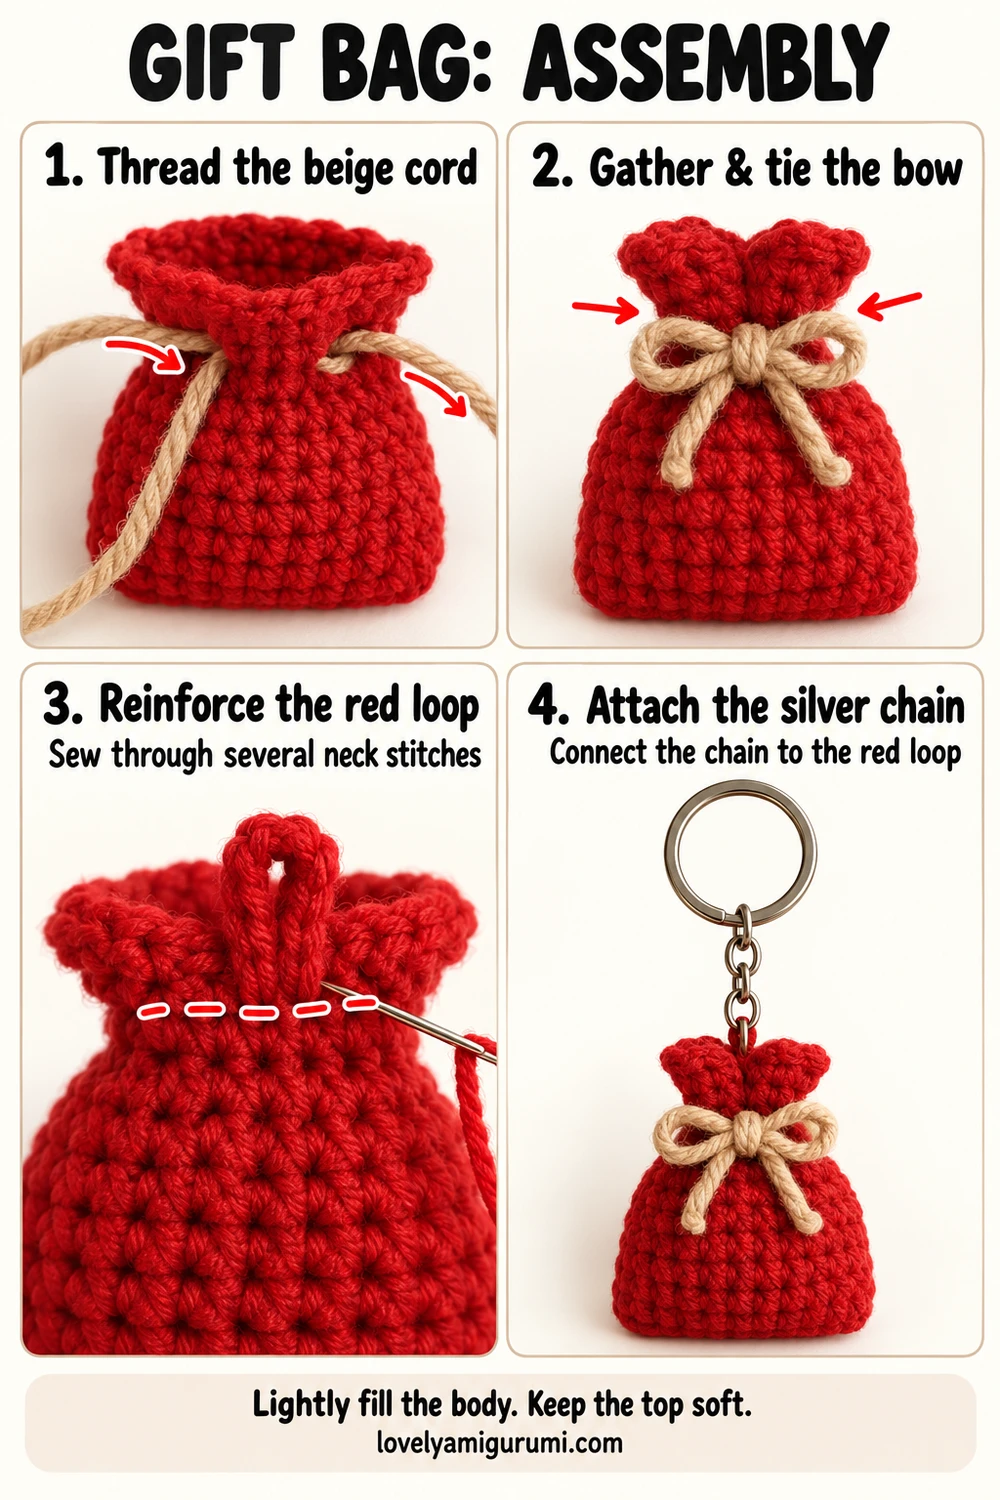
Cut 30–40 cm of beige yarn or cord. Thread it onto a tapestry needle. Starting outside at a front opening, pass the cord inward through that opening, outward through the second, inward through the third, outward through the fourth, and inward through the fifth. Bring the needle outward through the first opening again so both ends sit at the front. Adjust until the ends are approximately even.
Pull gently to gather the neck. Arrange the upper red fabric into two prominent side folds, with smaller folds tucked behind, to echo the photo. Tie a small bow with two loops and two tails. Adjust the loops to approximately 1–1.5 cm wide and trim the tails to suit the miniature bag.
Use one or two tiny beige sewing stitches through the bow’s center knot and the red neck to keep the bow from loosening. Secure and hide the sewing ends. Do not fill the flared top.
Attach the Silver Keychain
With a fresh length of red yarn doubled, sew a short loop at the center back of the gathered neck. Pass through several body stitches around Rounds 12–14, repeating the stitching at least three times to spread the pull. Connect the chain’s clasp or connector ring to this loop.
If you want a closed charm, use the same red thread to tack the gathered opening shut behind the bow while preserving the two visible folds. Secure the thread inside the neck. Check the attachment with a gentle pull. The metal hardware should hang from the reinforced loop rather than the beige bow or a single rim stitch.
Shape and Finish
- Massage the stuffing into both lower corners and flatten the broad front and back slightly.
- Keep the bow centered and the red top folds above it.
- Hide all tails securely and check the neck gathers.
- Compare the finished outline with the main photo: red body, beige bow, flared top, and silver chain.
Three Visual Tutorials for the Gift Bag
The three illustrated guides at the end of this post show the base and body, the neck and flared top, and the bow and keychain assembly. Follow the numbered panels for a visual overview, and use the written pattern above for complete stitch placement and round instructions. The crochet images illustrate the stages; they are not stitch-by-stitch photographs of a tested sample.
Practical Tips and Troubleshooting
The bag looks too round
Remove some filling and flatten the lower body gently. Keep the stuffing below Round 11 so the neck can gather naturally.
The neck will not cinch
Check that the beige cord passes through all five openings and that no stuffing is trapped in the upper section. Avoid pulling so tightly that the fabric bunches into a hard knot.
The base count is incorrect
Round 1 is 11 + 3 + 10 + 2 = 26 sc. The extra stitches at each end turn around the foundation chain.
The bow is too bulky
Use a finer beige cord or a single strand of yarn. Shorten the loops and tails gradually until they suit the bag.
FAQ
Is this a usable drawstring bag?
This version is a lightly stuffed decorative keychain. To make a tiny pouch instead, omit the stuffing and the optional opening stitches; the stitch pattern stays the same.
Can I use thicker yarn?
Yes. Use a matching hook and expect a larger charm. Choose finer yarn for a miniature result.
Can I change the colors?
Yes, although red with a beige bow follows the supplied main reference. Try green or cream for a coordinated gift set.
More Free Crochet Patterns
- Christmas Penguin Keychain Crochet Pattern
- Santa Ornament Crochet Pattern
- Mini Penguin Amigurumi Keychain
Save This Pattern
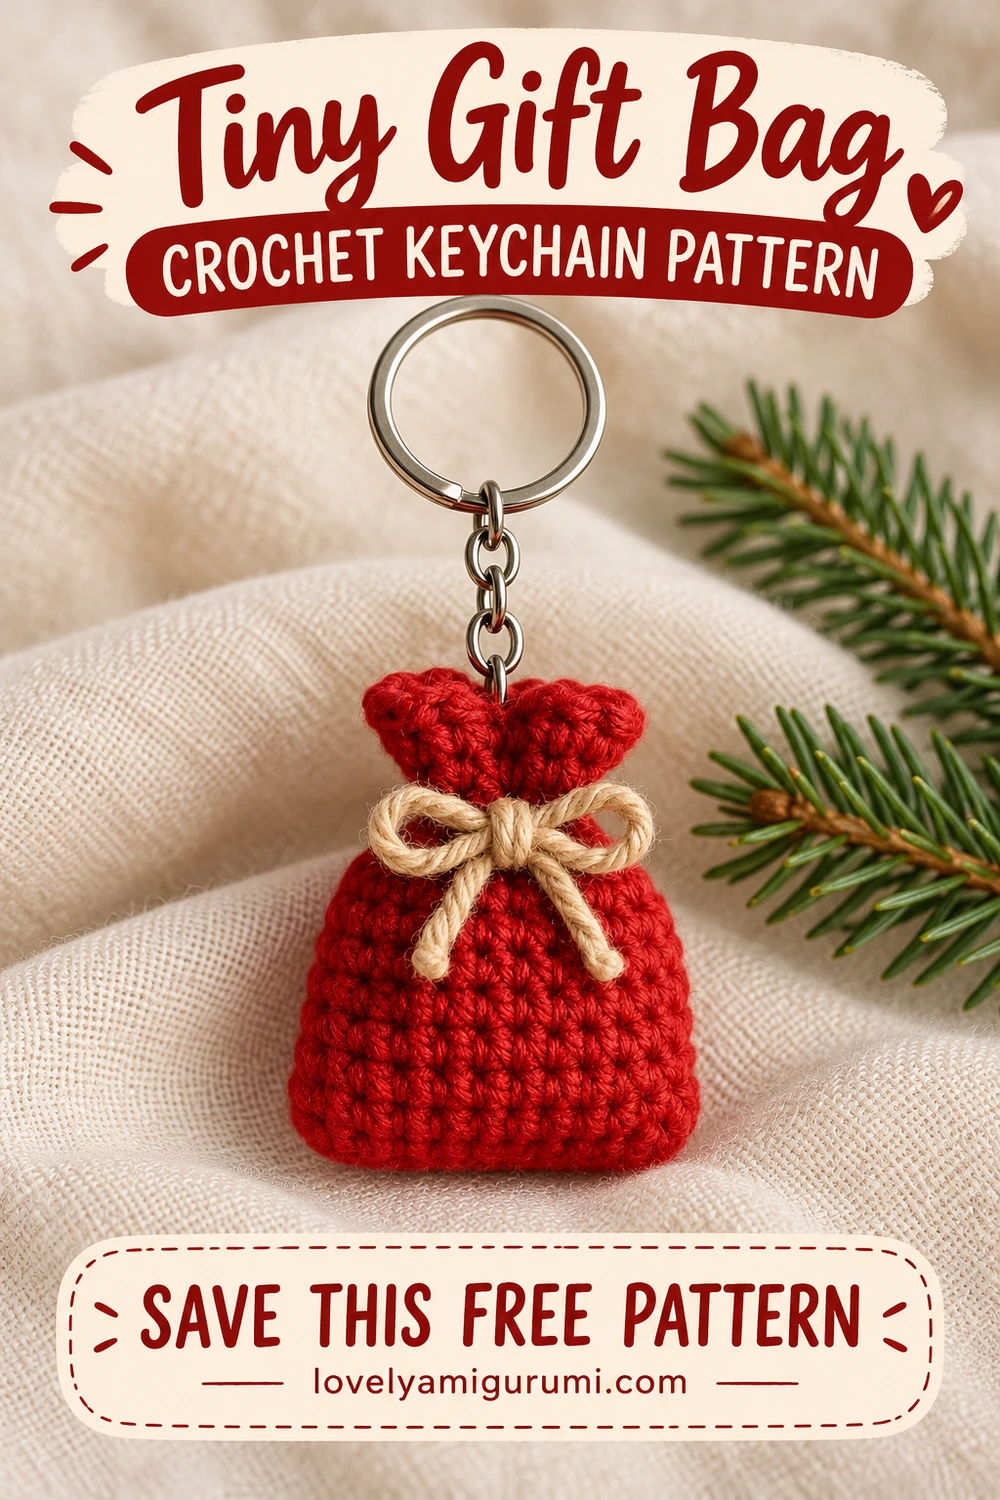
Save this Red Gift Bag Crochet Keychain Pattern to your Pinterest crochet board for your next small festive project. Happy crocheting from Lovely Amigurumi!
Gift Bag Visual Tutorials and Pinterest Gallery
Keep these three visual tutorial guides and three Pinterest images together for your next crochet session.