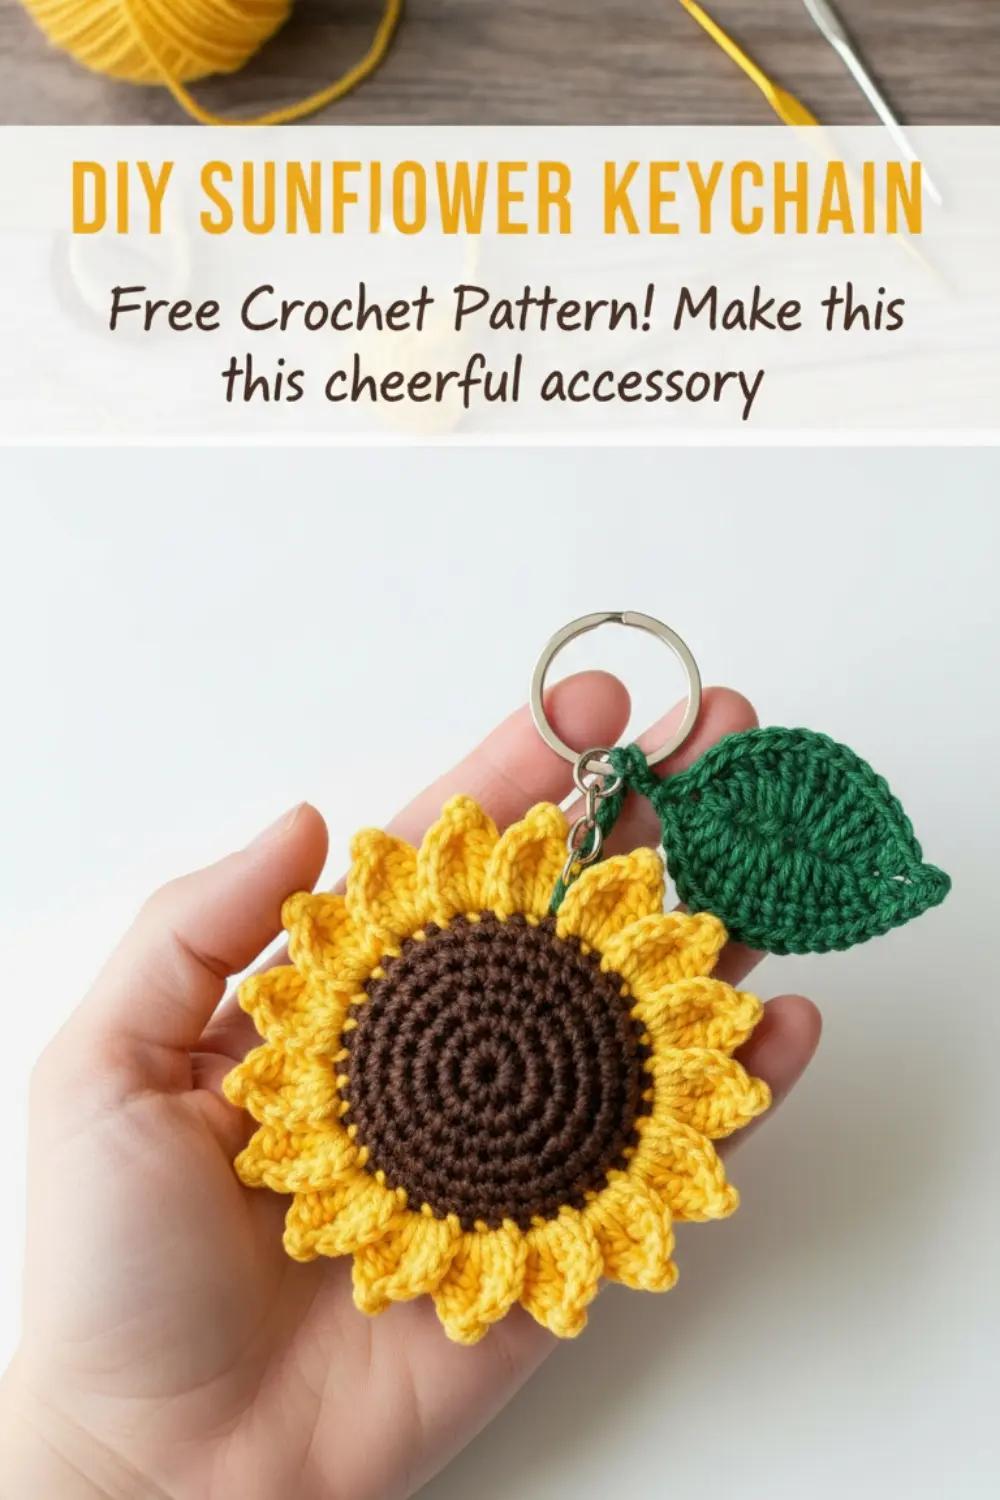
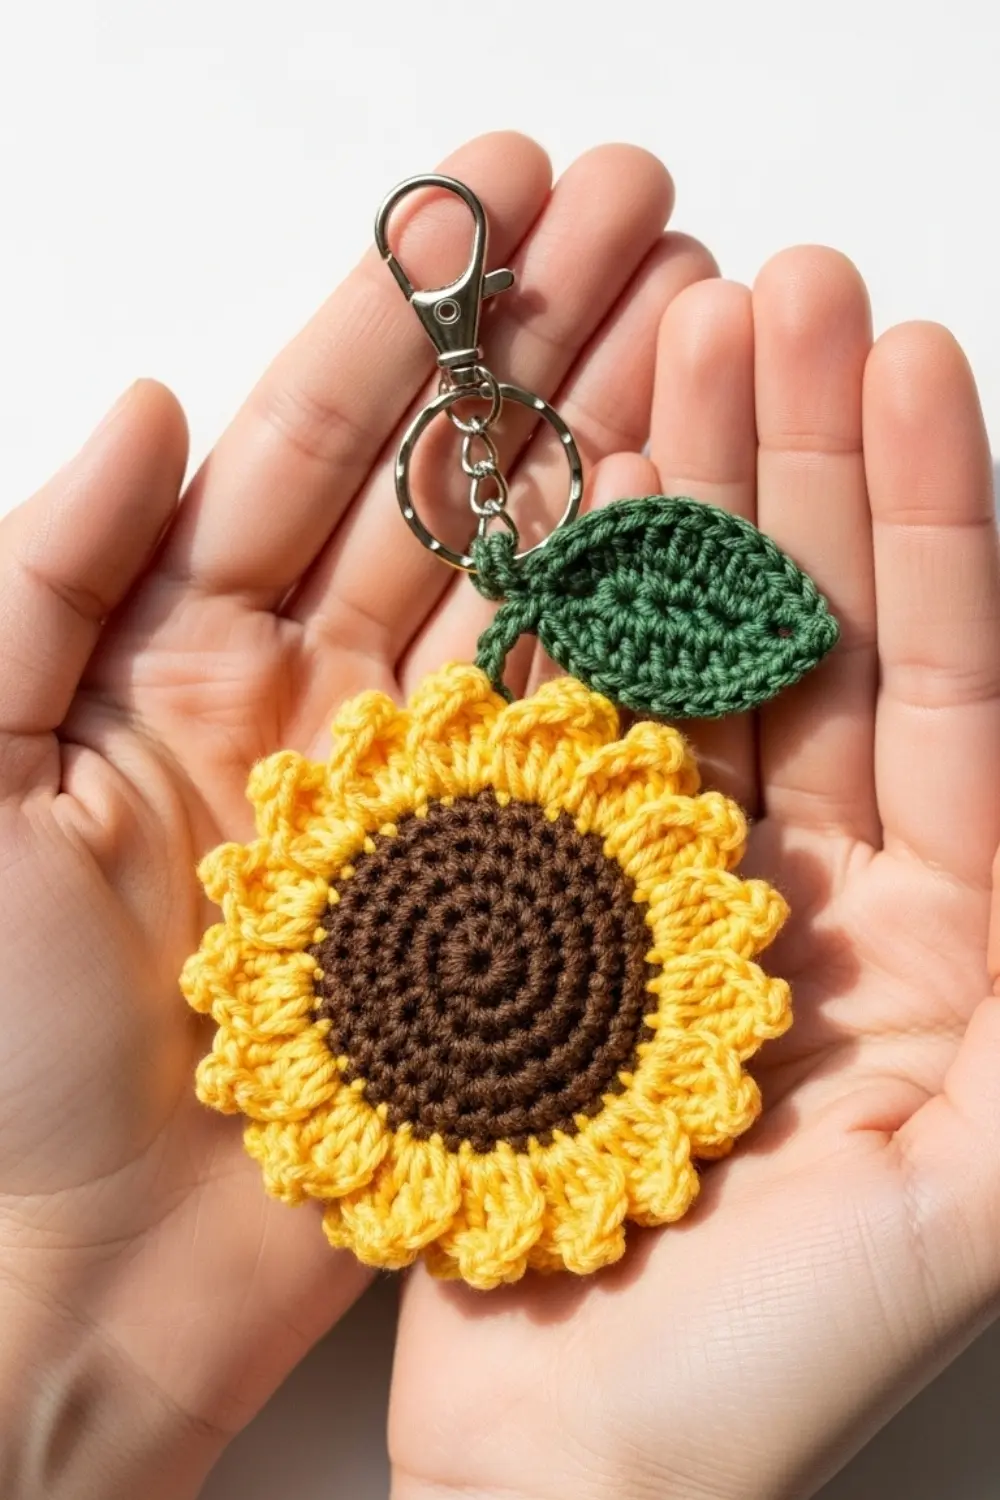
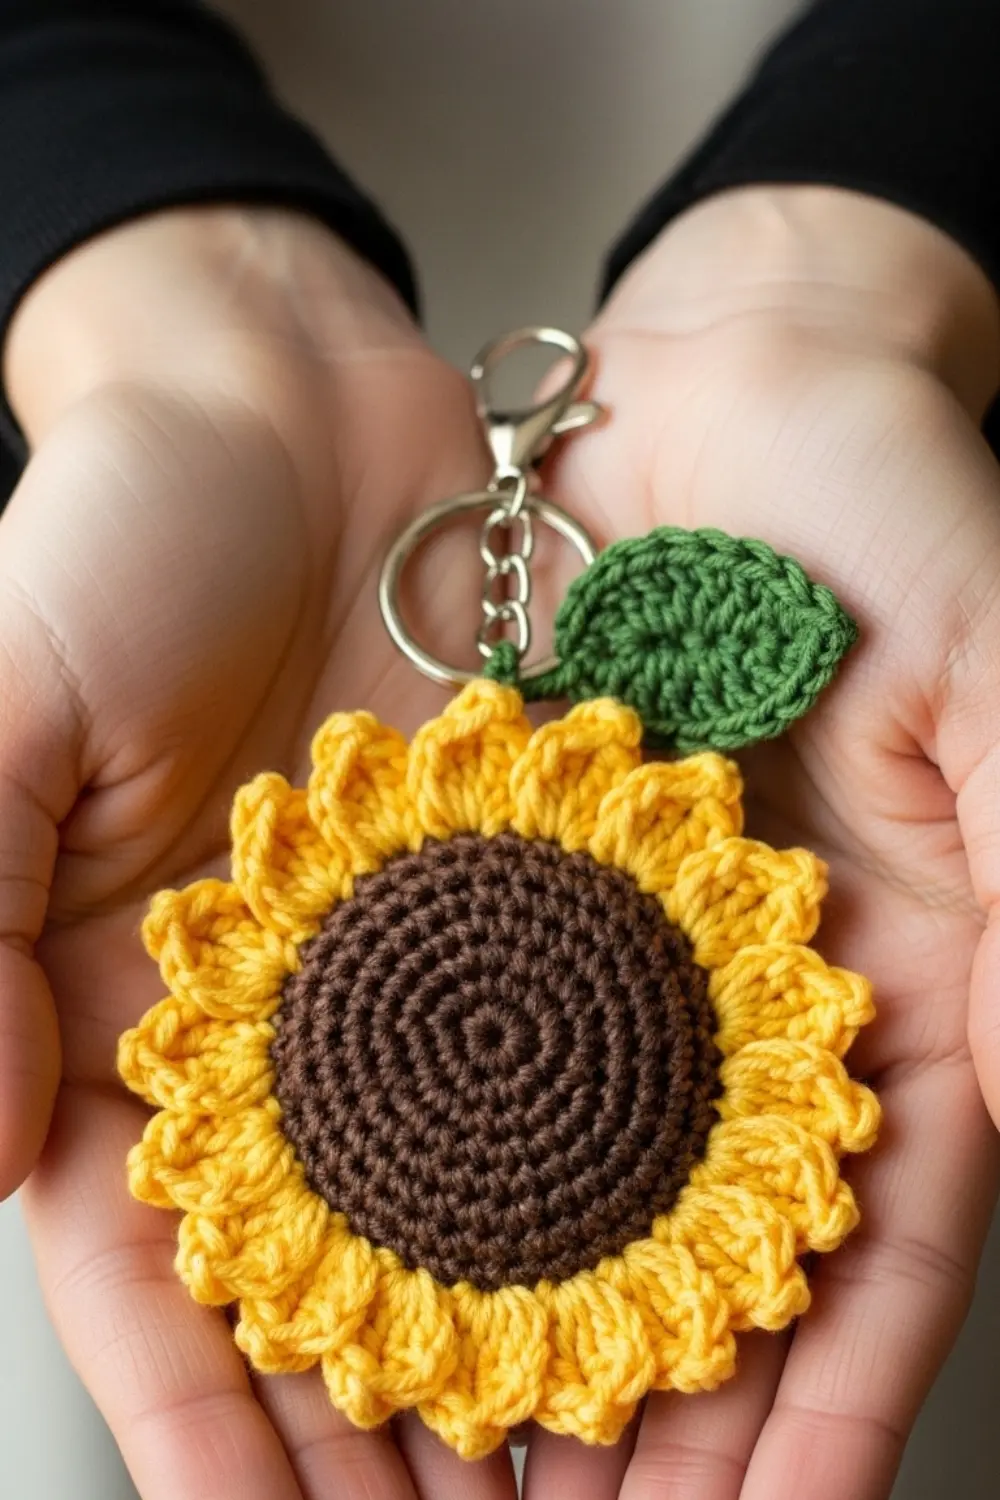
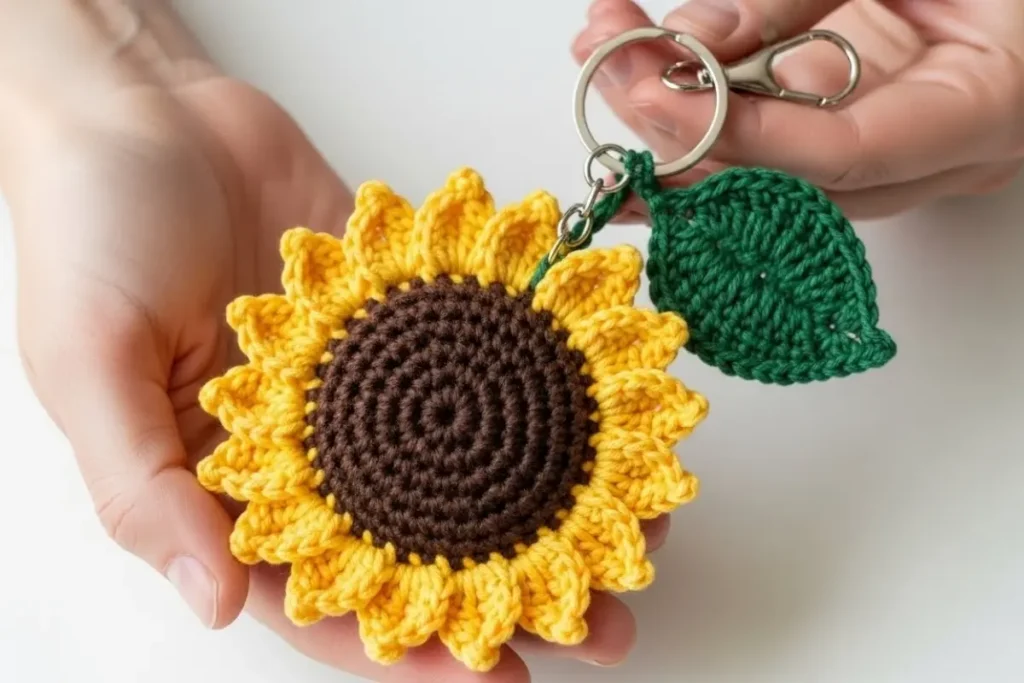
I’ve made this Sunflower Amigurumi Keychain more times than I can count — for my own keys, as quick gifts, and even as last-minute add-ons for craft orders. It’s one of those small projects that always feels worth the time. It works up fast, doesn’t use much yarn, and somehow still looks detailed and cheerful once finished.
What I love most about this sunflower is how practical it is. The size is perfect for a keychain or bag charm, it’s lightweight enough not to pull on zippers, and it’s beginner-friendly without looking overly simple. I tested it using both cotton and acrylic yarn, and as long as your tension is steady, the shape holds beautifully. From start to finish, this is an easy project to complete in under an hour once you’ve made one or two.
Below you’ll find the Sunflower Amigurumi Keychain pattern exactly as written, followed by my personal notes and practical tips from actually making and using it. If you enjoy small, cheerful amigurumi projects, this one fits right into that category.
🌻 What You’ll Need – Sunflower Amigurumi Keychain
-
Brown yarn (same weight as the yellow and green)
-
Yellow yarn (any shade — pale, pastel, mango, etc.)
-
Green yarn for the back circle
-
Additional green yarn for the leaf
-
Crochet hook suitable for your yarn weight
-
Stitch marker
-
Yarn needle
-
Small amount of stuffing
-
Keyring
-
Scissors
🌼 Sunflower Center – Brown Part
Begin with brown yarn.
Round 1
Magic ring, 6 sc into the ring.
(6)
Round 2
Inc in each stitch around.
(12)
Round 3
1 sc, inc — repeat around.
(18)
Round 4
2 sc, inc — repeat around.
(24)
Round 5
Sc around.
(24)
Finish the Round (Fake Stitch Method)
This technique must remain exactly as taught:
Count one, two stitches from the last stitch.
Insert the hook from back to front through the second stitch.
Pull the working yarn through to create a loop.
Insert the hook into the half stitch where the last stitch ended (front half only), bottom to top.
Pull the loop through to create a fake stitch that finishes the edge cleanly.
Fasten off and leave a tail.
🌿 Green Back Circle
Follow the same pattern as the brown circle but stop at Round 4.
Round 1
Magic ring, 6 sc.
(6)
Round 2
Inc in each stitch.
(12)
Round 3
1 sc, inc — repeat around.
(18)
Round 4
2 sc, inc — repeat around.
(24)
Finish Round (Same Fake Stitch Technique)
Use the exact same method as above.
Do NOT fasten off completely — you’ll attach the petals from here.
🌻 Joining the Two Circles
Place the brown circle in front and the green circle behind, wrong sides facing in.
For each stitch:
-
Insert your hook through the back loop of the brown circle
-
…and the front loop of the green circle
⚠️ This does not close the sunflower.
This anchor is only for attaching petals.
🌼 Petals (Yellow Yarn)
Work one petal per stitch around.
For each petal:
-
Attach yellow yarn
-
Ch 3
-
Yarn over, insert hook into next stitch (brown back loop + green front loop)
-
Make 4 incomplete dc (dc clusters):
-
YO, insert, pull up loop, YO, pull through 2 (leave final loop)
-
Repeat 4 times
-
You’ll have 5 loops on the hook
-
-
YO, pull through all loops
-
Ch 1
-
Insert hook into the small joining space → sl st
-
Ch 3 (creates picot)
-
Move to next stitch → sl st to anchor
Repeat around.
🌟 Stuffing Tip:
Once you’ve made about 5–6 petals, add a bit of stuffing before the opening gets small.
Continue petals until the full circle is covered.
✨ Optional Petal Shading
For a gentle gradient effect (as shown in some tutorials):
-
Use pastel chalk, pigment, or blush
-
Add a soft touch of orange or pink at the base of each petal
-
Blend lightly outward
A tiny bit goes a long way!
🍃 Leaf
Using green yarn:
Foundation:
Ch 7.
Row 1 (working down the chain)
In the 2nd ch from hook: 1 sc
Next ch: 1 hdc
Next ch: 1 dc
Next 2 ch: 1 tr in each
Last ch: 7 dc in the same stitch (curve)
Working down the opposite side:
Next ch: 1 tr
Next ch: 1 tr
Next ch: 1 dc
Next ch: 1 hdc
Last ch: 1 sc
Leaf Tip:
Ch 1, sl st into small tip space to shape the point.
Fasten off and weave ends.
🔗 Assembly
Attach the leaf
You can either:
-
Sew the leaf directly to the keyring, or
-
Thread the leaf through the first chain of the keyring so it hangs like a link
Attach the sunflower
Use green or yellow yarn and a yarn needle.
Sew the sunflower securely to the ring so it stays in place during daily use.
Your sunflower keychain is ready to brighten someone’s day! 🌞
💛 Pattern Notes
-
The fake stitch closing method is essential to get that perfect round finish.
-
Keep your tension even, especially on the petals.
-
Any shade of yellow works beautifully — from pastel to deep marigold.
-
You can leave the sunflower unshaded if you prefer a clean, classic look.
🌻 My Experience & Practical Tips
After making several of these Sunflower Amigurumi Keychain, a few small details really make a difference in the final result:
-
Watch your tension on the petals. If your dc clusters are too loose, the petals will flop instead of standing out. I keep my tension slightly tighter than usual just for the yellow rounds.
-
Don’t overstuff. This piece looks best when lightly stuffed. Too much filling pushes the petals outward and makes the sunflower look bulky on a keyring.
-
Cotton yarn gives the cleanest shape. Acrylic works fine, but cotton really helps the center stay flat and the petals keep their definition with daily use.
-
Use a stitch marker when attaching petals. It’s easy to skip or double up a stitch when working around both circles at once.
-
Secure the keyring firmly. Since this is meant for everyday handling, I always add an extra pass of yarn when sewing it to the ring.
The most common beginner mistake I see is pulling the picot chains too tight. Keep those chains relaxed — they give the petals their soft, rounded look.
❓ FAQ (Schema Style)
Q: Is this pattern beginner-friendly?
Yes! The stitches are simple, and the project works up quickly.
Q: Can I use a different yarn weight?
Absolutely — just match your hook size to your yarn. Thicker yarn makes a larger sunflower.
Q: How long does it take to complete?
Most crocheters finish this sunflower in 30–60 minutes.
Q: Can I sell finished items?
Yes, you can sell the finished Sunflower Amigurumi Keychain. Please credit the pattern source when possible.
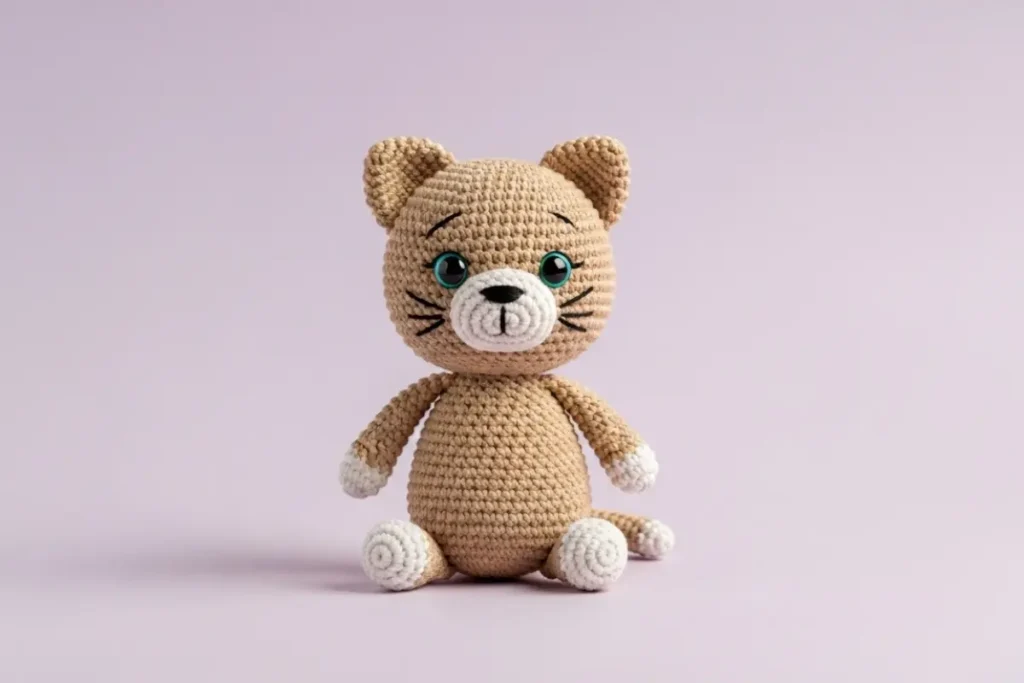
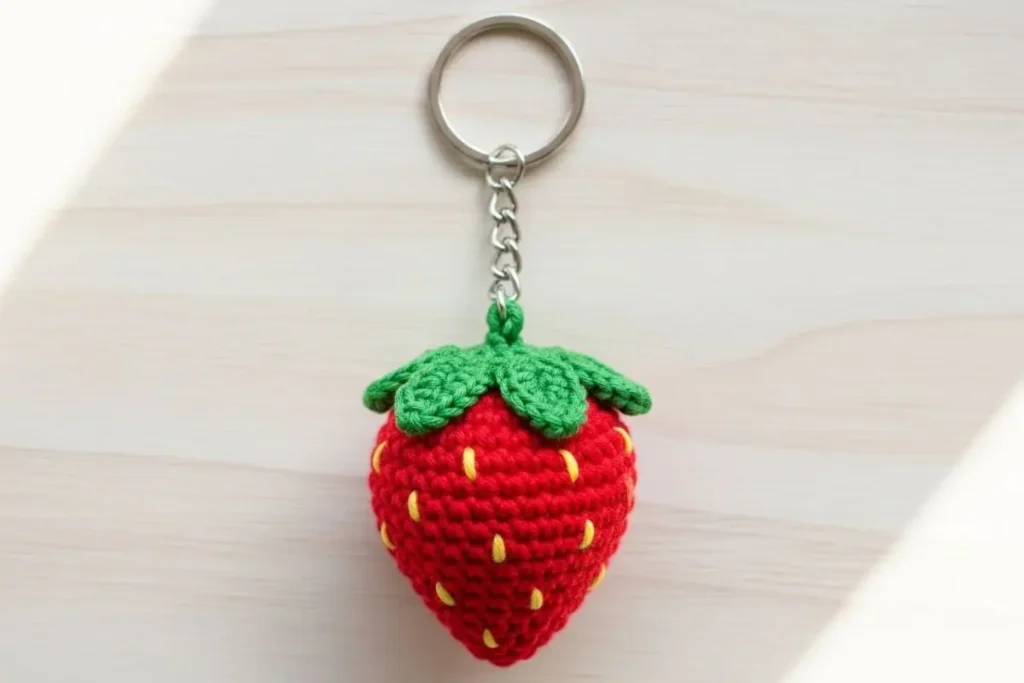
If you enjoy this sunflower, you might also like my Sunflower Pot Amigurumi, which uses similar shaping but works into a small decorative piece, or the Garfield Keychain Crochet Pattern, another quick project that’s perfect for gifts and fairs. For something a little softer and more classic, the Bunny Amigurumi is a great next step if you want to practice shaping with simple rounds.
This Sunflower Amigurumi Keychain is one of those patterns I come back to again and again. It’s been tested, tweaked, and used in real life — on keys, backpacks, and gift bundles — and it holds up beautifully. Whether you’re making a small handmade gift, adding something cheerful to your market table, or just want a fast project between larger ones, this sunflower is always a good choice.
I hope you enjoy making it as much as I’ve enjoyed crocheting and sharing it. 🌻