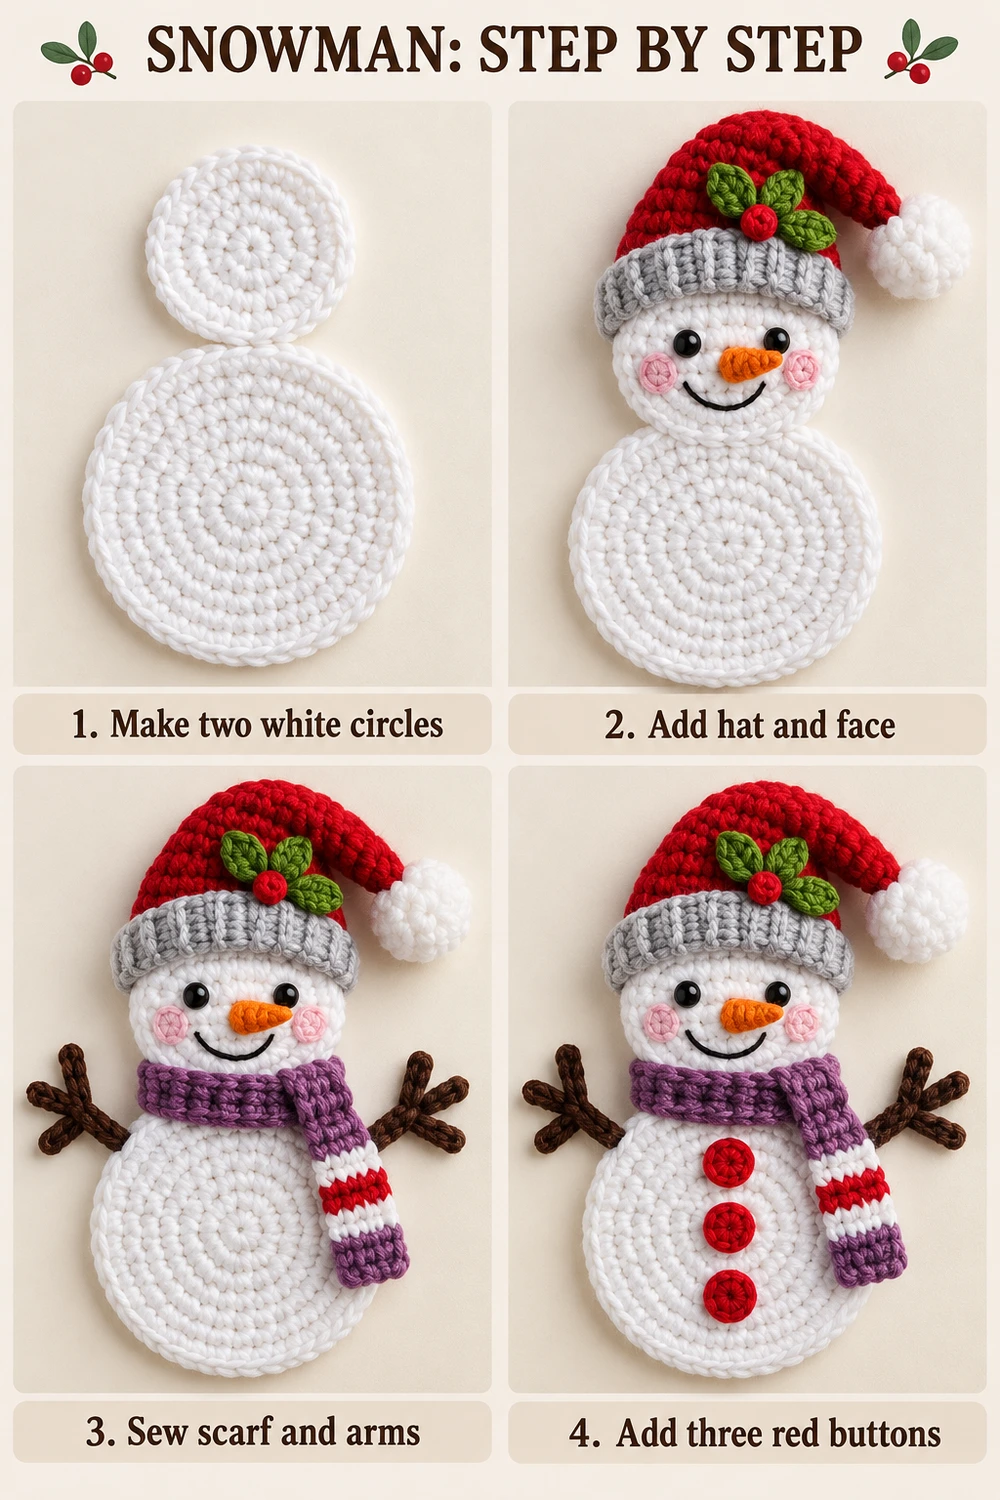
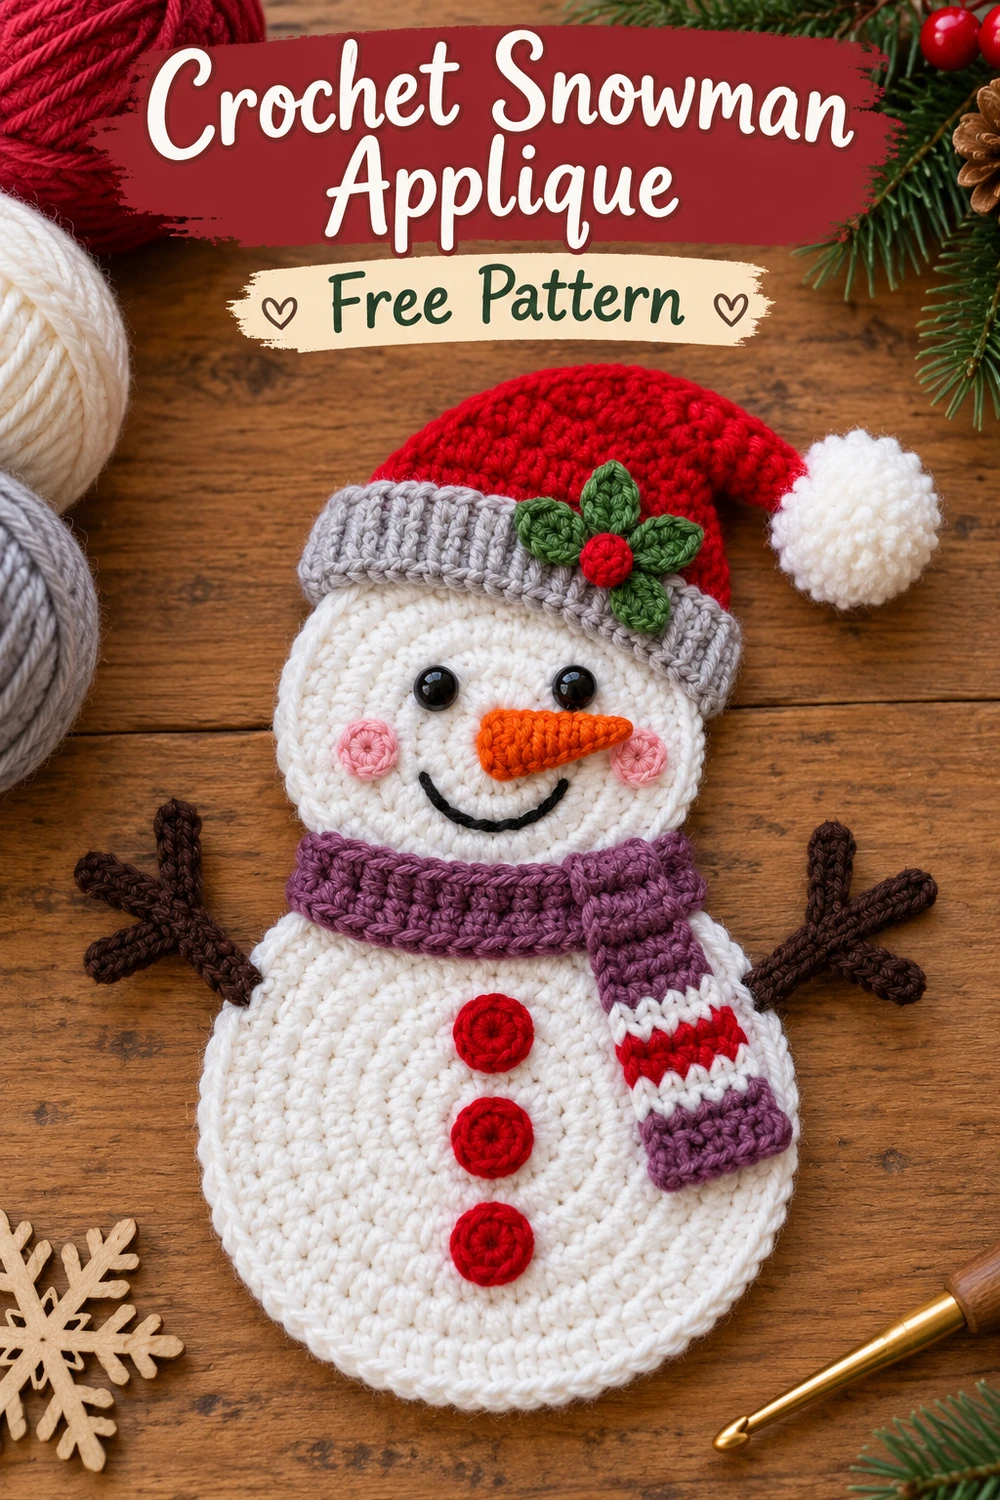
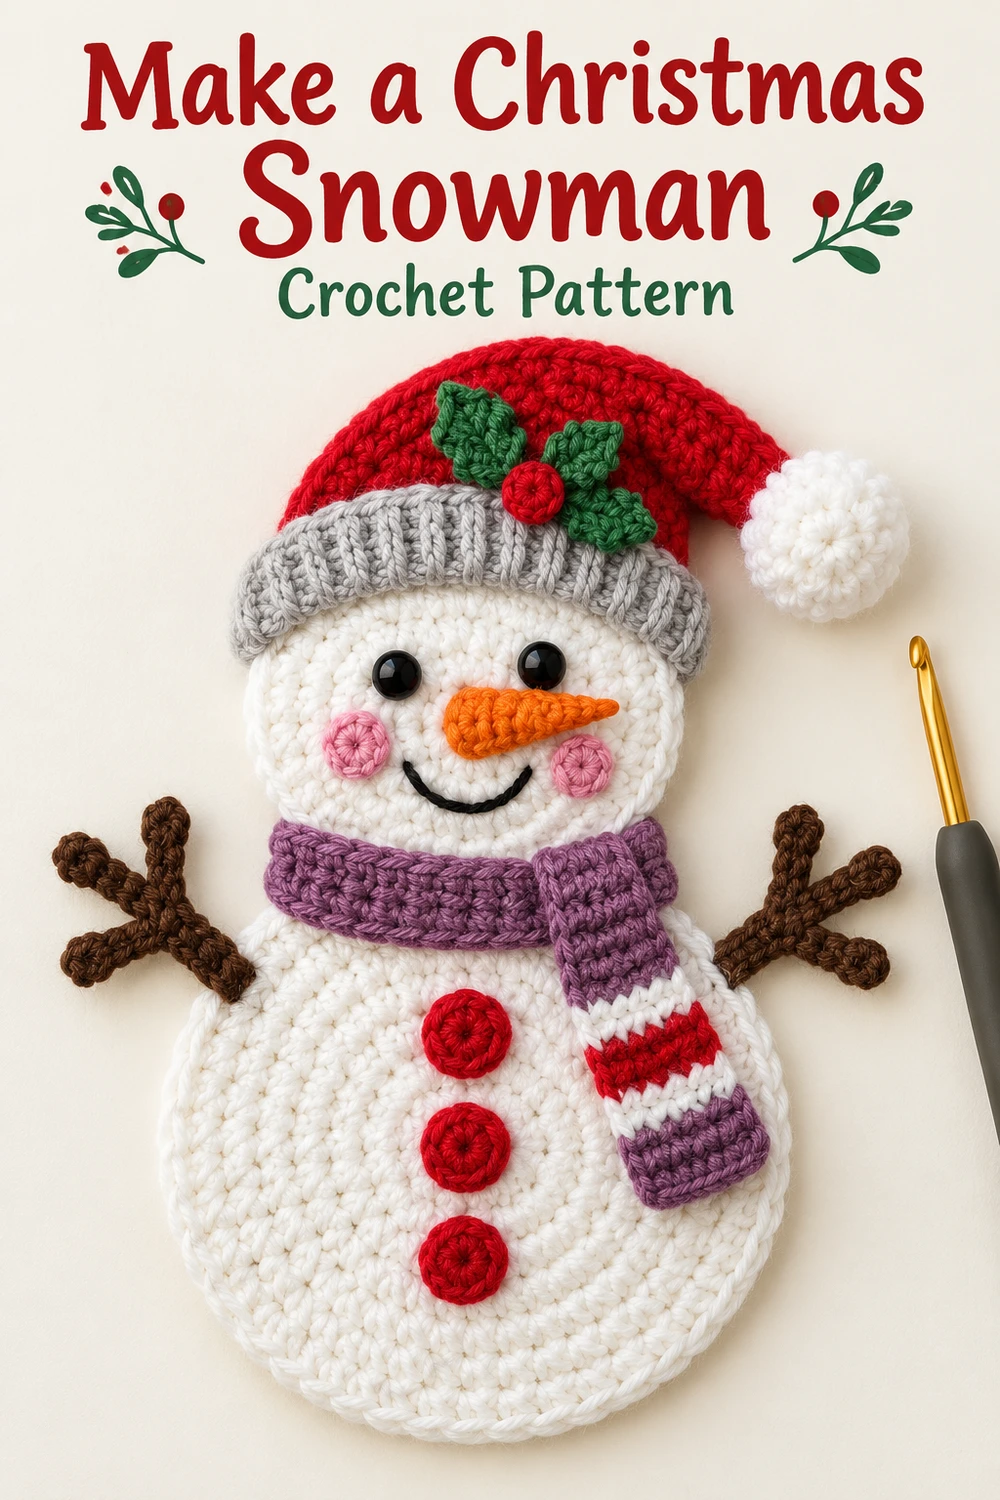
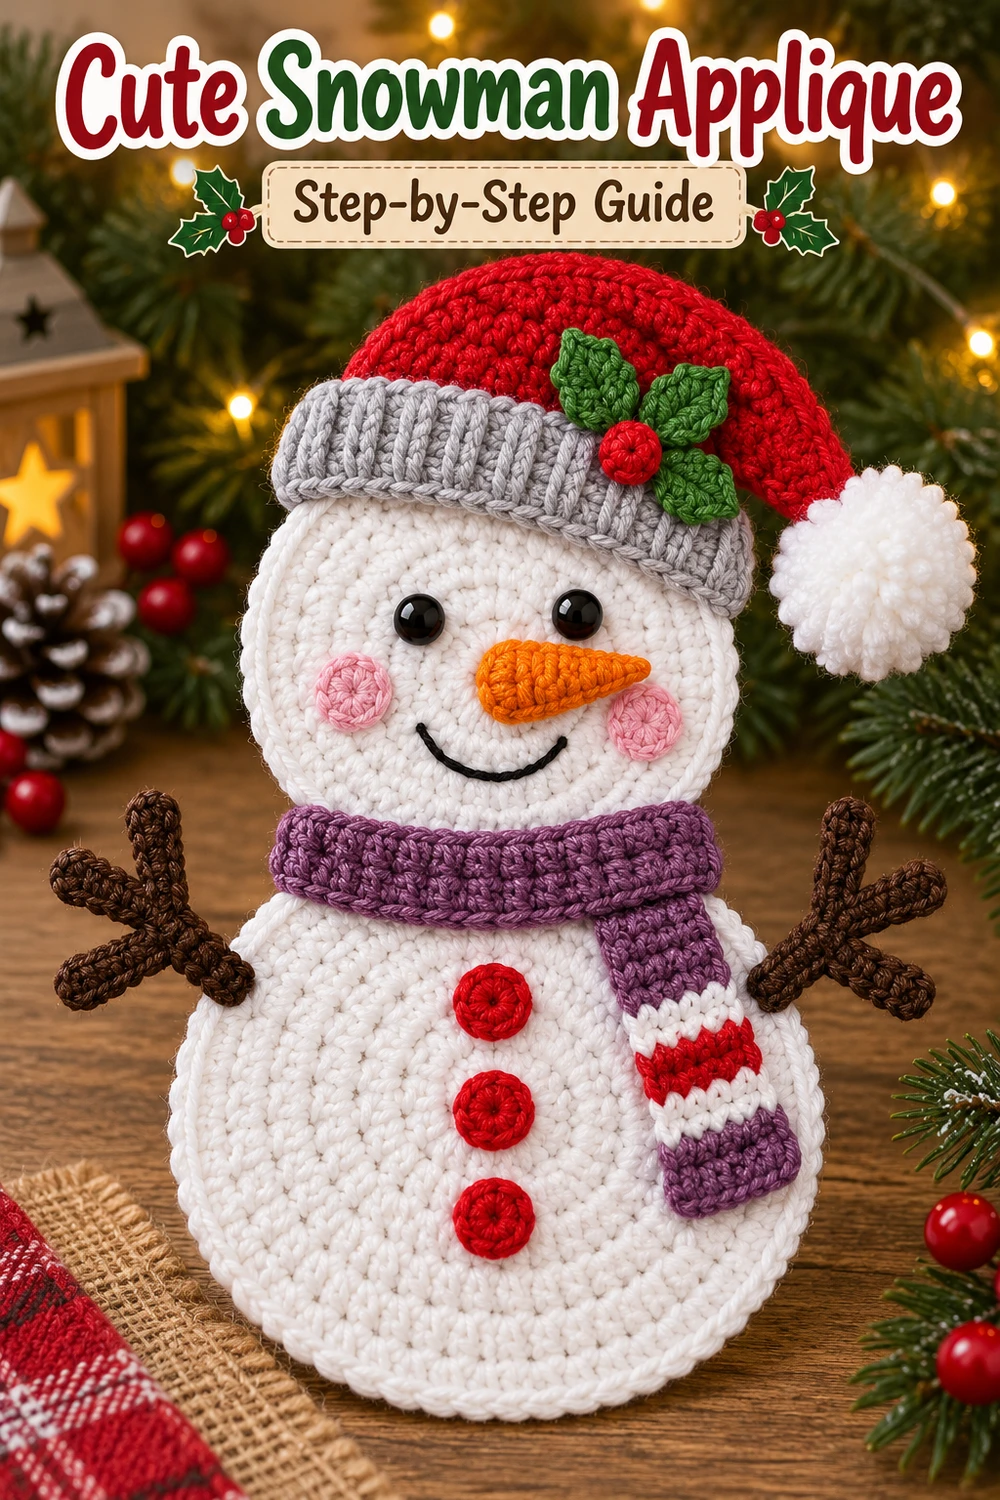
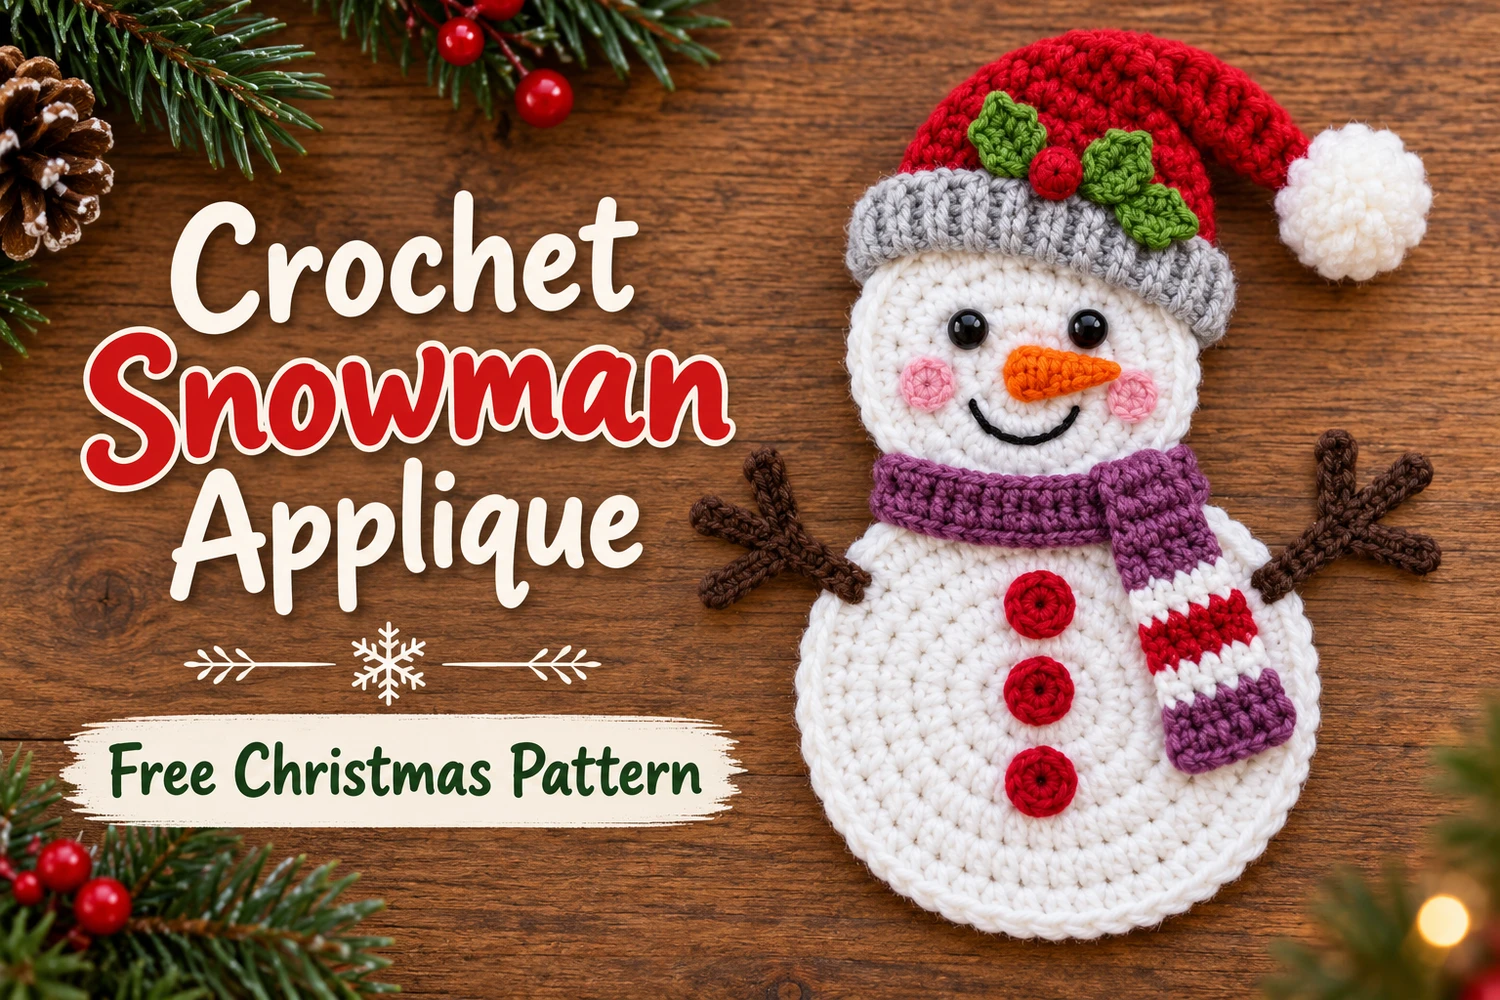
This Striped Scarf Snowman Applique Crochet Pattern creates a cheerful flat snowman with two white circles, a red Santa hat, a light gray ribbed brim, and a mauve scarf with a red-and-white striped tail. Brown twig arms, rosy cheeks, an orange carrot nose, and three red buttons complete the reference-inspired design.
Crochet the circles and small details separately, then sew them into one applique. The body stays flat and unstuffed. The red cap bends toward a white pompom on the right, with four green leaves and one red berry near the brim.
Pattern Information
- Skill level: intermediate; flat circles, turned rows, small appliques, and assembly.
- US crochet terminology.
- Estimated height: 18–23 cm with sport cotton and a 2.5 mm hook. Actual size depends on tension and placement.
- Colors: white, red, light gray, mauve, dark brown, green, orange, pink, and black.
- Construction: separate head and body circles, flat hat, ribbed brim, scarf pieces, twig arms, and sewn details.
This is an image-inspired adaptation. Stitch totals and repeats have been reviewed, but the pattern has not been physically crocheted or independently tested. Follow the written construction and use the images as appearance references.
Materials
- Sport cotton: approximately 20–25 g white, 10 g red, and small amounts of the other colors.
- 2–2.5 mm hook matched to your yarn.
- Tapestry needle, scissors, stitch markers, and pins.
- Two small black sew-on beads or black embroidery thread for eyes.
- Black embroidery thread for the smile.
- A small white yarn pompom, approximately 2 cm wide, or extra white yarn to make one.
- Blocking mat and rustproof pins.
For a decoration that may be handled by children, embroider the eyes instead of using beads. This pattern is a sewn applique rather than a stuffed toy.
Abbreviations and Notes
- MR: magic ring; ch: chain; sl st: slip stitch; sc: single crochet.
- hdc: half double crochet; dc: double crochet; tr: treble crochet.
- inc: 2 sc in one stitch; sc2tog: single crochet two stitches together.
- BLO: back loop only. R: round or row as identified.
- Work the circles in continuous rounds, marking the first stitch.
- Ch 1 at the start of turned rows does not count as a stitch.
- Keep long tails on small pieces for sewing. No stuffing or wire is used in the circles or arms.
Striped Scarf Snowman Applique Crochet Pattern
1. Large White Body Circle
- R1: 6 sc in MR [6].
- R2: inc six times [12].
- R3: (sc, inc) six times [18].
- R4: (2 sc, inc) six times [24].
- R5: (3 sc, inc) six times [30].
- R6: (4 sc, inc) six times [36].
- R7: (5 sc, inc) six times [42].
- R8: (6 sc, inc) six times [48].
Sl st in the next stitch to smooth the edge, then fasten off with a long tail. The finishing sl st is not included in the 48-stitch total. Weave the MR tail securely through the back. Spread the circle flat without adding stuffing.
2. Smaller White Head Circle
Work R1–R6 of the body instructions with white, ending at 36 sc. Sl st in the next stitch and fasten off with a long sewing tail. The head should be visibly smaller than the body.
Lightly dampen and block both circles flat. If an edge ruffles, check that each round has exactly six increases. If a circle cups, check for missed increases or overly tight stitches. Let the pieces dry before adding the face.
3. Red Santa Cap — Flat Rows
With red, ch 15. Row 1: starting in the second chain, sc across [14]. Turn. Row 2: ch 1, 14 sc [14]. Turn.
Row 3: ch 1, sc2tog, 10 sc, sc2tog [12]. Row 4: ch 1, 12 sc [12]. Row 5: ch 1, sc2tog, 8 sc, sc2tog [10]. Row 6: ch 1, 10 sc [10]. Turn at the end of each row.
Row 7: ch 1, sc2tog, 6 sc, sc2tog [8]. Row 8: ch 1, 8 sc [8]. Row 9: ch 1, sc2tog, 4 sc, sc2tog [6]. Row 10: ch 1, 6 sc [6].
Row 11: ch 1, sc2tog, 2 sc, sc2tog [4]. Row 12: ch 1, 4 sc [4]. Row 13: ch 1, sc2tog twice [2]. Row 14: ch 1, sc2tog [1]. Fasten off with a long tail.
Keep the lower edge broad. Bend the upper third toward the right, then tack the folded section to itself with two hidden red stitches. This is a flat cap silhouette; do not sew its sides into a cone or add stuffing.
4. Light Gray Ribbed Brim
With light gray, ch 5. Row 1: sc in the second chain and each remaining chain [4]. Turn. Rows 2–25: ch 1, sc in BLO across [4 per row], turning after every row. Fasten off with a long tail.
The short four-stitch rows form the brim depth, while the 25 rows form its length. Curve the strip across the lower edge of the red hat. Sew its upper long edge to the hat, hiding the hat foundation beneath it. Let a little gray brim project at each side.
Fit the brim against your actual head before securing its ends; ribbed fabric can compress gently. If necessary, add or remove a few four-sc rows to match your tension, keeping the strip curved rather than stretched tight.
5. White Pompom and Green Hat Decoration
Make or use a small white yarn pompom about 2 cm wide. Tie its center firmly with a long white strand, trim the shape, and sew it to the folded right tip of the red hat with several passes. Keep the attachment short.
Green leaves — make four: ch 5. Starting in the second chain, work sc, hdc, dc, then (sc, ch 2, sc) in the last chain. Along the unused underside, work dc, hdc, sc in the next three chain positions. Join to the first sc and fasten off. Each leaf has 8 stitches plus a ch-2 tip.
Red berry: work 6 sc in MR, sl st to the first sc, and fasten off. Leave unstuffed. Sew the four leaves as a small rosette near the right side of the gray brim and sew the berry over their bases.
6. Mauve Neck Band and Striped Tail
Neck band: with mauve, ch 16. Row 1: starting in the second chain, hdc across [15]. Row 2: ch 1, turn, hdc in BLO across [15]. Fasten off with a long tail. Curve the band under the head, compressing its ends gently if needed to fit.
Scarf tail: with mauve, ch 6. Row 1: sc from the second chain across [5]. Row 2: ch 1, turn, 5 sc. Change color on the final pull-through of the last stitch, then continue turning at each row.
Rows 3–4: white, 5 sc per row. Rows 5–7: red, 5 sc per row. Rows 8–9: white, 5 sc per row. Rows 10–12: mauve, 5 sc per row. Fasten off and weave the color-change tails along the back edges.
Sew the top edge of the striped tail under the left end of the neck band. Let it angle down the left side of the body, as in the reference. Tack the back of the lower tail to the body with a few hidden stitches so it stays flat.
7. Brown Twig Arms — Make Two
For each main stem, ch 13 with dark brown. Sl st in the second chain from the hook and in each remaining chain [12 sl st]. Fasten off with long tails at both ends. This firm cord runs from the body shoulder toward the outer hand.
Make three short branch cords per arm. For each branch, ch 6, sl st back from the second chain [5 sl st], and fasten off. Sew the three branch bases to the outer section of the main stem, placing one upward, one outward, and one downward.
Use the sewing tails to attach each branch over several main-stem stitches. Do not insert wire. Mirror the two arms and keep the branch cords short and flat.
8. Face and Three Red Buttons
Pink cheeks — make two: 6 sc in MR, join to the first sc, fasten off. Sew one low on each side of the head.
Orange carrot nose: ch 6. Starting in the second chain, work sl st, sc, hdc, dc, dc [5 stitches]. Fasten off. Sew the broader end at the center of the face with the narrow tip pointing toward the right, catching the lower edge with tiny stitches.
Sew or embroider two black eyes above the cheeks, evenly spaced around the nose. Embroider a curved black smile below the nose. Keep the knots and thread tails on the back so the applique remains smooth.
Red buttons — make three: work 6 sc in MR, join to the first sc, and fasten off for each button. Flatten and sew the three small red discs vertically down the body center, leaving even gaps. These are crochet button shapes, not functional buttonholes.
9. Assemble the Snowman
Place the head above the body with its lower edge overlapping the top of the body by approximately 1 cm. Pin and sew the overlap through several stitches on both circles. Keep the body round and the face upright.
Pin the hat and gray brim over the upper part of the head. Sew the cap and brim through dense head stitches, leaving the folded pompom tip free enough to keep its bend. Secure the leaf rosette near the right brim.
Position the brown arm stems behind the upper body, extending left and right. Sew the inner 2–3 cm of each stem firmly to the back, then add hidden tacks beneath the outer branches if you want the whole applique attached to a background fabric.
Sew the mauve band across the head-body join and place its striped tail on the left. Add the face pieces and three red buttons if not already attached. Check the front, then weave every yarn tail through several back stitches.
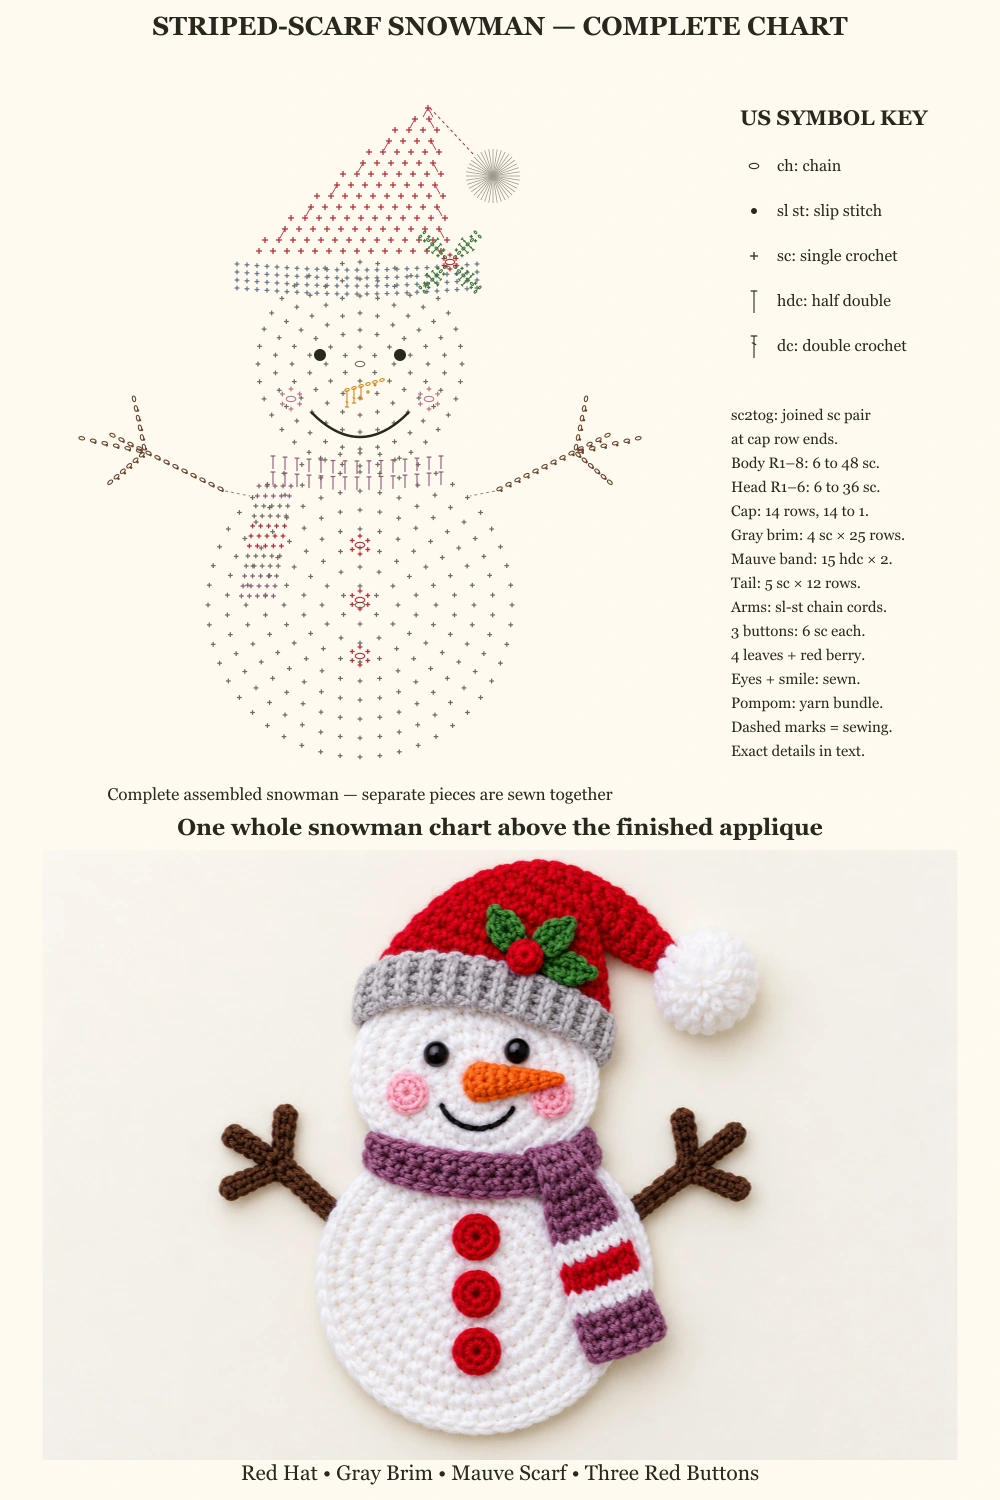
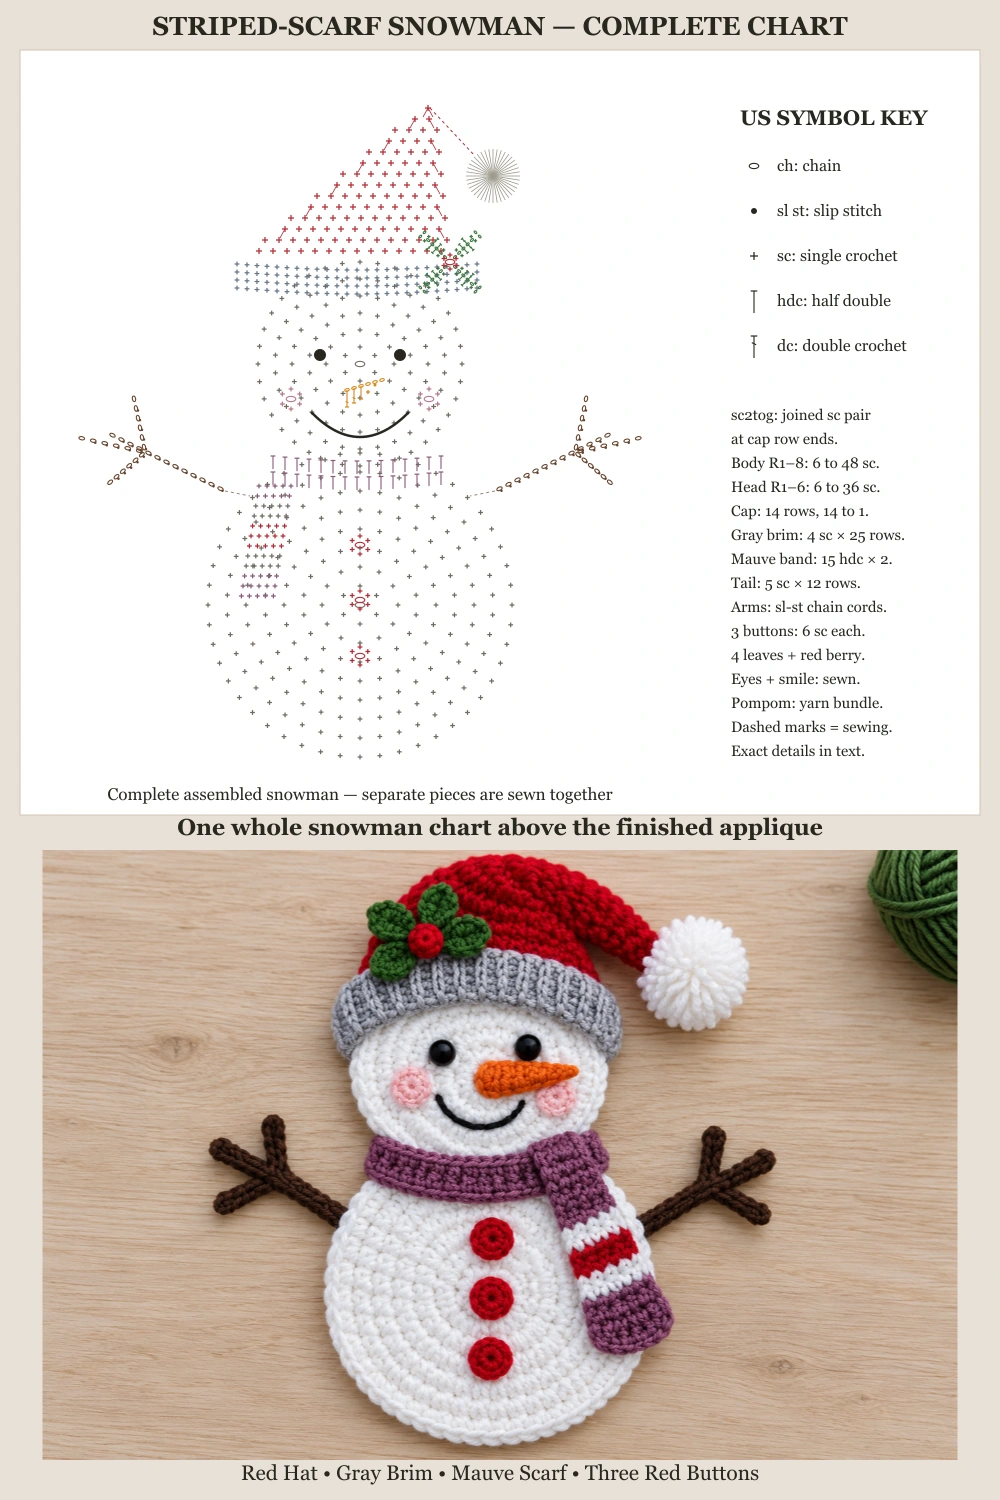
Reading the Two Complete Charts
Each chart shows the entire assembled snowman silhouette: both white circles, red cap, gray ribbing, scarf band and striped tail, twig arms, and the positions of the facial and hat details. Color identifies the components. The components are made separately and sewn together; dashed marks indicate assembly.
Both charts appear above finished snowman photographs. Circle stitch totals and exact small-piece instructions are given in the text. The pompom is a yarn bundle and the embroidered smile is a sewing line, not a crochet round.
Finishing and Care
Dampen the large circles lightly if a final shaping is needed, avoiding the pompom and any beads. Dry flat. To attach the applique to a bag, cushion, or wall hanging, sew around the circle edges and add tacks under the hat, scarf, and arm branches.
Spot-clean gently and reshape while damp. Check the eyes, pompom, and branch attachments before display. This is a decorative applique with small attached parts, not a tested child’s toy.
Questions and Tips
Why is the head almost as large as the body? The head ends at R6 with 36 sc, while the body continues to R8 with 48 sc. Use the same yarn and hook for both.
Can I use embroidered eyes? Yes. Embroider two small black circles to remove detachable eye beads while keeping the reference expression.
Can I make it as an ornament? Sew a short hanging loop through several dense stitches behind the hat and head. The reference is presented as a flat applique without a loop.
How do I stop the arms curling? Make the slip-stitch cords with relaxed tension and tack the branches to the background fabric when attaching the applique.
More Free Christmas Crochet Patterns
Save This Pattern
Save this smiling snowman for your handmade Christmas collection. Happy crocheting from Lovely Amigurumi!
Tutorial, Two Complete Charts, and Pinterest Gallery
All six 1000 × 1500 images are grouped here at the end: one visual tutorial, two complete chart-above-photo guides, and three Pinterest images.