
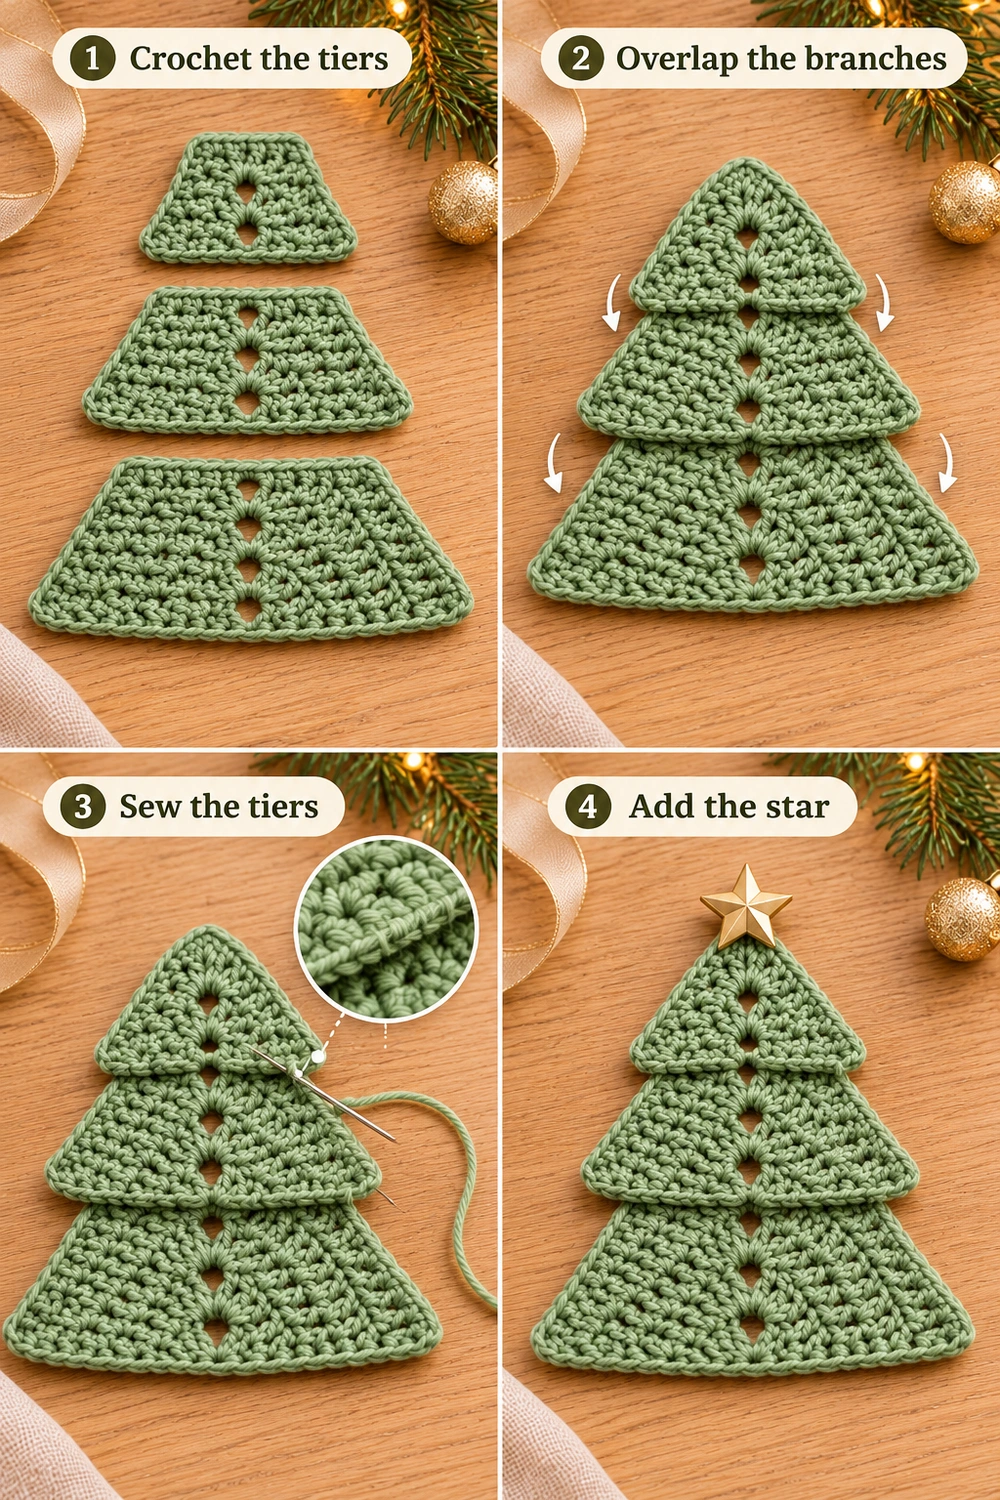
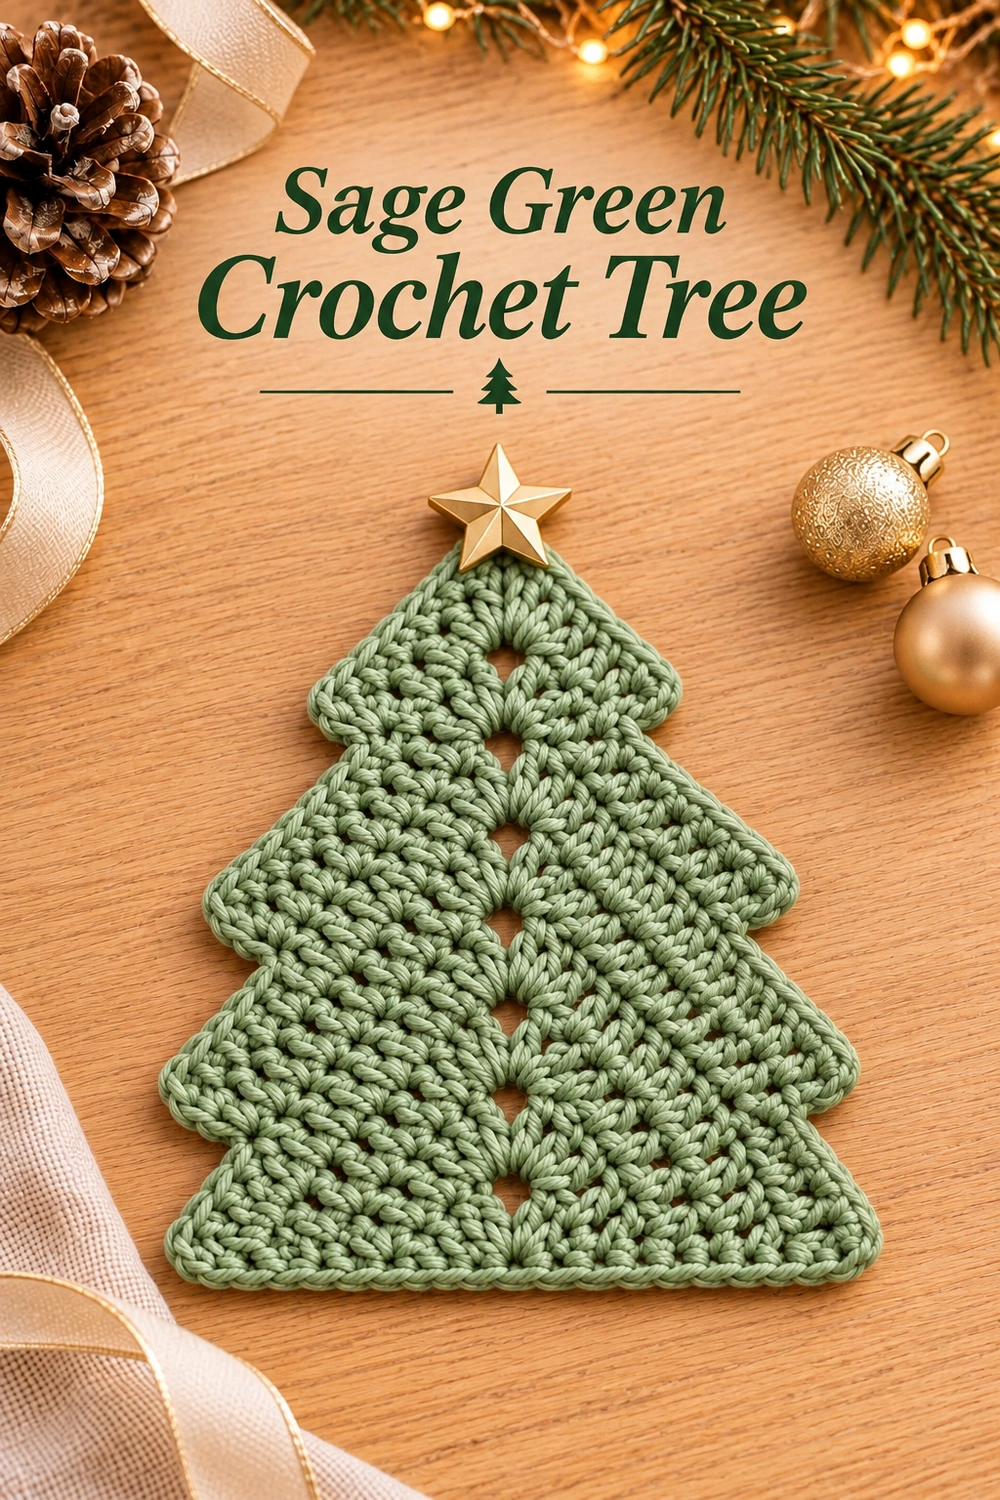
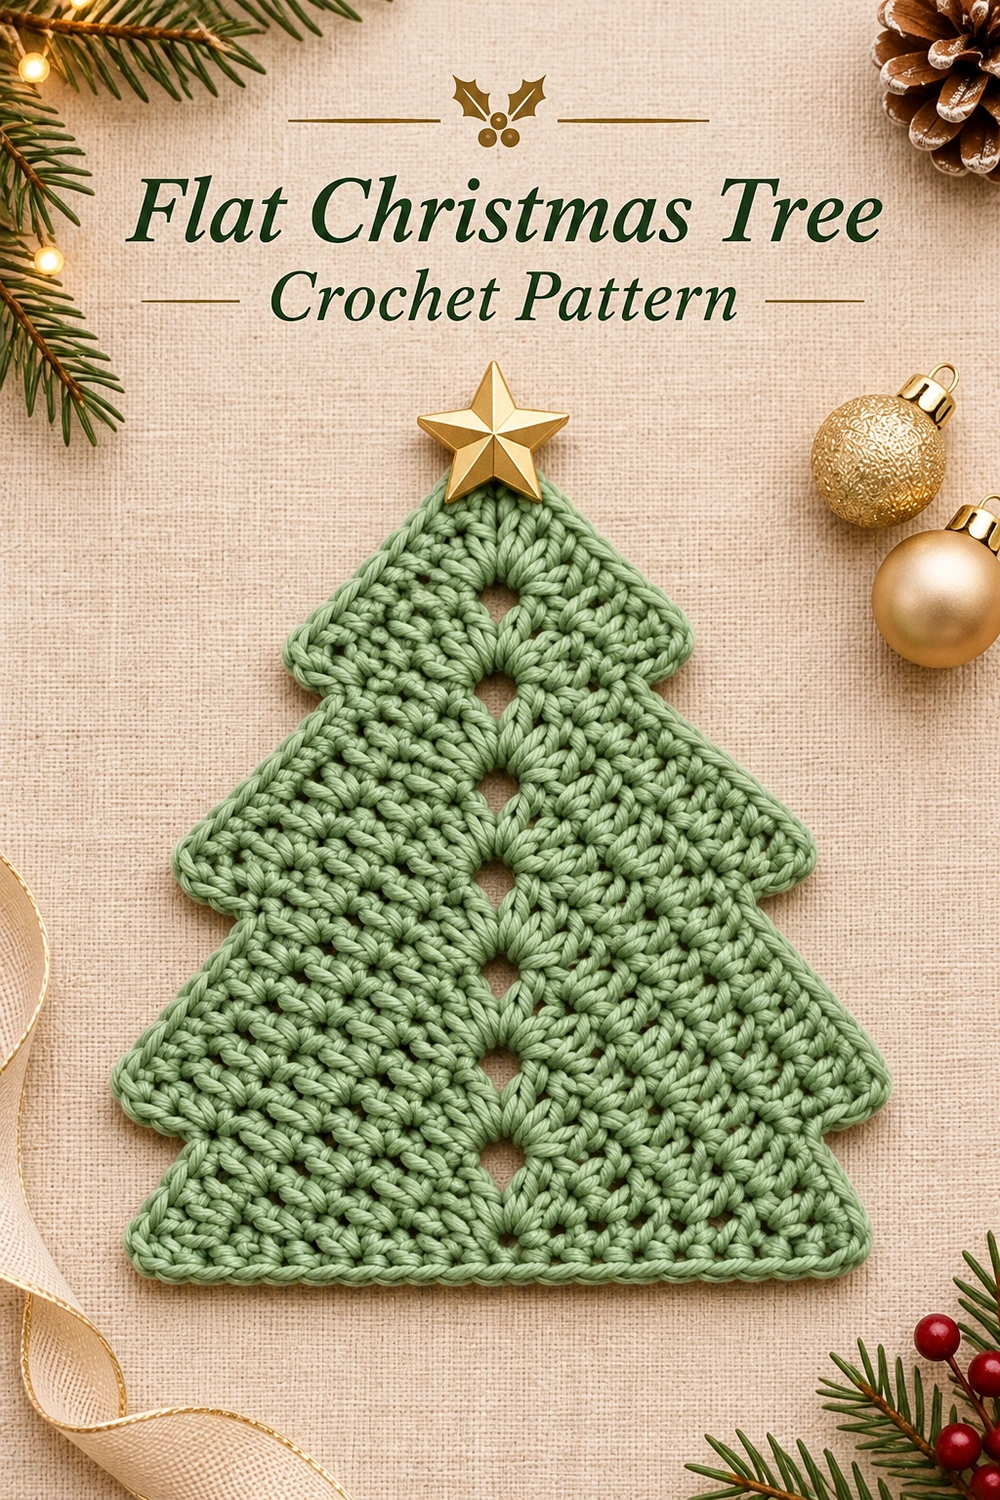
This free Sage Green Christmas Tree Crochet Pattern makes a flat ornament with stepped branches, a line of open eyelets, and a little gold star. Three separately worked tiers overlap to create the tree shape.
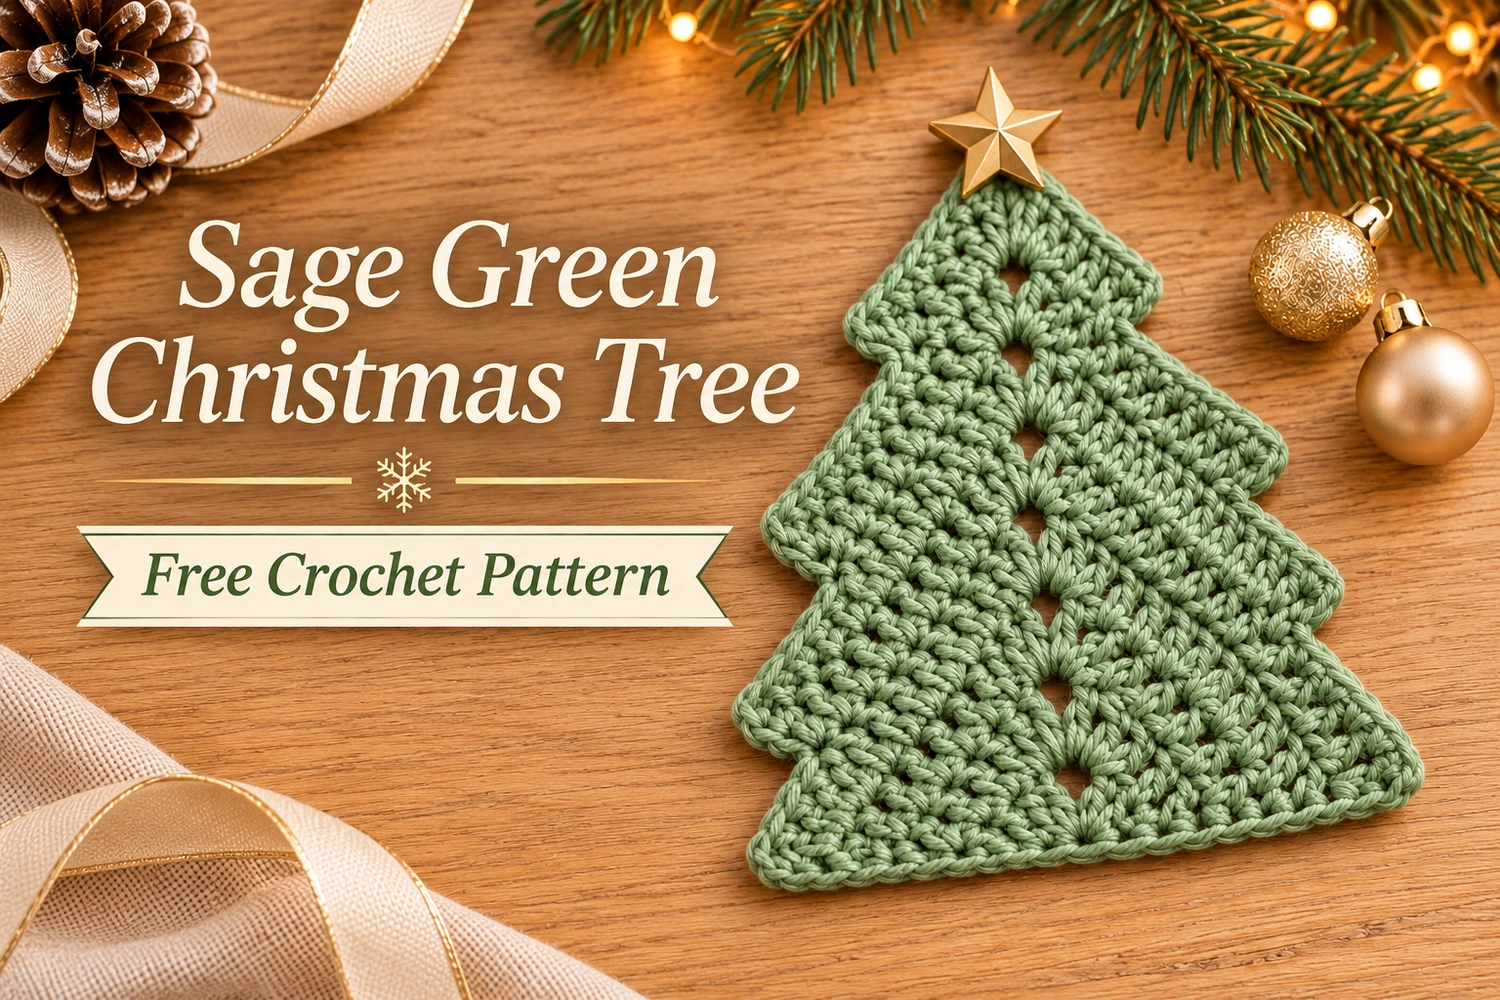
The visual inspiration is the Christmas tree by SofyElle at Sfilo e Creo. This version uses separate half-double crochet tiers sewn together.
Sage Green Christmas Tree: Materials
- Sage green DK cotton and a 3 mm crochet hook.
- Small sew-on gold star, sewing thread, yarn needle, scissors, and optional cord for hanging.
US crochet terms are used throughout. Counts were checked on paper. A physical sample has yet to be crocheted.
Sage Green Christmas Tree: Abbreviations
ch = chain, sl st = slip stitch, sc = single crochet, hdc = half double crochet, sp = space.
Sage Green Christmas Tree: 1. Crochet the Three Tiers
Start at the tip of each tier. The ch 2 at the start of a row is for height and does not count. Keep the center ch-2 spaces open.
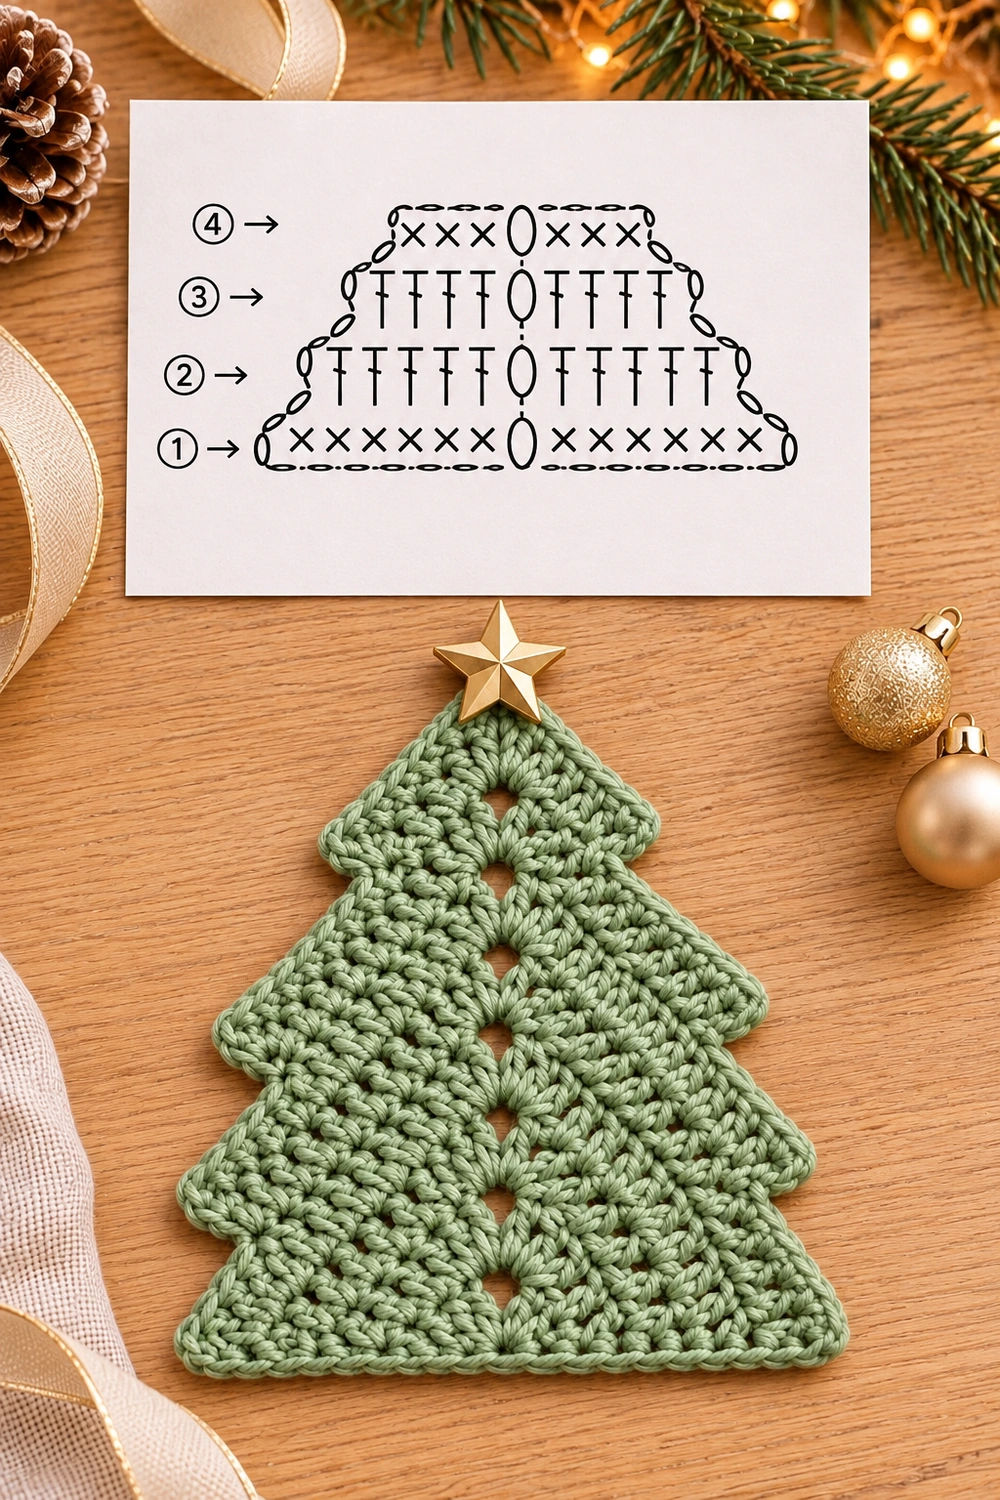
- Ch 4 and sl st in the first chain to form a ring. Ch 2, then work (2 hdc, ch 2, 2 hdc) into the ring. Turn. (2 hdc on each side of the center space)
- Ch 2. Work 2 hdc in the first stitch and 1 hdc in each remaining stitch before the center space. Work (hdc, ch 2, hdc) around that space. Work 1 hdc in each stitch after the space up to the last stitch, then 2 hdc in the last stitch. Turn. (4 hdc on each side)
- Repeat row 2 across the wider row. (6 hdc on each side)
- Repeat row 2 once more for the middle and bottom tiers. (8 hdc on each side)
- Repeat row 2 once more for the bottom tier only. (10 hdc on each side)
Make one tier ending at row 3, one at row 4, and one at row 5. Fasten off each piece with a sewing tail. The center space in each row forms one eyelet.
Sage Green Christmas Tree: 2. Edge and Assemble the Tree
- For each tier, join sage yarn at one lower corner and work a loose slip stitch edging up the first side, across the tip, down the second side, and along the last row. As you go across the last row, work around its center chain space so its hole stays open. Join and weave in the edging ends.
- Lay the largest tier flat. Center the middle tier over it, letting the lower edge of the middle tier cover the starting ring and the top row of the largest tier. Sew from behind, catching stitches on either side of the center. Leave the branch tips free.
- Place the smallest tier on the middle tier the same way. Line up the visible eyelets vertically and stitch the tiers together. Lightly damp-block the tree flat if the corners curl.
- Sew the gold star to the top ring. For a hanging ornament, knot a folded cord through the stitches behind the star.
Sage Green Christmas Tree: Row-by-Row Stitch Counts
Count the stitches on each side separately. Each completed row has exactly one center ch-2 space. Place a marker in that space if it is hard to distinguish from the turning chain.
| Row | Left and right sides | Total hdc | Finish this tier here |
|---|---|---|---|
| 1 | 2 each | 4 | Continue all tiers |
| 2 | 4 each | 8 | Continue all tiers |
| 3 | 6 each | 12 | Top tier |
| 4 | 8 each | 16 | Middle tier |
| 5 | 10 each | 20 | Bottom tier |
For a half double crochet, yarn over, insert the hook and pull up a loop. Yarn over and draw through all three loops. For an increase, repeat the entire stitch in the same spot. Work the two center hdc around the chain arch, with two new chains between them. Work into both top loops of each regular hdc. Put the last two hdc in the last actual stitch and leave the previous turning chain unworked.
Sage Green Christmas Tree: Finishing Details and Fit Checks
- Side edges. Insert the hook into a secure strand at each row end. Start with one loose slip stitch per row end. Add a second only where needed to keep the edge from pulling in. Use the same spacing on both sides. At each base corner, turn the piece gently before continuing. Across the base, slip stitch in each stitch and once around the center arch.
- Seam placement. Lay all three pieces right side up with their eyelets on the same vertical line. Pin the overlapping rows before sewing. Start near the eyelet, one or two stitches to its left, and sew a few small stitches outward through both layers. Repeat on the right side. Leave the center arch clear and stop before reaching the outer branch tips. If a tier lifts away at the center, add a second short seam behind the existing one.
- Topper and hanger. Sew through the attachment hole of a gold star with matching sewing thread and secure the thread on the back. For a hanger, fold about 18 cm (7 in) of cord in half, pass the loop through several sturdy stitches behind the star, then pull both free ends through the loop and knot them together.
- Blocking. Dampen the cotton, lay the tree face up, and pin the top, the base corners, and then each pair of branch tips. Let it dry completely. Size varies with yarn and tension. Use the same yarn, hook, and tension for all three tiers so the widths stay in proportion.
Sage Green Christmas Tree Visual Guide
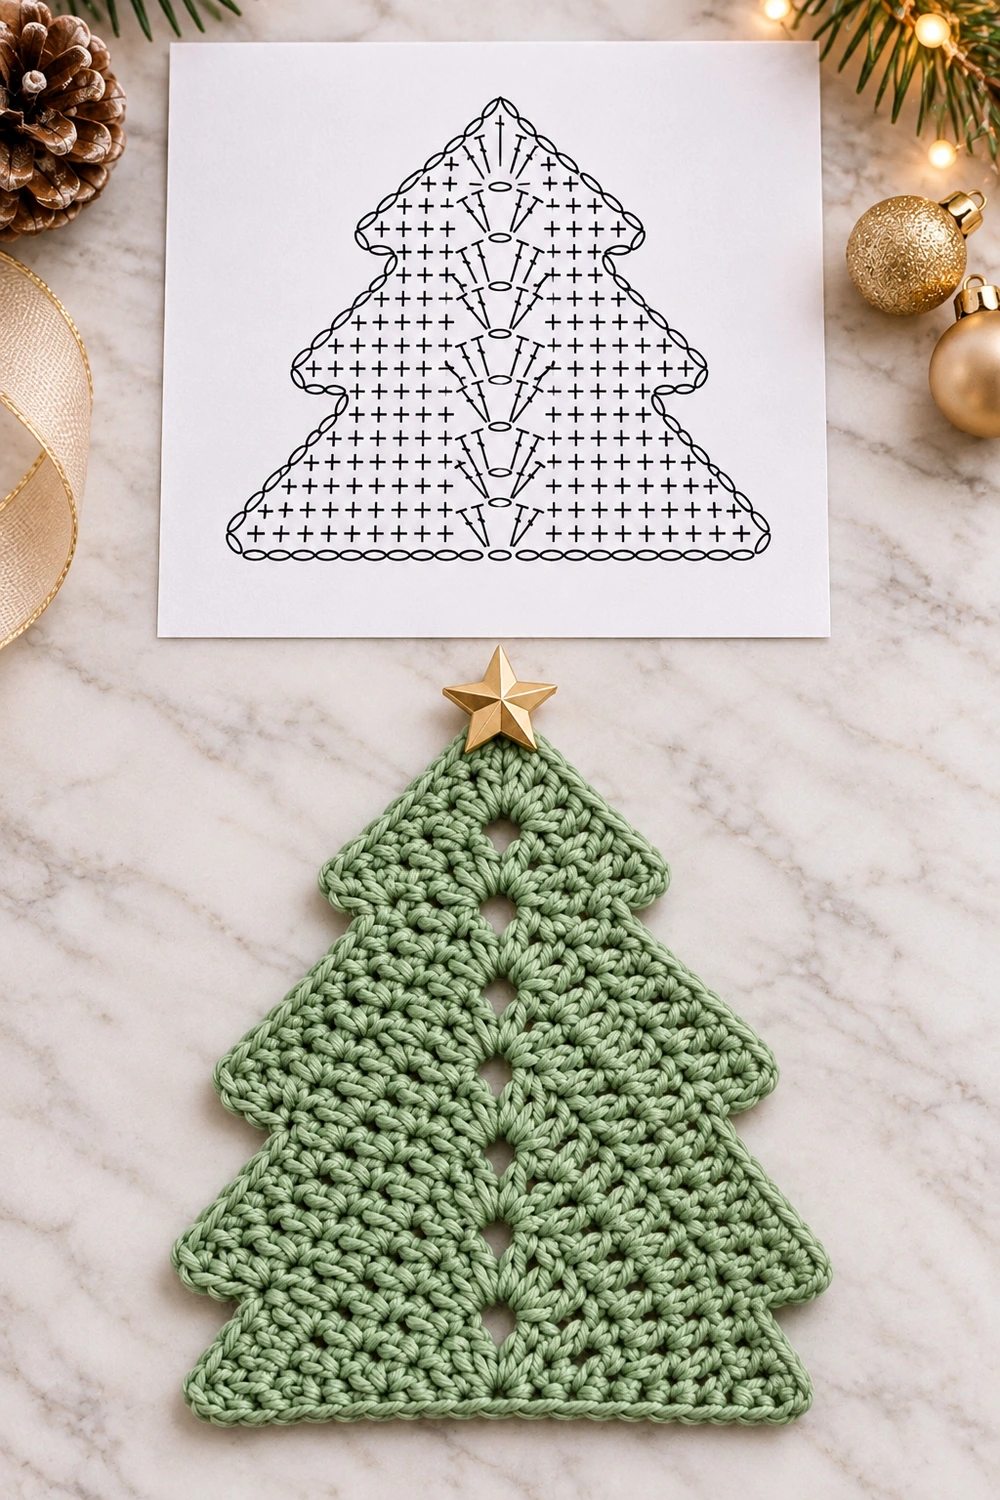
The two tabletop diagrams illustrate the tier shape and placement. Follow the written rows for exact stitch placement and counts.

Sage Green Christmas Tree: More Projects and Stitch Help
For another seasonal project, explore the Christmas tree doll crochet pattern. For US stitch terminology, consult the Craft Yarn Council crochet abbreviations.