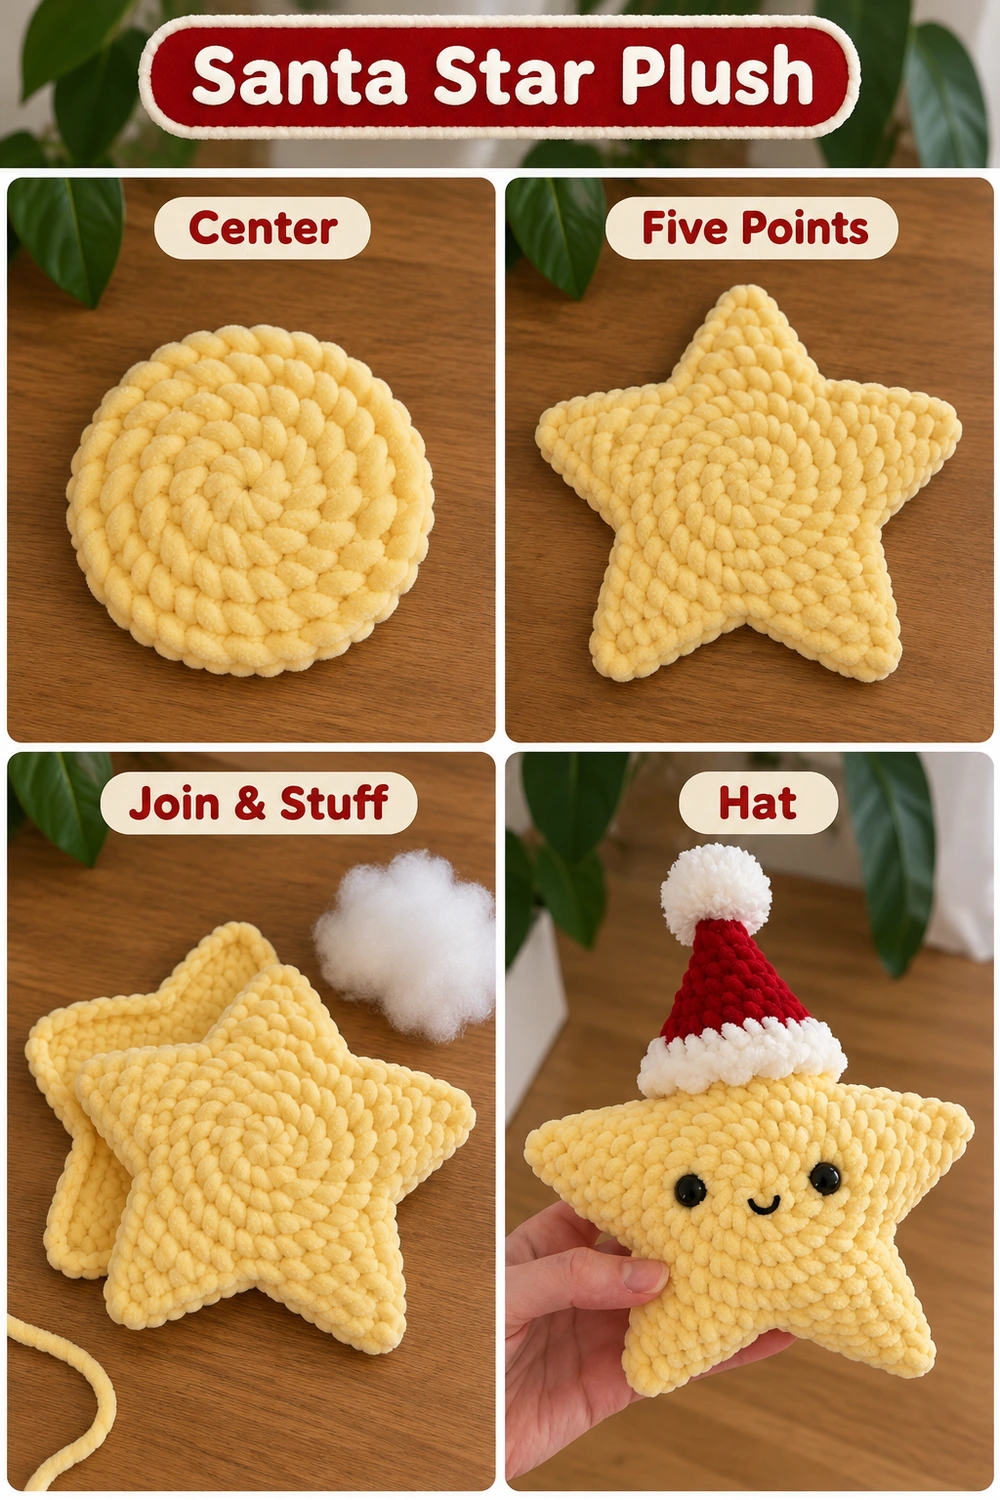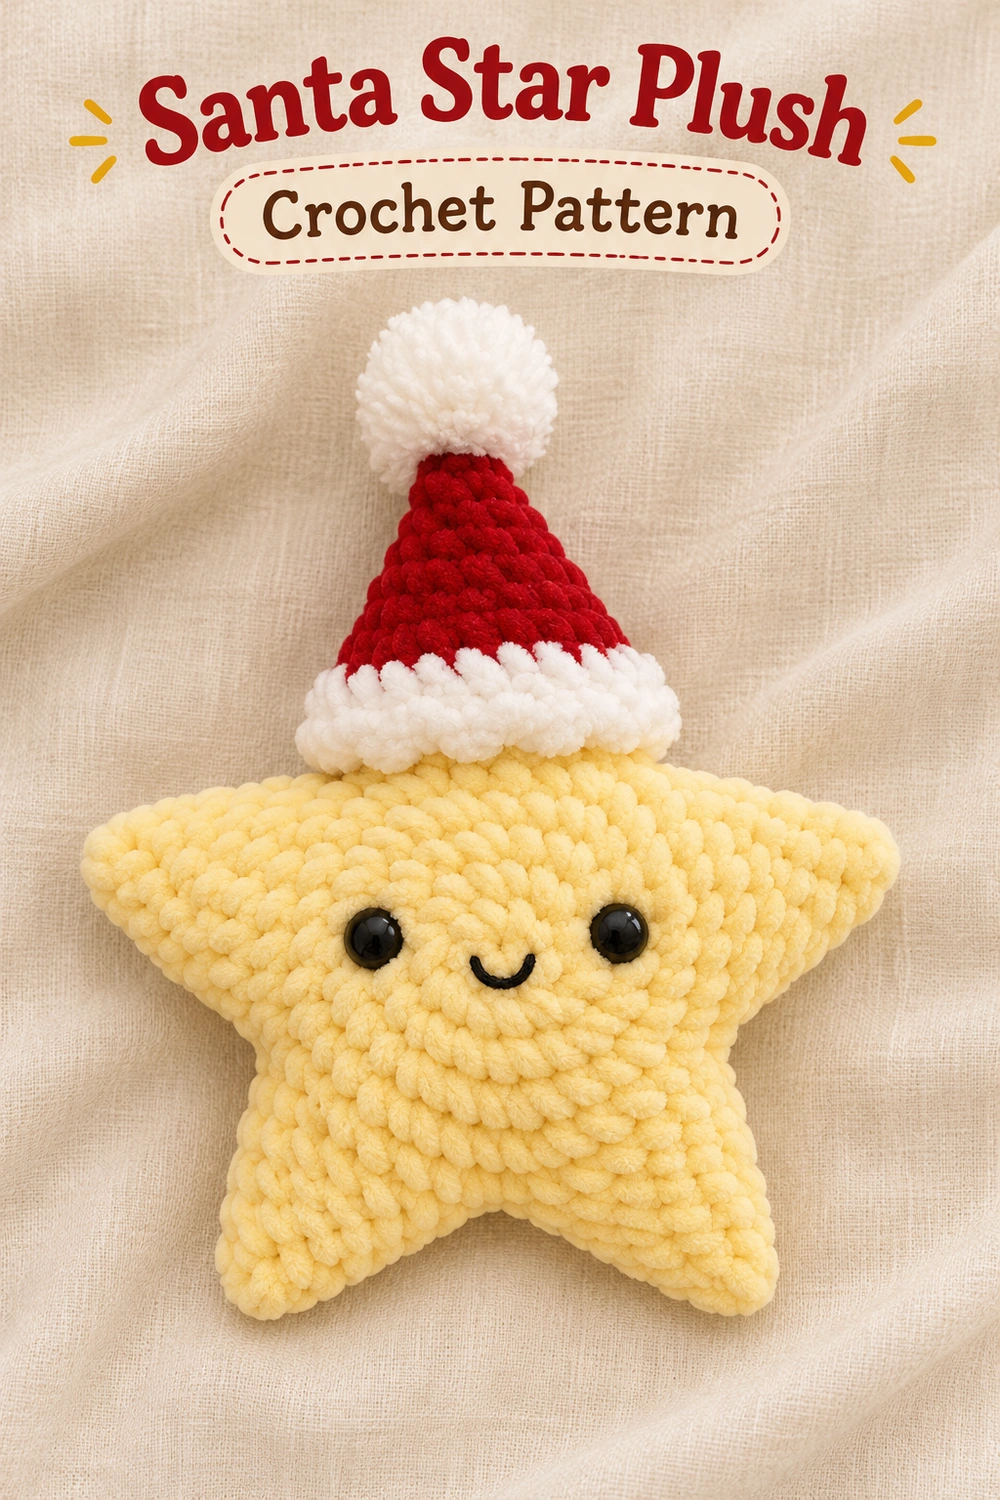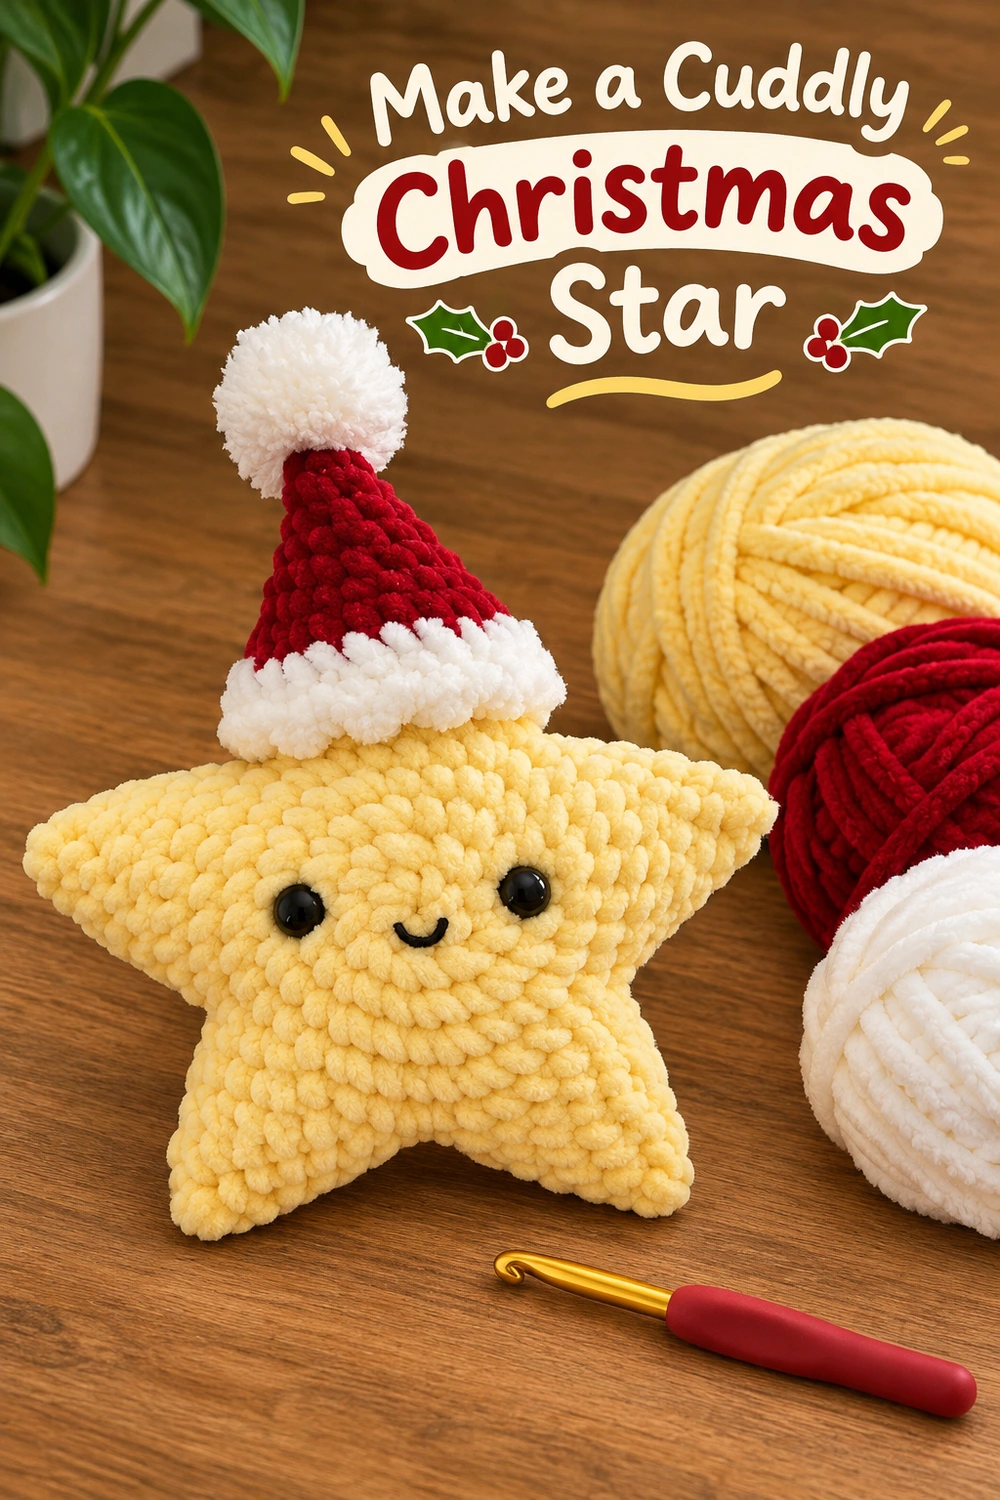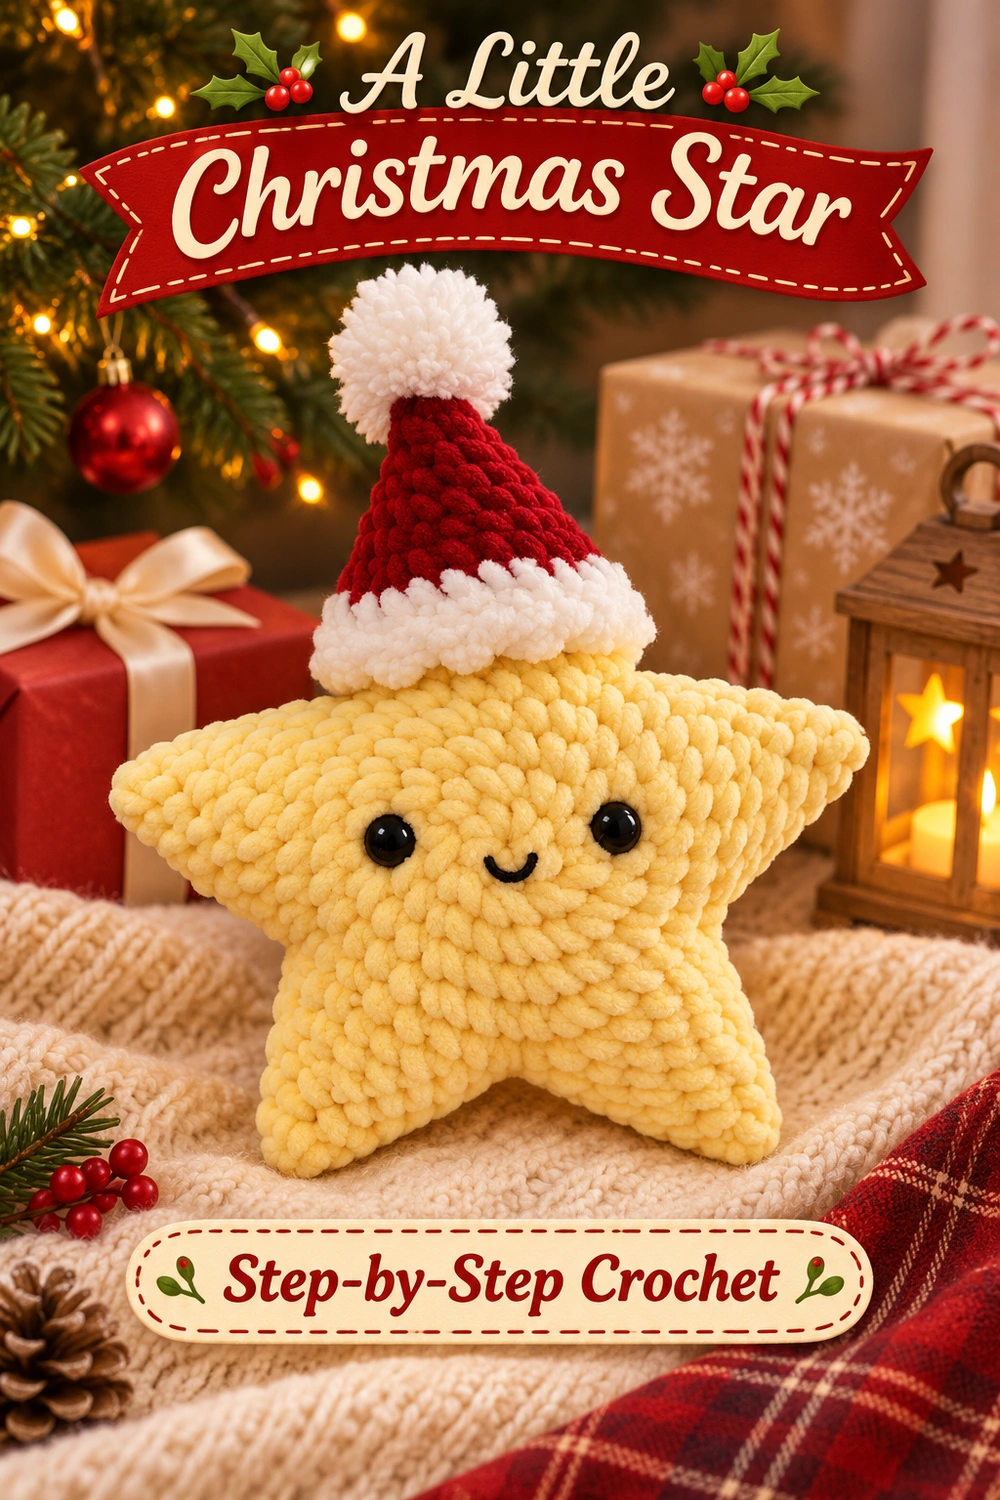
This Santa star plush crochet pattern makes a soft butter-yellow star with five rounded points, two black eyes, a small smile, and a red Santa hat. Crochet two matching star panels, join and lightly stuff them, then sew the white-trimmed hat over the upper point. The broad center keeps the friendly face easy to place.
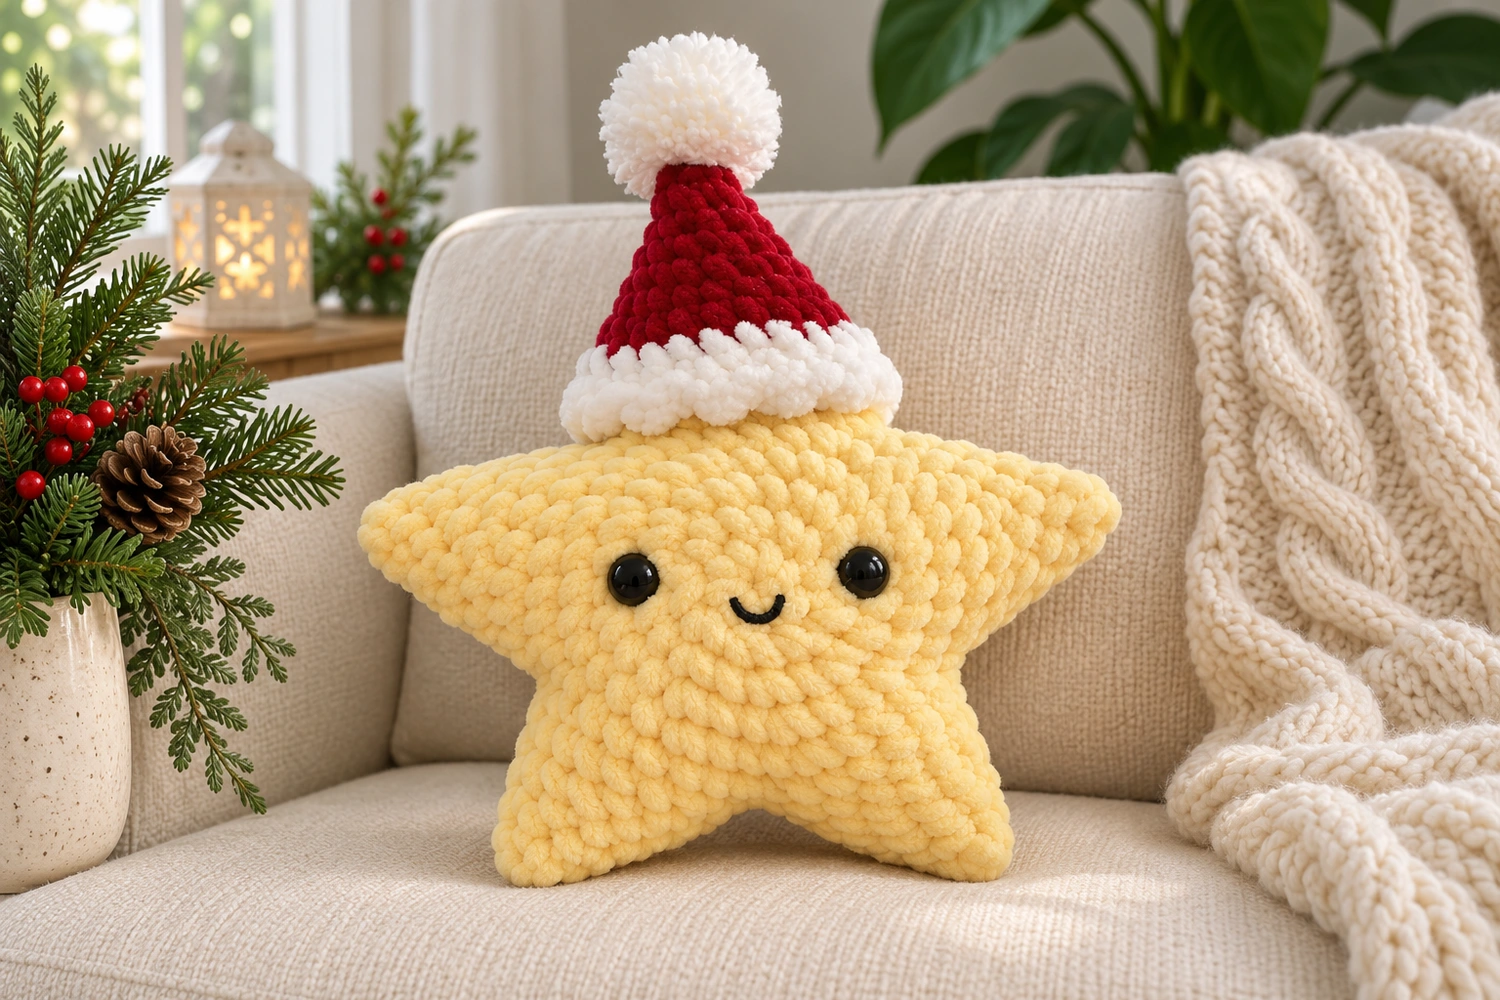
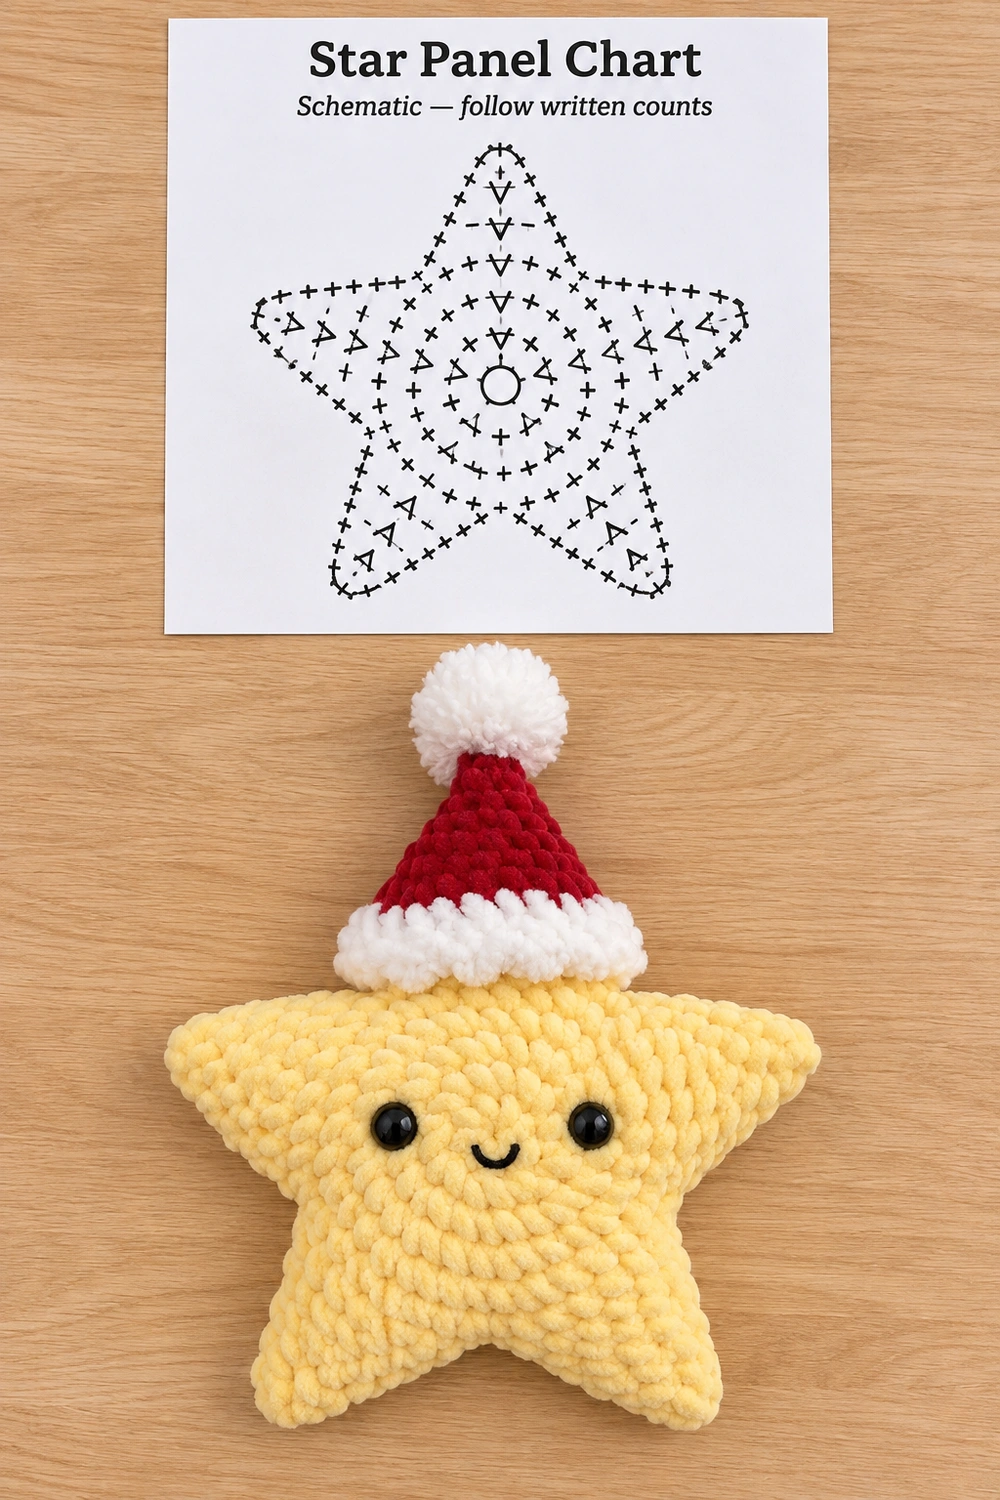
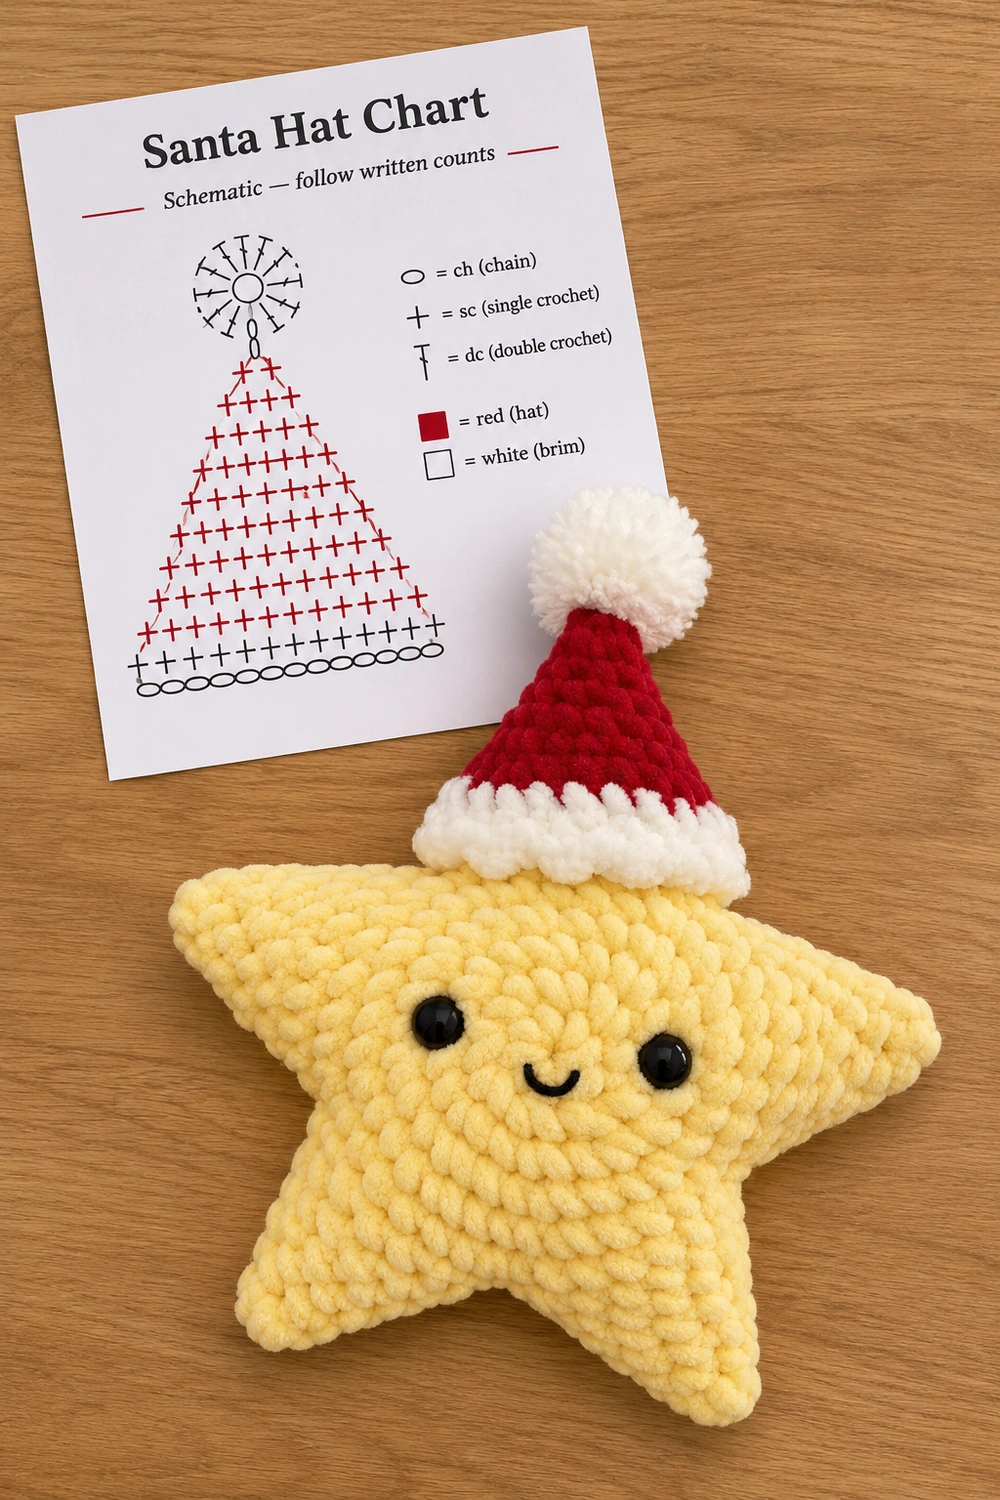
This is an image-inspired adaptation, not the original maker’s recipe. The stitch arithmetic has been checked, but a physical sample has not been crocheted. Finished size, yarn quantities, and the exact photographic match remain unverified. The generated charts are schematics; follow the written instructions for counts and assembly.
Santa Star Plush: Materials and Size
- Super bulky chenille yarn in pale yellow, approximately 80–120 g; red, approximately 20–30 g; and white, approximately 10–20 g. These are estimates, not measured sample amounts.
- A 4.5 mm hook as a starting point, adjusted to make dense fabric without stuffing gaps.
- Polyester stuffing, five stitch markers, a blunt large-eye needle, scissors, and smooth black yarn for the face.
- Matching smooth yellow sewing yarn can help if chenille sheds or breaks during seaming.
Estimated star width is 18–23 cm, with another 8–12 cm of hat height, depending on yarn and tension. These are planning estimates. Use the same chenille thickness for star and hat. Embroidered eyes are the written option; the round black eyes in the reference can be represented with densely worked black ovals.
The project suits a confident beginner familiar with increases, decreases, turned rows, and sewing. The five points are worked directly on each center circle. No legs, separate arms, wire, or rigid supports are added.
Santa Star Plush: US Terms and Chenille Tips
Ch = chain; sl st = slip stitch; sc = single crochet; inc = 2 sc in one stitch; dec = sc two stitches together; st = stitch. Brackets contain repeats. Beginning chains and joining slip stitches do not count as stitches.
For sc, insert the hook, yarn over and pull up a loop, yarn over and pull through both loops. For a decrease on the flat points, pull up a loop in each of the next two stitches, then yarn over and pull through all three loops. Work through both loops so the front and back panels have a similar edge.
Chenille can hide stitch tops, so mark the first stitch and count by touching each top V rather than judging by the fluffy surface. Keep the foundation ring relaxed while making its stitches; forcing a tight ring closed can strip the pile or snap the core. If a magic ring is troublesome, ch 2 and work the six starting sc into the second chain from the hook, then close any small gap with the starting tail.
Santa Star Plush: Two Center Circles
Make two identical circles in yellow. Work joined rounds with the right side facing throughout: ch 1 at each beginning, then join to the first actual sc. Do not turn these rounds.
| Round | Instructions | Count |
|---|---|---|
| C1 | 6 sc in a magic ring | 6 |
| C2 | Inc in every stitch | 12 |
| C3 | [1 sc, inc] 6 times | 18 |
| C4 | [2 sc, inc] 6 times | 24 |
| C5 | [3 sc, inc] 6 times | 30 |
| C6 | [4 sc, inc] 6 times | 36 |
| C7 | [8 sc, inc] 4 times | 40 |
After C7, fasten off. Secure the starting tail by weaving it back through several stitch bases on the wrong side. The final round has four increases rather than six so the edge divides into five equal eight-stitch sections. Smooth the circle with your hands; it should remain mostly flat. Check both circles against each other before adding points.
Santa Star Plush: Mark Five Equal Sections
Starting at any C7 stitch, number the forty stitches in working order. Place a marker in stitches 1, 9, 17, 25, and 33. These mark the first stitch of each point foundation.
| Point | Foundation stitches on C7 |
|---|---|
| 1 | 1–8 |
| 2 | 9–16 |
| 3 | 17–24 |
| 4 | 25–32 |
| 5 | 33–40 |
Every foundation stitch is used exactly once. Do not share the final stitch of one point with the next point. Work one complete point, fasten off, and rejoin yarn at the next marker. Make the same five sections on the second circle.
Santa Star Plush: Work Each Point
With the circle’s right side facing, join yellow in the first stitch of one marked section. Work only across that section’s eight stitches. The remaining center stitches wait while you complete this point.
| Point row | Instructions | Count |
|---|---|---|
| P1 | Ch 1; sc in the same foundation stitch and the next seven foundation stitches | 8 |
| P2 | Ch 1, turn; dec, 4 sc, dec | 6 |
| P3 | Ch 1, turn; sc across | 6 |
| P4 | Ch 1, turn; dec, 2 sc, dec | 4 |
| P5 | Ch 1, turn; sc across | 4 |
| P6 | Ch 1, turn; dec twice | 2 |
| P7 | Ch 1, turn; dec once | 1 |
Fasten off with a 15–20 cm tail and weave it into the wrong side of that point. Return the circle to a right-side-facing position, join at the next marker, and repeat P1–P7. After five points, one complete star panel is finished. Repeat all five points on the other center circle.
Each panel has five points, each seven rows long. Do not add an outer edging: the slightly soft row ends will disappear into the seam. Lay the panels together to confirm that their point tips and five inward valleys match. Choose one point as the top on both panels.
Santa Star Plush: Face Placement
Place the front panel with one point straight up and two lower points spread down and outward. Keep the face on the center circle, not on the points. Use removable pins or short contrasting threads to test the eye placement before embroidering.
Begin with the eye centers near the upper-left and upper-right areas of the center circle, around C4–C5, roughly six to eight stitch widths apart. The exact visible distance depends on chenille thickness. Both eyes should sit at the same height above the smile.
With smooth black yarn, embroider each eye as a small oval approximately 8–12 mm across, using several close satin stitches. Work through the crochet fabric and keep the tension gentle so the yellow panel does not pucker. Secure all ends on the wrong side. If you choose plastic eyes for a display piece, install their backings before joining; do not use them for a project intended for babies or very young children.
For the smile, make one short black curved stitch below the center between the eyes, about two stitch widths across. Couch its lowest point down with a tiny matching stitch to make a U. Check the expression while the panel is still flat. Do not add a nose or cheeks unless you want to change the reference design.
Santa Star Plush: Join and Stuff the Star
- Place both panels wrong sides together, front facing you. Align the five tips and the five valleys. Clip or mark these ten landmarks so the back panel cannot rotate by one point.
- Thread a long strand of yellow yarn. Begin on the lower side of a point, leaving an opening that will be easy to reach later. Whipstitch through matching row-end loops of both panels with small, relaxed stitches.
- Follow the contour up one side of the point, around its single-stitch tip, and down the other side. Catch each corresponding row end once. At the tip, make two small sewing passes through the same matched location to close the corner neatly, without pulling it into a sharp knot.
- At each valley, make two small securing stitches through the bases of the adjacent point rows on both panels. This closes the gap between foundations without drawing the valley deeply inward.
- Continue around the star, adding small wisps of stuffing to completed points as they become enclosed. Push the stuffing gently with a blunt tool. Keep the tips softer than the broad center.
- Leave about 4–5 cm of seam open. Fill the middle with small pieces rather than one large lump. Spread it evenly into the shoulders of all five points. The front should be gently domed, not stretched into a ball.
- Check both faces and all five points, then complete the seam. Secure the yarn, run the tail through the interior, bring it out several centimeters away, and trim.
There is no fixed seam stitch count because the perimeter is made of row ends. Match the same row on front and back, keep the two panels even, and avoid skipping long sections. If chenille breaks while sewing, switch to a matching smooth sewing yarn and bury the join securely inside.
Santa Star Plush: Red Santa Hat
Work in a continuous spiral from the tip downward in red. Move a marker into the first stitch of each round. The three evenly spaced increases create a tapered cone.
| Round | Instructions | Count |
|---|---|---|
| H1 | 6 sc in a magic ring | 6 |
| H2 | Sc around | 6 |
| H3 | [1 sc, inc] 3 times | 9 |
| H4 | Sc around | 9 |
| H5 | [2 sc, inc] 3 times | 12 |
| H6 | Sc around | 12 |
| H7 | [3 sc, inc] 3 times | 15 |
| H8 | Sc around | 15 |
| H9 | [4 sc, inc] 3 times | 18 |
| H10 | Sc around | 18 |
| H11 | [5 sc, inc] 3 times | 21 |
| H12 | Sc around | 21 |
| H13 | [6 sc, inc] 3 times | 24 |
| H14 | Sc around | 24 |
| H15 | [7 sc, inc] 3 times | 27 |
| H16 | Sc around | 27 |
| H17 | [8 sc, inc] 3 times | 30 |
| H18 | Sc around | 30 |
Change to white on the final pull-through of H18. H19–H20: sc in each stitch for two rounds (30 each). Sl st in the next stitch and fasten off with a 50 cm sewing tail. Fold the two white rounds outward to form a softly doubled brim. Keep the hat open at the bottom.
Try it over the star’s upper point before adding the pom-pom. The star point provides support inside the cone. If the brim is too loose, gather it slightly with the sewing strand during attachment. If it is too tight to settle over the point, remake the hat with a slightly larger hook, keeping the counts. Do not force the brim across the star’s face.
Santa Star Plush: White Pom-Pom and Hat Attachment
Wrap white yarn around a cardboard strip about 3 cm wide approximately 40–60 times. Slide the loops off carefully. Tie firmly through their center with a strong smooth white strand, knot twice, then cut the loops on both sides. Trim gradually into a round pom-pom roughly 3–4 cm across, scaled to the hat. Chenille sheds when cut; brush away loose fibers gently and check that the center tie holds.
For a crocheted alternative, work 6 sc in a white magic ring, inc around (12), sc around for two rounds (12 each), add a little stuffing, and dec six times (6). Close through the front loops and leave a sewing tail. This gives a sewn white ball rather than a cut pom-pom.
Sew the pom-pom’s central tie or the crocheted ball securely to the hat tip with several passes. Put the hat over the upper star point with the brim above the eyes. Pin its front, back, and sides. Stitch the inside of the folded brim to the star using small white stitches, catching several neighboring star stitches around the point. Keep the lower front edge level.
Add a tiny wisp of stuffing in the very top of the cone only if the star point does not reach far enough to support it. Leave the lower hat unstuffed. Let the cone bend slightly to one side if desired, using one discreet red tack at the back; avoid a rigid fold that pulls the top point sideways.
Santa Star Plush: Final Shape and Care
Squeeze and redistribute the stuffing gently until both lower points are similar in size and the two side points project evenly. Check the five valleys for gaps and add a hidden stitch where necessary. Inspect the eyes, smile, brim, and pom-pom attachment. Remove every marker and pin.
Follow the yarn label for cleaning. A gentle spot clean is often easiest for chenille and a cut pom-pom. Press out moisture with a towel, reshape, and dry completely without hanging the wet plush from its hat. Do not use a hot iron on chenille.
Santa Star Plush: Troubleshooting and Adjustments
A point has the wrong width: check the row sequence 8, 6, 6, 4, 4, 2, 1. The first and last decreases must each consume two stitches. Do not count the turning chain.
The center ripples: count 6, 12, 18, 24, 30, 36, and 40. C7 contains four increases, not six. If the counts are correct but the fabric still ripples, test a slightly smaller hook on a new panel.
The points pull inward after joining: loosen the seam, particularly at the valleys. Stuff in small pieces and avoid pulling the sewing yarn tightly enough to gather the edges.
The star is too round: remove some center stuffing through a short reopened seam, then redistribute it into the point bases. A very full center hides the star silhouette.
Can I change the size? Use a different yarn weight with a suitable hook for all pieces, preserving the counts for the first attempt. The hat, pom-pom, and eye size must be checked against the new star before final attachment.
Small detachable eyes and cut pom-poms are unsuitable for baby projects. For a soft all-yarn version, embroider the face and use the crocheted pom-pom option, sewing every component securely. This adaptation has not undergone toy-safety testing.
Santa Star Plush: Related Patterns and Stitch Help
For a different festive decoration, explore the Santa star ornament crochet pattern. For US stitch terminology, consult the Craft Yarn Council crochet abbreviations.
Santa Star Plush: Visual Guide
The tutorial shows the circle, five points, joining, and hat. Both tabletop charts are generated schematics. Use the written tables for the forty-stitch center edge, five eight-stitch point sections, and tapered Santa hat.