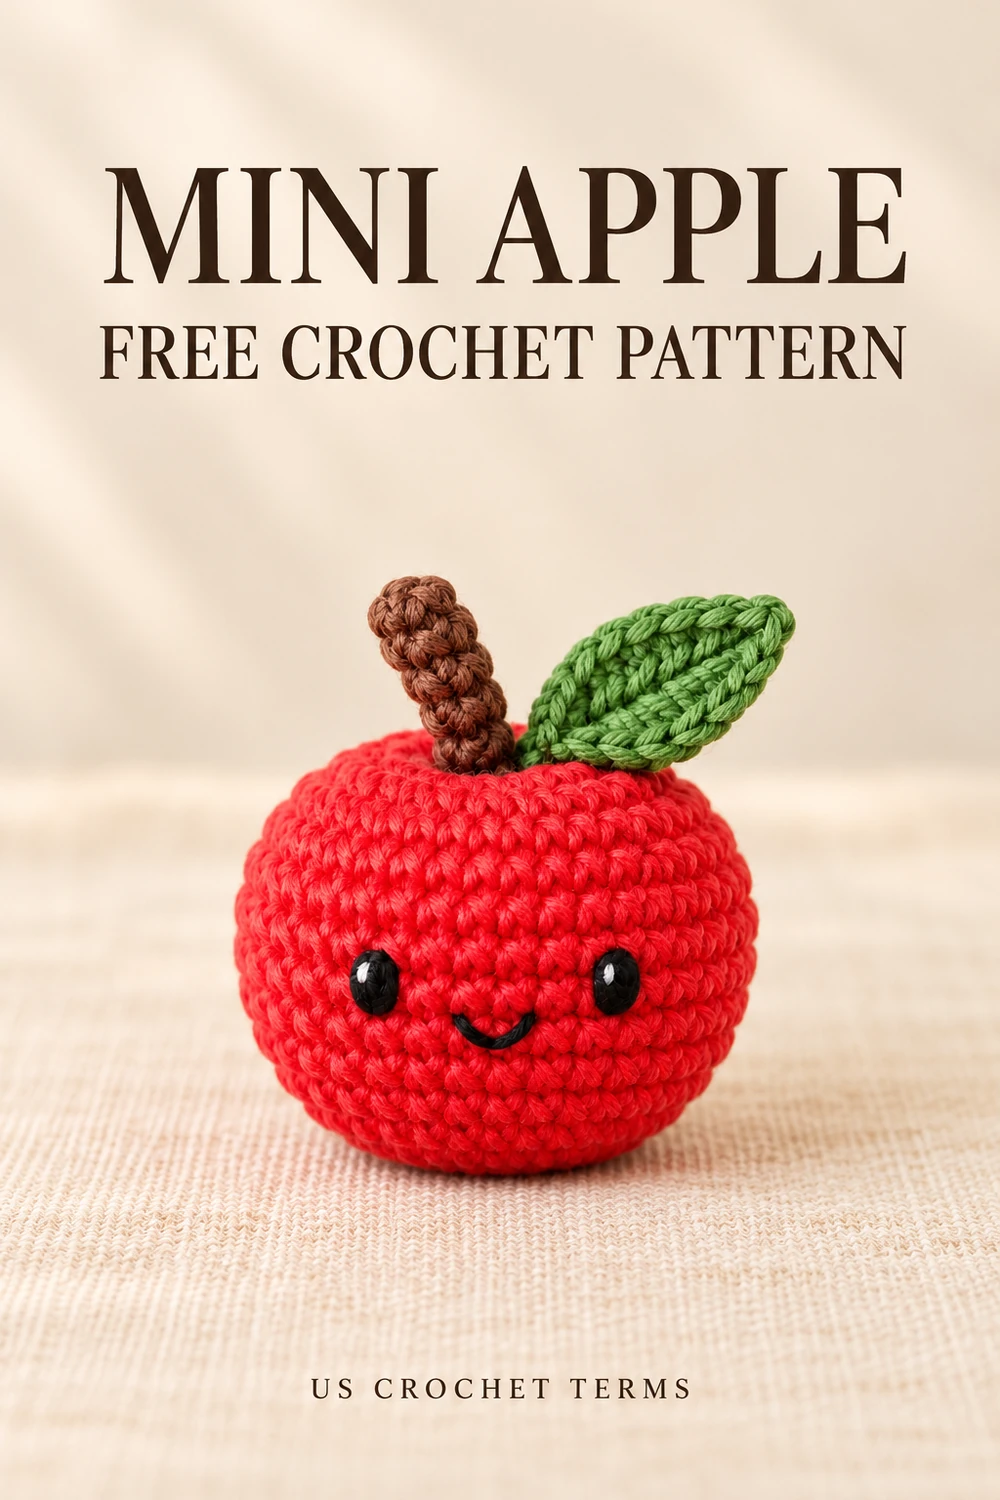
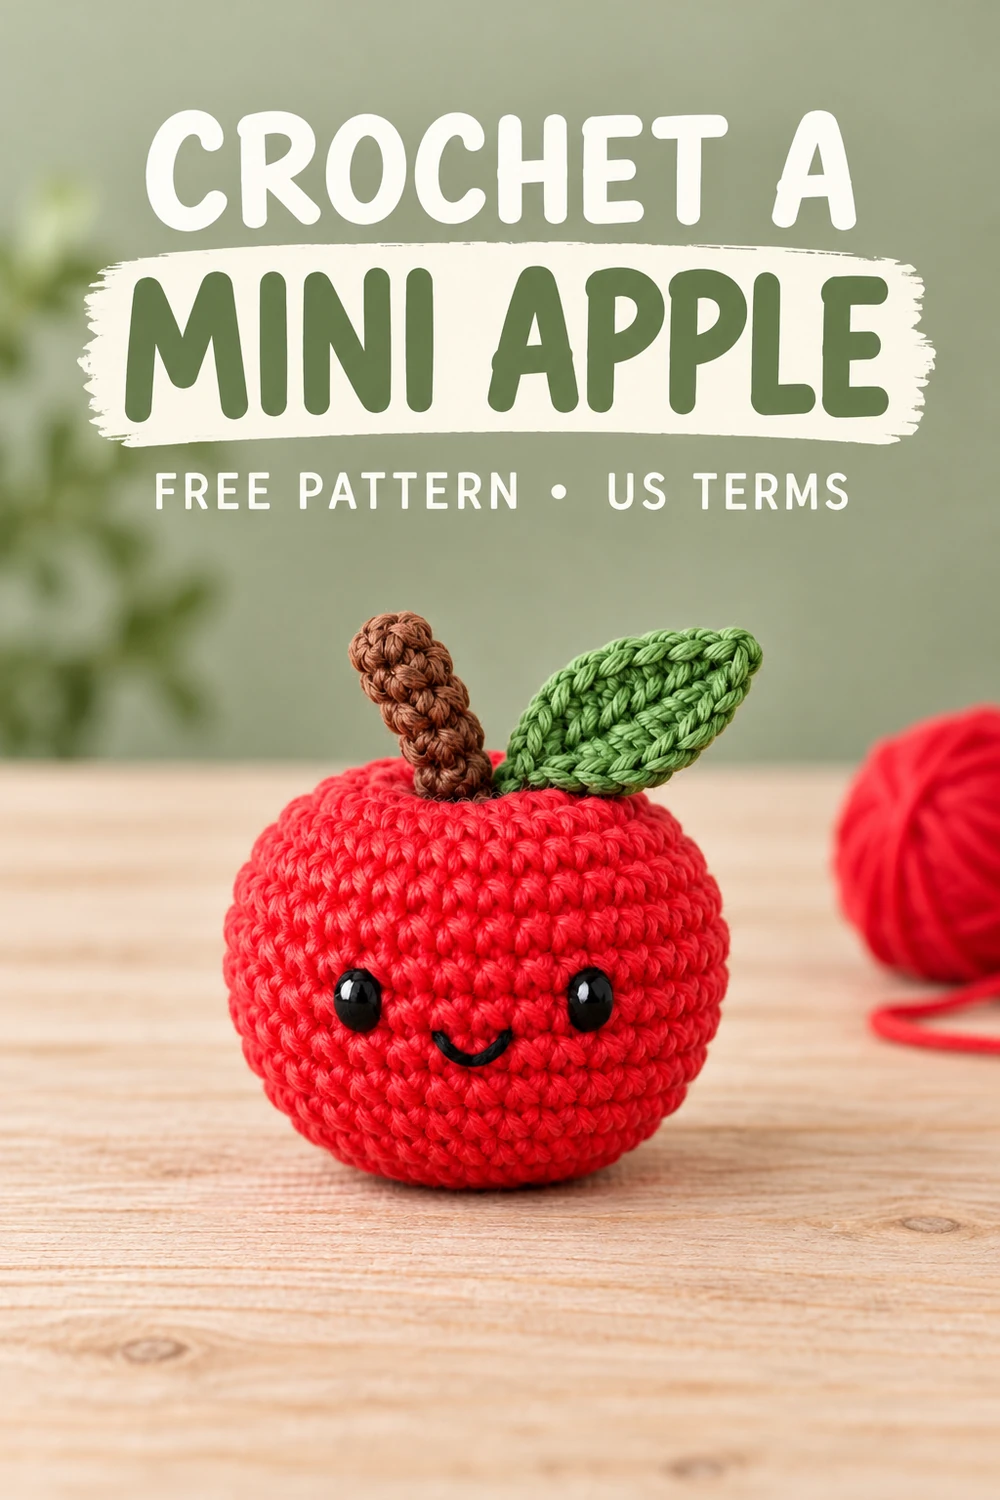
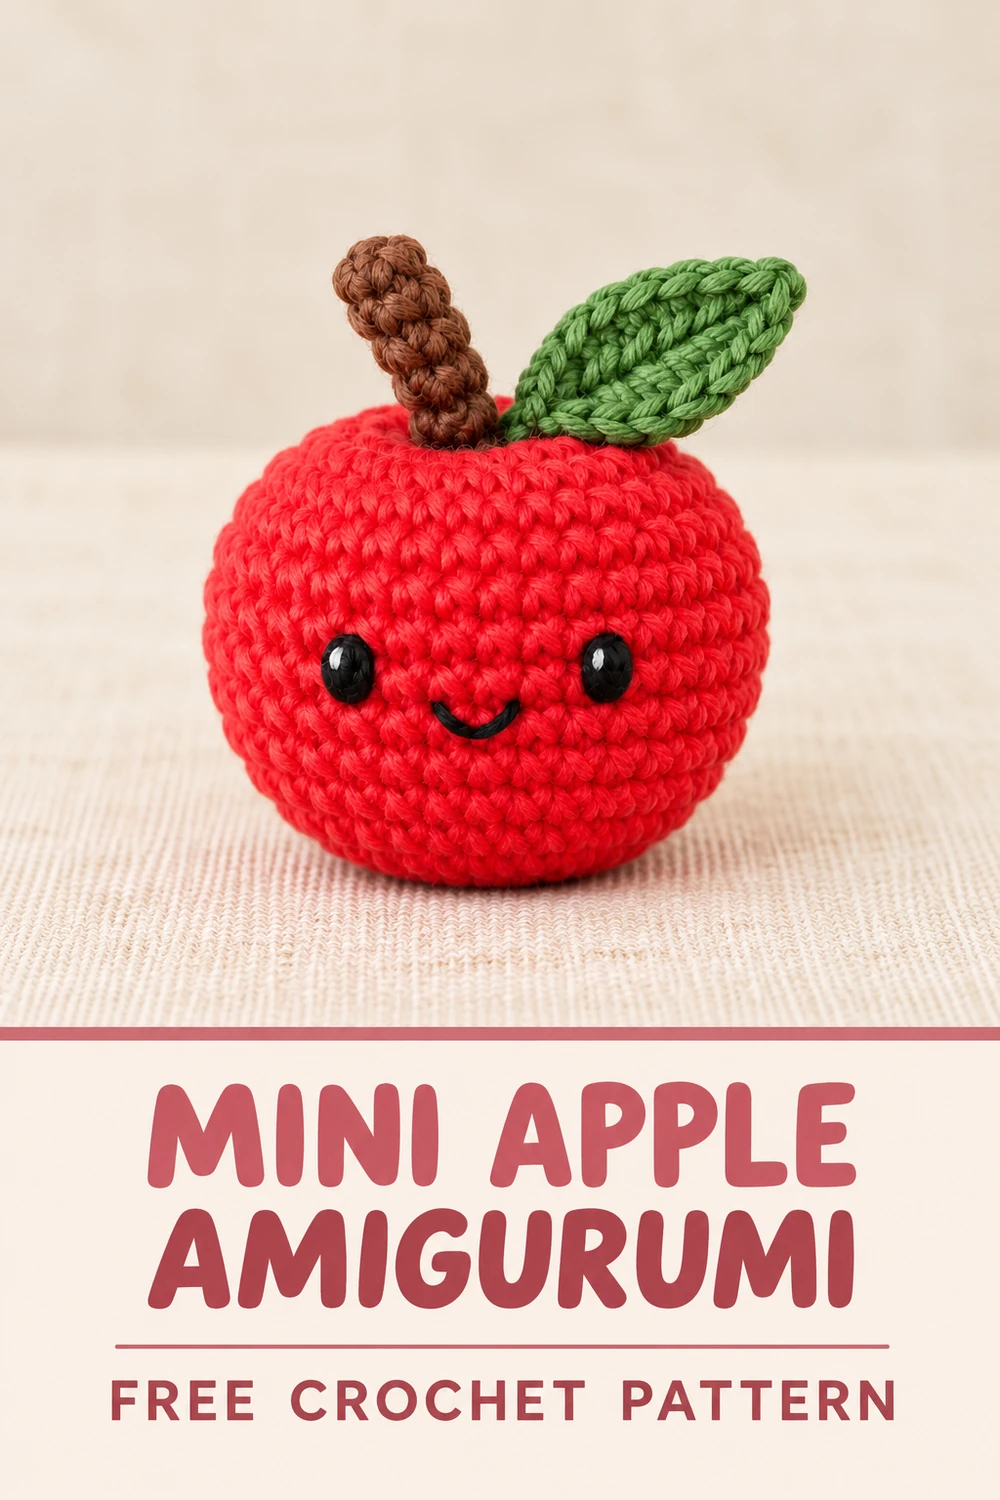
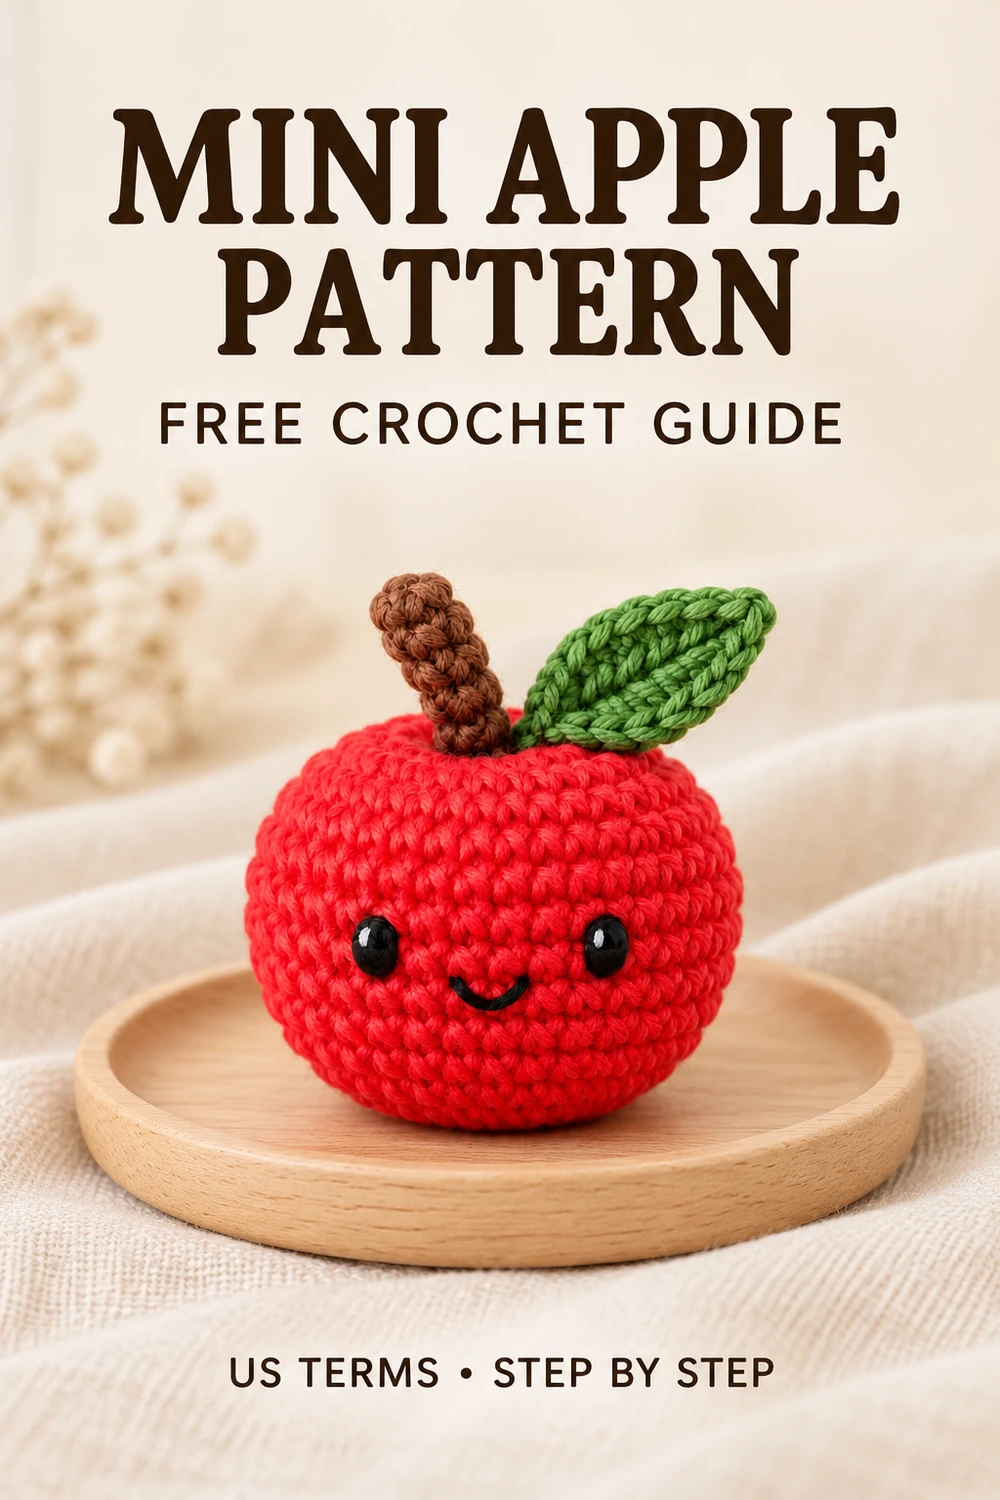
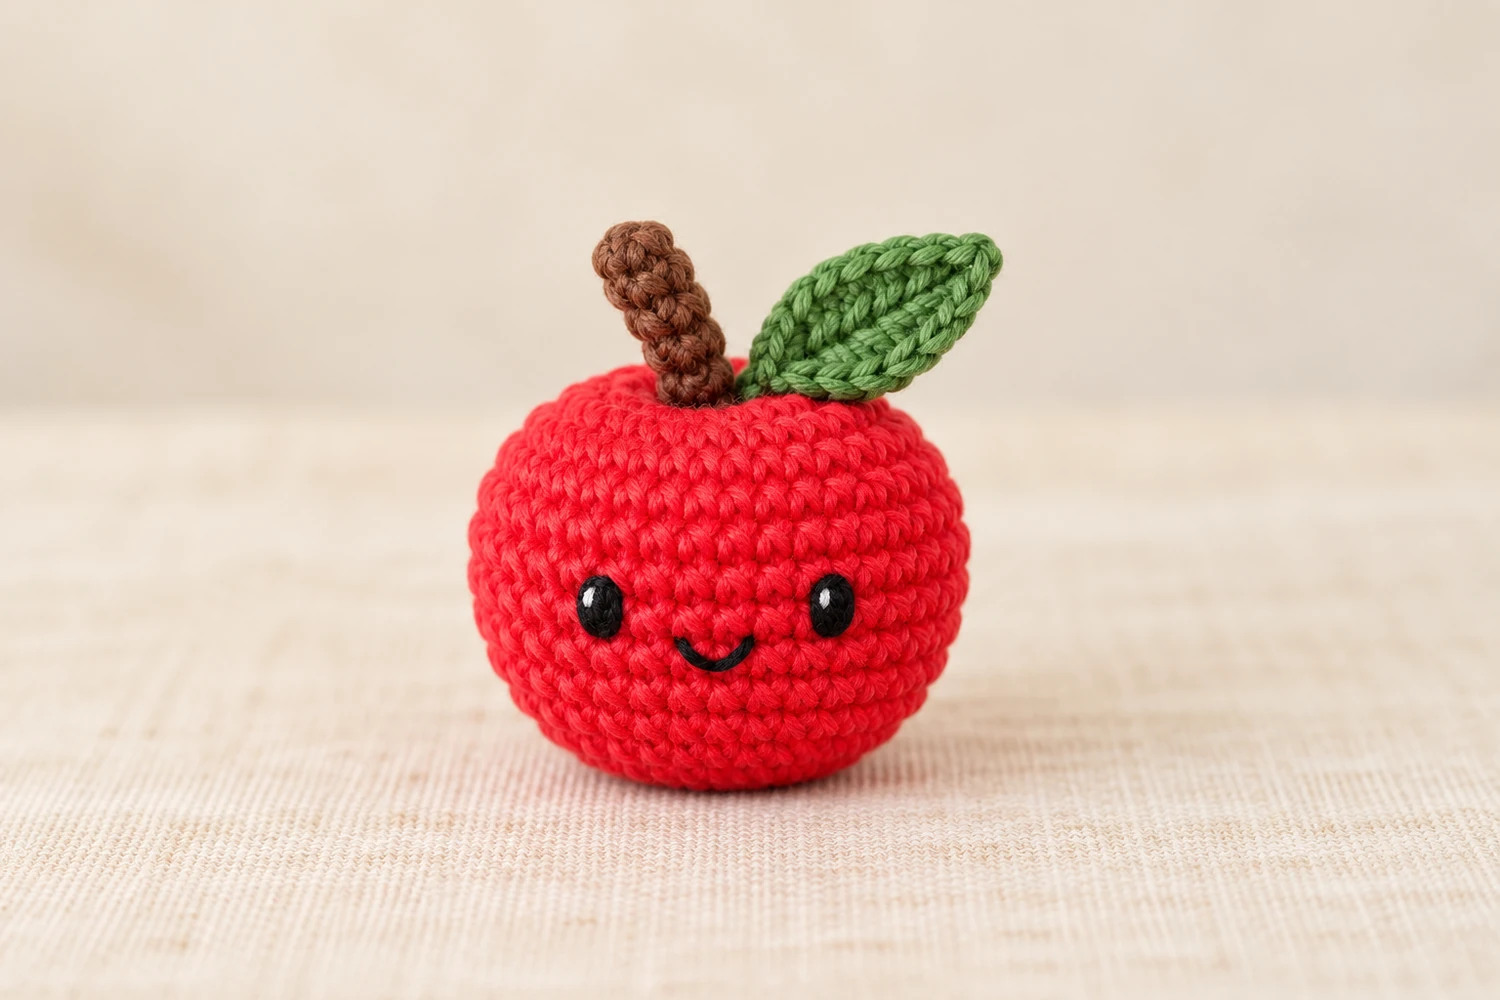
I love the simple combination of a red apple, a brown stem and one green leaf. This mini apple amigurumi crochet pattern keeps those familiar details in a small project that can become a bag charm, a gift topper or a little addition to a crochet fruit basket. The face is optional, so you can choose a smiling apple or a plain one.
The detail that makes an apple look different from a crochet ball is the shallow dip around the stem. A strand through the center creates that shape after stuffing; pulling harder is not always better. Keep the indentation gentle so the sides stay rounded.
Materials for the Mini Apple Amigurumi Crochet Pattern
Red, brown and green DK or worsted cotton yarn of matching thickness; black embroidery thread and optional pink thread; a 2.5–3.0 mm crochet hook as a starting point for regular cotton; fiberfill; stitch marker; tapestry needle; scissors; optional keychain hardware.
Before You Begin
Work the body and stem in continuous rounds without joining. Move the marker to the first stitch of every round. Numbers in parentheses are completed stitch totals. The body starts at the bottom and closes at the top. Match the hook to your yarn so the stuffing stays hidden.
Skill level: confident beginner. Terminology: US crochet terms. Choose your yarn and hook together; no fixed size applies to every yarn.
Abbreviations: US Crochet Terms
- MR: magic ring
- ch: chain
- sc: single crochet
- inc: 2 sc in one stitch
- dec: single crochet decrease over two stitches; use an invisible decrease through front loops unless back loops are specified
- hdc: half double crochet
- dc: double crochet
- sl st: slip stitch
- BLO / FLO: back / front loop only
- st(s): stitch(es)
A repeat such as (2 sc, inc) × 6 means work one sc in each of the next two stitches, then 2 sc in the next stitch; repeat that group six times.
Mini Apple Amigurumi Crochet Pattern: Body
Use red yarn. Keep the first magic ring closed firmly; it will become the bottom center.
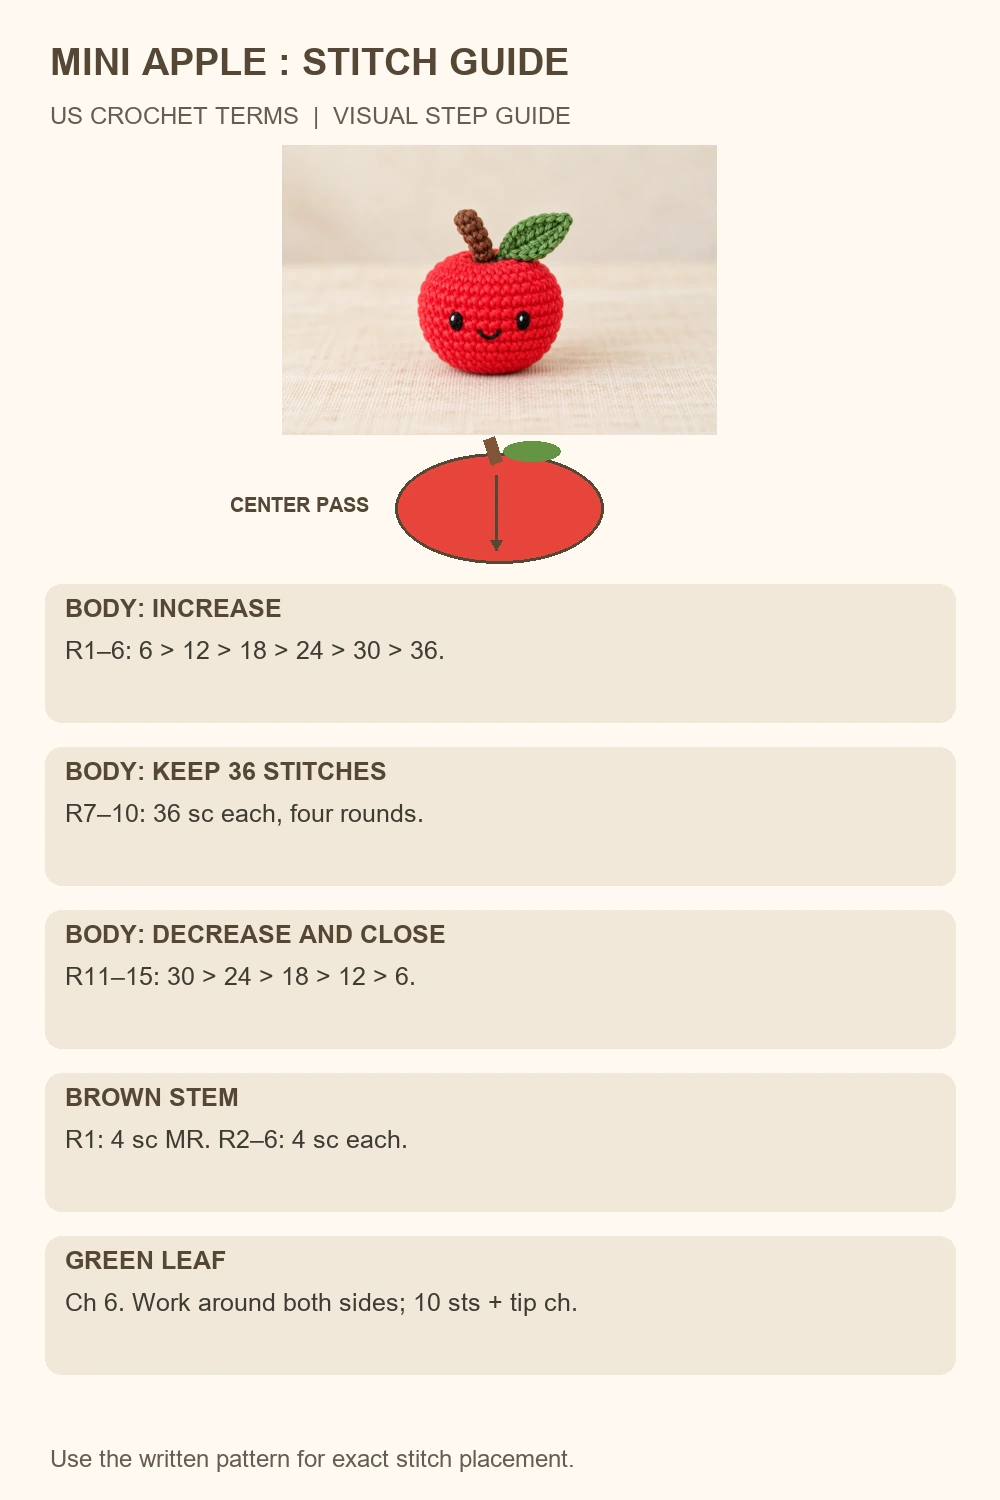
| Round | Instructions | Stitches |
|---|---|---|
| 1 | 6 sc in MR | 6 |
| 2 | inc in each st × 6 | 12 |
| 3 | (sc, inc) × 6 | 18 |
| 4 | (2 sc, inc) × 6 | 24 |
| 5 | (3 sc, inc) × 6 | 30 |
| 6 | (4 sc, inc) × 6 | 36 |
| 7–10 | sc in each st; 4 rounds | 36 each |
| 11 | (4 sc, dec) × 6 | 30 |
| 12 | (3 sc, dec) × 6 | 24 |
| 13 | (2 sc, dec) × 6 | 18 |
| 14 | (sc, dec) × 6 | 12 |
| 15 | dec × 6 | 6 |
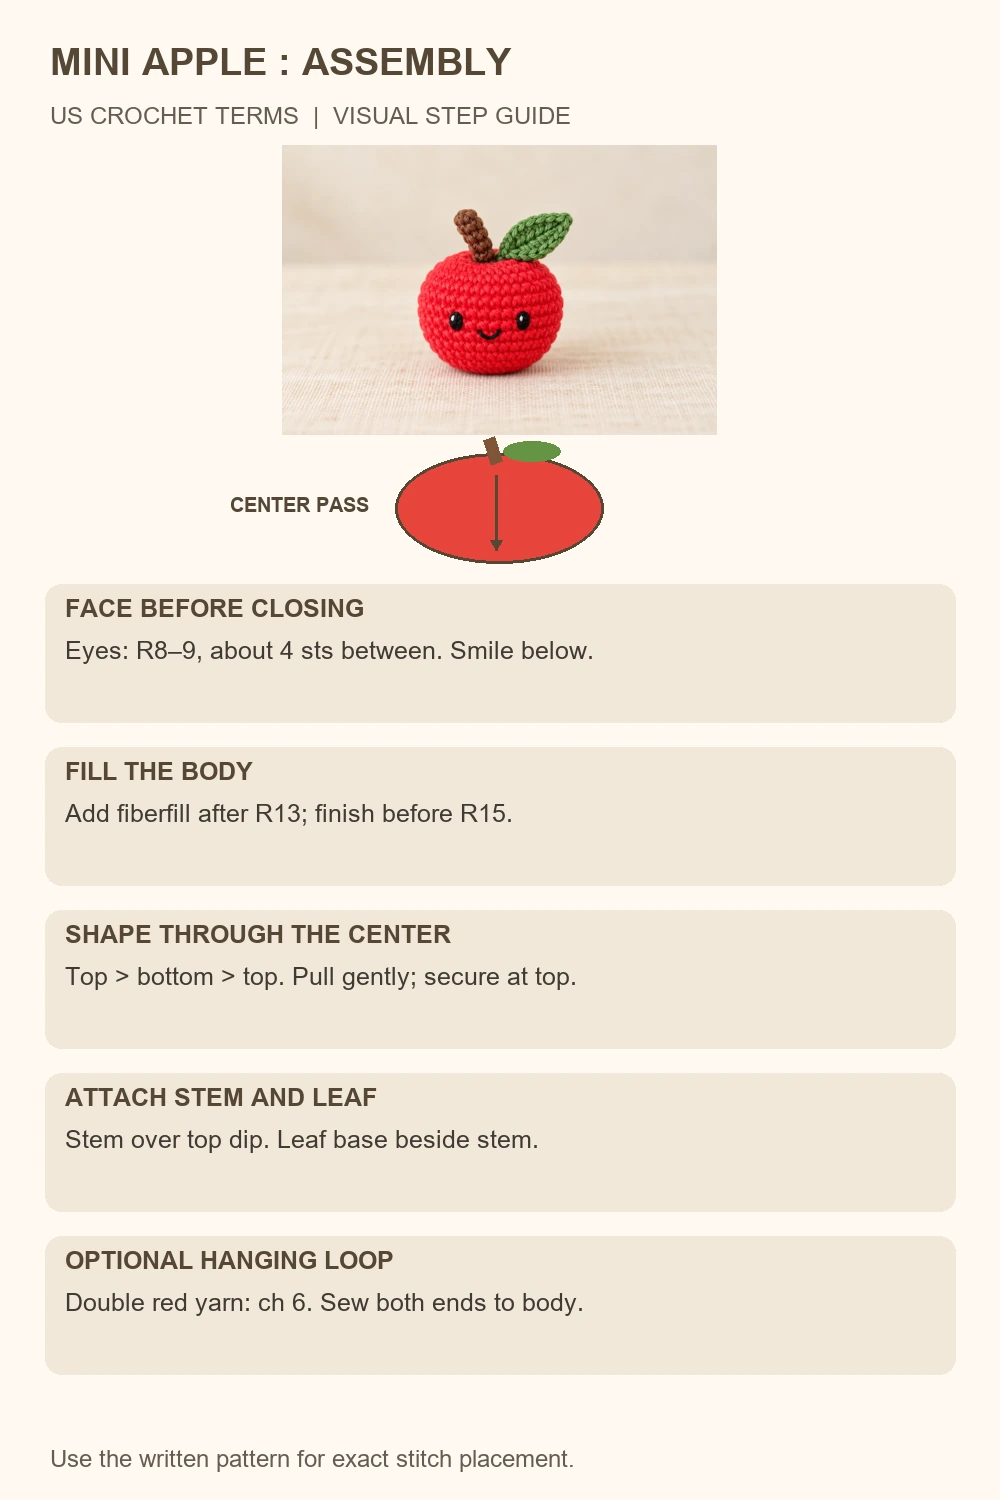
Pause after Round 11 to embroider the eyes between Rounds 8 and 9, leaving about 4 visible stitches between them. Add a small curved smile one round lower. If choosing optional 6 mm safety eyes instead, install and secure their backs now, before the opening becomes small.
Add fiberfill after Round 13, distributing small pieces around the sides. Finish stuffing before Round 15. The fabric should hold its shape without stretching open. Fasten off with a long tail, pass the needle through the front loops of the last 6 stitches, and draw the opening closed.
Shape the top indentation
For the mini apple amigurumi crochet pattern, use a separate strong red strand about 45 cm long. Anchor it at the top center, pass through the body to the bottom center, then return through a nearby point to the top. Pull the two centers together slightly. Secure the strand at the top, where the stem will cover it, and bury both ends. The shaping strand travels through the apple, not around its outer edge.
Brown stem
Round 1: 4 sc in MR (4). Rounds 2–6: sc in each st (4 per round, 5 rounds). Leave the stem unstuffed. Fasten off with a sewing tail. Sew its open base around the top indentation, catching both the stem edge and sturdy body stitches.
Green leaf
Ch 6. Starting in the second chain from the hook, work sc, hdc, dc and hdc in the next four chains. Work (sc, ch 1, sc) in the last chain to turn the tip. Along the unused underside of the foundation chain, work hdc, dc, hdc and sc in the remaining four chain positions. Sl st into the first sc. You have 10 worked stitches around the chain, plus the tip chain. Fasten off with a sewing tail.
Sew the leaf base next to the stem. Let its pointed end angle outward; do not stitch the entire leaf flat onto the apple.
Finish Your Mini Apple Amigurumi Crochet Pattern
For a charm, make a separate attachment loop with doubled red yarn: ch 6, fasten off, and sew both ends into several body stitches behind the stem. Attach a split ring to the loop. Let the loop carry the hardware rather than the leaf or stem. Omit hardware for a decorative fruit basket.
Practical Tips for the Mini Apple Amigurumi Crochet Pattern
Apple looks like a tall ball
Check that Rounds 7–10 were worked only four times. Adjust the central shaping strand gradually; stuffing pressure also affects the profile.
Leaf twists
Keep the turning stitches together in the last chain, then use the underside of the same chain for the return side.
Top puckers too deeply
Loosen the shaping strand before securing it. The dip should leave room for the stem without folding the whole body.
Mini Apple Amigurumi Crochet Pattern: Frequently Asked Questions
What yarn works for this mini apple amigurumi crochet pattern?
DK or worsted cotton gives clear stitch definition. Acrylic also works; choose a hook that creates a firm fabric rather than copying a hook size regardless of yarn.
Can I skip the face?
Yes. The body, stem and leaf stay the same. Leave out the black and pink threads.
How big is the finished apple?
Size depends on yarn thickness, hook and tension. Thicker yarn makes a larger apple without changing the stitch totals.
Can I make a green apple?
Yes. Replace the red body yarn with green or yellow, keeping the brown stem and a contrasting green leaf.
This small project is intended as a decorative item or accessory. Embroidered eyes avoid loose eye pieces; adding embroidery does not by itself make a finished item suitable for babies. Keep keychain hardware and small parts away from young children.
More Small Crochet Projects
Mini Octopus Crochet Pattern Try Summer Fruit Crochet Keychains.
Save this mini apple amigurumi crochet pattern for your next small crochet session. You can share your finished piece and tag @lovelys.amigurumi; I would love to see your color choices.