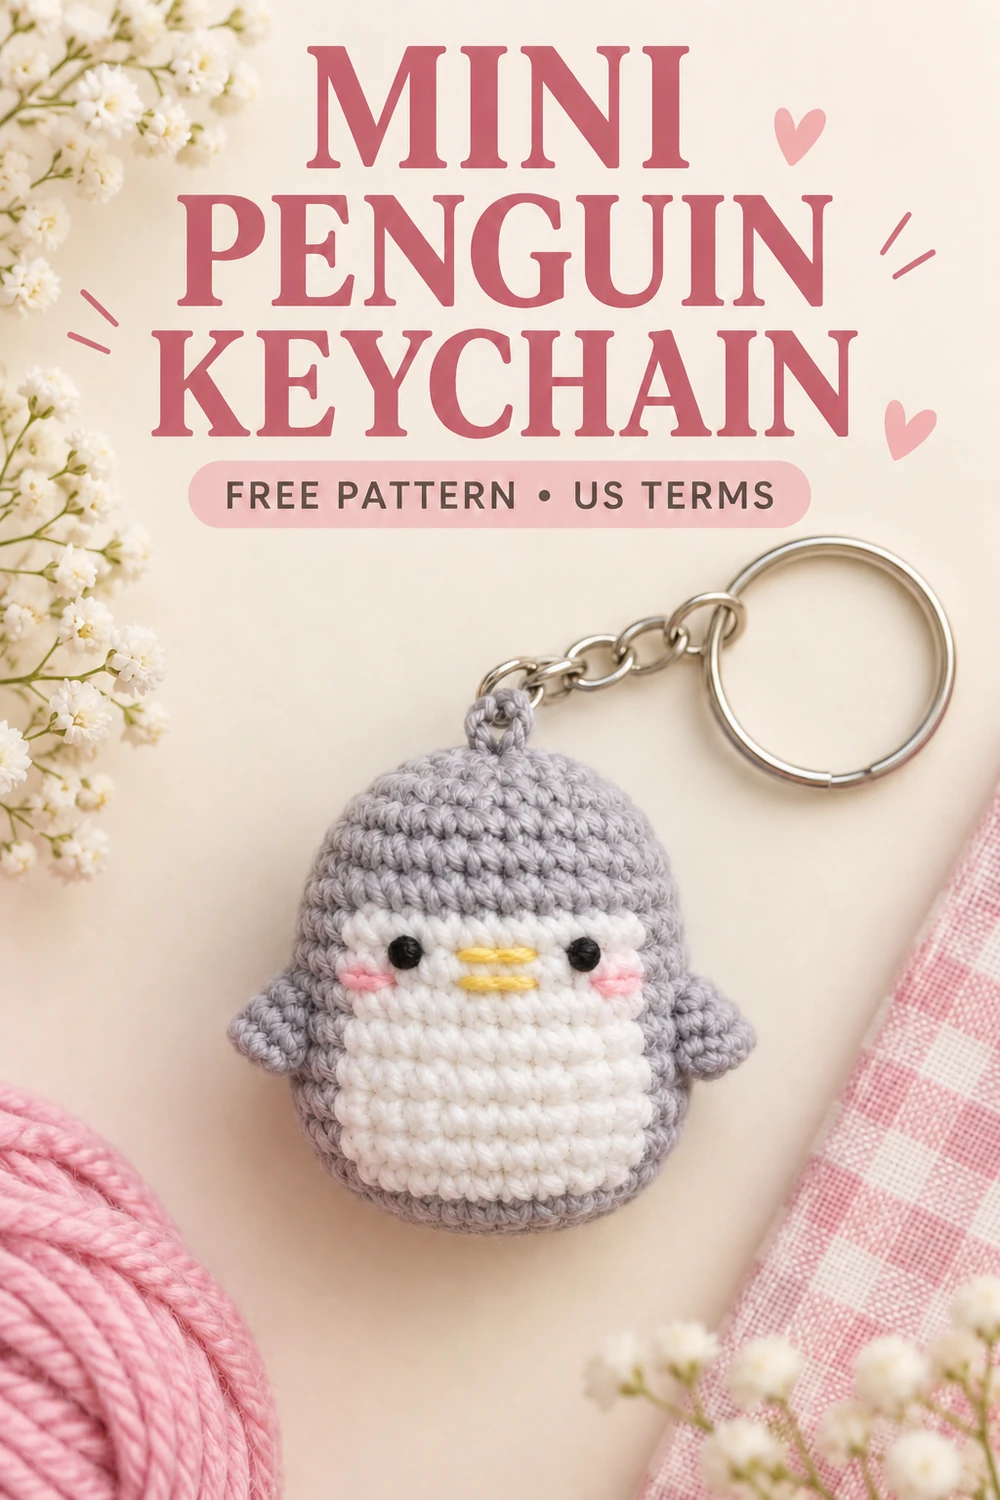
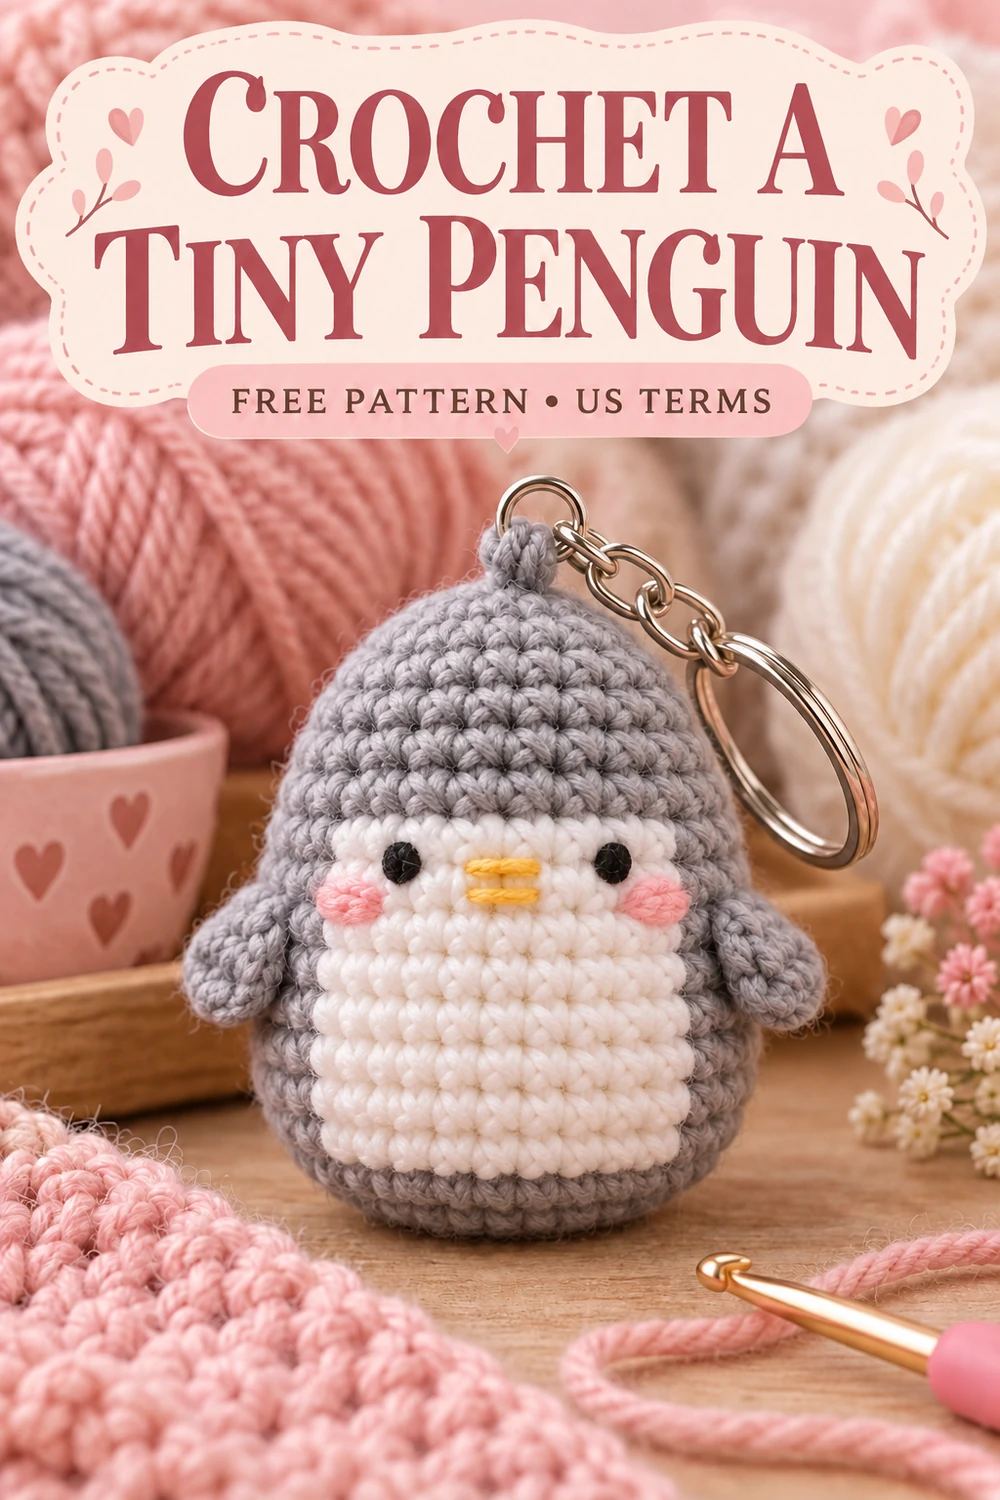
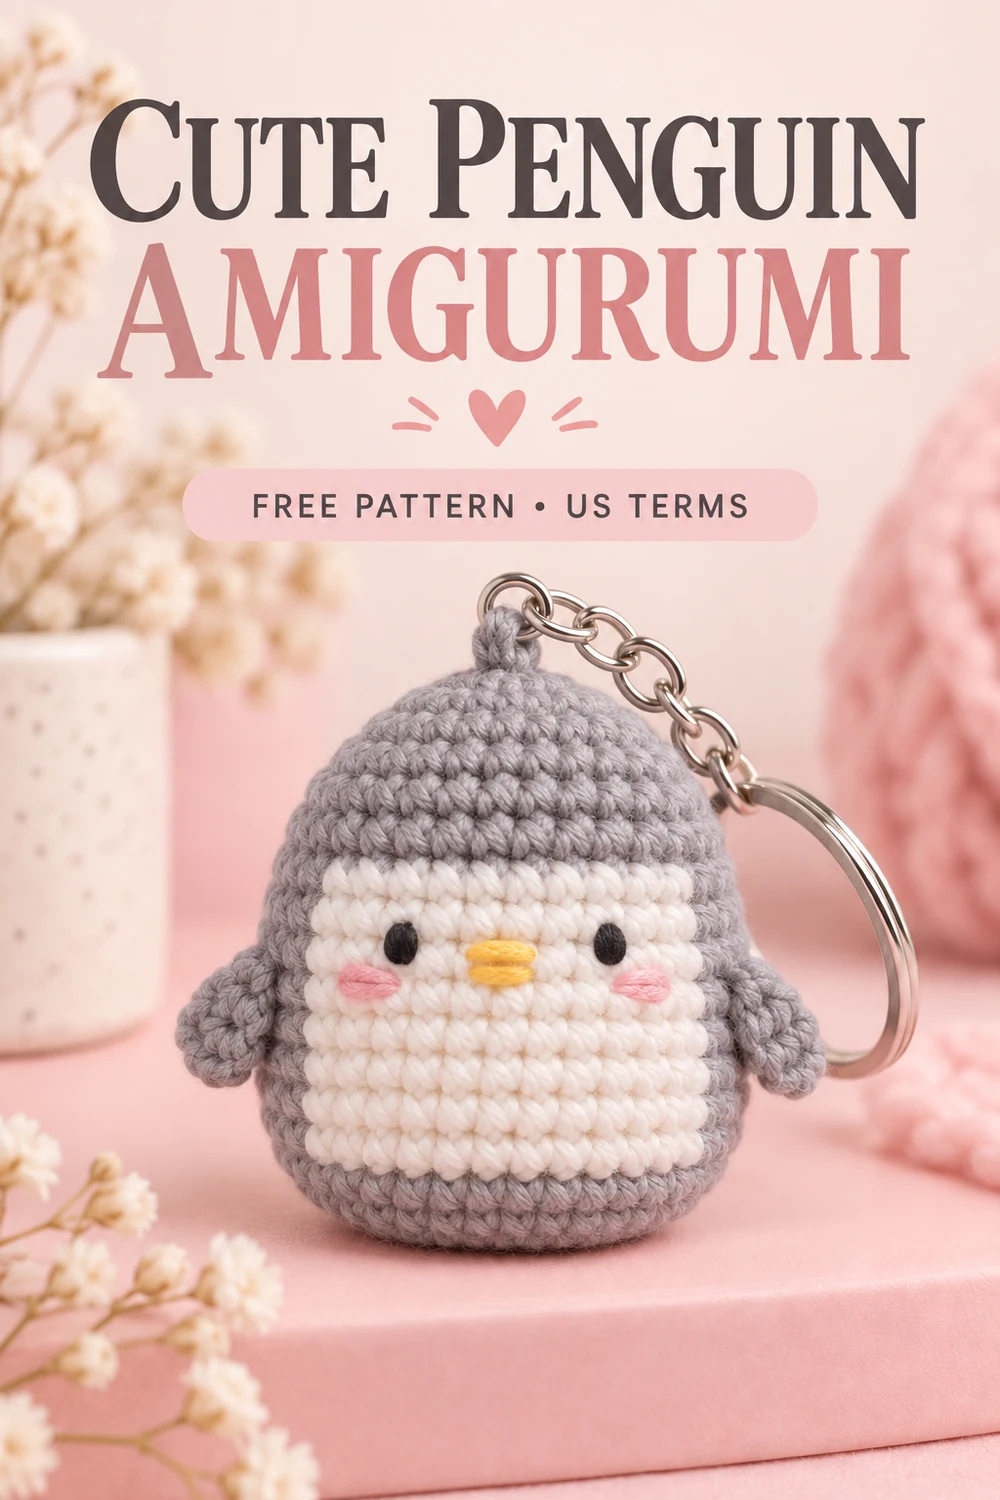
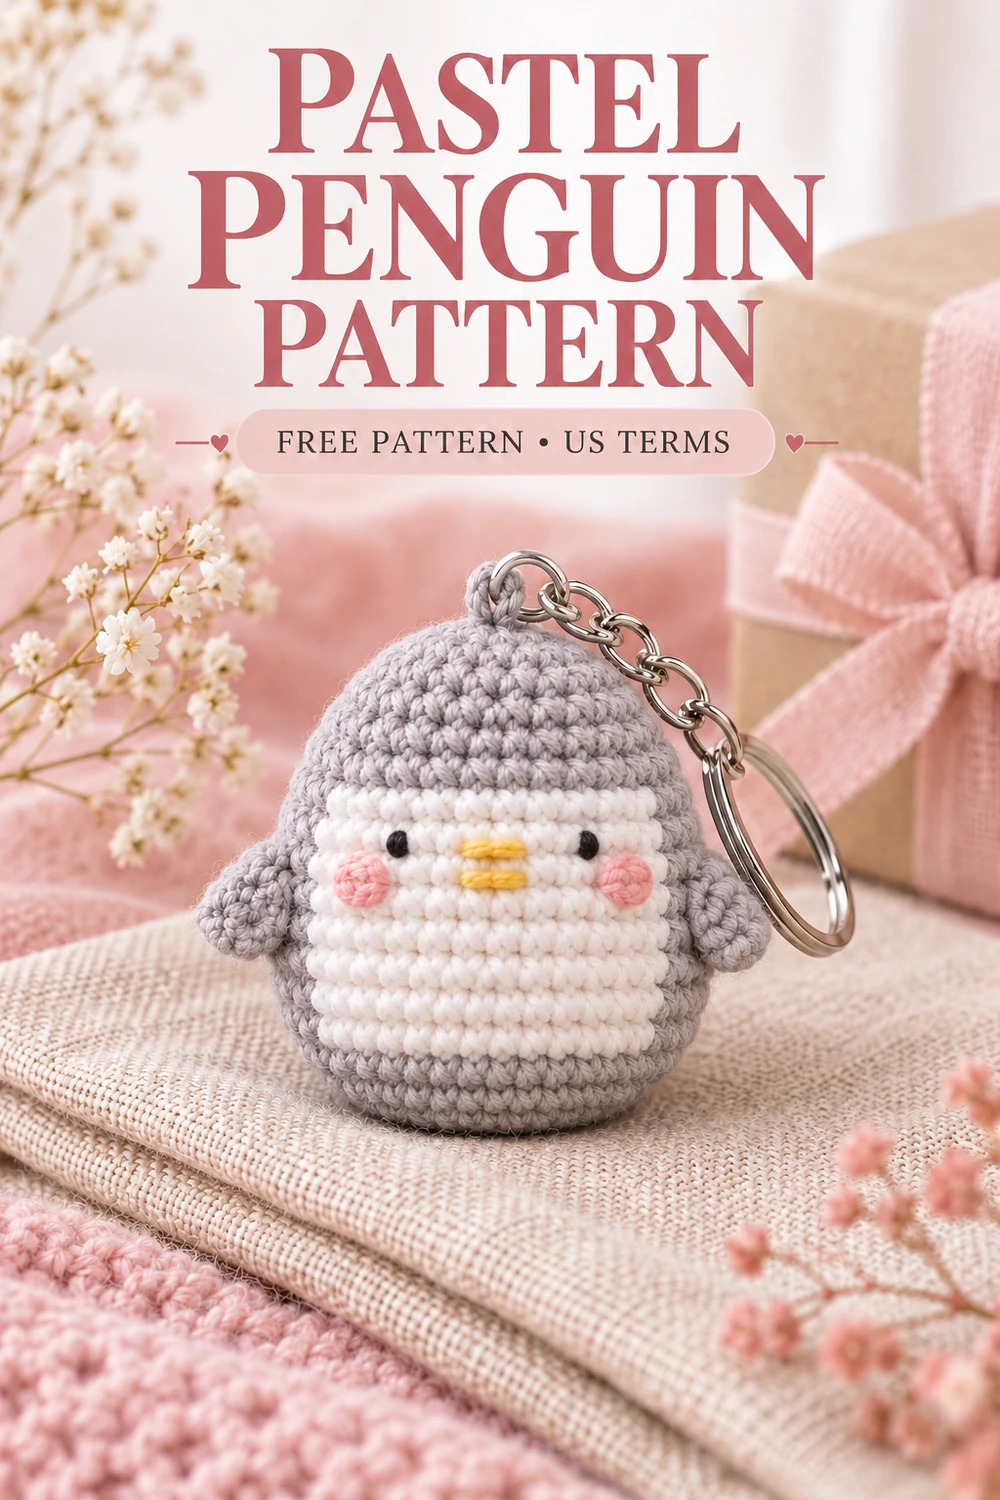
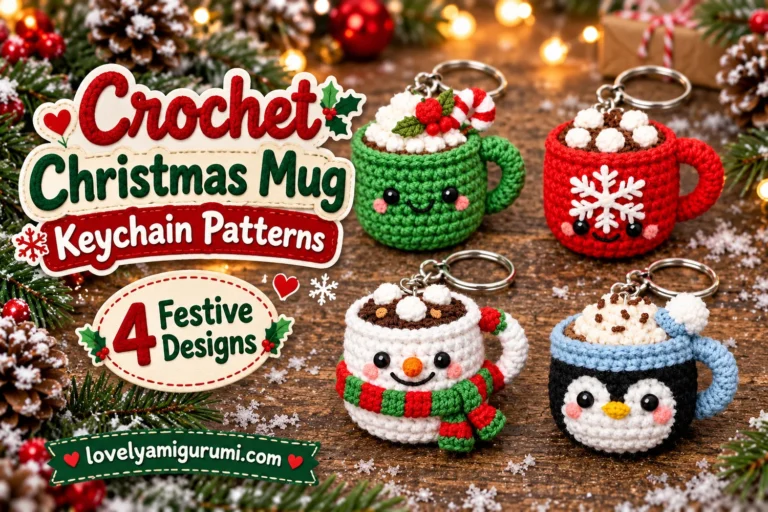
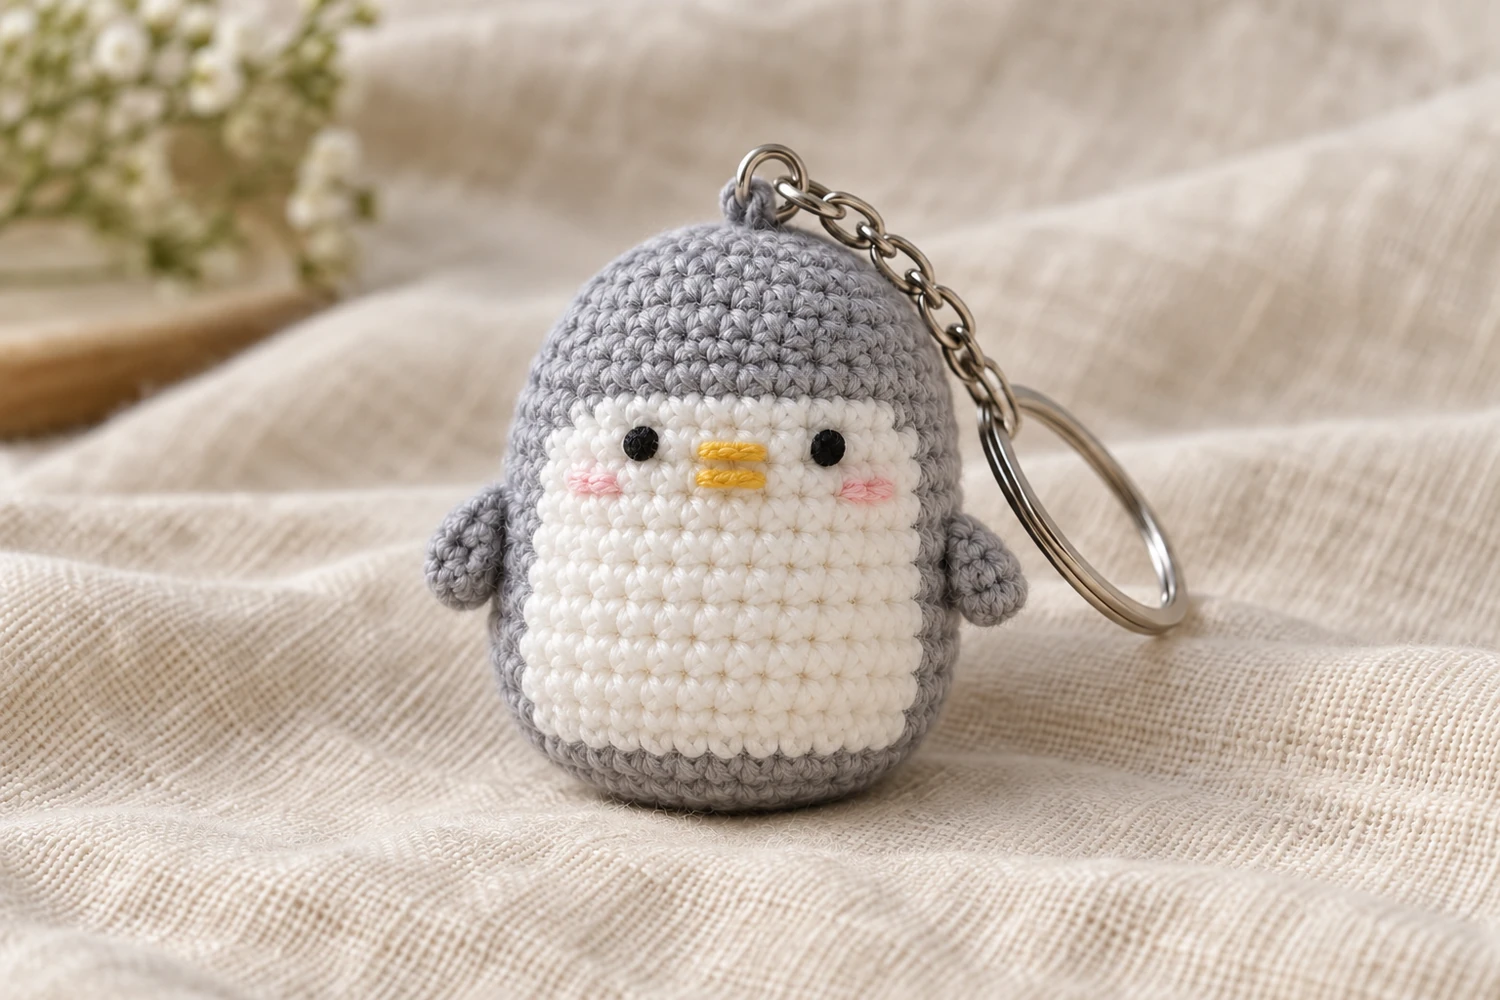
This mini penguin amigurumi keychain brings together a pastel body, a bright white belly and a tiny yellow beak. I love the way a small change in color gives the same little penguin a different personality: soft gray feels wintry, while pink or mint makes a cheerful bag accessory.
The details matter on a project this small. Keep the belly facing forward, embroider the face before closing the body, and anchor the keychain at the top. Those three choices make the finished penguin easier to recognize and help the hardware sit where it belongs.
Below you’ll find the free pattern in US crochet terminology, with stitch counts, color placement and two assembly diagrams at the end.
Mini Penguin Amigurumi Keychain: Project Overview
- Construction: one rounded body worked from the bottom upward, two small sewn-on flippers and embroidered facial features.
- Skills: single crochet, increases, invisible decreases, color changes and basic embroidery.
- Level: confident beginner familiar with working in continuous rounds.
- Size: depends on your yarn, hook and tension. Measure your finished piece rather than relying on a fixed height.
Materials
- Smooth cotton or cotton-blend yarn in a pastel main color and white. Choose matching yarn weights.
- Small amounts of black, yellow and pink yarn or embroidery thread.
- A hook that produces a firm fabric with your chosen yarn. For fine cotton, 2–2.5 mm is a useful starting point; adjust to keep stuffing from showing.
- A small amount of polyester fiberfill.
- Stitch marker, yarn needle and scissors.
- Keychain ring, short chain and a securely closing connecting ring.
For this mini penguin amigurumi keychain, smooth yarn makes the color changes and face easier to see. Avoid bulky yarn if you want a compact accessory; using a thicker yarn creates a larger penguin even with the same stitch counts.
Abbreviations — US Crochet Terms
- MR: magic ring
- ch: chain
- sl st: slip stitch
- sc: single crochet
- dc: double crochet
- inc: 2 sc in the same stitch
- dec: invisible single crochet decrease over 2 stitches
- st(s): stitch(es)
- M: main color; W: white
Numbers in parentheses give the total stitches at the end of a round. Repeat instructions in square brackets the stated number of times.
Before You Start
Work the body in continuous rounds without joining or turning. Mark the first stitch of every round. The beginning of the round is at the back of the penguin; the white section sits opposite it, at the front.
Change color on the last yarn-over of the stitch before the new color begins. Keep floats loose enough that they do not pinch the body, but short enough that they stay inside. Small bobbins can help keep the white and main-color strands tidy.
For Round 4, the color counts refer to newly completed stitches, including both stitches of each increase. If a color change falls between the two stitches of an increase, work each stitch in its assigned color. Continue counting until you have 6 main-color stitches, 12 white stitches and 6 main-color stitches.
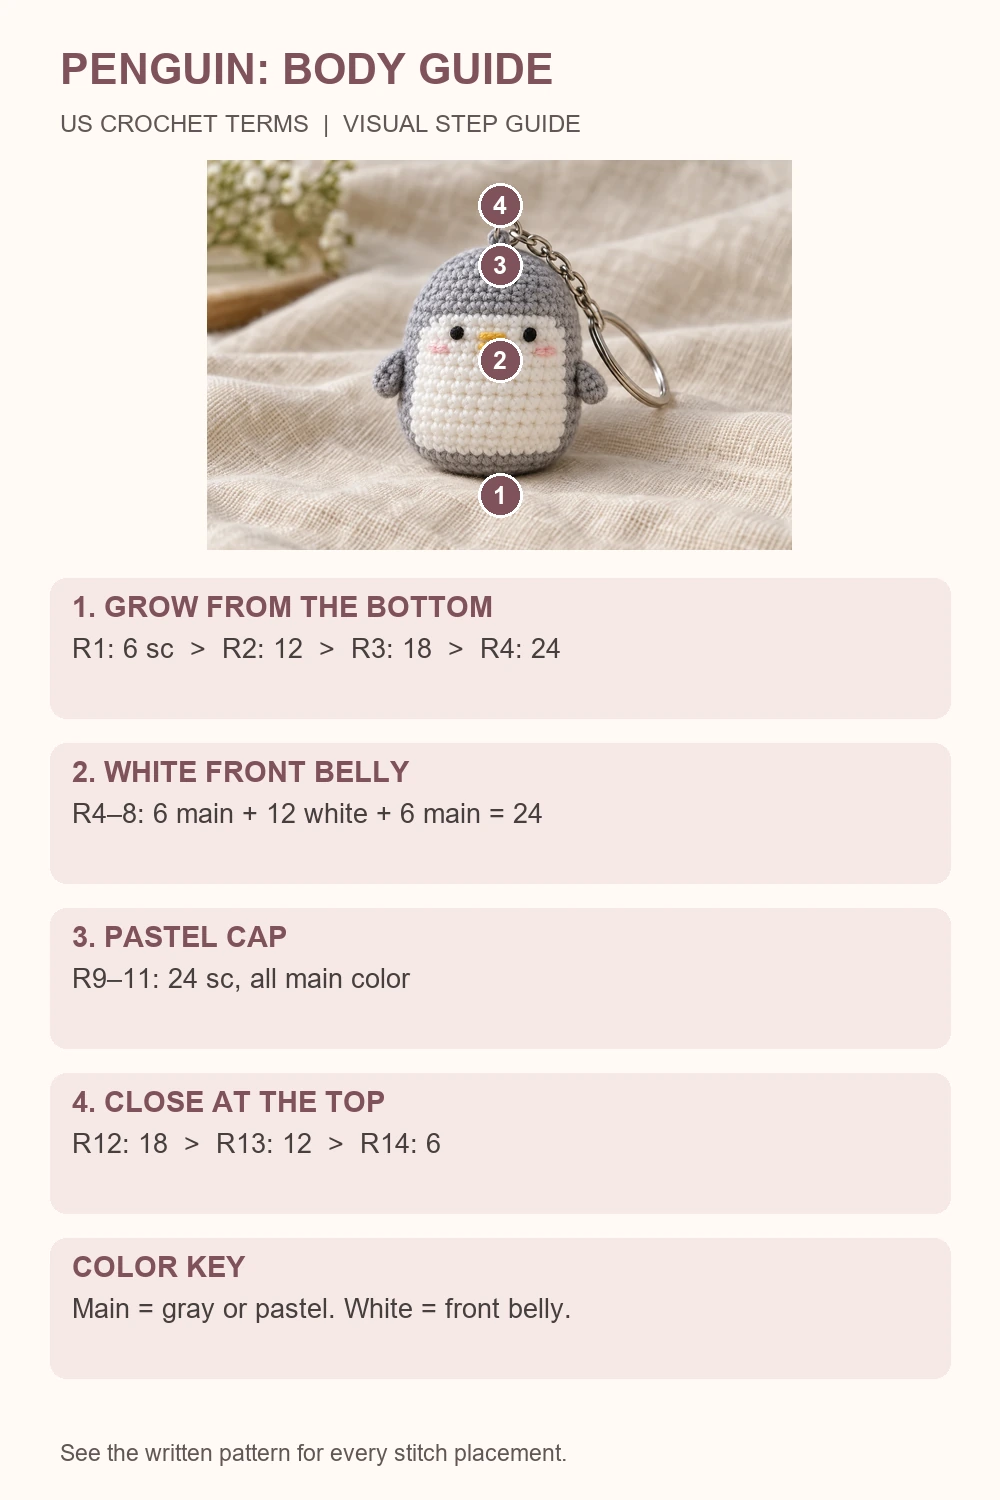
Mini Penguin Amigurumi Keychain Body
Bottom and Belly
- Round 1, M: 6 sc in a MR. Pull the ring closed. (6)
- Round 2, M: inc in each stitch. (12)
- Round 3, M: [sc, inc] 6 times. (18)
- Round 4: [sc, inc, sc] 6 times. Color the 24 new stitches as 6 M, 12 W, 6 M. (24)
- Round 5: 6 sc M, 12 sc W, 6 sc M. (24)
- Round 6: repeat Round 5. (24)
- Round 7: repeat Round 5. (24)
- Round 8: repeat Round 5. (24)
The white belly occupies the middle 12 stitches of Rounds 4–8. Use a second marker at the center of this section if it helps you keep the face aligned. A continuous-round color boundary may have a small step; keep your stitch counts steady instead of adding an extra stitch to hide it.
Pastel Cap and Top Closure
- Round 9, M: sc in each stitch. (24)
- Round 10, M: sc in each stitch. (24)
- Round 11, M: sc in each stitch. (24)
- Round 12, M: [2 sc, dec] 6 times. (18)
- Round 13, M: [sc, dec] 6 times. (12)
- Round 14, M: dec 6 times. (6)
Pause before Round 12 to embroider the face while you can reach the inside. Add stuffing gradually, shaping a rounded body without stretching the stitches. After Round 13, add the last small amount of stuffing. Finish Round 14, cut the yarn and thread the tail through the front loops of the 6 remaining stitches. Pull closed and weave the tail securely inside.
The closing end is the top of the mini penguin amigurumi keychain. The original magic ring is underneath the body.
Embroider the Face
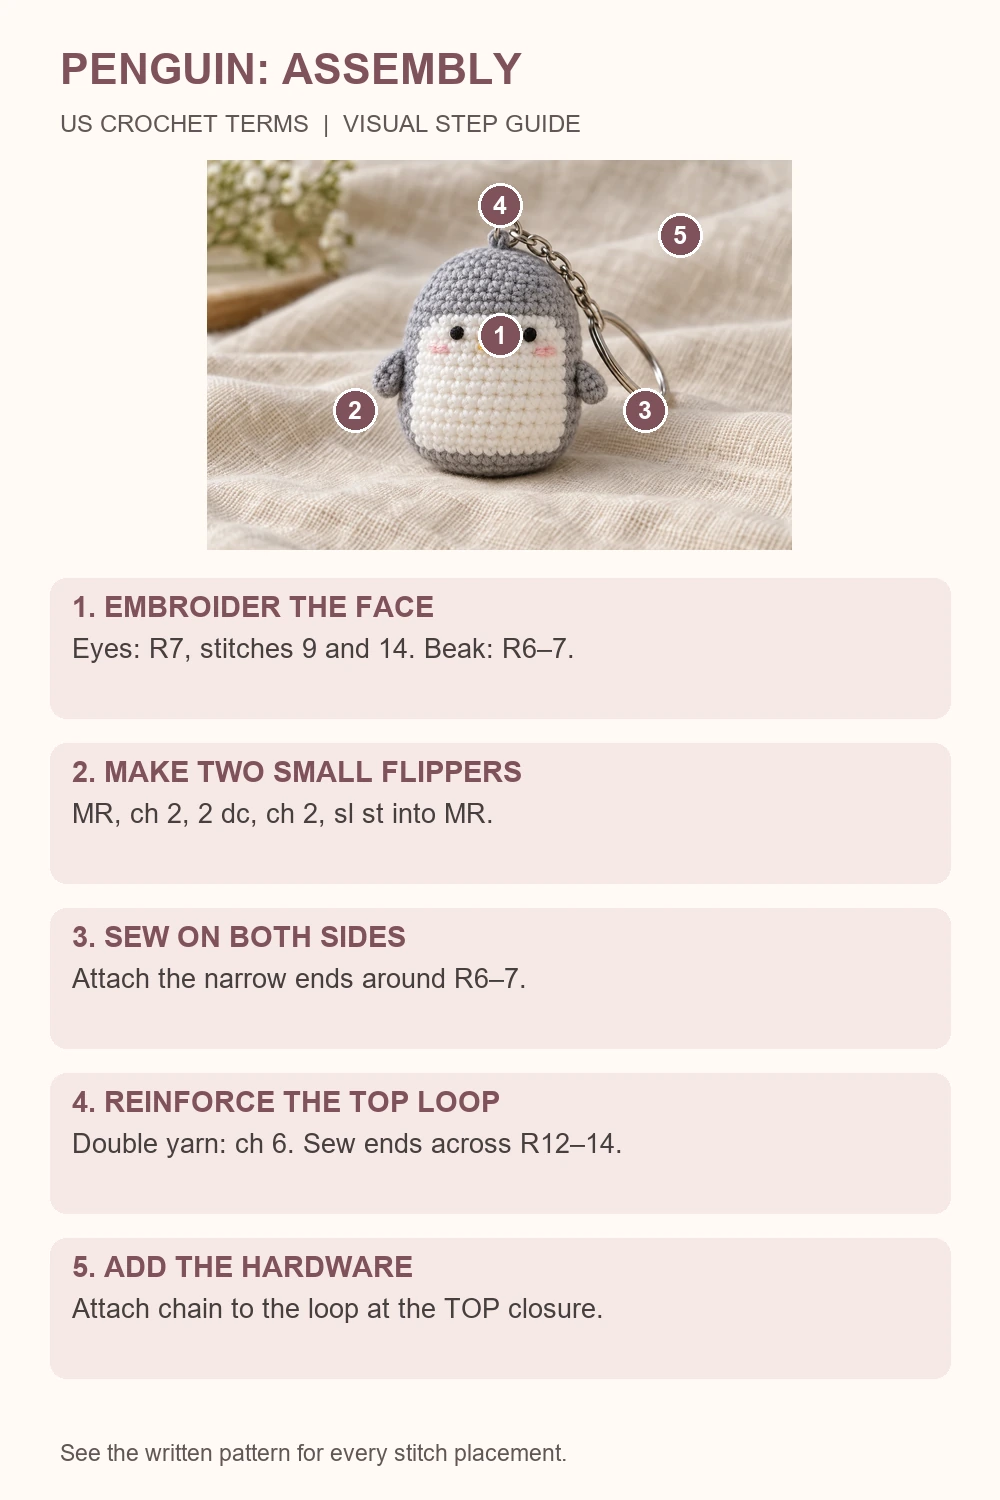
Hold the white belly toward you. On Round 7, use black thread to make two small eyes around the 9th and 14th stitches of that round. These positions leave four stitches between the eyes. Check their spacing on the stuffed shape before securing the ends.
Make a short yellow beak between the eyes, slightly lower, around Rounds 6–7. Two or three horizontal stitches give a small, simple beak without adding a separate piece. Add one short pink cheek stitch below each eye around Round 6.
I prefer a restrained face here: small eyes and a short beak leave the white belly visible. Embroidered features also avoid loose plastic eye parts on a tiny accessory. Secure the thread ends inside the body; do not leave long loops on the surface.
Flippers — Make 2
With M, make a MR. Ch 2, work 2 dc into the ring, ch 2, then sl st into the ring. Pull the ring closed. The chains form the two outside edges of a small fan; they are not counted as extra dc.
Fasten off with a tail for sewing. Make the second flipper the same way. Flatten each little fan and sew its narrow end onto a side of the body around Rounds 6–7, close to the boundary between the main color and the white belly. Leave the rounded edge free.
View the mini penguin amigurumi keychain from the front before securing the second flipper. Matching the attachment height gives the two sides a balanced appearance.
Attach the Keychain at the Top
Make a small reinforced yarn loop above the top closure. With M held double, ch 6 and fasten off with two sewing tails. Sew both ends close together into several stitches across Rounds 12–14. Pass through more than one stitch and secure the tails inside the body.
Attach the connecting ring through this loop, then add the short chain and keyring. Close the connecting ring fully. Avoid hanging the hardware from a single strand of the closing tail; the load should be spread across several stitches.
Give the loop and seams a gentle pull to check the attachment. This is a decorative keychain with metal hardware, so keep it away from babies and children who may put small parts in their mouths.
Finishing and Troubleshooting
- Stuffing shows: choose a smaller hook or slightly firmer tension next time. Do not overfill the body.
- Belly looks pinched: check that carried yarn has enough slack across the white section.
- Penguin leans sideways: redistribute the stuffing and compare the flipper heights.
- Top loop pulls: reinforce its sewn ends across additional body stitches.
- Face looks crowded: use finer thread and fewer embroidery passes.
For cleaning, follow the yarn label and consider the metal hardware. A gentle spot clean is often more convenient than soaking a whole keychain. Allow the body to dry fully before using it again.
Mini Penguin Amigurumi Keychain FAQ
Can I use another pastel color?
Yes. Keep the white belly, yellow beak and dark eyes, then choose gray, pink, mint or another main color. Keep the two body yarns the same weight so the colorwork remains even.
Can I make the penguin without a keyring?
Yes. Omit the reinforced loop and hardware for a small decorative penguin. Its rounded body and two flippers are otherwise worked in the same way.
Does this mini penguin amigurumi keychain need a separate head?
No. The body and head form one continuous shape. The pastel rounds above the white belly create the cap around the face.
Why are there no feet in this version?
This compact design uses the yellow beak and two side flippers as its main details. Keeping the underside simple also leaves the accessory smooth against a bag.
More Small Crochet Projects
If you like a mini penguin amigurumi keychain, try the crochet bag keychain pattern for another small accessory. For a flat project between amigurumi pieces, explore the heart coaster crochet pattern.
Save this mini penguin amigurumi keychain pattern with the color you want to use. The images below include four Pinterest designs and two diagrams for the body and assembly steps.
Pinterest Pins and Crochet Diagrams